5 Reasons We Love the Akron Zoo.

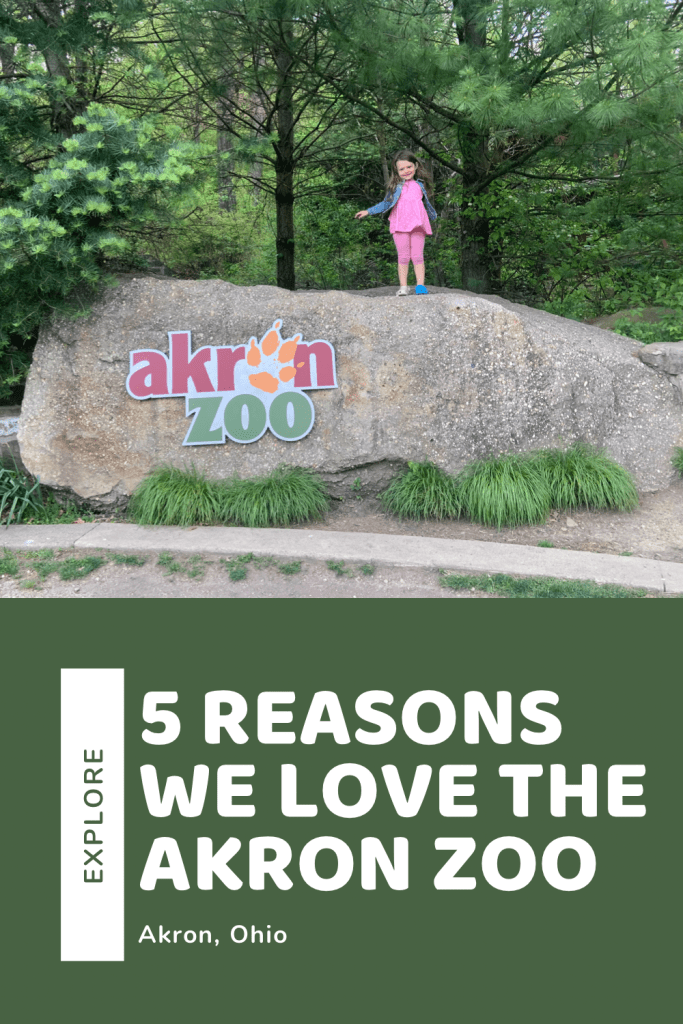
One great thing to do is go to the zoo. Ohio has some great ones! Our latest adventure was to the Akron Zoo.

Since the Akron Zoo is the closest to us, we seem to frequent it more. Although it’s smaller than the Cleveland and Columbus zoos we’ve been to in the last few months, it’s just as beautiful and educational.

Before you visit, here are five of the reasons why we LOVE the Akron Zoo.

The Size

Although the zoo may be smaller, it’s perfect for toddlers. There’s isn’t as many animals or as much walking as Columbus, Cleveland, or Cincinnati, but it still makes an impact.

We can walk and see all the animals in a few hours without rushing. Plus, we can play in certain areas without feeling like we need to hurry up to get through. It makes it nice for kids to actually play and explore.

The zoo is expanding though!

On May 29, 2021, they’ll be opening their Wild Asia expansion. Mila and I will be back to see. We love tigers! There were also signs about expanding Africa too!

Even though it is smaller, you’ll still be getting a workout. There’s a huge hill to walk up!

The Otter Exhibit

Any parent who goes to this zoo knows they’ll be spending a ton of time with the otters.

There’s a huge slide that goes right through the exhibit and water. Kids can see the otter swim right by them!

The slide goes surprisingly fast and it’s a big hit with the kids. Mila spent a ton of time going up the steps and sliding right down. It’s cute to see the kids make themselves stop midway so they can get a better look at the otter.

It also has two huge viewing spots to see the otter. So while parents are waiting for their kids, they can get a good view too.

The otter was adorable! This was my favorite exhibit as a kid!

The Komodo Dragon

One of mine and Mila’s favorite zoo animals is the Komodo Dragon. The exhibit at the Akron Zoo is beautiful and we can always get a close look at this guy.

We love seeing him walk and perk up. It’s not an animal you get to see everyday!

I’m pretty sure Mila think this guys either an actual dragon or a dinosaur. Honestly, I can’t say I disagree.

One of my favorite parts of the zoo is seeing animals you’d never be able to get close to in the wild. I think this is why Mila and I are both fascinated with this guy.

By the Komodo Dragon is other reptiles, amphibians, and sea creatures. Plus the Komodo Kingdom Cafe!

The Carousel

I know, I know. There’s carousels at every zoo, but it’s our favorite every time.

Mila genuinely gets so happy when she sees them. She picks out an animal in the line, then switches last minute!

This carousel has beautiful painting on all the saddles and above. It also has a variety of different sized animals you can ride, which I thought was really nice.

It’s also a great break before walking up the hill!

I think the carousel at every zoo will make our top five. It’s only $2 to ride at the Akron Zoo and if you’re a parent who has to accompany your child, you get on free. The best $2 spent!

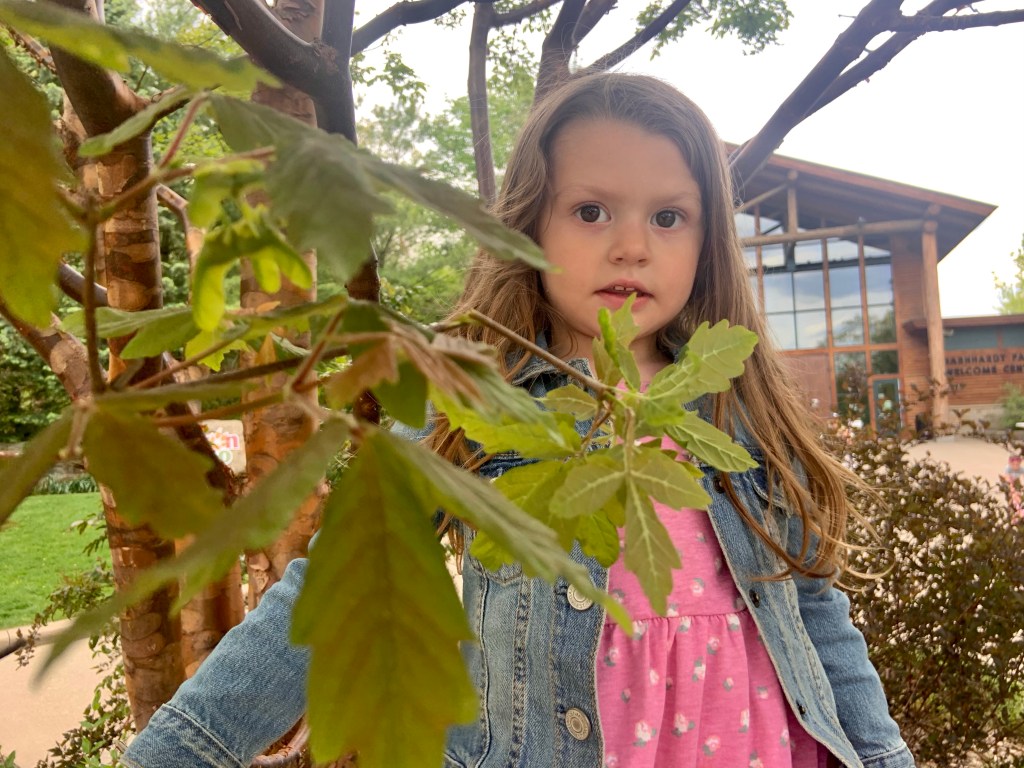
The Greenery and Gardens

If you didn’t know, I love plants and greenery. The Akron Zoo has beautiful plants everywhere you look!

I love when zoos really step up their plant game. It makes it feel more relatable for the animals and gets you in a wild mindset.

The Zoo Gardens also gives you the opportunity to walk and really take in the flowers. Immersing yourself in nature is so healing and relaxing. Mila loves it too!

These aren’t the only things we love at the zoo, but are the ones that stuck out the most during the latest trip. We cannot wait to go back this summer to check out the new exhibit!

I love that this zoo is growing since it’s so close to us.

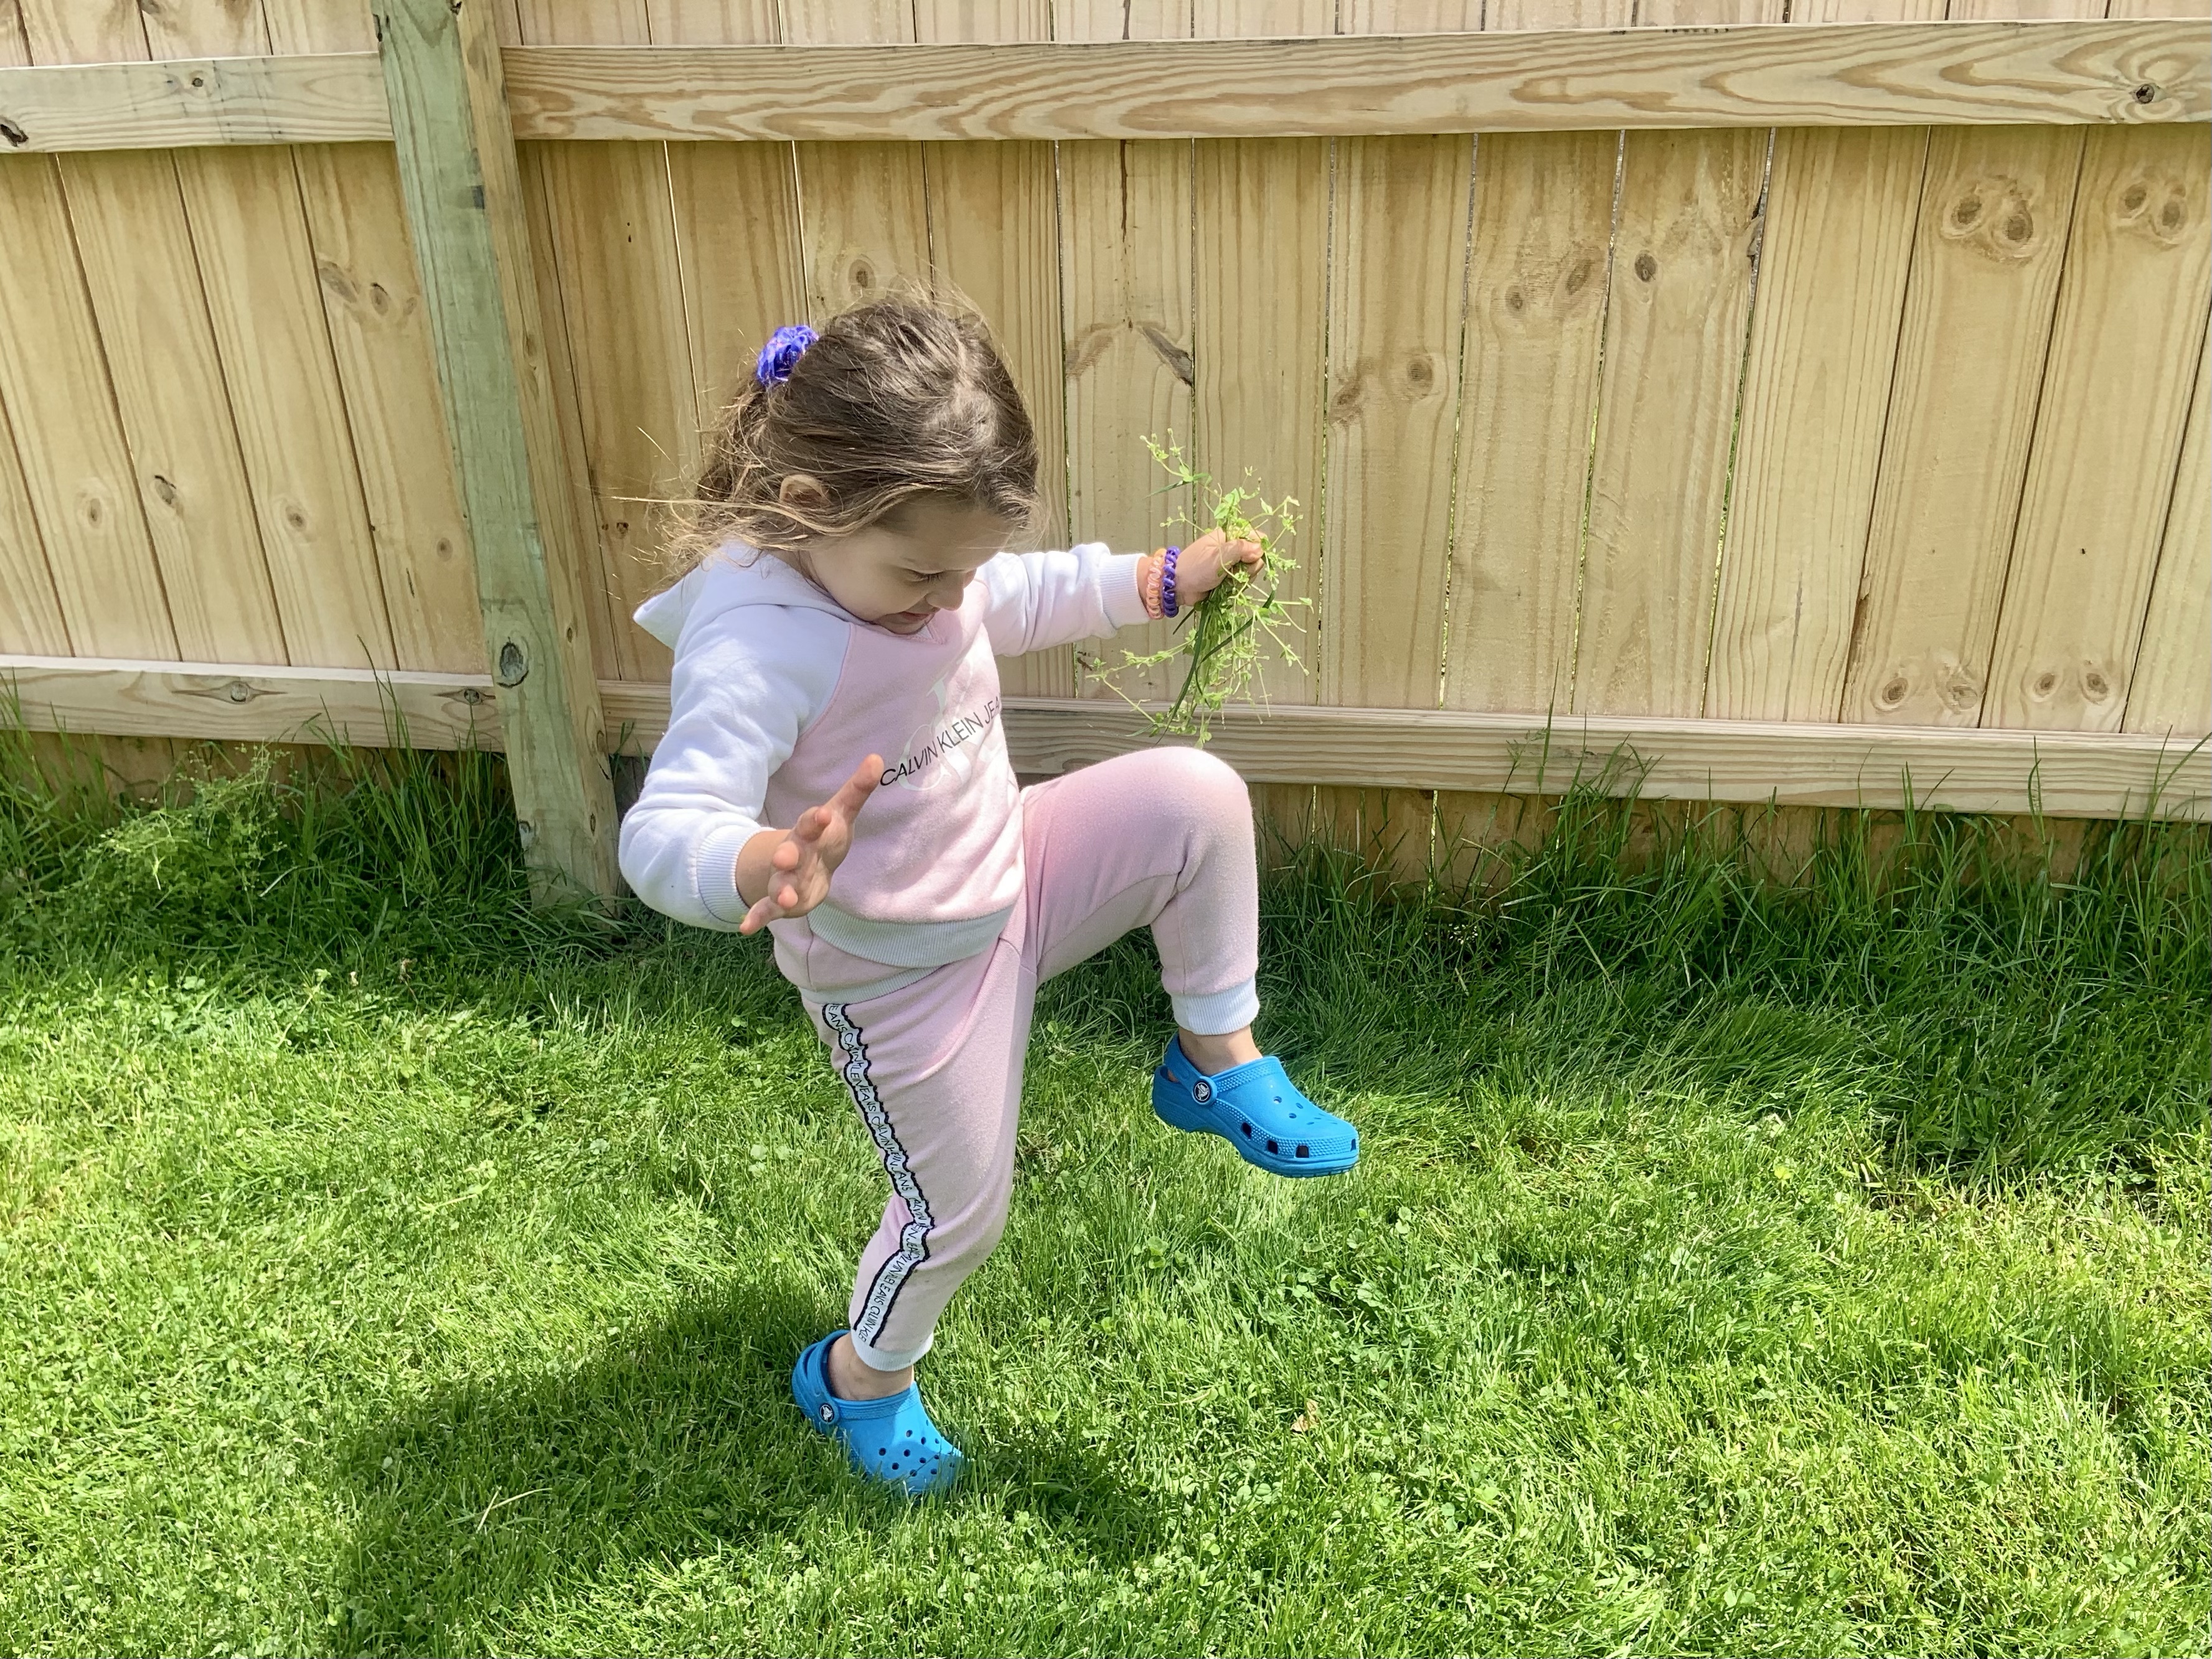
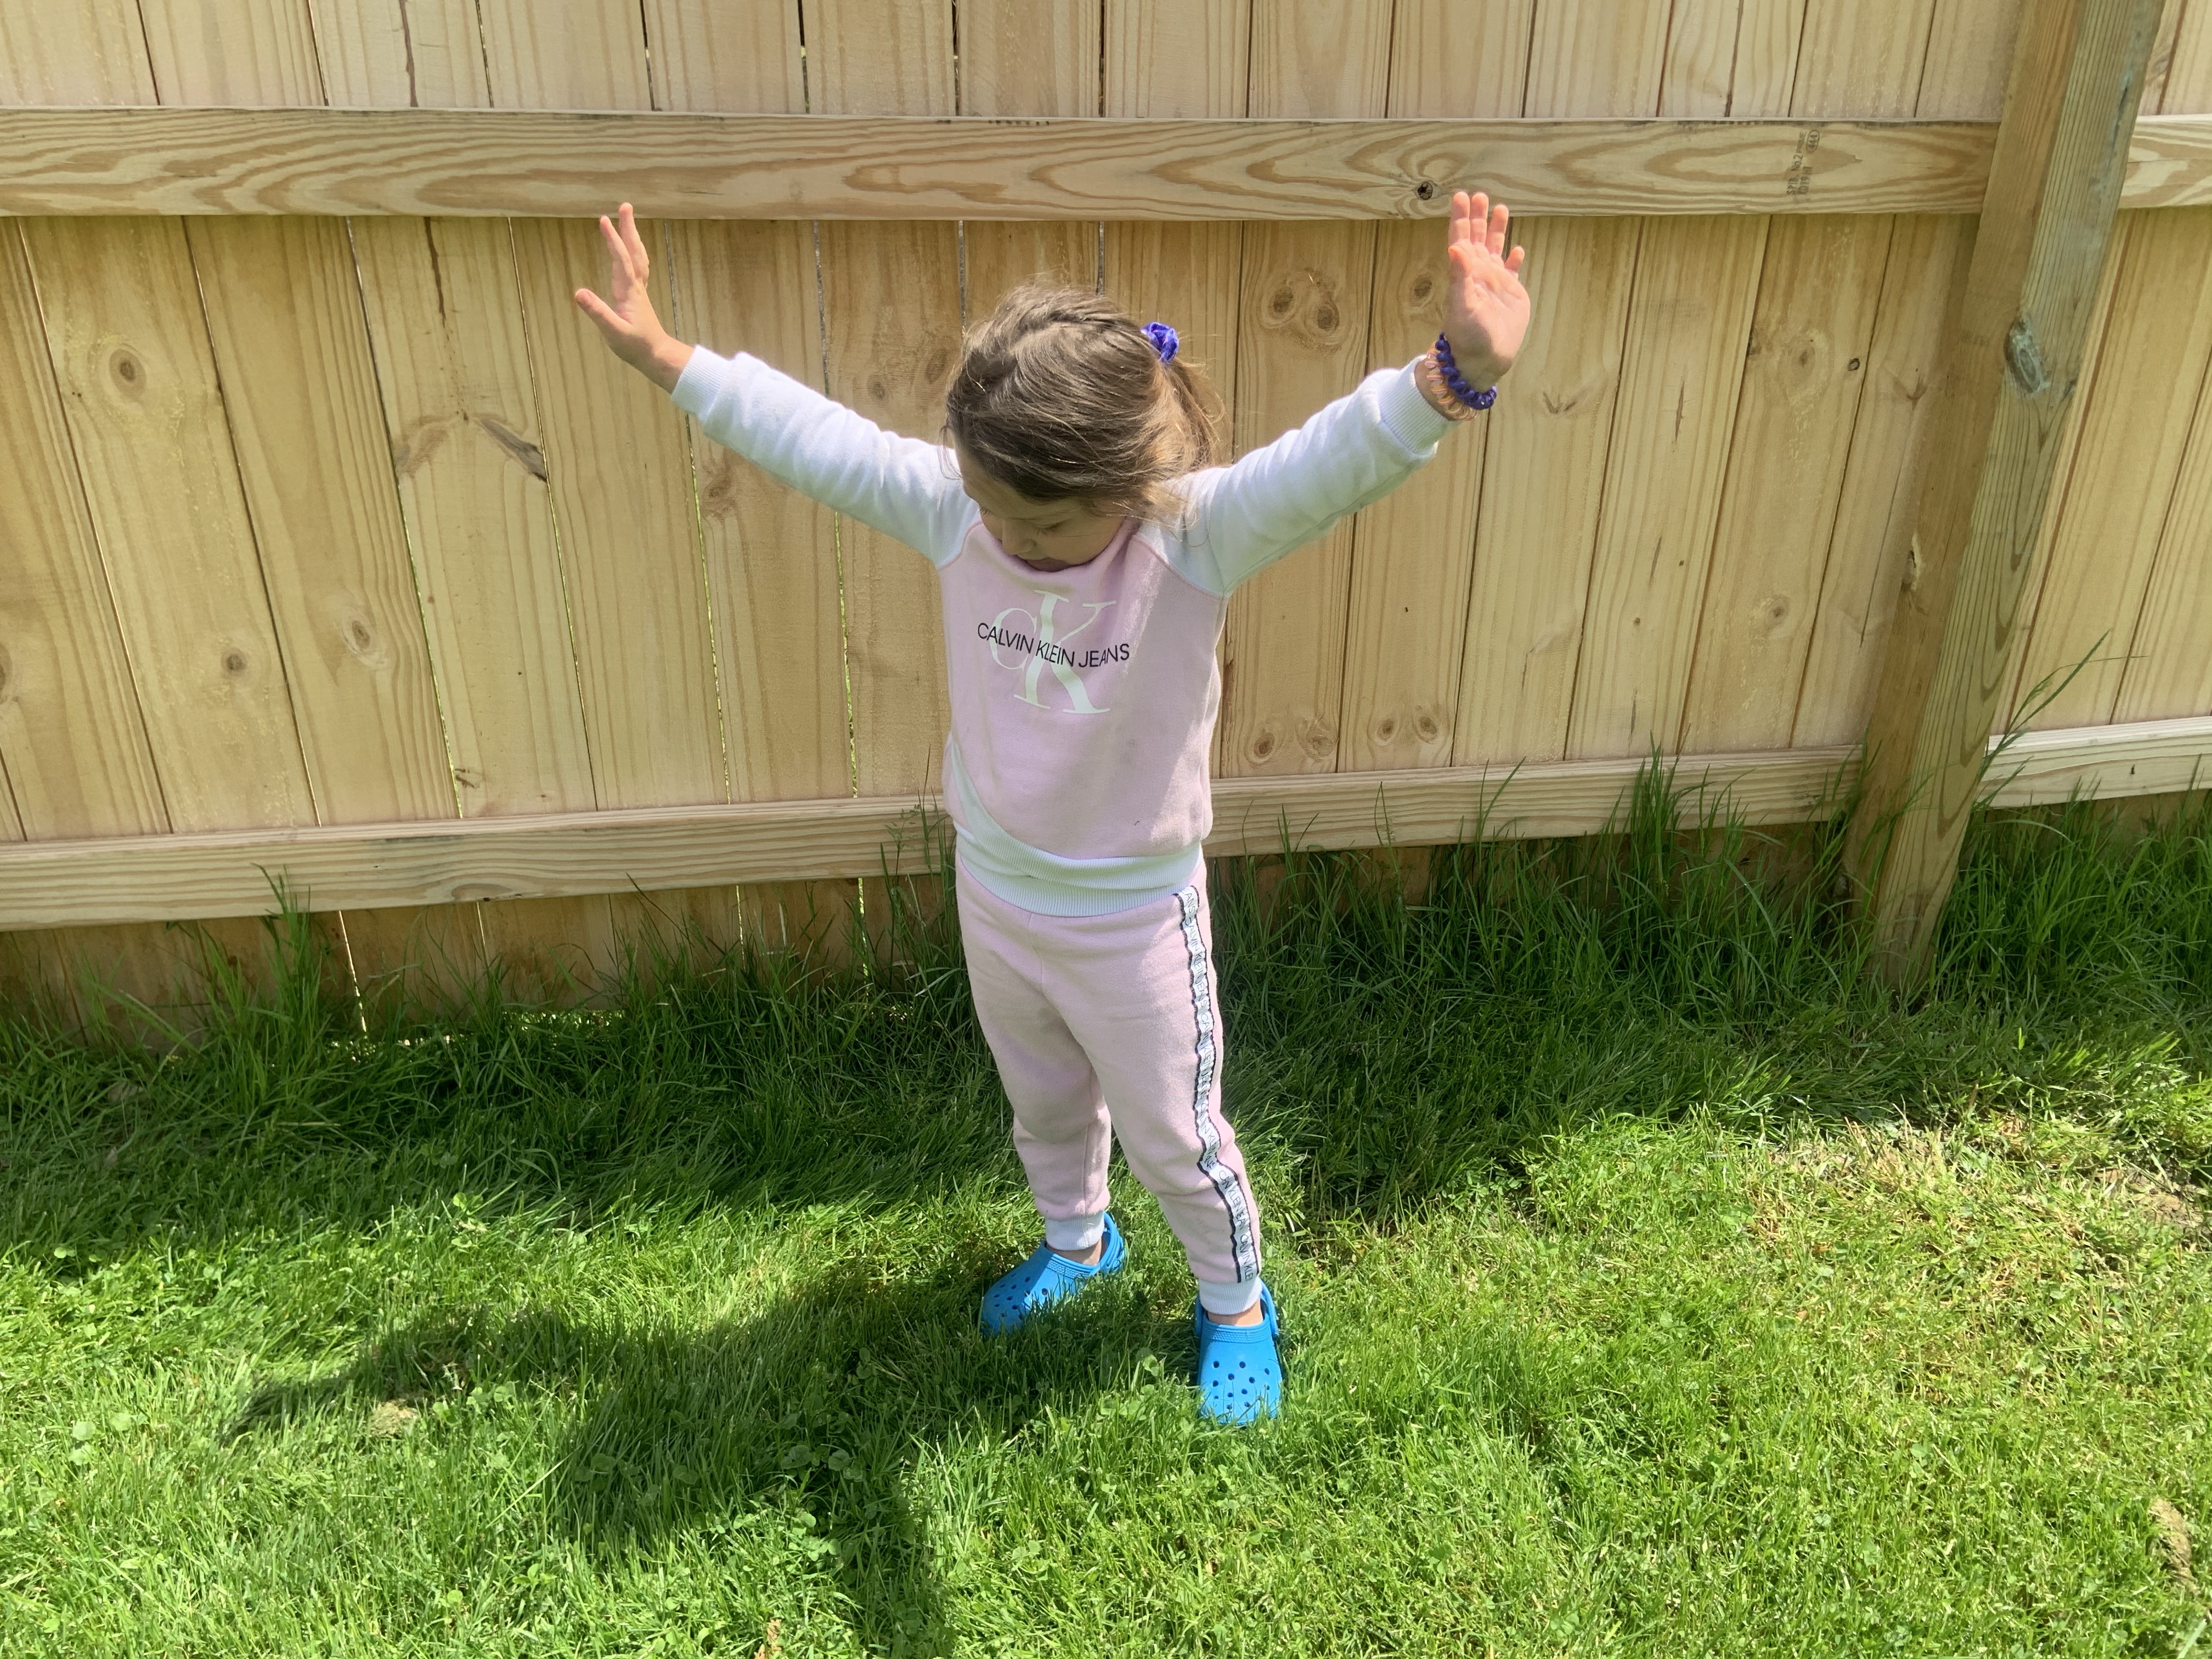
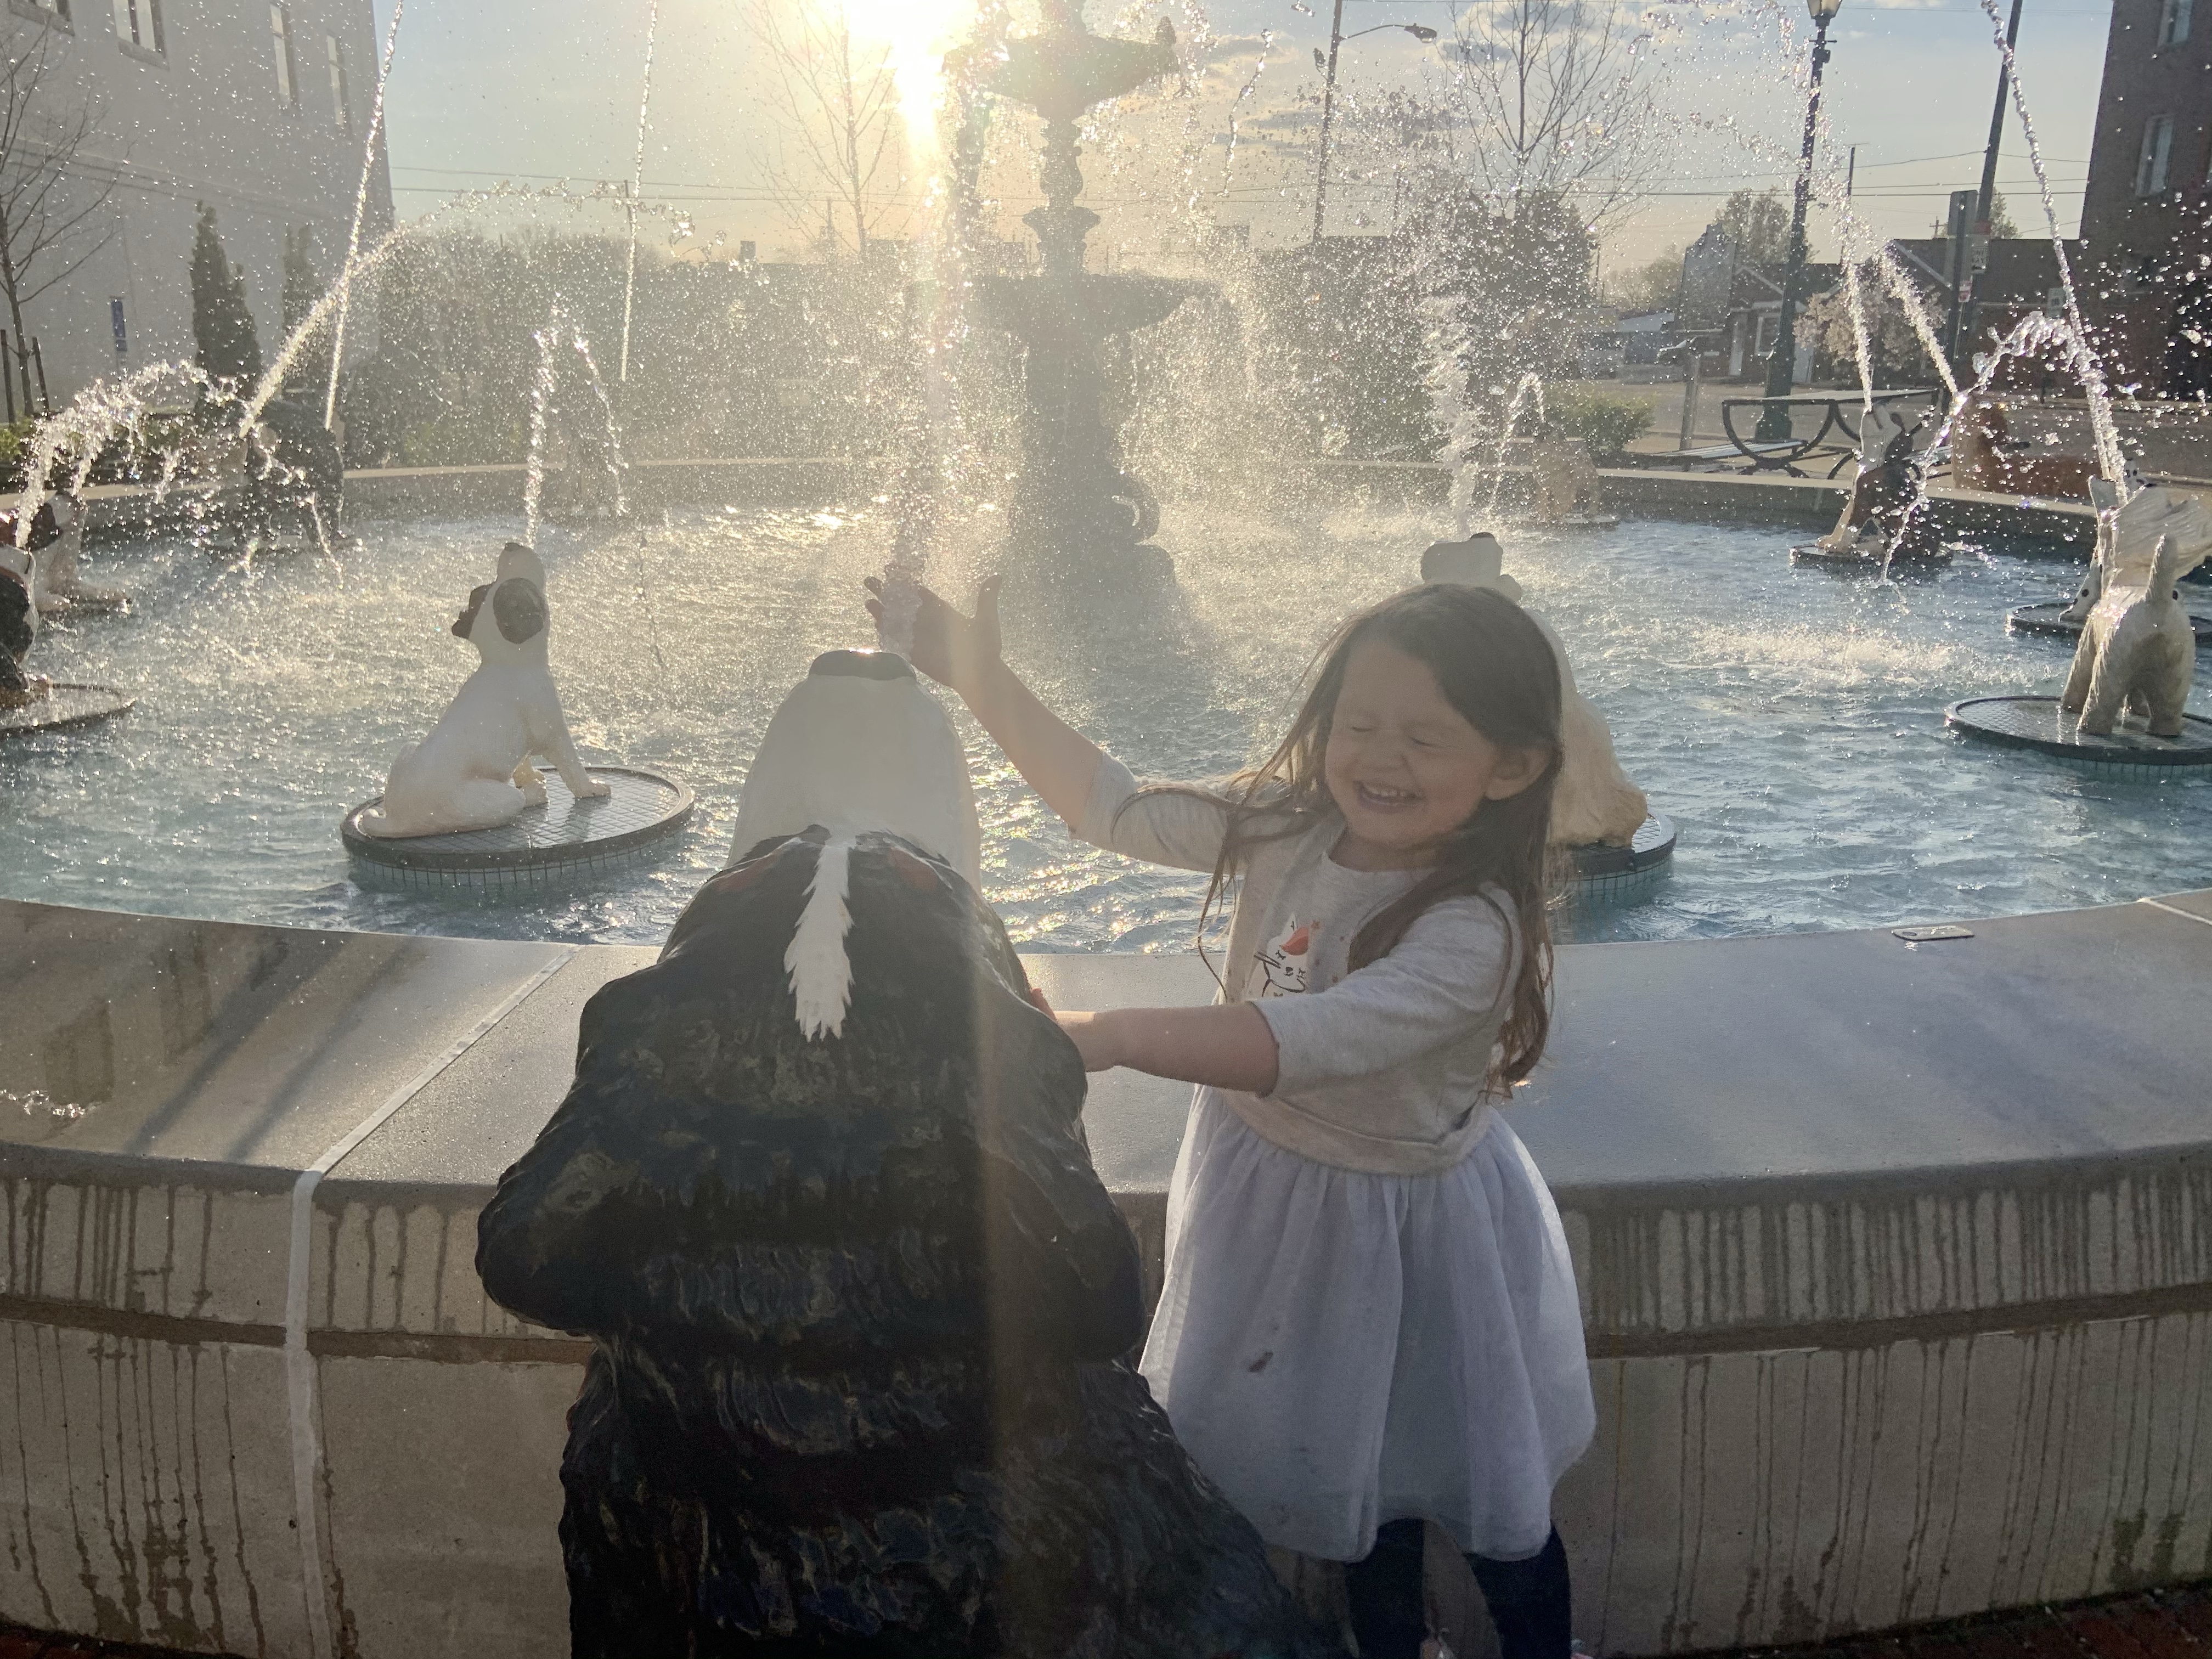
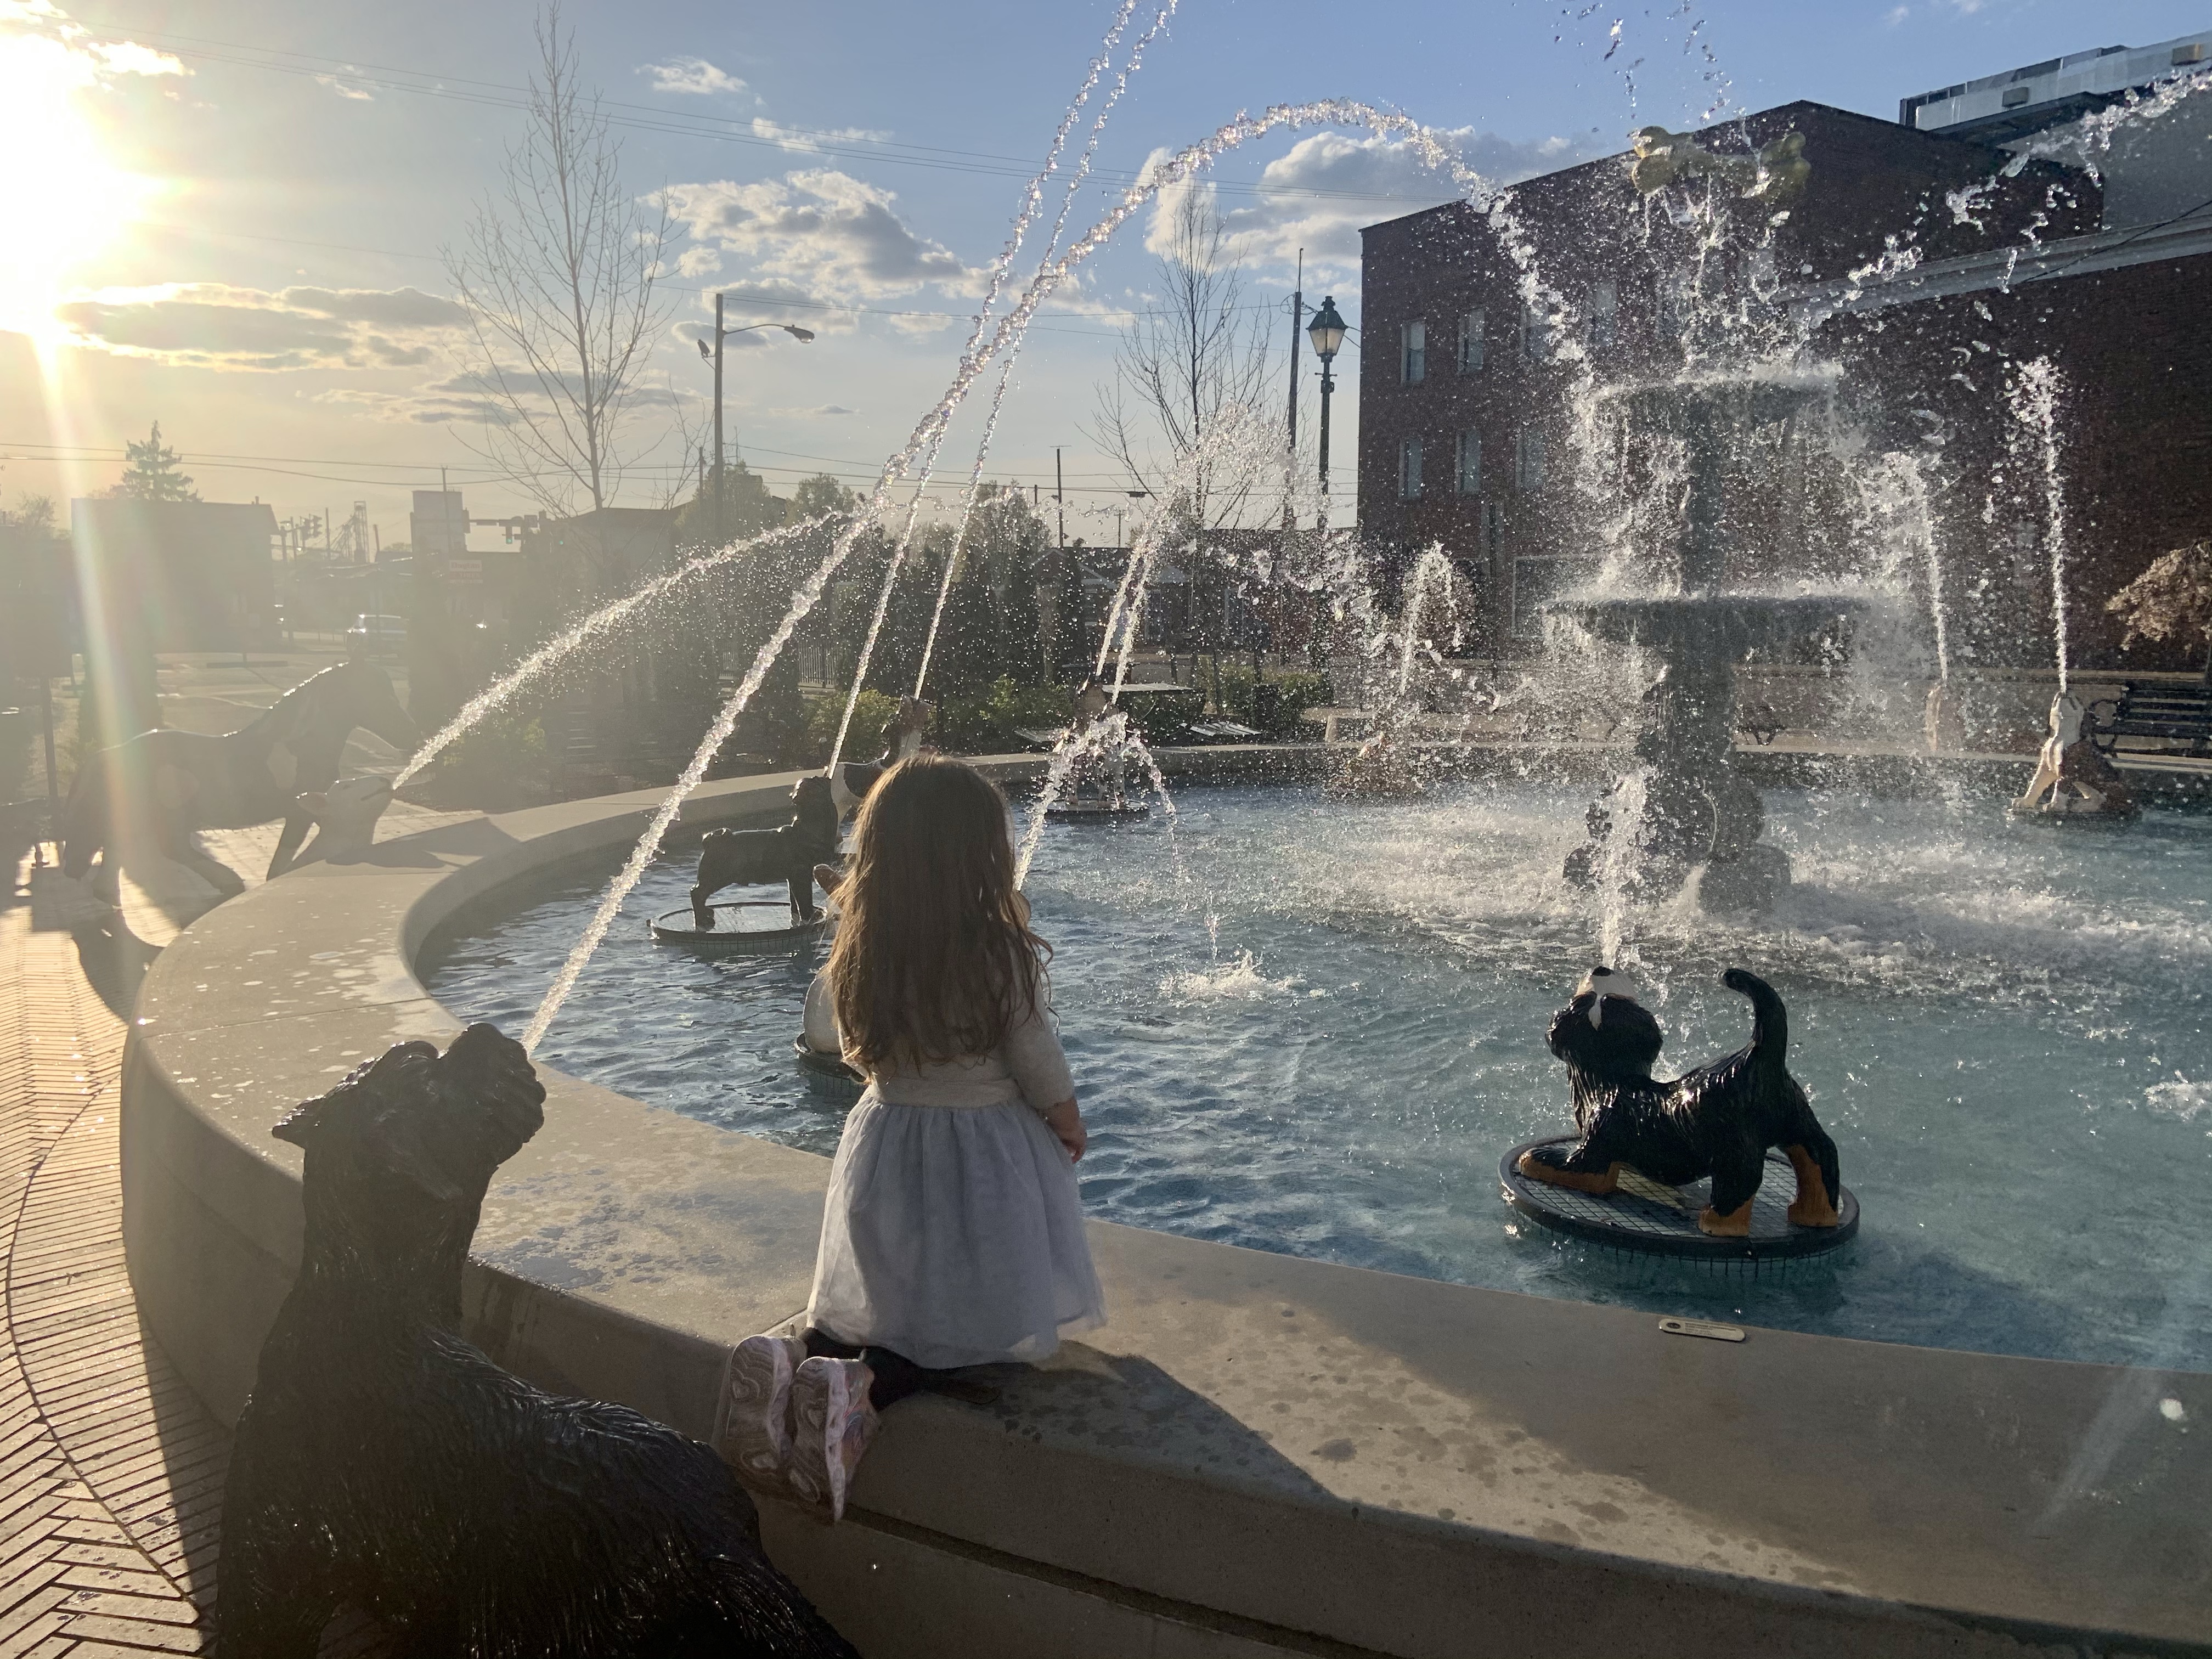
Here are some other pictures I have to share from our experience.

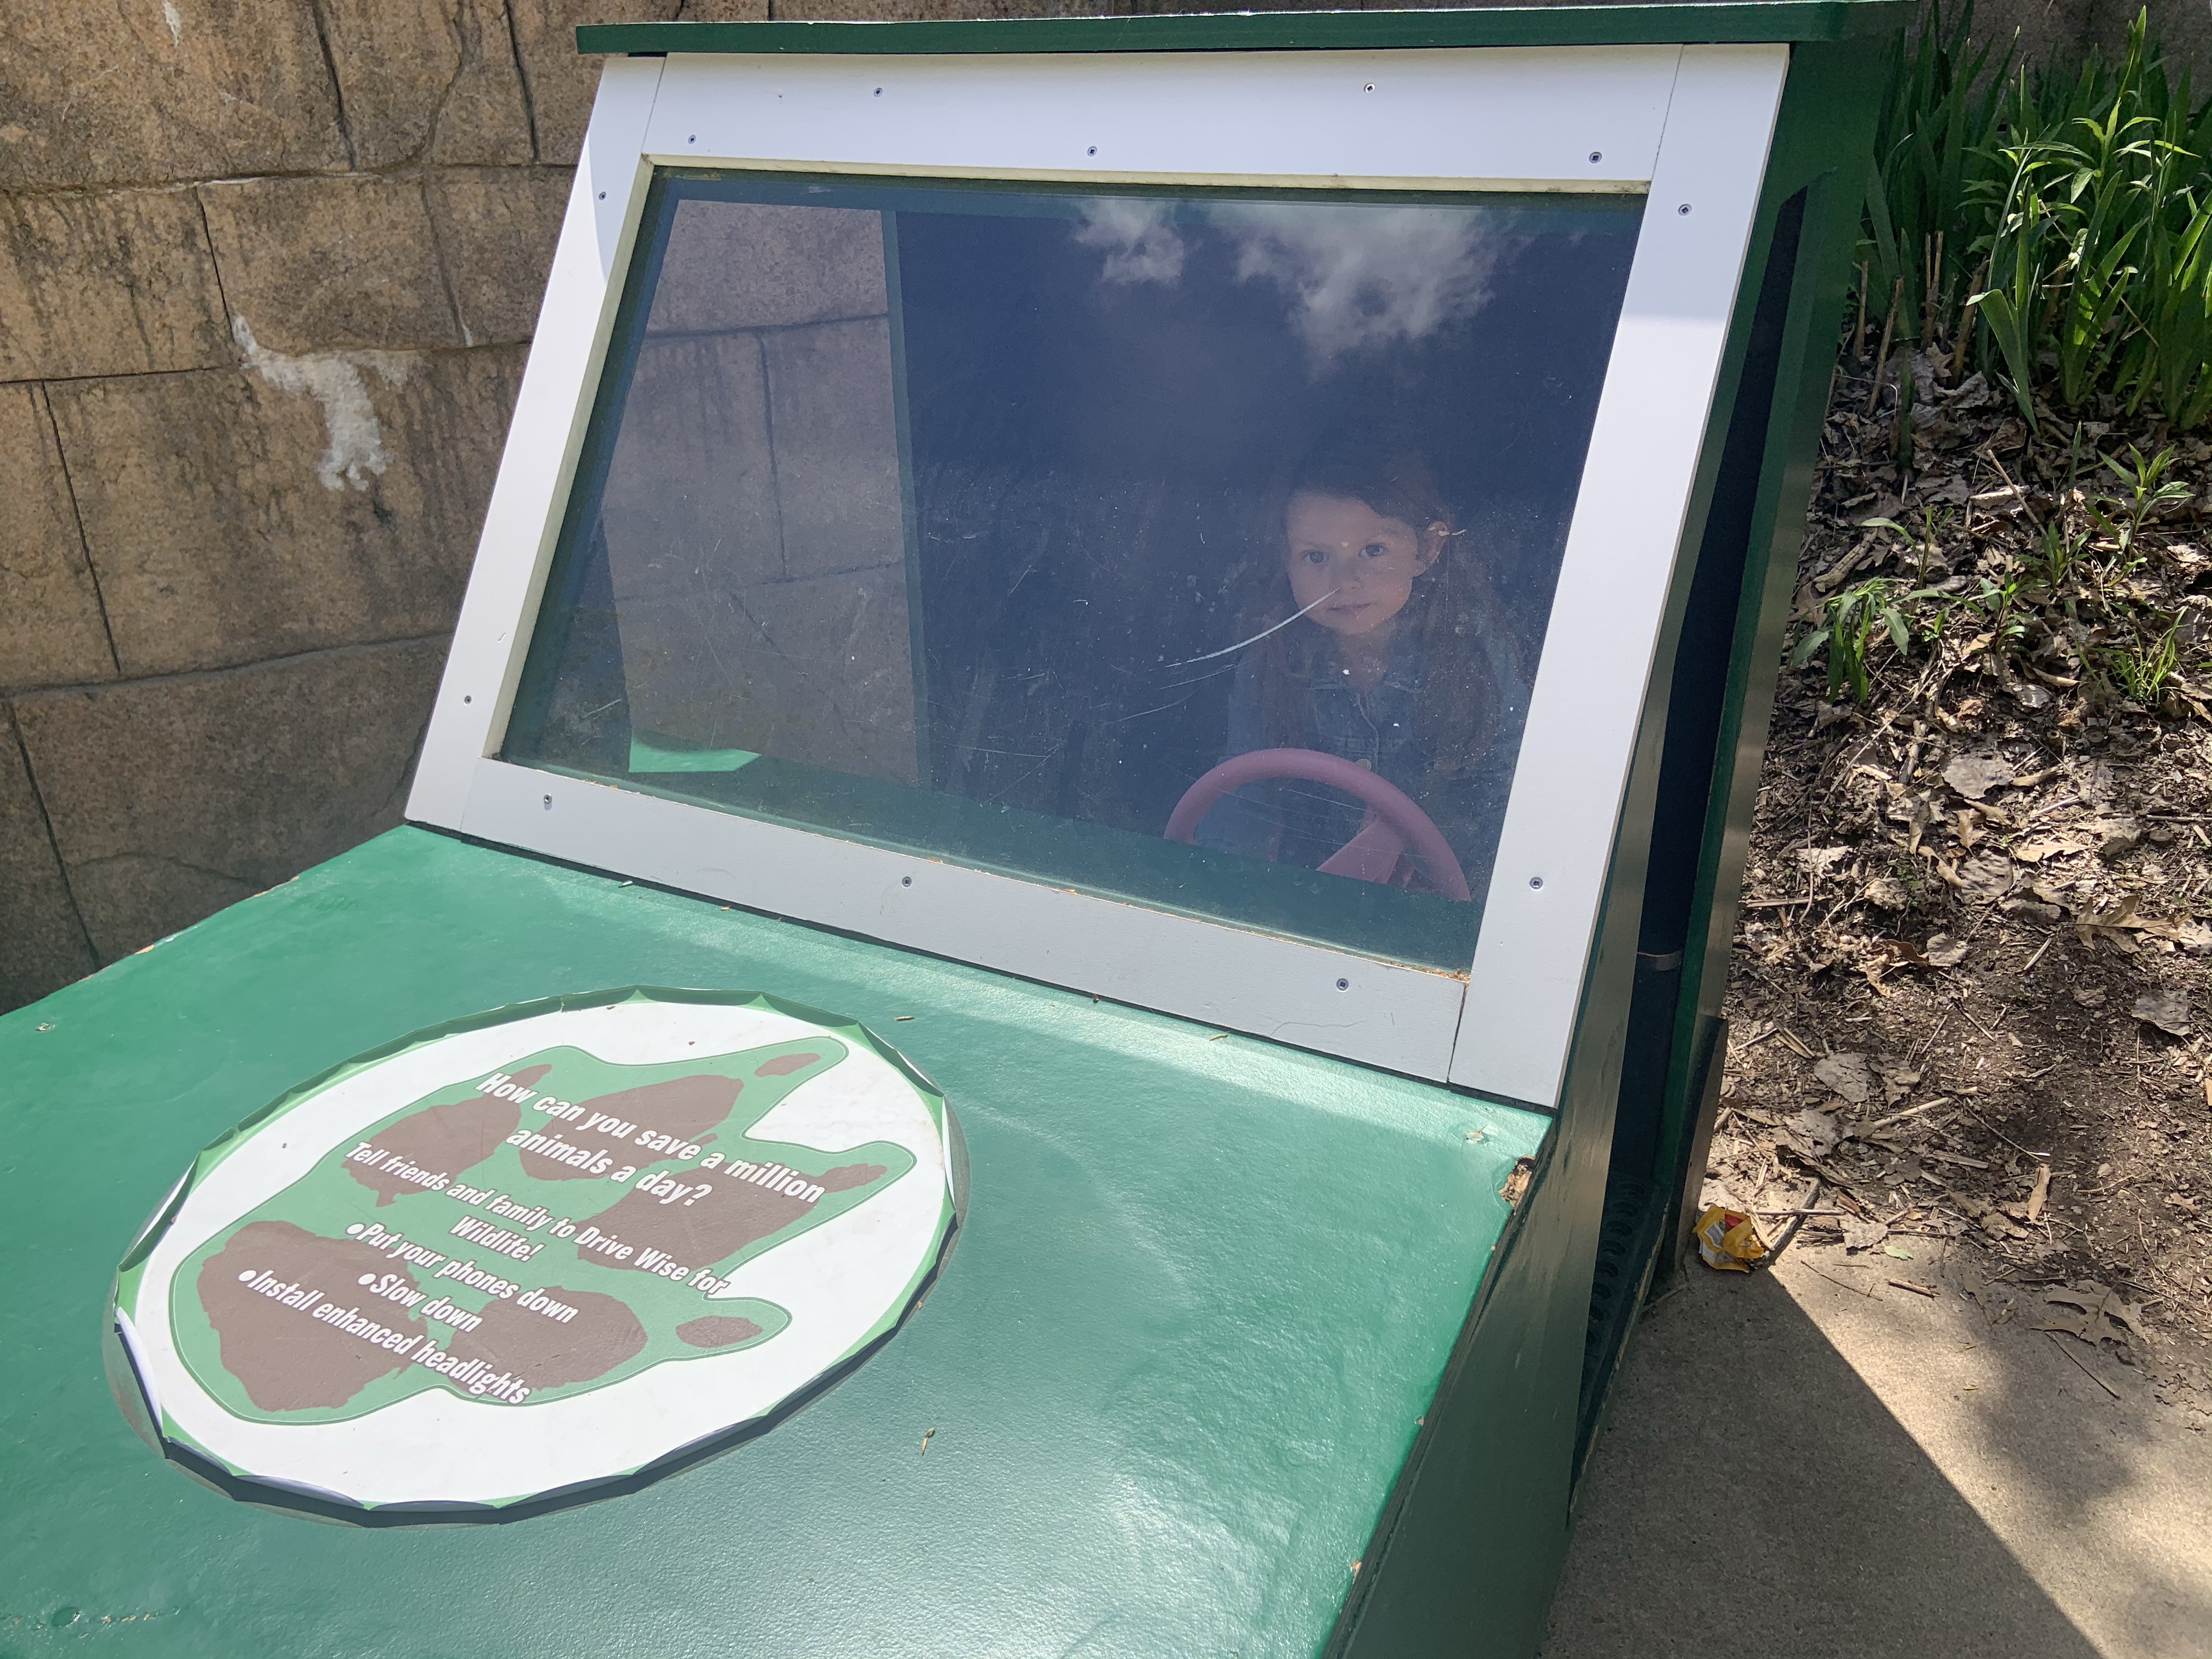
We love the Akron Zoo!

Anytime I can see Mila’s amazement by what’s around her makes me so happy. She loves the animals, the playgrounds, and the environment when we get to go.

What’s your favorite part of the zoo closest to you?

Mommy Recipe: Strawberry Lemonade Mimosa

Summer is quickly approaching and so are weekend brunches. Change up your mimosa game with this Strawberry Lemonade Mimosa. It’ll cool you down, without the overbearing champagne taste.

I love this combination and figured I’d try to make a mimosa with it. It’s a light drink and the Italian ice elevates it even more.

This drink would be perfect for a mimosa bar or anything brunch!

Here’s what you’ll need:

  • Champagne
  • Strawberry Lemonade
  • Strawberry Italian Ice
  • Pink Sugar
  • Fresh Strawberry

First, coat the rim of your flute by cutting a strawberry and putting it around the rim. Then, pour some sugar on a plate. To coat, just roll the rim around the sugar.

Next, put your Italian ice in the bottom of the cup.

Then, fill your flute to your discretion with champagne. It’s really up to you how much champagne you’d like. I’m not one to limit your drinking (haha). Then fill the rest up with the strawberry lemonade. Again, it’s up to you how much you want to drink.

While I was making this drink, Mila was obsessed with the pink salt and the bubbles. So, I threw together this little mix for her too. It’d be great for other littles too.

The Kid Version:

  • Strawberry Lemonade
  • Strawberry Italian Ice
  • Pink Salt
  • Fresh Strawberry
  • Carbonated water

This little spin on a classic mimosa is great for strawberry lemonade lovers and is just perfect for summer months too. The champagne taste isn’t too strong and it tastes really great. Being creative with drinks can be so much fun!

I absolutely loved making Mila one too. She felt like a ‘big kid’ and it was so easy to make her special drink.

Next time, I’d love to try a grapefruit mimosa. I’ll share when i do.

What’s your favorite type of mimosa?

Toddler Activity: Dino Dance!

Happy National Dinosaur Day! To celebrate, Mila wanted to share her one of her favorite books and dinosaur activity: Dino Dance!

Mila has just now taken an interest in dinosaurs. Books about them have really helped broaden her imagination about them. We also have a few great dinosaur toys that she loves playing with. When we went to the zoo, there was a dinosaur there so she was able to understand they were huge. She’s been asking about them since.

Dino Dance! hands down is her favorite way to look at dinosaurs and think about movement. She loves to dance, so when she saw that dinosaurs danced too, it helped her connect.

Plus, it helped create a fun little activity too.

Normally, we read books over and over again (oh the toddler stage). Instead of just sitting and reading some, we find ways to act them out. Dino Dance! gives us the dance moves to do, while learning too!

We took our learning outside and Mila showed me her dino moves.

Her favorite was the ‘cha cha cha’ move and the t rex stomp! It was also so fun to watch her come up with her own interpretations of the dance moves. We ended up dancing and singing along with the book for a little while. While dancing their moves, I had her say the dinosaurs names too.

Mila asked me to show her how I would do certain dance moves too! It was great to mimic each other and see how we both were creative.

In one little book, there was a ton of learning! From dinosaur names to being creative, Dino Dance! is a great way to introduce your child to dinosaurs.

It also sparked other conversations about dinosaurs. We have other books that have more realistic descriptions and images of dinosaurs. To make a connection, I remind her of the dinosaurs dance moves in the one book and show her in the other. I can’t wait to take her to see the dinosaurs in the Columbus Zoo soon!

Another dinosaur song Mila loves right now is from Blippi. Whenever she has screen time, she asks to watch his channel. So, The Dinosaur Song has been a great way for her to learn about dinosaurs while dancing and watching her favorite show too.

If you’re looking for other fun activities from creative moms and their kids, check them out here:

Strawberry Chocolate Chip Cookies Recipe

One of the best and most classic desserts are chocolate chip cookies. They’re gooey and make you feel all warm inside. Up until now, I didn’t think they could get any better, until we added one ingredient: strawberries.

This new to us recipe is one I HAD to share with everyone, especially before National Chocolate Chip Day. Not only did we enjoy the finished results, Mila had a blast making these too.

Maybe a little too much fun with the extra flour!

Anyways, here’s what you’ll need to make these delicious cookies:

  • 2 1/4 cups of flour
  • 1 teaspoon of baking soda
  • 1/2 teaspoon of salt
  • 1 stick of unsalted butter
  • 1/2 cup of sugar
  • 3/4 cup of brown sugar
  • 1 tablespoon of vanilla extract
  • 2 large eggs
  • 1/2 cup of chopped strawberries
  • 1 cup of chocolate chips

Before making the cookie dough, preheat the oven to 370 F. Then line two large baking sheets with wax or parchment paper.

In a medium size bowl, whisk together the flour, baking soda, and salt. Set aside.

Next, in a large mixing bowl, use your mixer to cream the butter, sugar, brown sugar, and vanilla extract. I let my butter warm up a little bit to help it cream. Honestly, I just popped it in the microwave for 20 seconds.

Then, add eggs in one at a time. Mix in between eggs.

After it’s mixed, slowly add the flour mixture in. Just mix it until combined and don’t over mix.

Once you get a good dough consistency, fold in strawberries and chocolate chips. I used a spatula for this.

Now it’s time to place them on the cooking sheet. You can use an ice cream or cookie scoop to help with this part. I just used my hands and made little balls. It was way easier for me this way than using a spoon or anything.

Then, place in the oven and bake for 10 minutes. Rotate the cookie sheet after and place back in the oven for 4-6 more minutes. Your cookies should have holden brown on their edges.

Once it’s done, remove from the oven and let them cool down… or not.

We enjoyed these cookies a little too much. I have a feeling it’ll be a recipe we make over and over again.

Let me know in the comments if you end up trying this recipe… you most definitely should!

Check out these other chocolate chip creations too:

Toddler Activity: Moon Rock Toss

Mila is a kinesthetic learner. So, when she learned about the Moon, we had to do a Moon Rock Toss.

This simple activity is fun for active toddlers who are curious about learning. Plus, it’s easy to set up for busy parents that keeps your child’s attention for a long time.

Lately, Mila has been into the moon and loves looking at the stars. For the longest time, she thought she could jump up to the moon and eat it. Thanks Sesame Street! We’ve done a few activities from Fluff Pieces Space Unit and I’d love to order some of the puzzles and items she used too.

Now she knows that the Moon isn’t a cookie! But it was cute when she did.

Anyways, here’s what you’ll need for this activity.

  • A basket
  • Aluminum foil
  • Construction paper
  • A ‘backboard’

Since we have a chalkboard door, we used that as a blackboard. You can use whatever you’d like. I can imagine a huge poster board or pieces of paper helping too.

I decorated our backboard to be like stars on the moon

Then all the other set up I needed to do was crumble up aluminum foil and paper. That’s it!

Mila’s been loving Blippi so his space song really hit home. She listened to that as I set up. It really set the activities mood.

We walked about the moon and how there are moon rocks there. I told her these were our moon rocks. Since there’s no gravity on the Moon, the rocks are lighter than Earth rocks. Obviously this isn’t how it works, but it’s okay.

I told her to try and make it in the basket and she had a blast. She kept refilling the moon rock bowl to start over the activity.

Since Mila is really into space, I plan on continuing teaching her more about it during summer. I have a feeling she’ll love stargazing and would love to talk about the constellations with her.

For now, she’s obsessed with her moon rocks and making them in the basket. Maybe she’ll be a basketball player too!

Let us know how you liked this activity in the comments below or let me know what your favorite planet.

Check out how these other moms introduced space to their kids.

Toddler Activity: Frida Kahlo Portrait

In celebration of Cinco de Mayo, femininity, and art, Mila learned more about one of my favorite historical woman: Frida Kahlo. Of course, we had to do a craft of a Frida portrait; just with a toddler spin.

If you don’t know about Frida, she’s truly an amazing woman. Her history was tragic, but her perseverance to keep going against all odds really speaks to me. Through everything, she became one of Mexico’s greatest artists. She did a ton of self portraits, which is why we honored her this way.

Now, I understand Frida has NOTHING to do with Cinco de Mayo. This holiday commemorates Mexico’s unlikely defeat over France in 1862. Since then, it’s turned into a huge celebration.

With Mila being three, I don’t feel completely comfortable talking about war with her yet. It’s still a great way to teach her about Mexican culture. Frida is a huge cultural icon and since we love learning about art, it felt perfect.

Anyways, you can look up all kinds of information about CInco de Mayo and Frida all over the internet. Now it’s time to get to our little craft.

Here’s what you’ll need:

Honestly, i wish I had a free printable for everyone to make this craft a little easier. The elements in this project are a little detailed, but the end result is worth it.

To prep for this craft, I drew the different elements of Frida’s face on the construction or craft paper. They don’t have to be perfect. I think the more unique it is with its imperfections, the more it connects with Frida and her work.

I drew Frida’s hair, nose, eyes, and unibrow on black construction paper. Her lips on red scrapbook paper. The accessories on yellow scrapbook paper. Her body is made out of brown construction paper and the dress out of floral scrapbook paper.

Once everything was drawn, I cut them out.

Since we used a canvas, I hot glued Frida’s body and part of her hair down. Then, it was all up to Mila.

She has seen Frida and her artwork for her entire life. We read books with her in them, but I showered her a picture before she started. After, I asked if she could make her face.

Honestly, she did a great job. She loved talking about the different parts of her face and was in love with the flowers. I think she said Frida about a thousand times too. It amazes me that she picks up on all these new words.

I think she did a really good job. She put it in a prime spot for all to see! I love that she loves all her hard work.

Plus, it was a fun way to celebrate Cinco de Mayo.

Tonight we’ll be enjoying tacos and I’ll have a margarita. We love to celebrate these holidays and learn all about new culture.

Let us know what you think about this Frida craft and how you celebrate Cinco de Mayo!

Before you go, check out how these moms celebrate Cinco de Mayo and Mexican heritage.

Toddler Activity: DIY Star Wars Slime

May the Fourth be with you… okay, Happy Star Wars Day! To celebrate this fun little holiday, Mila and I made slime for the first time. We had a blast with our little DIY and I loved introducing her to slime and the force.

If you’ve never made slime or hate how sticky some recipes are, this one was actually great. It was a few simple steps that’ll make you actually want to make slime with your kids.

Here’s what you’ll need:

The first thing to do is empty out the entire bottle of glue in a bowl. We did glow in the dark glue with sparkles in it. I thought it would be unique and it reminded me of Star Wars.

To get all of the glue out, I cut the bottle in half and spooned out what wouldn’t come out.

Then, add the baking soda to the glue. You’ll need to mix this up and it starts to get really thick. Mila loved helping mix it at this stage, as well as pouring everything into the bowl. I did end up having to help her at this point because it did get difficult.

After it’s mixed together, add food coloring to it. We chose purple because it’s on of Mila’s favorite colors, but it’s reminds us of space and galaxies. Of course, we added more sparkles too.

Next, add the contact solution.

This will make the slime almost impossible to mix. It immediately clung to the spoon when we started mixing it. After a minute, I ended up mixing the slime with my hands. It was way better kneading it with both of my hands.

Although our slime wasn’t sticky, you could add more contact solution if needed.

Mila was a part of the entire process, but it was still fun to present it to her with Star Wars stickers. She loved pressing the stickers into the slime and asking what all of their names were.

We talked about the characters being in space and that’s what the slimed looked like. It’s great because she knows that the moon and sun are in space. She might not grasp the entire concept of space yet, but it’s fun seeing her learn more about our universe each day.

As much as we had fun talking about Star Wars and space, Mila really just had a blast playing with the slime!

With how well our first slime making experience went, we will definitely be making more in the future too. It was also such a fun way to get Mila started with the Star Wars universe. I’ll love it when she is old enough to watch the series with me. If I had to guess, Princess Leia buns will be next.

What’s your favorite slime recipe and do you enjoy the Star Wars films?

Before you go, check out how strong the force is with these DIY moms and their kids.

DIY Fairy-Tale Garden

April shower bring May flowers. To celebrate just that, we’re welcoming May with our very own DIY Fairy-Tale Garden.

Mila is obsessed with fairy gardens. My parent’s neighbor has the little fairy figurines in their garden and Mila goes to play with them every day. I figured she should have one of her very own since she likes them so much.

Since we love our fairytales, I thought a little spin on the idea would be fun for Mila’s imagination.

One day after work, we went to our local Lowe’s and picked out flowers that made her smile. She loves pink and purple so all the flowers are just that. I also encouraged her to pick some non-flowering plants as well.

I also purchased filling snd too soil at Lowes’s. At our dollar store, Mila picked out a princess castle to place in her fairytale garden.

Then we started digging.

I most definitely should have taken before pictures, but we were too excited to start.

We picked the tree in our backyard to make the fairytale garden. It has a few hosta and wildflowers already there, so we left them. We did clean up the area by taken out the weeds.

The area also needed built up. We used a ton of fill dirt and top soil so our plants and flowers could thrive.

One word of advice for all toddler parents is to buy your toddler their own little shovel. Mila had so much fun digging holes and helping along the way.

She also found rocks to lead up the the castle. We’re going to try and get more to put around the circle too.

We brought out plastic toys that won’t be impacted by the weather out. Mila was also gifted a gnome set to place here too. It’s going to be a mixture of all things magical.

Just like a fairytale.

I’m so excited to see how the garden and Mila’s imagination grows this summer. We are constantly outside, so I know this little area will be well loved. She’s even already showed it off to her friend who lives close.

With a little hard work, there will be a summer full of fun.

Some key items we needed to make our fairytale garden were these:

I hope that if you want an outdoor place space like this, you’re able to make one. It could have easily been made into a big pot that could be brought inside for winter too!

If you end up making a fairy or fairy-take garden, I’d love to see or hear about it!

Do you have any gardening memories that you did with a parent, grandparent, or any other important individual in your life?

Before you go, check out how these moms incorporated fairytales in their children’s play:

Toddler Activity: DIY Mother’s Day Watercolor Cards

If you’re like me, you might be running a little behind getting Mother’s Day presents. One thing I always seem to forget is the card! This year, try these DIY watercolor cards!

These are a fun way to share your child’s creativity and a way for you to get involved too. Mila loved seeing our creations and I know they’ll be a hit. This could also be a great tradition to start with your children too. They could end up just making them for you as they get older.

All you need is:

This activity is pretty easy.

Go to an area or set up one that you’re okay with paint getting on. Then lay everything out. This specific water color paint was already mixed up. This made it easier for Mila so she didn’t have to dip her brushes in water first.

After, let them paint whatever they would like. There’s no right or wrong way for them to paint or create these.

Once they’re done with a specific card, have them sprinkle salt on the paint. Not only does this help it dry, it creates an amazing texture to the cards. Plus, it’s a little science experiment that your child will love!

They can continue with their painting and salt.

When the salt is dried, you and your child can rub it off. They’ll love seeing how it looks and Mila was in awe of how the salt was colored too.

The next part is up to you. If your child is older, you can instruct them to draw flowers or something that reminds them of the female figures in their lives. Mila wasn’t interested in this, so I personally drew flowers that flowed with her painting. It’s so much fun to take their creations and help make it even more special.

I ended up taping the paintings to cards. On the inside, I wrote a special note for each of Mila’s cards and had her sign it.

They turned out so cute and I really love them. Mila loved the outcome of her cards and was so proud of her painting. I think seeing it all come together helped complete her vision. As always, she will be so excited for her loved ones to receive them.

Honestly, I’m keeping one for myself so I can see how Mila’s art skills grow. Plus, I’m just as proud of her as she is of herself.

If you end up trying this activity, let me know in the comments. Make sure to tag me on Instagram if you share on there too.

What are your favorite types of Mother’s Day gifts?

Explore the Fountain of Dogs in Mount Vernon, Ohio.

It’s no secret that Mila and I love to explore. Whether it’s in our backyard or a different country, we love adventure. So, finding a Fountain of Dogs wasn’t too out of the ordinary.

Located at South Main Plaza in Mount Vernon, Ohio, sits 18 dogs all spitting water to a golden bone.

We were in town visiting a plant store and after looking for a place to eat. It was quite eye catching to drive by this… playful fountain. I was surprised Mila didn’t see it.

After dinner, we walked around the block and her eyes got so big as she took in the fountain.

If I hadn’t had a hold of her hand to cross the road, she would’ve ran right up to it. For a little girl who LOVES animals, she was impressed.

Upon further inspection, there was a variety of different dogs. Four you could touch and the rest were in the fountain. But, they all were pining for the golden bone in the middle.

There’s also a cat, horse, and two birds that are around the fountain too. They’re not so interested in the bone.

Around the fountain are plenty of benches and it’s a clean place to just relax.

Honestly, if we lived in Mount Vernon, I could imagine eating lunch here during the summer. It’s beautiful, fun, and quite peaceful.

Although if you’re a toddler… there’s no relaxing.

Mila gave every dog or animal she could get to equal attention. She loved putting her hands in the water and trying to get me wet. We were there for about forty-five minutes and I think she ran and climbed the entire time.

When we had to leave, Mila was heartbroken. I reminded her of the plants in our car and she was happy to get them back home. Before we left, she said goodbye to every dog.

We had to get one last picture too.

It was one of the most unusual fountains I’ve ever seen, but I’m glad I got to see it with Mila.

I plan on going back to the plant place and I’m pretty sure the Fountain of Dogs will be on our list of places to stop, maybe for lunch.

If you’re ever in Ohio and love roadside attractions, the Fountain of Dogs is a cute place to go. No matter your age or if you’re a dog lover or not, it’s something to be seen!

What’s your favorite roadside attraction in your state or beyond? Maybe Mila and I will have to go visit!