Lets bring on the May flowers and start this month off with a Gardening Sensory Bin.
Since kids need some type of play at parties, I thought a Gardening Sensory Bin would be great. It turns out… it was.
Although I haven’t posted about it yet, Mila’s birthday part was garden and plant themed. She loves plants so much, it was a perfect fit. All of Mila’s friends loved it and Mila kept playing with it for days after.
Just beware of beans flying everywhere.
For this bin, I used things that were around my house, but you can find everything at the dollar store:
Dried Beans
Fake Flowers or Produce
Gardening Accessories
Jars or Mini Pots
Sensory Bin
All you need to do is a fill a sensory bin with whatever kind of dried beans or rice.
Then, place fake produce and flowers like they’re planted in the ground. I loved the felt produce from Targets Dollar Spot or we use fake flowers from the Dollar Tree.
Next, place some jars or pots in the bin along with some gardening accessories.
Now it’s time to play!
Your child will know exactly what to do with this bin. It’s a lot of fun to watch them play and discover. I’ll have this sensory bin ready for whenever. It’s easy and has endless amounts of fun.
What are you looking forward to this month? Let me know in the comments.
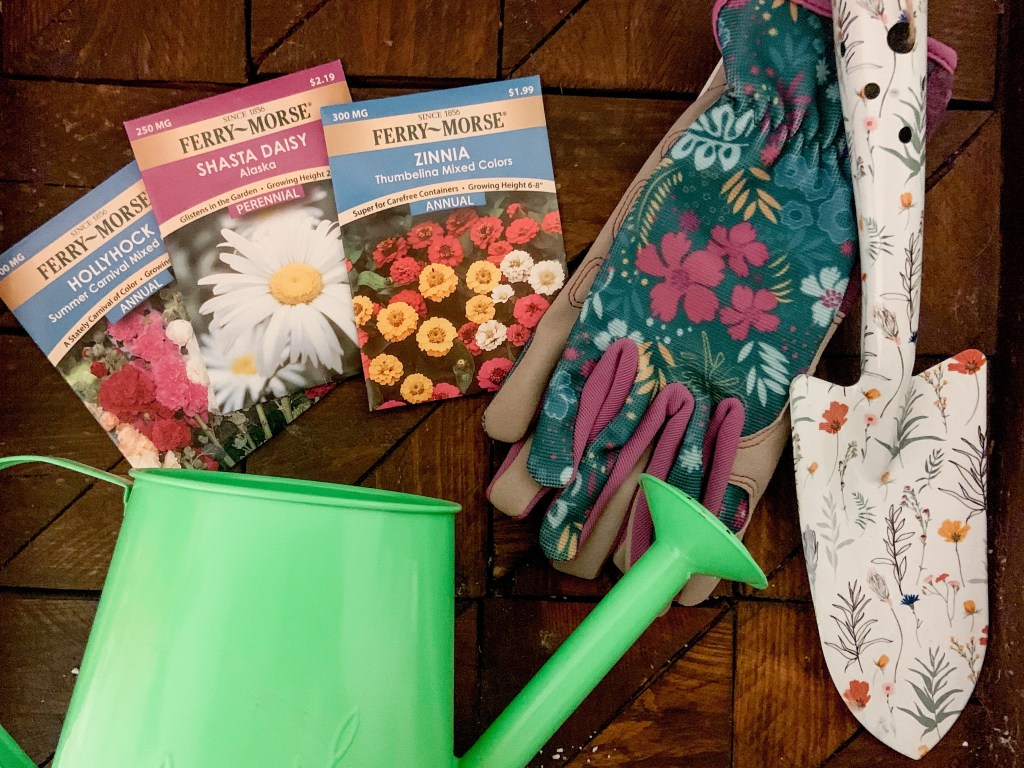
If you’re looking to surprise a gardener in your life with a little gift, this DIY Gardening Grow Kit will be a hit!
Mila and I LOVE to garden. We try to grow vegetables every year and eat what we produce. It’s always a fun way for her to learn about the growing cycle and show her how much work it takes to make our food. She’s always very into growing flowers and making arrangements.
Let’s just say, we always are surrounded by plants and gardening supplies!
Since this time of the year is so close to Mother’s Day and end of the year, this is a great gift to give and easy to assemble too. You can find all these items at any local store.
I love being able to put all the items into the watering can. It makes for an easy gift bag. You could also add ribbon or a printable with it too.
Even though I added flower seed packets, you could easily do veggies or even DIY seed bombs in there too. If you’d rather skip seeds in general, putting a plant inside of the watering can would be a cute idea too!
For soil, I would suggest either buying a whole potting soil bag or putting enough for a pot in a ziplock bag. You can easily stuff in it the bottom of the watering can.
This DIY Gardening Grow Kit will be perfect for the mothers, teachers, or any gardeners in your life!
What’s your favorite outdoor plants to grow: flower or veggies?
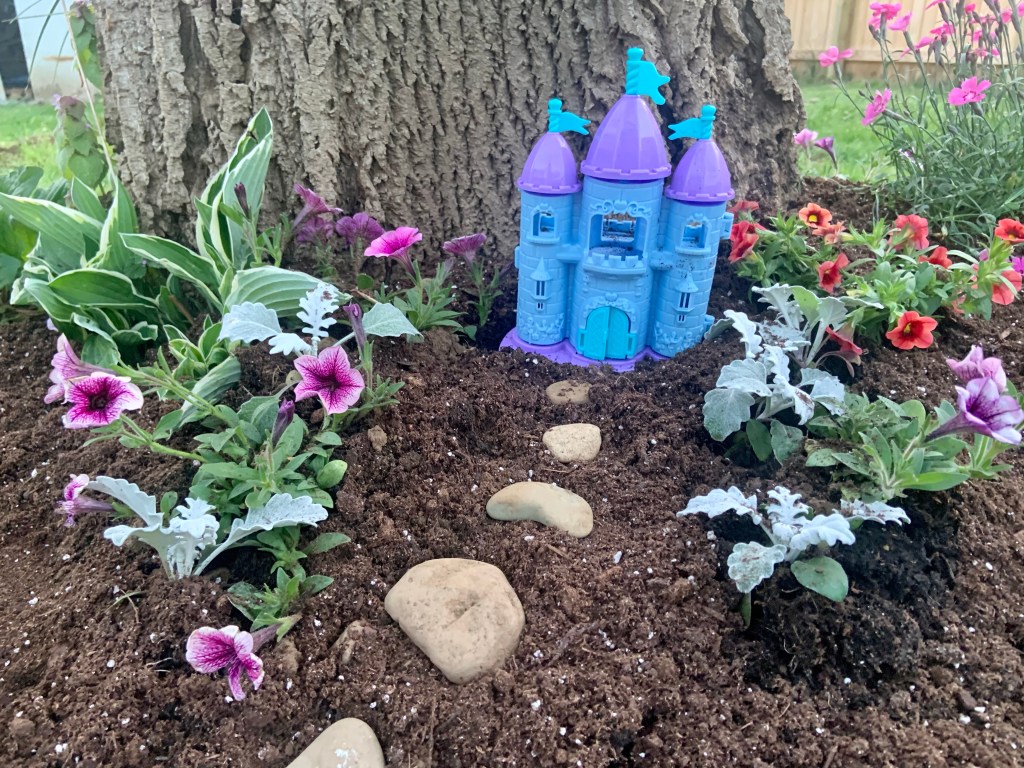
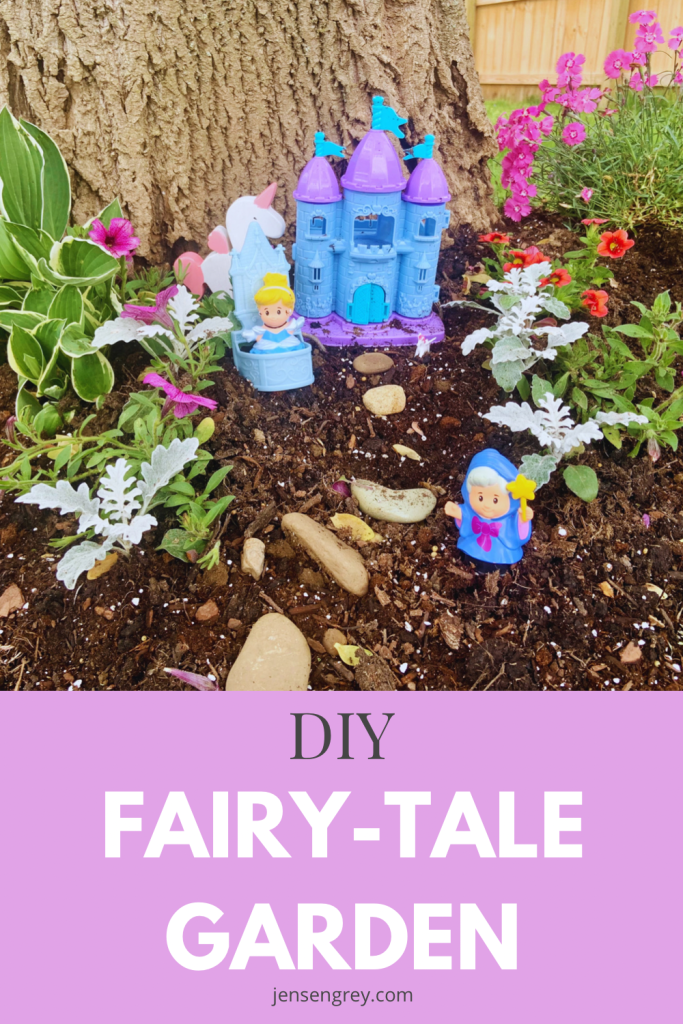
April shower bring May flowers. To celebrate just that, we’re welcoming May with our very own DIY Fairy-Tale Garden.
Mila is obsessed with fairy gardens. My parent’s neighbor has the little fairy figurines in their garden and Mila goes to play with them every day. I figured she should have one of her very own since she likes them so much.
Since we love our fairytales, I thought a little spin on the idea would be fun for Mila’s imagination.
One day after work, we went to our local Lowe’s and picked out flowers that made her smile. She loves pink and purple so all the flowers are just that. I also encouraged her to pick some non-flowering plants as well.
I also purchased filling snd too soil at Lowes’s. At our dollar store, Mila picked out a princess castle to place in her fairytale garden.
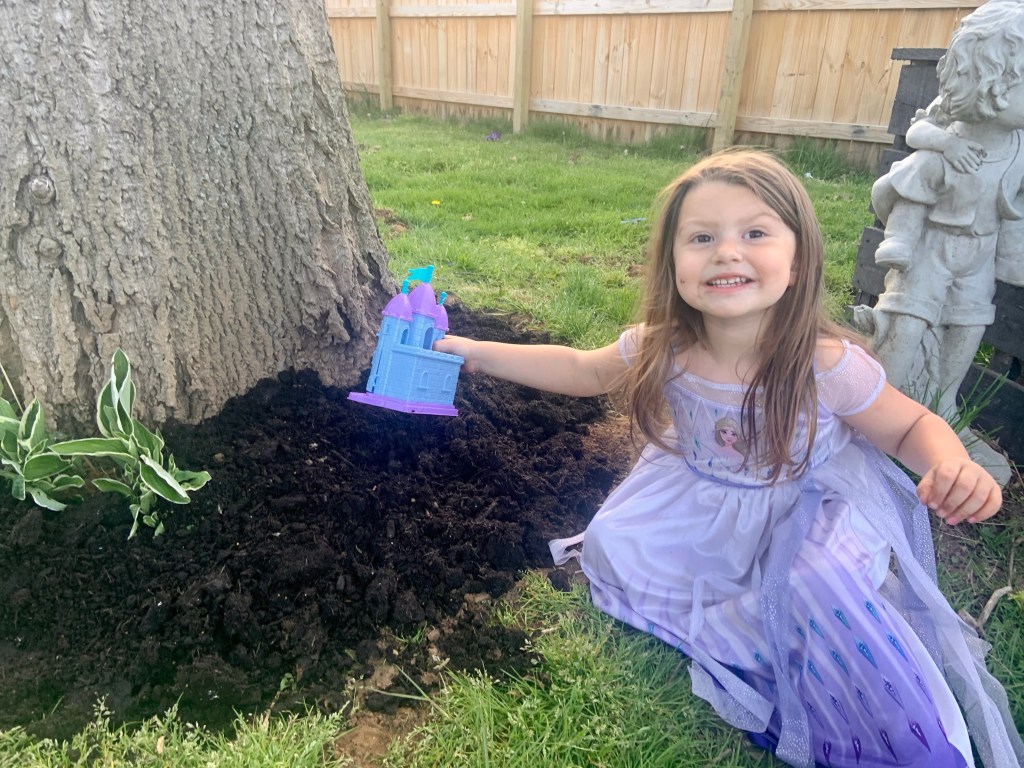
Then we started digging.
I most definitely should have taken before pictures, but we were too excited to start.
We picked the tree in our backyard to make the fairytale garden. It has a few hosta and wildflowers already there, so we left them. We did clean up the area by taken out the weeds.
The area also needed built up. We used a ton of fill dirt and top soil so our plants and flowers could thrive.
One word of advice for all toddler parents is to buy your toddler their own little shovel. Mila had so much fun digging holes and helping along the way.
She also found rocks to lead up the the castle. We’re going to try and get more to put around the circle too.
We brought out plastic toys that won’t be impacted by the weather out. Mila was also gifted a gnome set to place here too. It’s going to be a mixture of all things magical.
Just like a fairytale.
I’m so excited to see how the garden and Mila’s imagination grows this summer. We are constantly outside, so I know this little area will be well loved. She’s even already showed it off to her friend who lives close.
With a little hard work, there will be a summer full of fun.
Some key items we needed to make our fairytale garden were these:
I hope that if you want an outdoor place space like this, you’re able to make one. It could have easily been made into a big pot that could be brought inside for winter too!
If you end up making a fairy or fairy-take garden, I’d love to see or hear about it!
Do you have any gardening memories that you did with a parent, grandparent, or any other important individual in your life?
Before you go, check out how these moms incorporated fairytales in their children’s play:
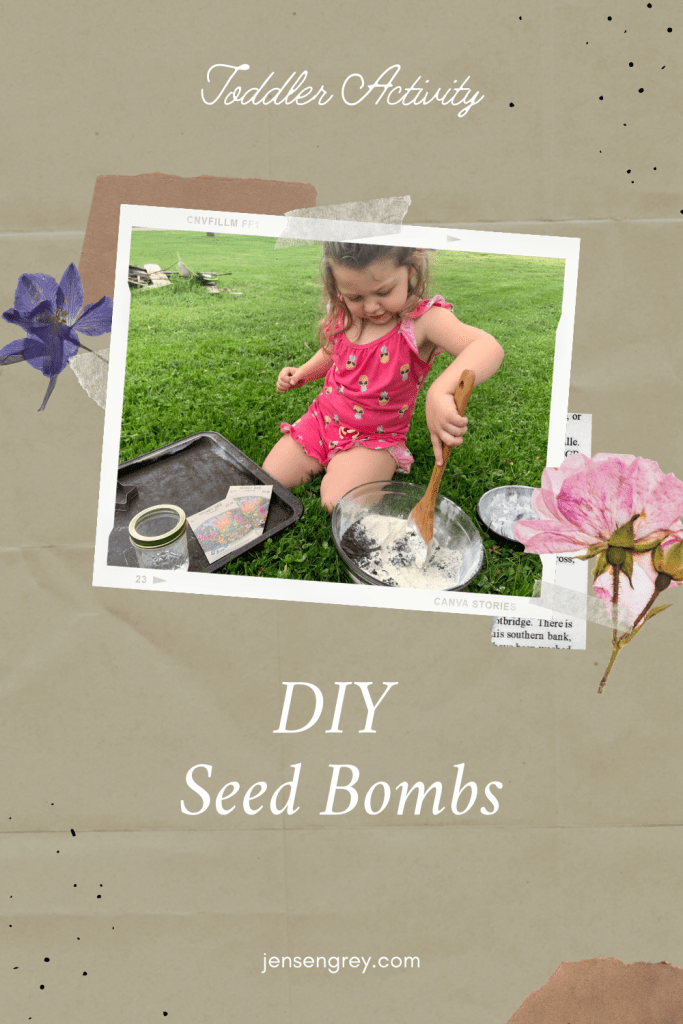
With Earth Day coming up quickly, Mila and I have been making Earth friendly DIYs. Our favorite is seed bombs! They are messy and fun to make, but they lead to a summer of beautiful flowers.
Since we love picking flowers, this is a win all around!
This recipe comes from the Kids Art Box, which is an amazing subscription service that has activities curated for your child with all the supplies.
As I said before, this can get quite messy, but toddlers love it!
Mila was able to help with every part of the activity. It’s a great way to help them with their motor and life skills by pouring and mixing. Plus, we counted everything we could. This is also a great time to talk about Earth Day and how we need to protect our Earth.
Anyways, back to how to make the seed bombs!
First, mix the dirt, flower, and water up until you get a sticky concoction. Once it starts sticking to the spoon and forming together, add the two packets of seeds too. Mix them evenly in the mixture.
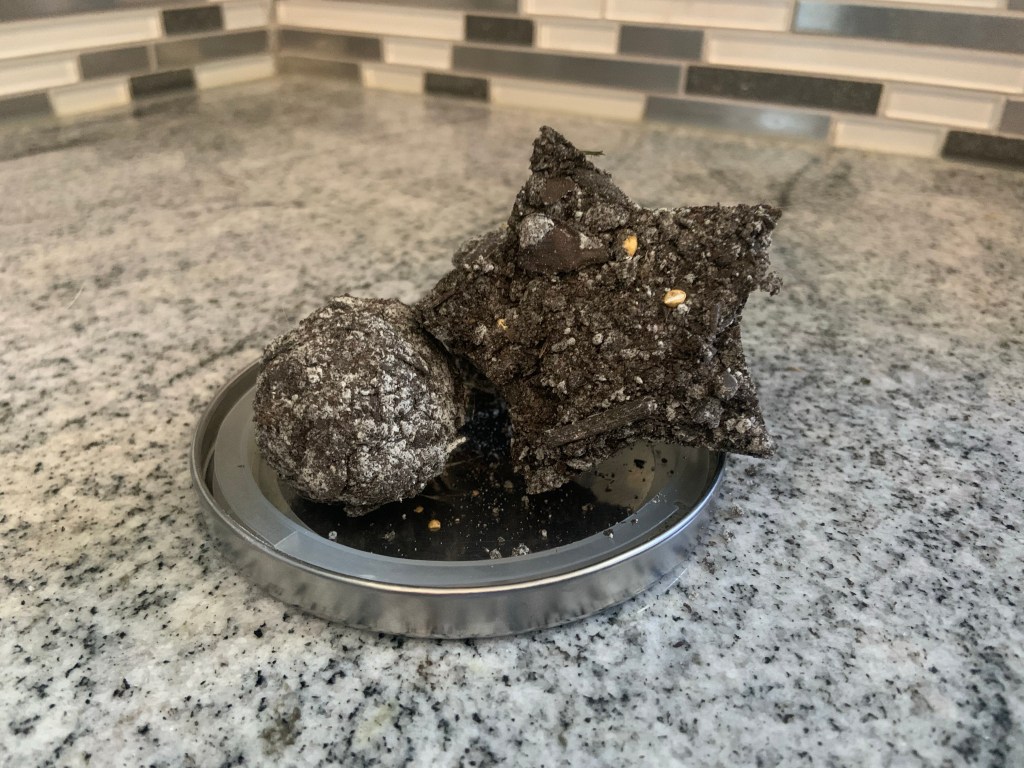
Then either use cookie cutter to form shapes or make little balls.
Let them dry out. I would definitely recommend waiting two days for them to dry out and then plant.
It’s really that simple!
Mila loved helping out with this project. It was a great way to talk to her about how plants and flowers grow. Actually seeing the seeds helped her understand where plants came from. In our “Identifying Parts of Flowers” activity, seeds were the biggest confusion for her. This DIY helped cross that bridge!
Another great idea to use with seed bombs is to give to family members. With Mother’s Day here, they’re a great DIY present for aunts, grandmas, and other motherly figures!
If you try this activity out or have any suggestions to make these seed bombs better, let me know in the comments.
Last year, Mila and I tried our best to maintain a toddler garden. With a little practice, we’ve found five tips that really help our garden grow and thrive.
I will admit, we’ve acquired a few houseplants since our go at it last year. It’s really helped up understand what plants need to grow. Germinating seeds are a little more tricky than having houseplants, but it’s the same principal.
We ended up buying an herb kit from the dollar store to practice. It costed $5 for the seeds, soil, and container. I thought it was a great deal. They’re a little wonky right now since they’re growing towards our grow light, but they’ll even out soon!
Here’s what we did to make them sprout.
Warmth
One of the best things you can do for your seeds is to plant them in a warm environment.
At this point, they don’t need a ton of sun. Windowsills can be really cold in April, so keeping them in the kitchen or another warm room of your house is perfect. This will help promote them to germinate and sprout. They also grow quicker when they’re warm.
If they get too cold, they’ll freeze and won’t be viable to sprout.
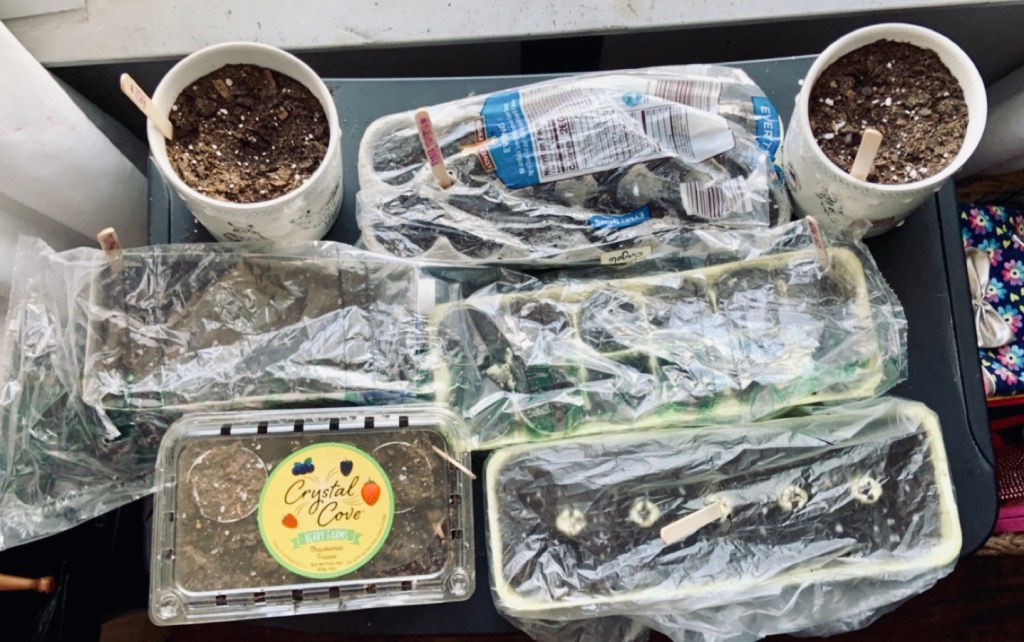
Humidity
Besides warmth, the other most important component of starting seeds is humidity.
If the heat in your house is on, your home probably doesn’t have a humid environment for the seeds. But, there are easy ways to create it.
The easiest way is to use saran wrap. After you plant your seeds and spray water on them, just tear off a piece of saran wrap and put it over your containers. This and heat will create a humid environment that your seeds will thrive in.
It may not be the prettiest sight, but it really does help!
You could also use plastic takeout boxes or Tupperware to create the same effect too!
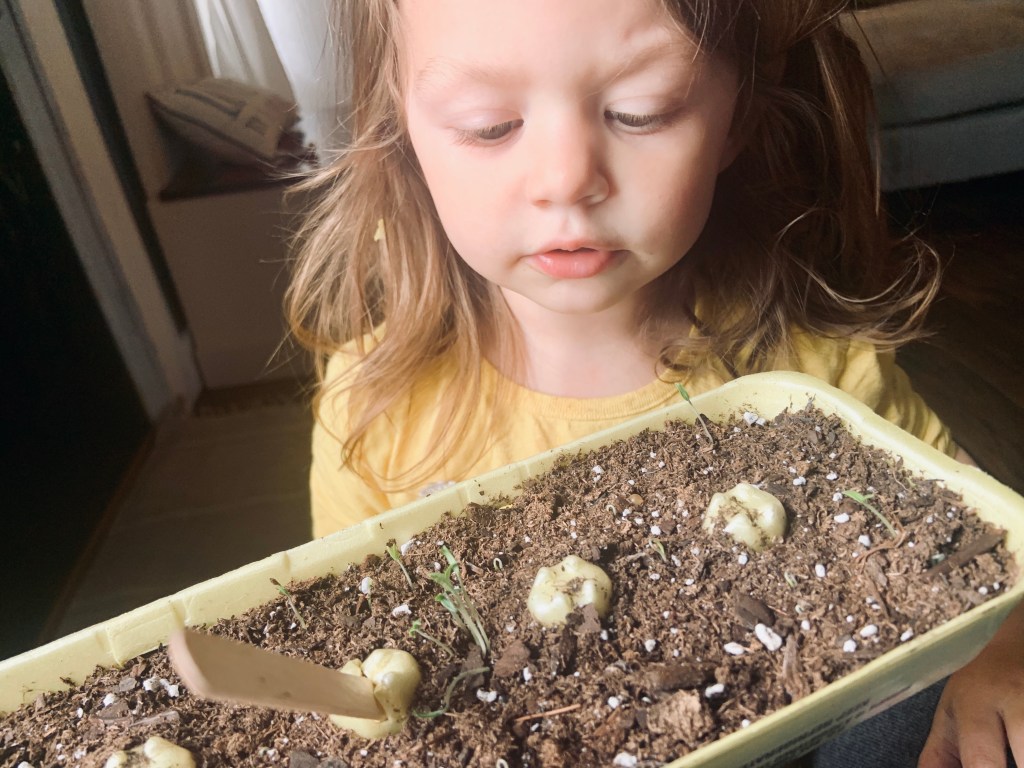
Shallow Planting
I think this is where Mila and I messed up the most last year!
Your seeds do not need to be buried in your soil mix. They need to be able to feel the warmth and humidity. Last year, I put them further down and although some sprouted, it was too deep. This year, I mostly spread the seeds on top of the soil and gently pressed them in the soil.
It took them a shorter amount of time to sprout this year and they’re really thriving. I believe this tip was the biggest factor there.
Patience
Gardening and growing herbs and vegetables from seeds take a lot of time and patience.
It can take up to two weeks for seeds to sprout. If they get overwatered or it’s too cold, they can end up rotting and not even sprout. There’s a lot of components and science to starting a garden.
This garden is a great time to talk to your toddler or child of any age about patience. They’ll be excited to check and see if their plants have sprouted every chance they can get. Once they finally start to, your child will be so proud of their efforts. You will be too!
Love
They say plants grow better when listening to happy music. Think how much they can grow from kind words and love from you.
Gardening truly is a labor of love. Not only to the plants, but with you and your little ones too. There are so many teachable moments and just teaching your child that something can grow from the love you put into it sticks.
I might not be the gardening guru, but these tips have helped us out this year. Mila is so excited to see her garden grow!
When our plants get bigger and it’s time to switch pots, I’ll update with those tips too.
If you’re wondering if you should start a garden, you most definitely should! Start small and see what works for you this year. By next year, you can take on more if you’d like. Either way, it can be a fun and ongoing experiment with your kids.
Before you go, check out how these other moms garden with their children:
A few posts ago, I was talking about eco-friendly changes I’ve made and how I wanted to share them. Since it’s techincally “Earth Week,” I thought now would be a great time to start talking about those and some activities Mila and I are up to to thank our world.
Before I start, I am not an expert on this stuff at all. Just thought I’d throw that out there. I do what’s best for my little family and try to imagine what would be interesting for Mila. If anyone ever has suggestions or anything that would help benefit others with anything I talk about, please let me know and I’ll do my best to add it in here! As humans, we’re all doing our best to get by and be happy.
Back to the earthy things.
Last week, I got ambitious. I had been thinking about starting a garden this year or just getting a tomato plant or two. Honestly, I’ve never really had a green thumb, but maybe that’s because I’ve never tried? I just knew I wanted to try it out and see how it went. In my mind, I have this beautiful vision of Mila and me gardening and making a dinner with some vegtables we helped grow. It may sound silly, but I’ve never done it before and there’s no time like the present.
Back to ambition, I saved up some egg shells, egg cartons, and other containers to try and do seed starters. When I saw so many people starting their seeds, I knew I needed to hurry. I walked down to the local hardware store and grabbed some potting soil and seeds. I ended up getting two different types of tomates (I heard they’re the easiest to start), green peppers, and a few different herbs. When I got home, I prepped everything on my kitchen table to start our little garden.
Mila loved playing in the dirt and crushing the excess egg shells that I had. Yes, I was going to use them, but she mashed them up and was having fun; so, I guess I’ll pick my battles. She helped me put the dirt in most of the containers and sat watching me for a while. After about thirty to forty minutes, she was over it. She’d come over while I continued pressing on to make sure I was doing a good job, but she played and did a good job entertaining herself.
I can’t blame her, if I was watching someone put seeds into random egg cartons and old containers, I’d be bored too.
FULL DISCLAIMER. I didn’t realize how much work was all entailed with planting everything and getting it all started. Halfway through planting, I realized that I had purchased entirely too many seeds. I felt like I was planting seeds for seven hours. By the end of it, I was just like throwing seeds into pots because I didn’t save enough egg cartons and containers for everything. Then I was stressing out because I was worried about the watering situation. I’m just being real here. Next year, I’ll be a lot more prepared!
When it was all done, I was super proud of myself and Mila’s patience with the whole ordeal. She likes to check on our little garden throughout the day. It makes me happy that she’s so excited about it, it’s probably because I make it a big deal every morning to see if any have sprouted.
It’s been a week since we started our seeds. I’ve been a little disappointed since nothings sprouted, but it hadn’t even been a week. Well, last night, I checked on them before I went to sleep and there are sprouts! I’m feeling like such a proud plant mom. Hopefully, more will sprout up in the next few days too. I’ll for sure new you guys updated as they grow and we eventually move them outside.
If anyone has any suggestions or tips moving forward about starting a garden, I’m all ears. Seriously, I am going into this blind and just relying on Pinterest and blog posts. I’m really excited though and can’t wait to see Mila’a reaction as our little plants grow.
Later today, I’m going to share either a new eco-friendly project or subscription that’s newly in my life OR Mila and I’s Earth Day craft box, which is a monthly subscription that provides various crafts and activities monthly for kids!