Back to school is here!
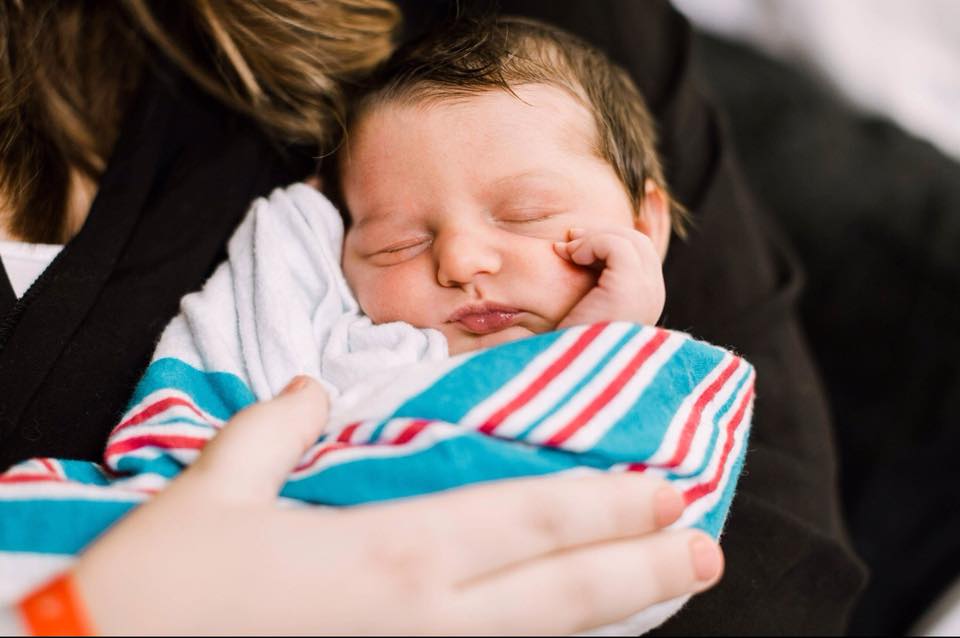
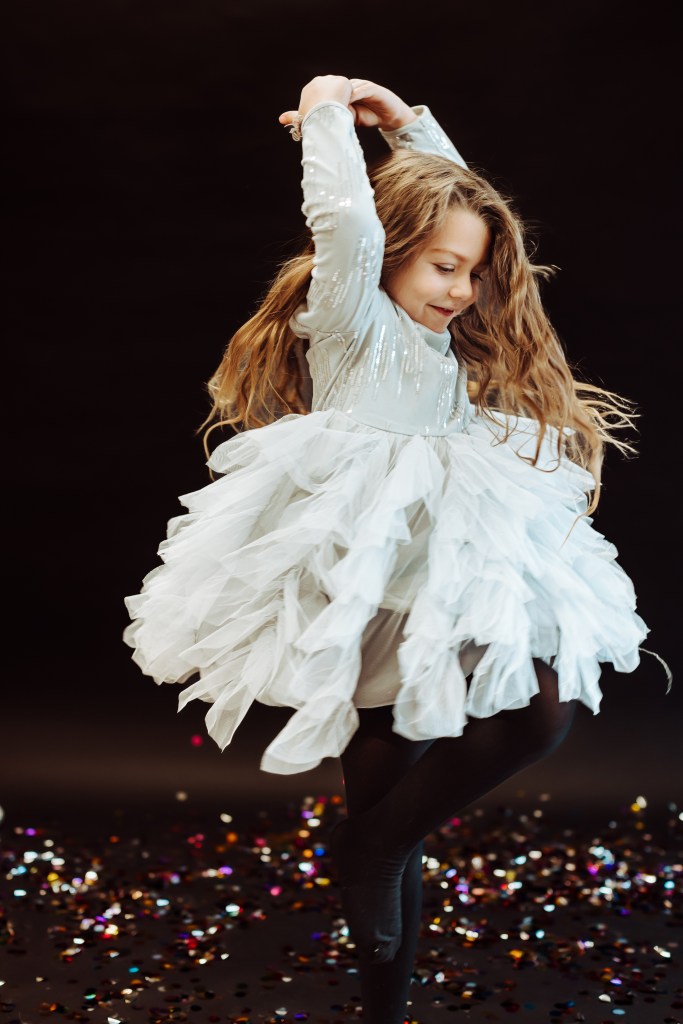
It feels like summer just flew by. We have been so busy soaking up all the summer fun, going to dance camps, and getting ready for KINDERGARTEN! I am still in disbelief that she is in elementary school now — seems like yesterday that I was bringing her home from the hospital.
Anyways, kindergarten is such a big step in a child’s life. There’s way more responsibility on a little and they have to gain independence too. As a parent, it’s so hard to just let them go into this stage without being able to help as much as we have until this point. One way I’ve tried to be proactive and help Mila succeed during her kindergarten year was with specific tools and practice.
I love sharing what works with our family to help others, so here’s my tips. If you have any other different tips to help parents/guardians and their kids for lunchtime at school, comment them below.

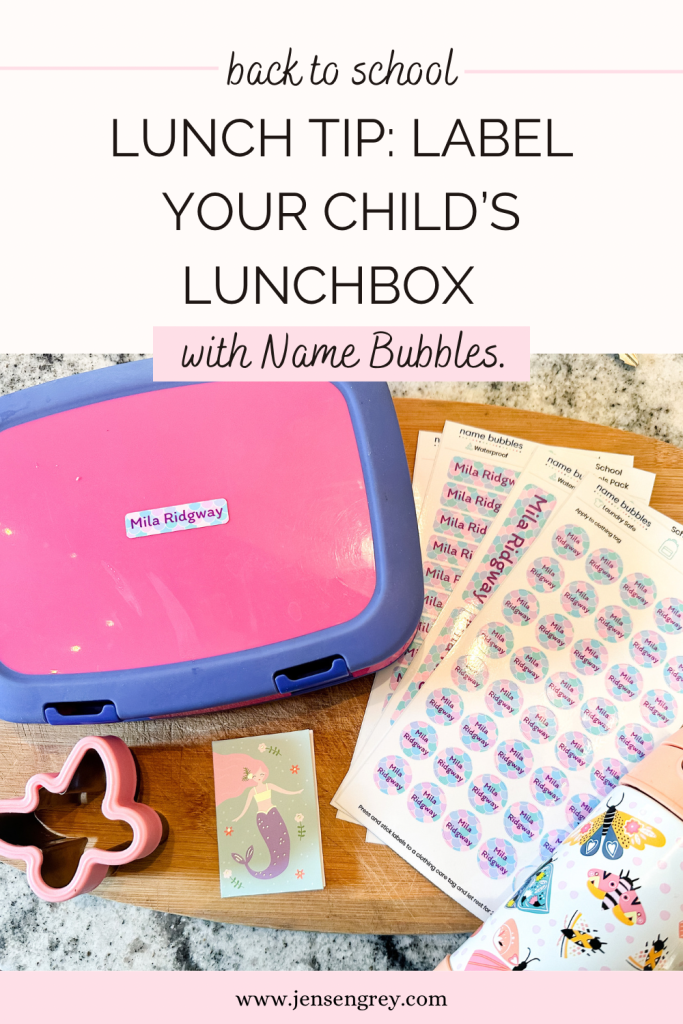
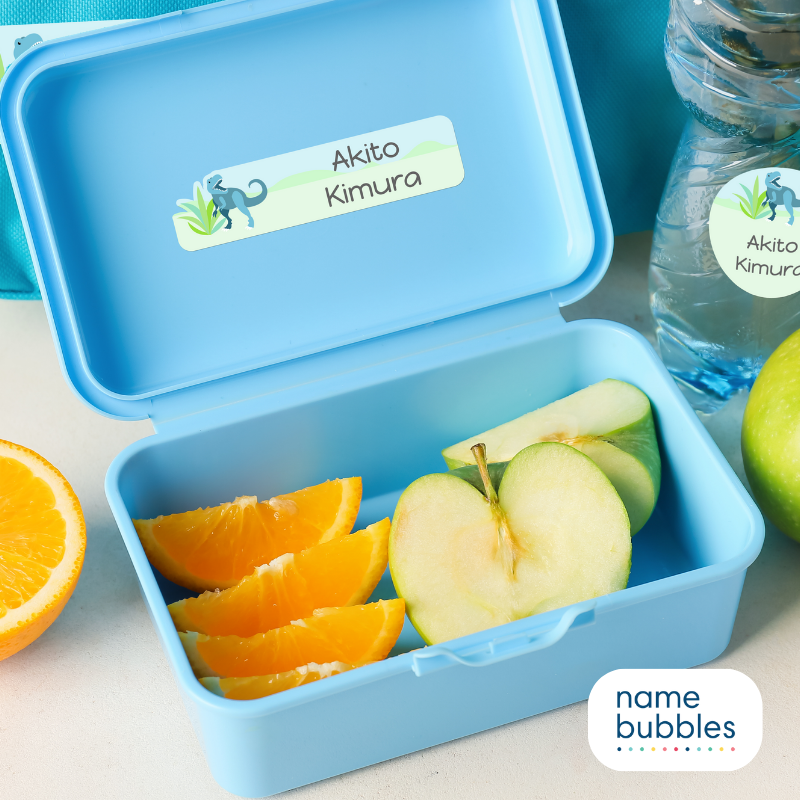
The BIGGEST tool I’m using to help Mila is our Custom School Supply Labels from Name Bubbles.
We have used Name Bubbles’ labels before and they work amazing. Their labels are perfect for lunchtime items because they are dishwasher safe, microwave safe, freezer safe. laundry safe. and waterproof.
Mila and I put her labels on her water bottle, bento box, lunchbox, and freezer pack. It might just be Mila, but I feel like I’m constantly washing her lunchtime items by hand-washing them and throwing the lunchbox bag in the washing machine. I don’t have to worry about Name Bubbles’ labels coming off of these items since they are so durable.
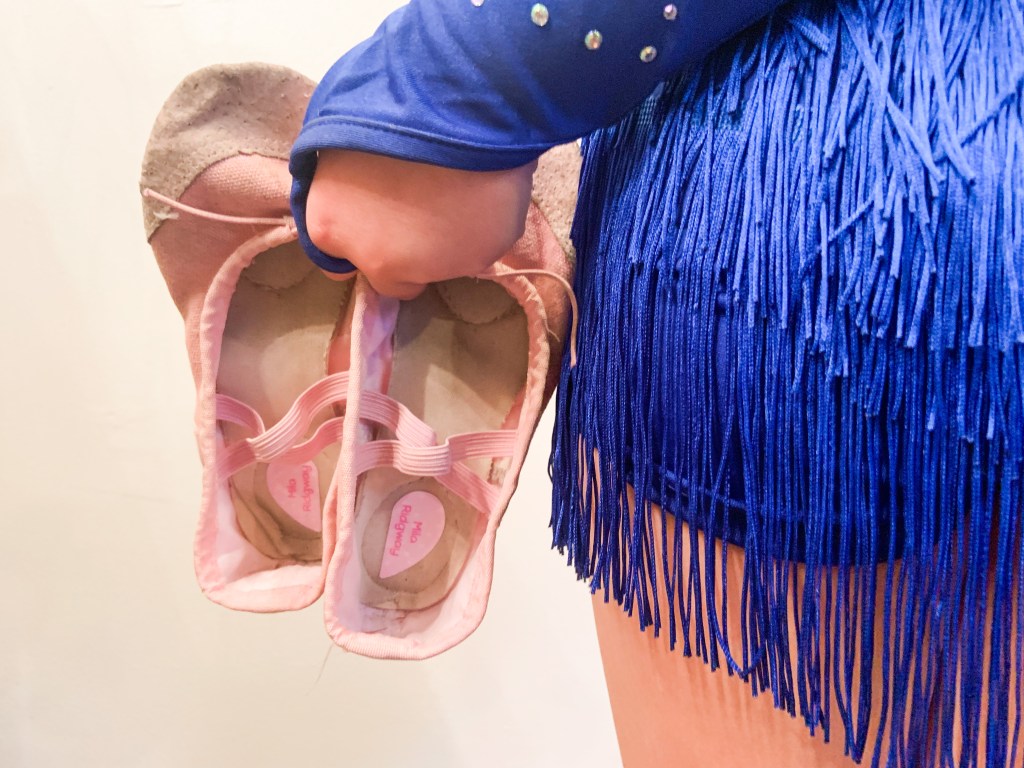
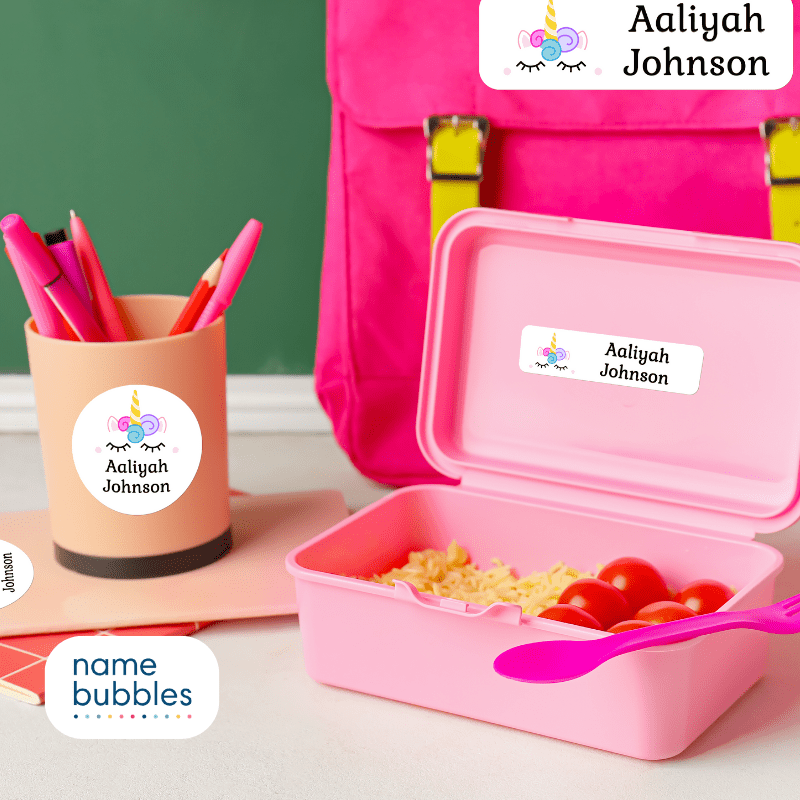
Another fun reason we love Name Bubbles Custom School Supply Labels is because Mila got to pick out her favorite design, font, and colors. That’s pretty cool for a kindergartener. For parents and guardians, it’s easy to help them design their custom labels too. It just is a little detail that makes their day so much more special at school.
Plus you can use GreySkies10 to save on your Name Bubbles order!
I love all the designs they have, so I had to share some of the ones they have on their website:


Here’s some ways using Custom School Supply Labels from Name Bubbles can help your child at lunchtime during back to school season:
- Prevents mix-ups. It can be easy for kids to mix up their lunchboxes with their friends’, especially if they look similar. Labeling your child’s lunchbox will help to avoid this problem.
- Helps with allergies. If your child has any food allergies, labeling their lunchbox will help to ensure that they do not eat anything that could make them sick. I personally have a peanut allergy, so this is so important to me. Just by labeling lunchboxes, children can avoid having a tragic allergic reaction.
- Encourages independence. When kids know that their lunchbox is labeled, they are more likely to take responsibility for packing it themselves. Mila is very keen on helping get food for her lunch. It’s such a special time for us to pack it together, especially since she takes ownership of the food and her lunchbox. This can help to build their independence and self-confidence. This also helps at school too. A child can easily find their lunchbox by looking for their custom label.
- Makes it easier for teachers and staff to help. We know mix ups do happen though. If your child needs help finding their lunchbox, a teacher or staff member will be able to easily identify it if it is labeled.

2. Make their lunch fun!
If I know anything about kindergarteners, it’s that they like to have FUN!
Usually the simple and little things are the most fun for kids. This is especially true for their lunches too. I have a few ways I try to do this for Mila. It does take some extra time, but for me, it pays off. She always lets me know the little surprises make her smile at school. At the end of last year, she even started having fun requests too.
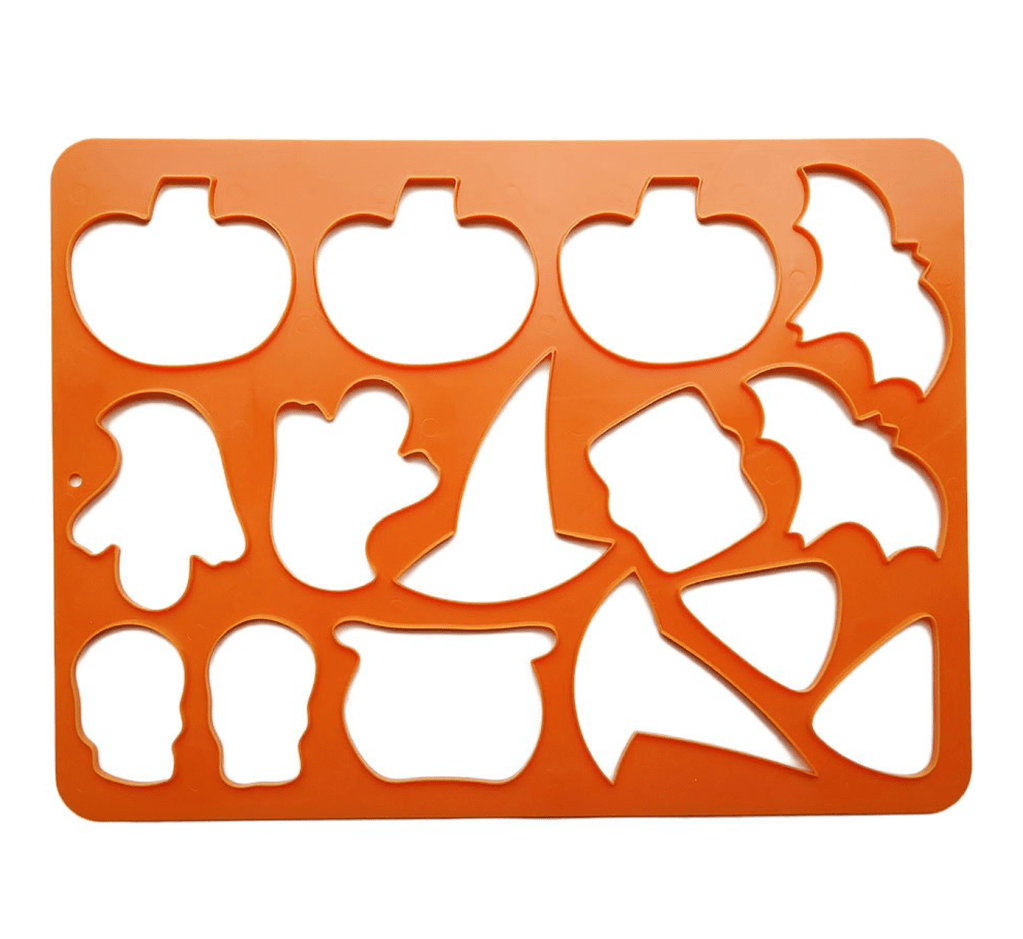
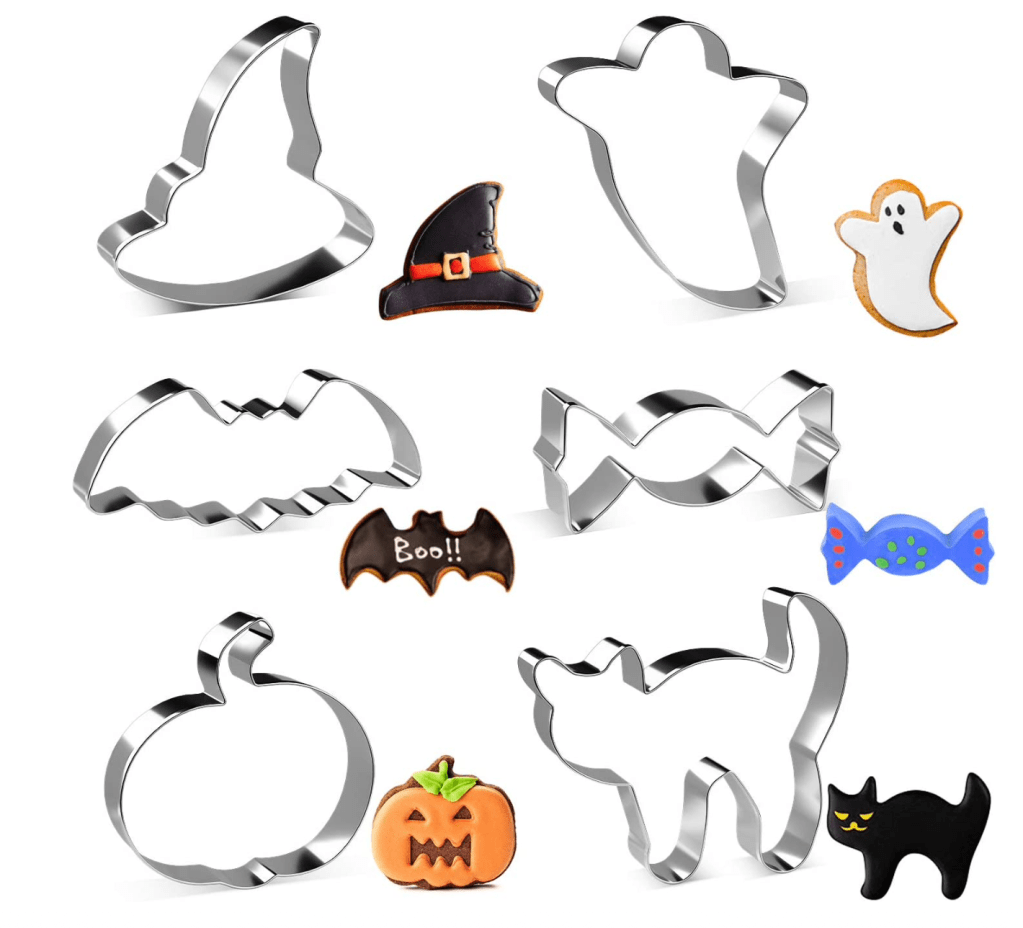
- Fun shapes. I use different sandwich cutters for her sandwiches to surprise her. Her favorite is butterflies, but I like to switch it up week to week and especially on the holidays. I also try to cut different fruits in fun shapes for her too.
- Napkins. This seems so basic, but adding random colored or themed napkins make a difference. Mila always knows there’s a special holiday going on when I change up her napkins.
- Make it a surprise. As much as Mila loves to help me out with her lunches, sometimes i switch what I make up. She loves when this happens.
- Switch up containers. Mila has a few different bento boxes, water bottles, reusable bags, etc that gets changed out every other day. Just make sure to label everything with your Custom School Supply Labels from Name Bubbles!
3. Always include a special note.

This one really seems simple, but it makes all the difference.
I add a note in her lunchbox everyday. Even though she can’t read it, she’ll ask her teachers to read it for her. BUT if they don’t have time, I try to draw a picture or ‘love hearts’ in her note so she knows that I’m sending love her way.
These notes are just a little reminder that your child is being thought of by you. I know Mila looks forward to what she’s going to get every day.
4. Practice unwrapping, opening, and getting food and lunchboxes with your child.
They will feel so confident that they can do it themselves and it’s helpful for the teachers and staff on duty to help other kids who cannot do these things themselves.

No matter what, your child is going to do great this year when they go back to school. I hope some of these lunchtime tips will help ease your and your child’s mind a little before getting to school. Again, if you have any other suggestions, please comment below.
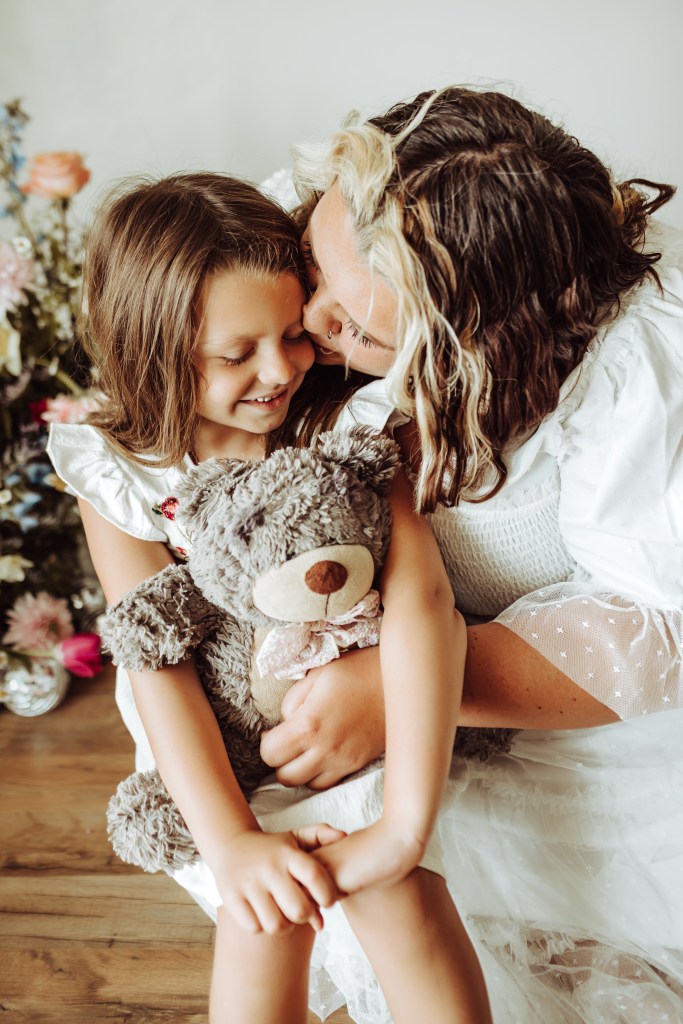
I will be sending out love to everyone in this back to school season. It’s been a hard one for me, but I’m so thankful for all the support and love that friends and family have shown Mila and me.
Please make sure to use GreySkies10 when you check out Name Bubbles and their Custom School Supply Labels. They are so helpful in Mila’s lunchtime experience.