It’s the first day of spring! To celebrate, we created a piece to showcase all season long. The best part is that kids of any ages can join in on this fun.
For the last year, I’ve been decorating Mila’s room to match the current season or holiday. Instead of buying new things all the time, we’ve been making decor! It makes it so much more personalized and Mila is always super proud of her work.
Although we used canvas, you could definitely use paper or cardboard too. We use cardboard for so many crafts and activities. It’s a great way to reuse from leftover boxes.
To set up, lay something down you wouldn’t mind getting paint on. Then lay your canvas on top of that. Again, we use cardboard to catch all the left over paint. If you keep reusing the same cardboard, it looks so cool at the end of a season or year.
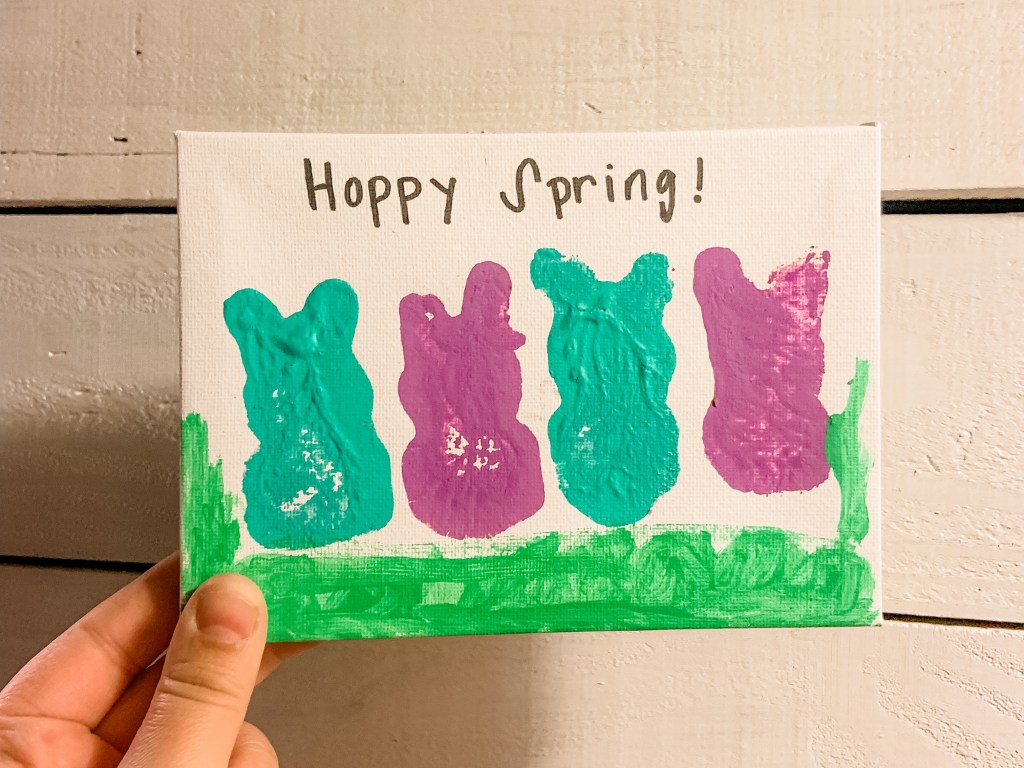
The most perfect size paint tray for these Peeps Bunnies are the tops of butter containers. They bunnies fit just right. Pick a color with your little for the bunnies. We decided to do just two colors: purple and blue. The purple represent the girls in our family and the blue the boys. You could also do the person’s favorite color per bunny or whatever colors are in your spring decor.
Next, have them use the Peeps Bunnies as a stamp. These aren’t too hard for little to grasp and use. I would definitely keep a wipe nearby in case they do get paint on their hand.
Although we didn’t add details to our bunnies, you could add faces which would make them even more cute. We did add grass though at the bottom and ‘Hoppy Spring’ at the top. Here are a few other sayings your sign could have too:
Every bunny is welcome here.
Hoppy Easter
Hanging with my Peeps
Some bunny loves you.
Don’t worry, be hoppy!
I love how are Hoppy Spring sign turned out and can’t wait to share all our crafts and activities we have planned all season long.
If you end up making this sign, please tag me on socials (Facebook, Instagram, Tik Tok) or comment a picture in the comments. I love seeing everyone’s interpretations. It makes me so happy seeing that we could help inspire you!
Most of all, make sure to treasure all those memories you get to make with your family. That’s the best thing we can do.
Here’s some other fun Easter activities to try with your kiddo this year:
Quirky Turkeys don’t always have feathers, sometimes they have spots. At least that’s what Mila says. This easy craft is perfect if you run out of feathers or just want to give your child a simple turkey craft.
Plus, It turns out really abstract, which makes this one of my favorite turkeys of the year!
As I’ve said over and over again, I try to find crafts and activities that are easy for Mila to do by herself. This gives me time to clean or cook a dish for Thanksgiving. It also promotes her being independent and in turn it helps her with her confidence. Little ones need all the confidence to get by in the world.
For this activity, we only used a few things. That means it was SUPER simple to set up for her… and me!
To start off, I made a turkey head and face. I used cardboard from a box, googly eyes, and random scrapbook/construction paper that I had leftover. Your child could have also made a turkey face too.
Then, I unscrewed the tops of the bingo markers and told her to make the turkey’s feathers with them.
I actually love using bingo markers in crafts and activities. They aren’t very messy, unless your child goes wld with them. They also are pretty cheap. I found these at the dollar store and we’ve had them for quite a while. Plus, there’s a lot of different colors you can find!
The only other thing I instructed Mila to do was to fill up the background. You could also have your kids sort the colors or do different numbers of dots for more learning.
When I look at her last quirky turkey of the year, I keep seeing a rainbow in the background. I don’t think she meant to do it like this, it just feels really symbolic. All her turkeys this year have been so great. As always, I’m just so proud of her.
This is another activity you can easily do before Thanksgiving or on Thanksgiving Day. I hope if you do, your child loves it as much as Mila did!
What are your favorite turkey or Thanksgiving inspired crafts? If you have any links, please feel free to post them in the comments. I’d love to share and maybe do them next year too!
If you’re looking for more crafts that Mila and I have done for Thanksgiving, here they are:
In celebration of Cinco de Mayo, femininity, and art, Mila learned more about one of my favorite historical woman: Frida Kahlo. Of course, we had to do a craft of a Frida portrait; just with a toddler spin.
If you don’t know about Frida, she’s truly an amazing woman. Her history was tragic, but her perseverance to keep going against all odds really speaks to me. Through everything, she became one of Mexico’s greatest artists. She did a ton of self portraits, which is why we honored her this way.
Now, I understand Frida has NOTHING to do with Cinco de Mayo. This holiday commemorates Mexico’s unlikely defeat over France in 1862. Since then, it’s turned into a huge celebration.
With Mila being three, I don’t feel completely comfortable talking about war with her yet. It’s still a great way to teach her about Mexican culture. Frida is a huge cultural icon and since we love learning about art, it felt perfect.
Anyways, you can look up all kinds of information about CInco de Mayo and Frida all over the internet. Now it’s time to get to our little craft.
Honestly, i wish I had a free printable for everyone to make this craft a little easier. The elements in this project are a little detailed, but the end result is worth it.
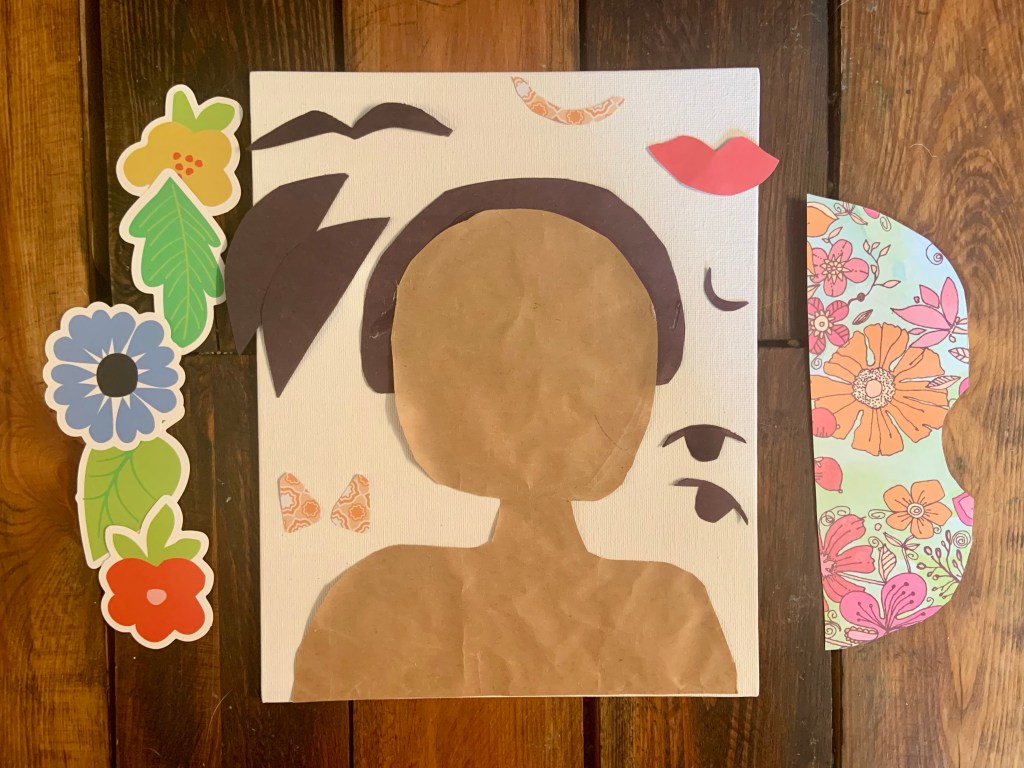
To prep for this craft, I drew the different elements of Frida’s face on the construction or craft paper. They don’t have to be perfect. I think the more unique it is with its imperfections, the more it connects with Frida and her work.
I drew Frida’s hair, nose, eyes, and unibrow on black construction paper. Her lips on red scrapbook paper. The accessories on yellow scrapbook paper. Her body is made out of brown construction paper and the dress out of floral scrapbook paper.
Once everything was drawn, I cut them out.
Since we used a canvas, I hot glued Frida’s body and part of her hair down. Then, it was all up to Mila.
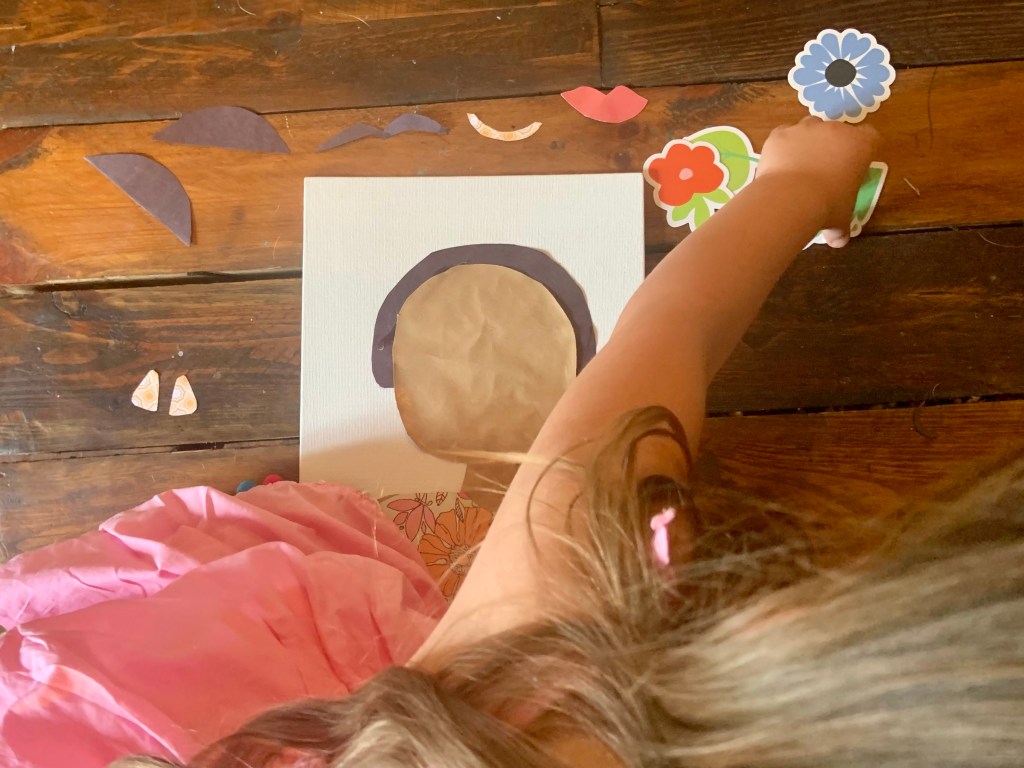
She has seen Frida and her artwork for her entire life. We read books with her in them, but I showered her a picture before she started. After, I asked if she could make her face.
Honestly, she did a great job. She loved talking about the different parts of her face and was in love with the flowers. I think she said Frida about a thousand times too. It amazes me that she picks up on all these new words.
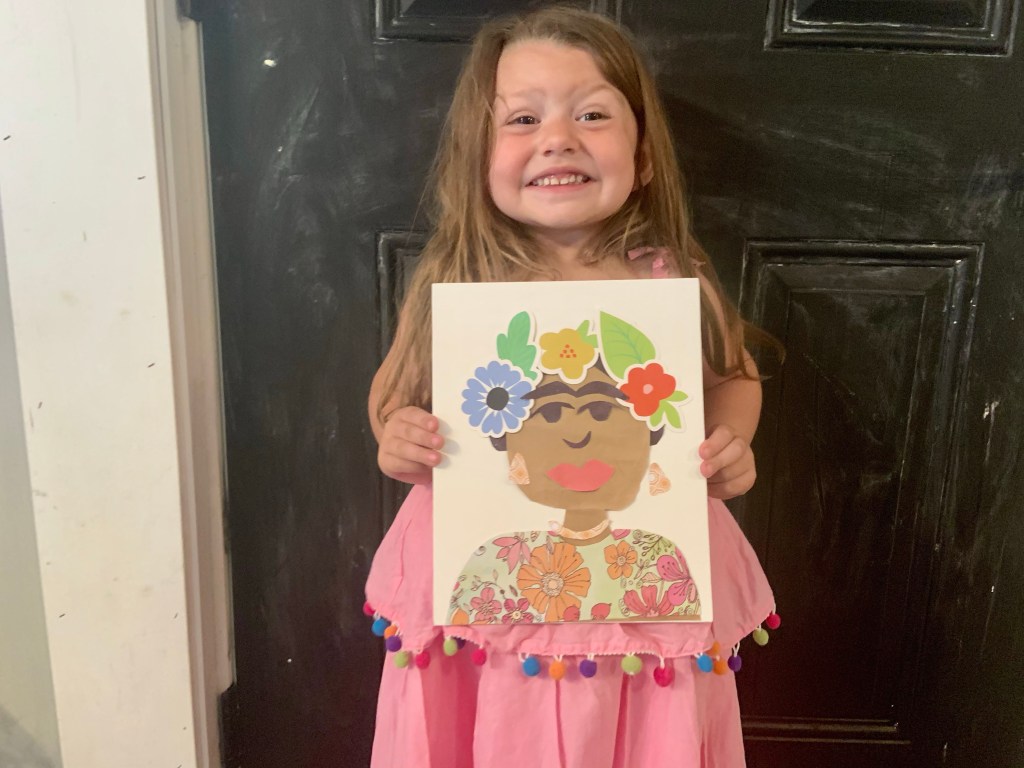
I think she did a really good job. She put it in a prime spot for all to see! I love that she loves all her hard work.
Plus, it was a fun way to celebrate Cinco de Mayo.
Tonight we’ll be enjoying tacos and I’ll have a margarita. We love to celebrate these holidays and learn all about new culture.
Let us know what you think about this Frida craft and how you celebrate Cinco de Mayo!
Before you go, check out how these moms celebrate Cinco de Mayo and Mexican heritage.
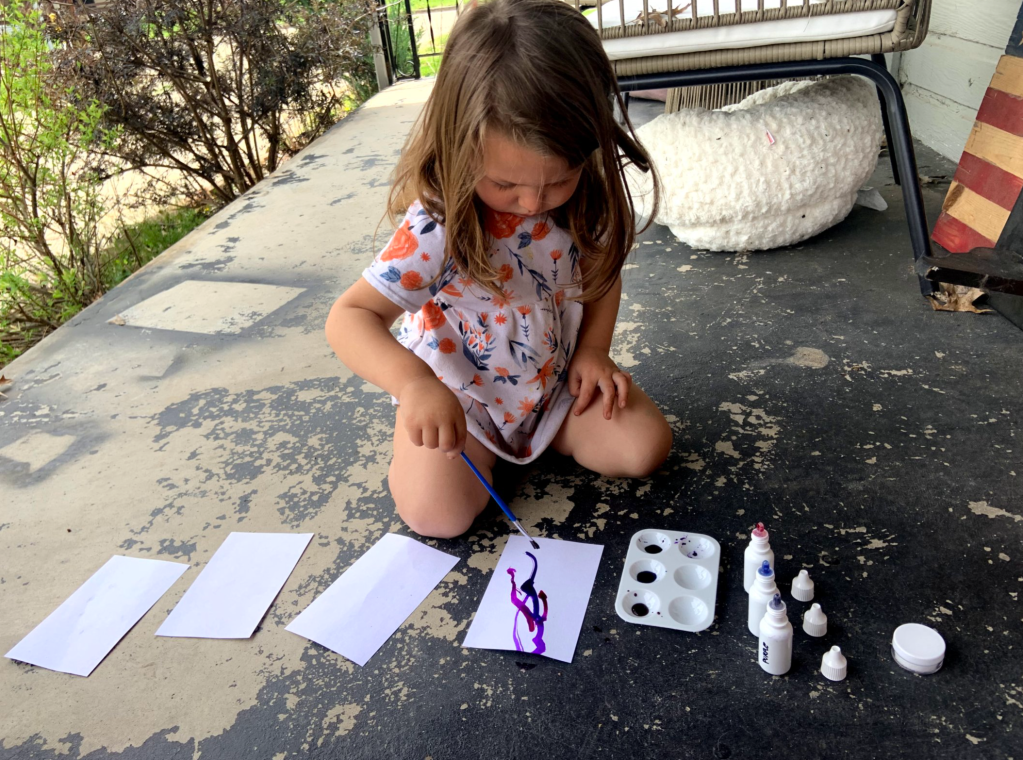
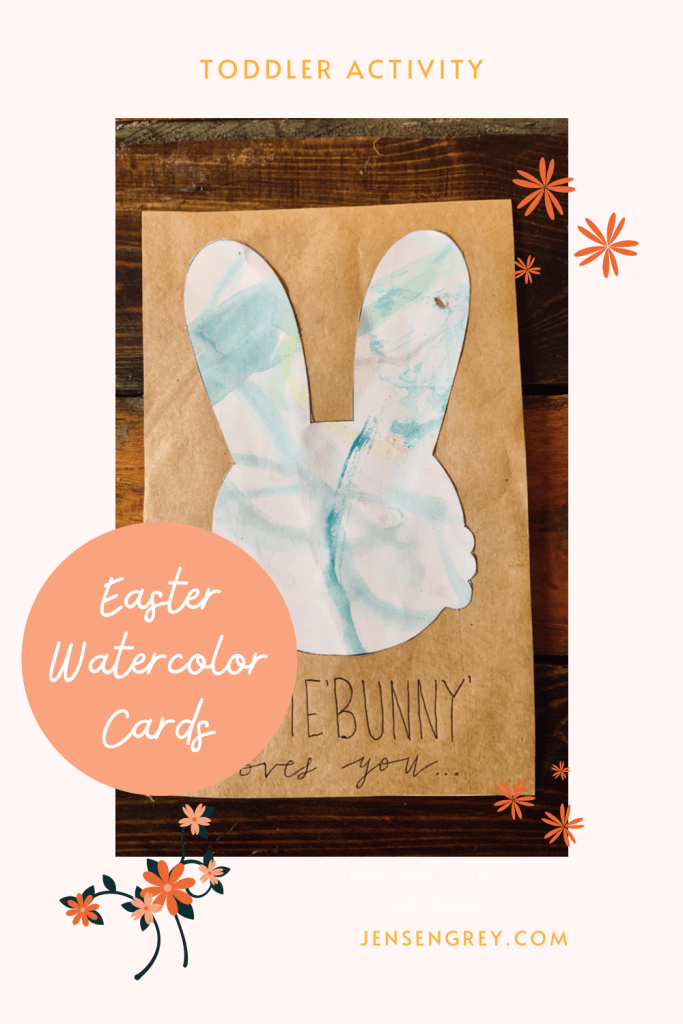
If you’re like me, you might be running a little behind getting Mother’s Day presents. One thing I always seem to forget is the card! This year, try these DIY watercolor cards!
These are a fun way to share your child’s creativity and a way for you to get involved too. Mila loved seeing our creations and I know they’ll be a hit. This could also be a great tradition to start with your children too. They could end up just making them for you as they get older.
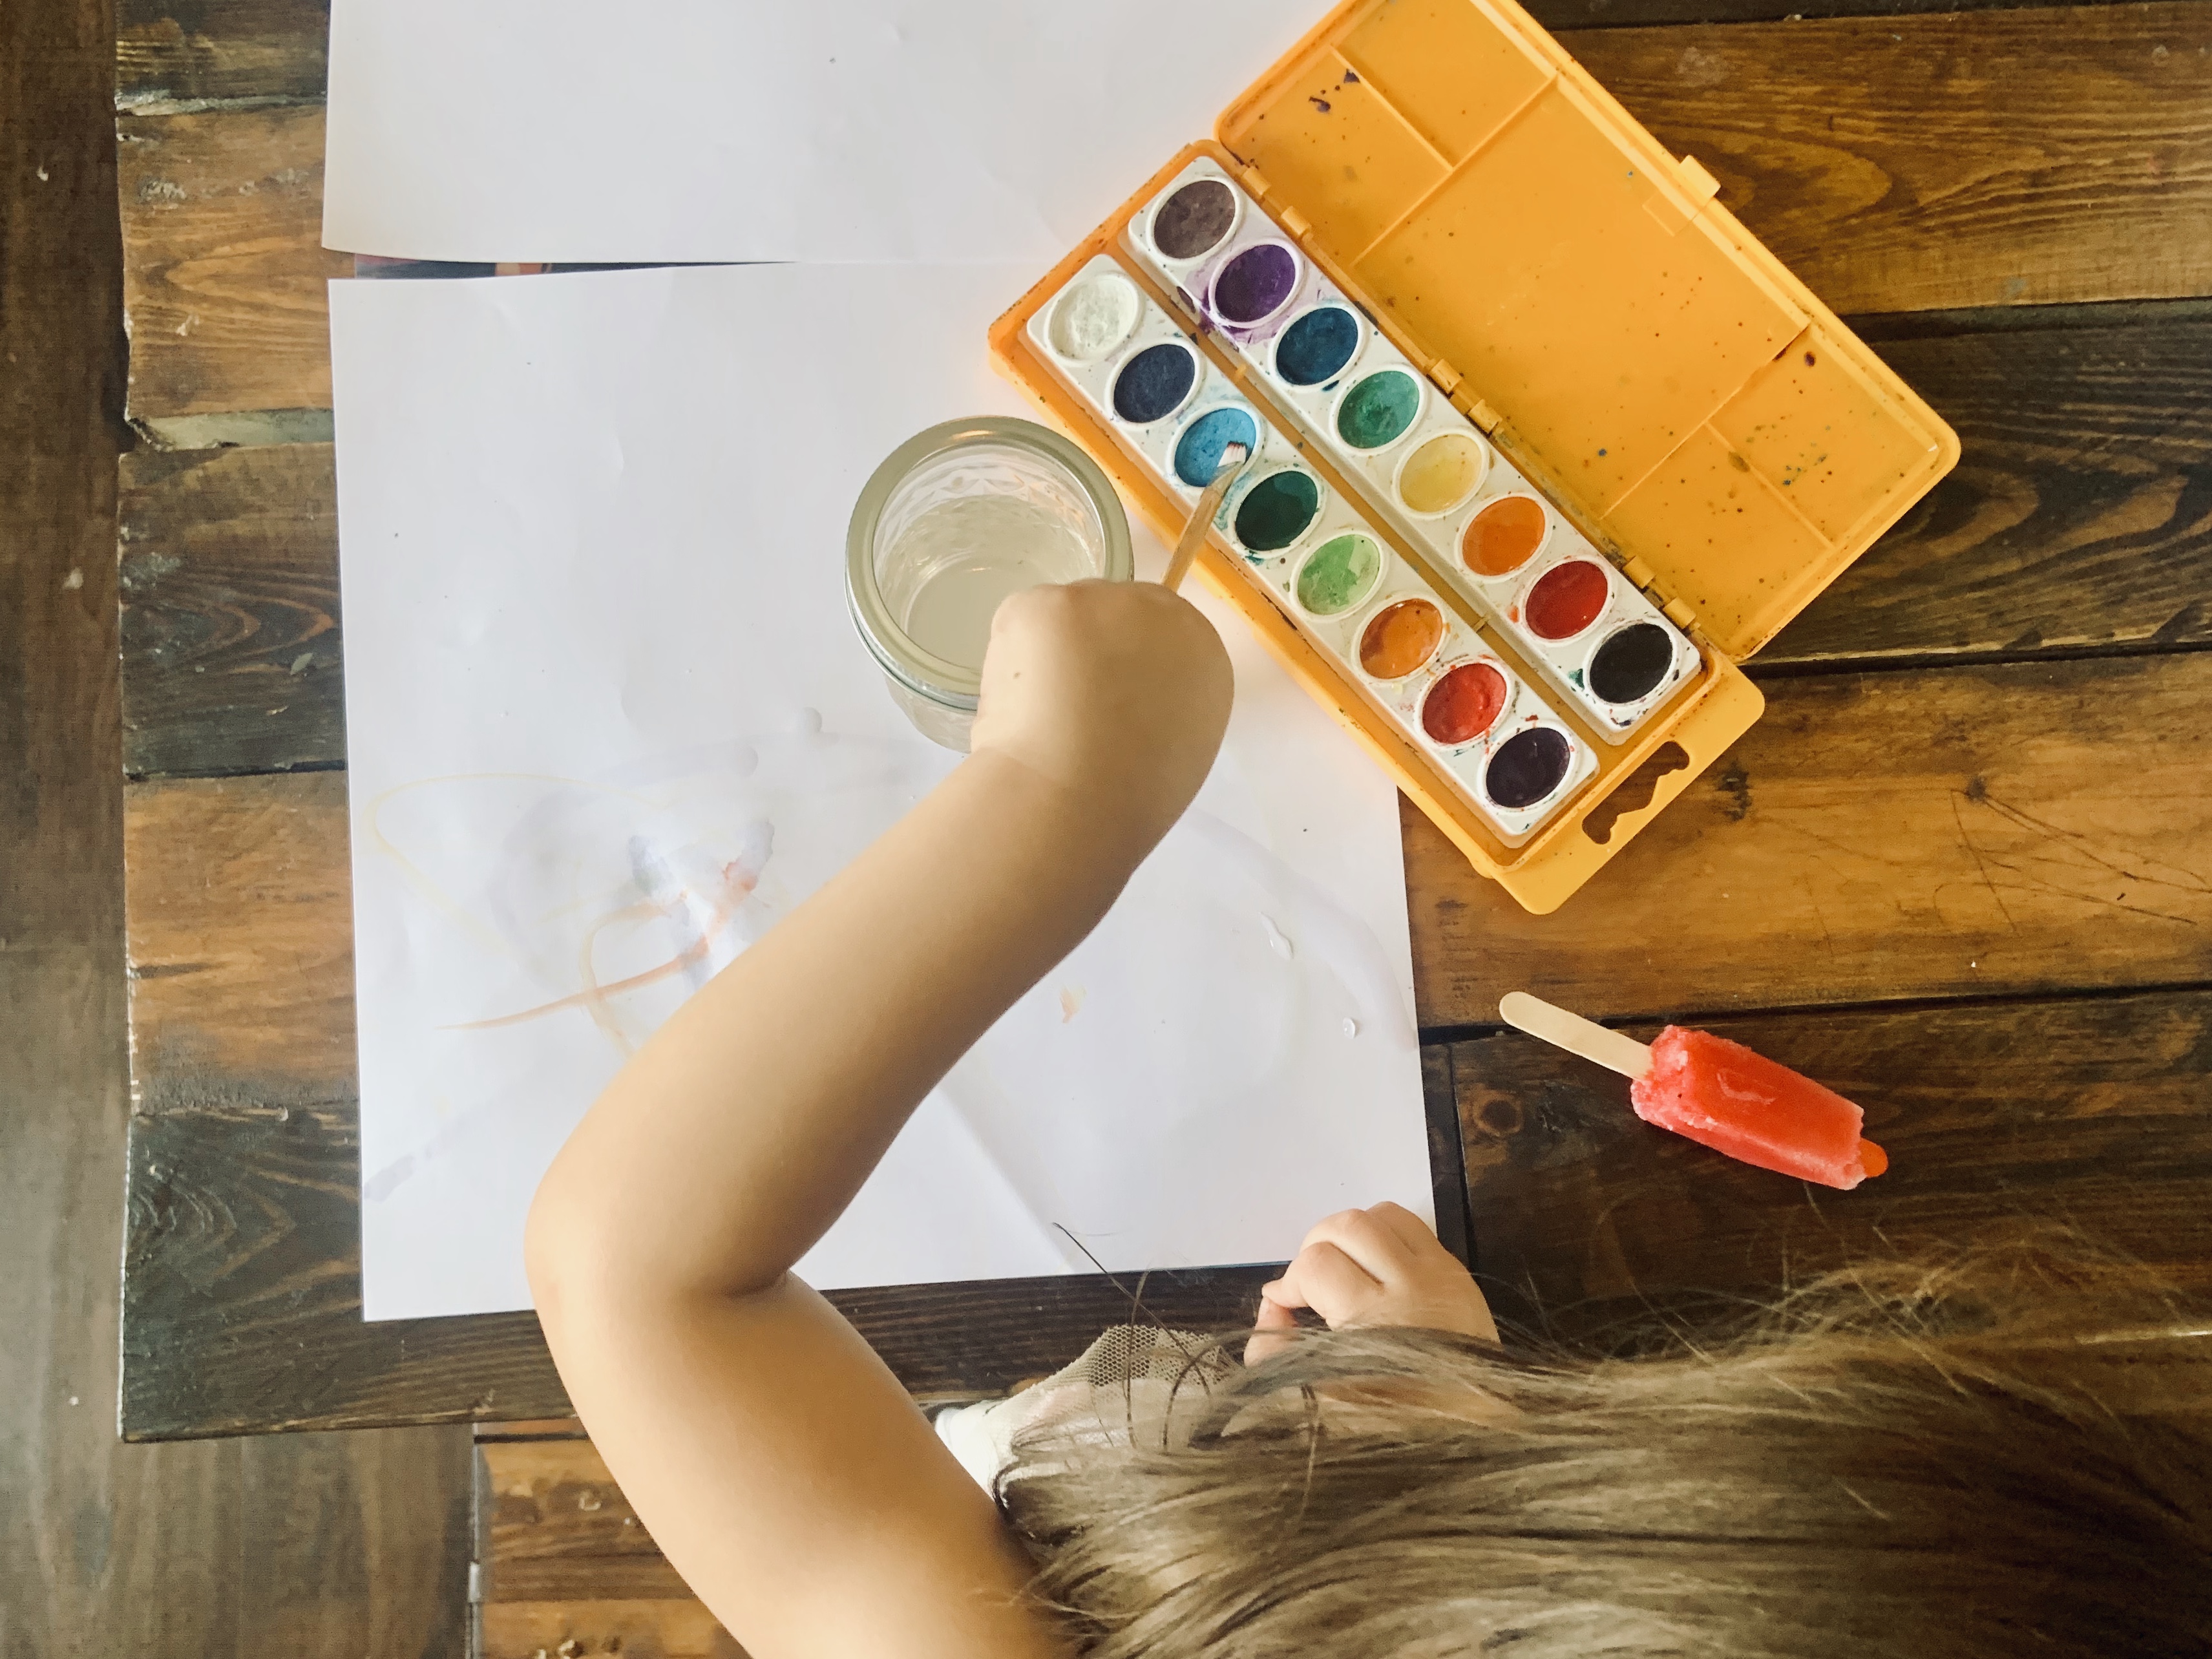
Go to an area or set up one that you’re okay with paint getting on. Then lay everything out. This specific water color paint was already mixed up. This made it easier for Mila so she didn’t have to dip her brushes in water first.
After, let them paint whatever they would like. There’s no right or wrong way for them to paint or create these.
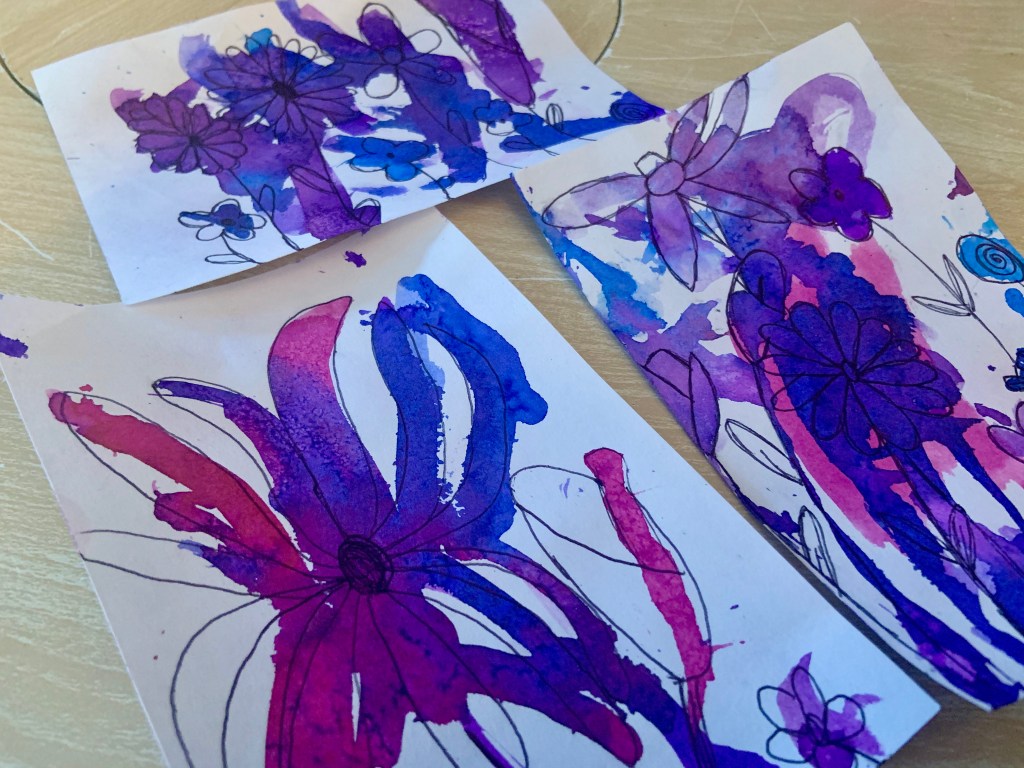
Once they’re done with a specific card, have them sprinkle salt on the paint. Not only does this help it dry, it creates an amazing texture to the cards. Plus, it’s a little science experiment that your child will love!
They can continue with their painting and salt.
When the salt is dried, you and your child can rub it off. They’ll love seeing how it looks and Mila was in awe of how the salt was colored too.
The next part is up to you. If your child is older, you can instruct them to draw flowers or something that reminds them of the female figures in their lives. Mila wasn’t interested in this, so I personally drew flowers that flowed with her painting. It’s so much fun to take their creations and help make it even more special.
I ended up taping the paintings to cards. On the inside, I wrote a special note for each of Mila’s cards and had her sign it.
They turned out so cute and I really love them. Mila loved the outcome of her cards and was so proud of her painting. I think seeing it all come together helped complete her vision. As always, she will be so excited for her loved ones to receive them.
Honestly, I’m keeping one for myself so I can see how Mila’s art skills grow. Plus, I’m just as proud of her as she is of herself.
If you end up trying this activity, let me know in the comments. Make sure to tag me on Instagram if you share on there too.
What are your favorite types of Mother’s Day gifts?
Scrambling to quickly get a gift together for Mother’s Day? You’ve came to the right post.
For the last week, I’ve been looking around the house to see what Mila and I can up-cycle and make for Mother’s Day gifts. All of these items can be found at home or a quick trip to any store really. Mila helped me with all of these projects and some of them (you’ll be able to see) I worked on a little extra too. If you have older kids, they’ll definitely be able to help out more!
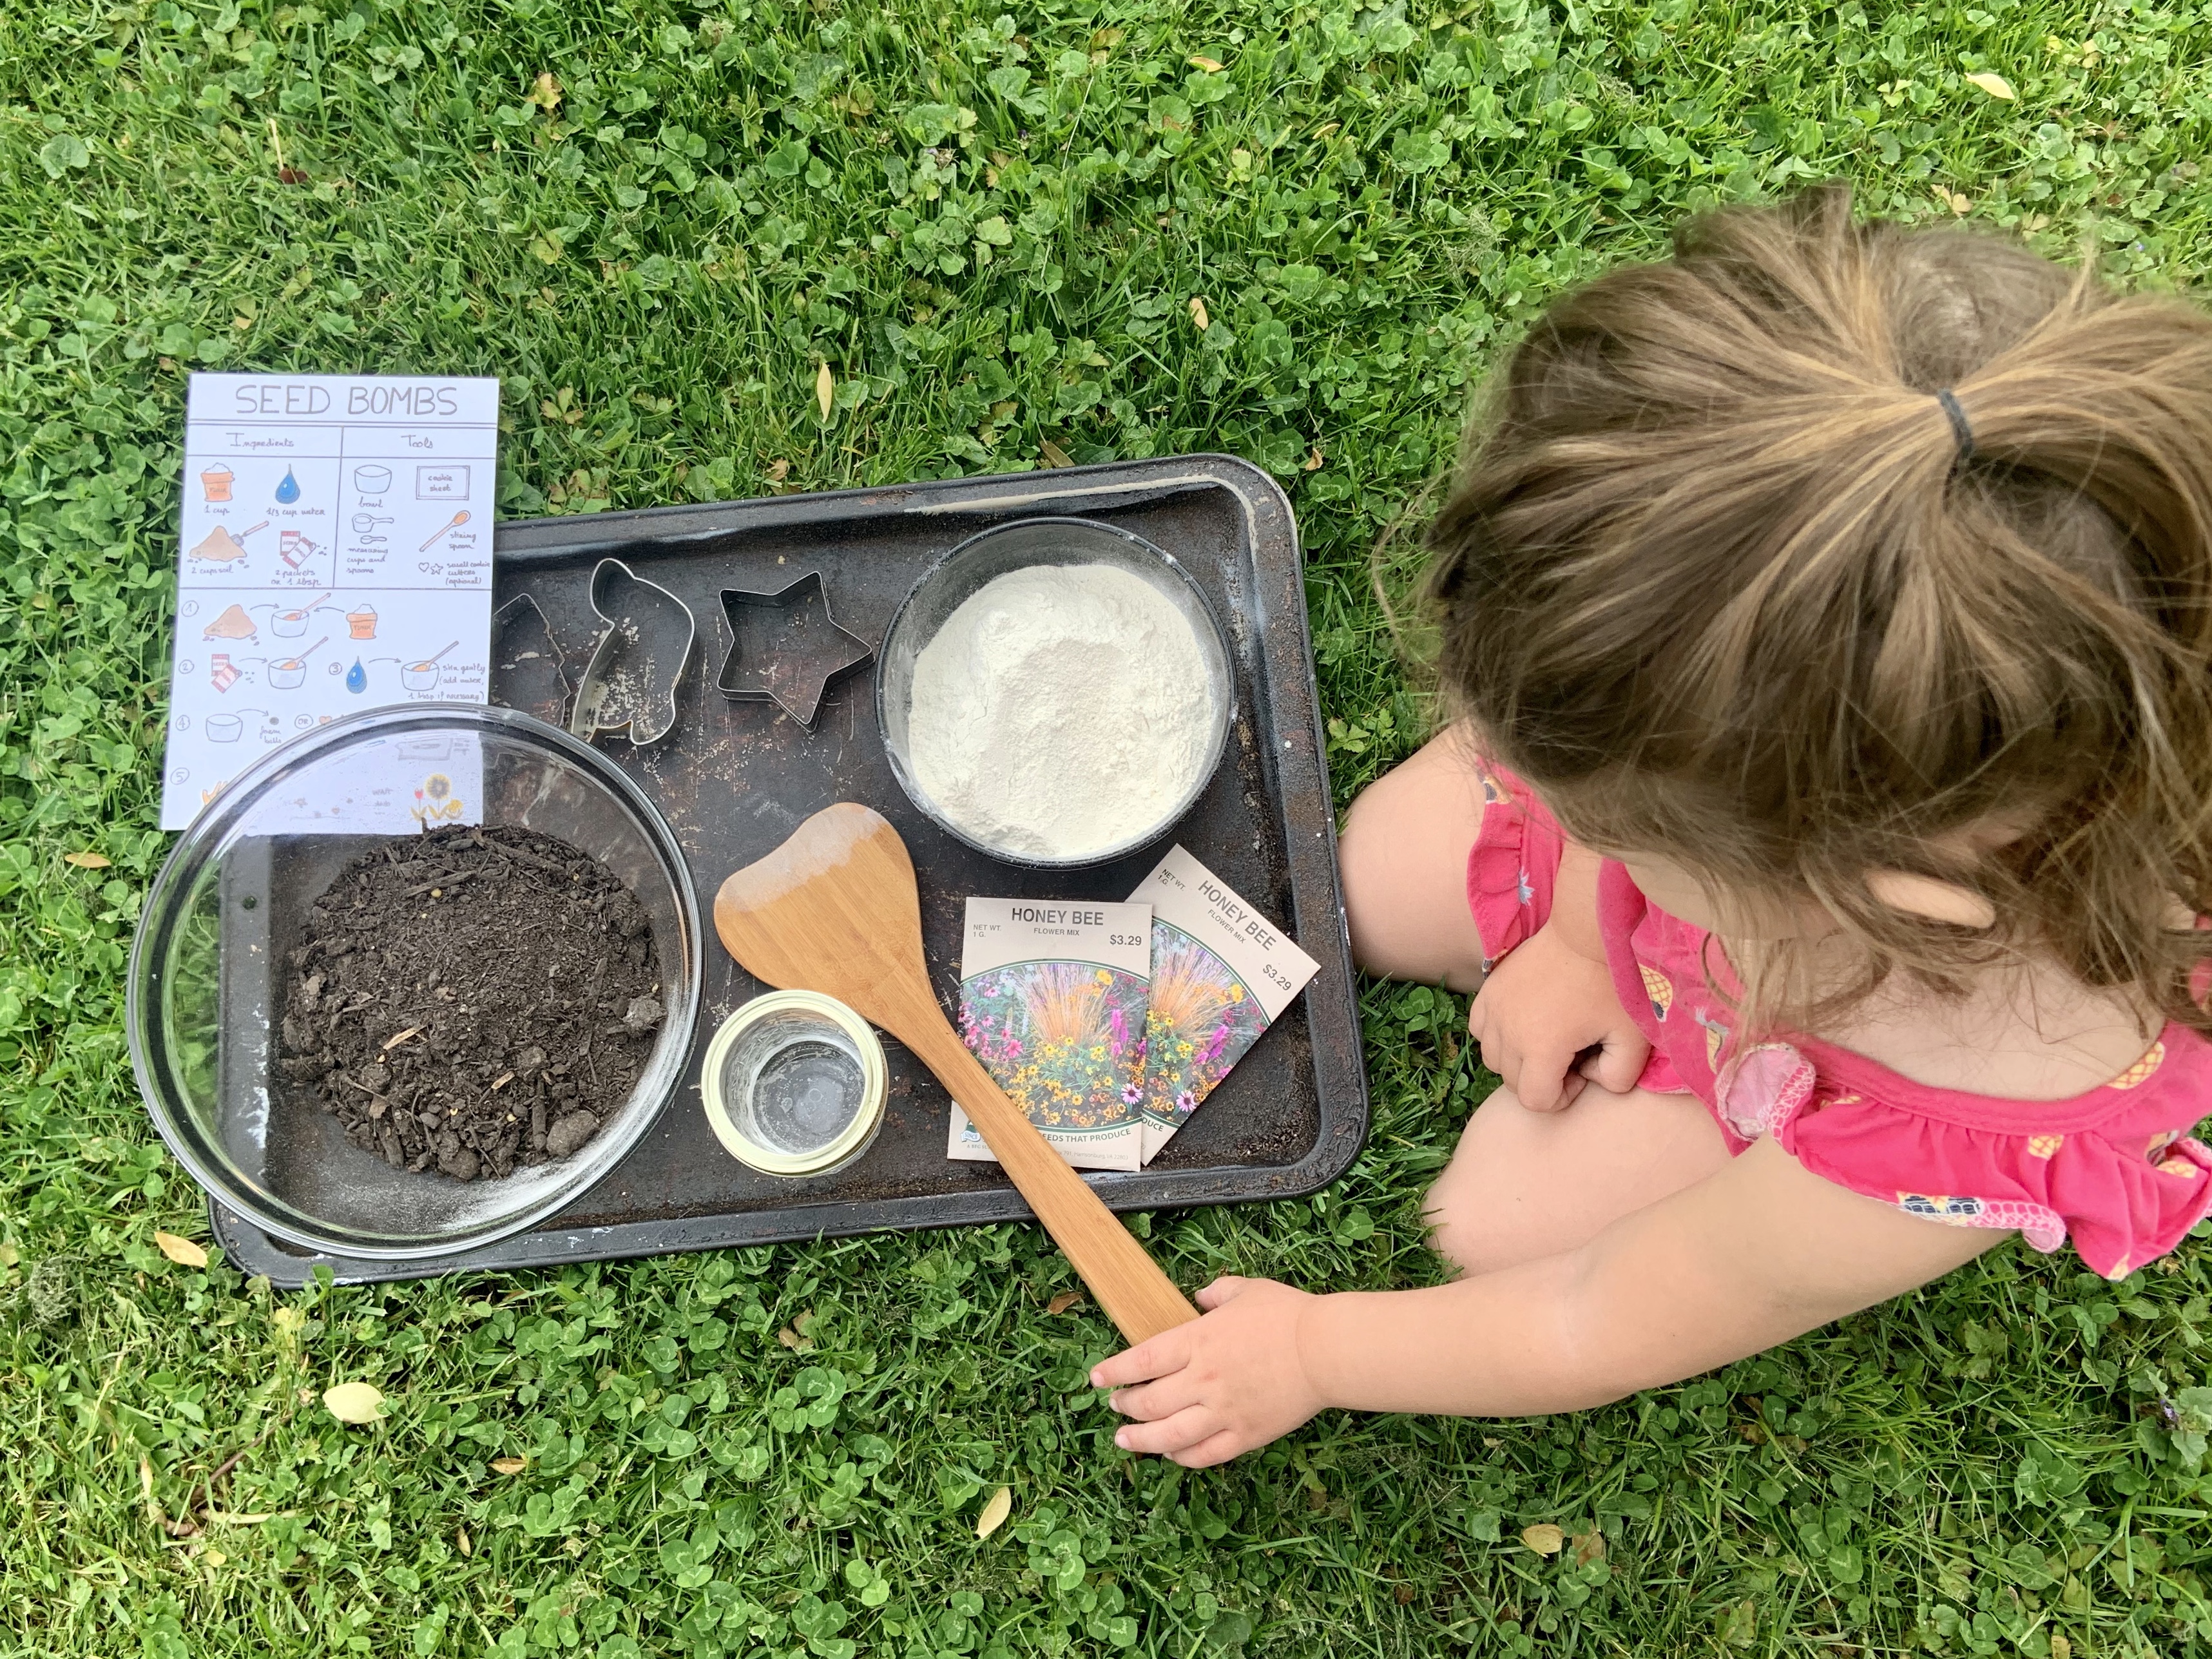
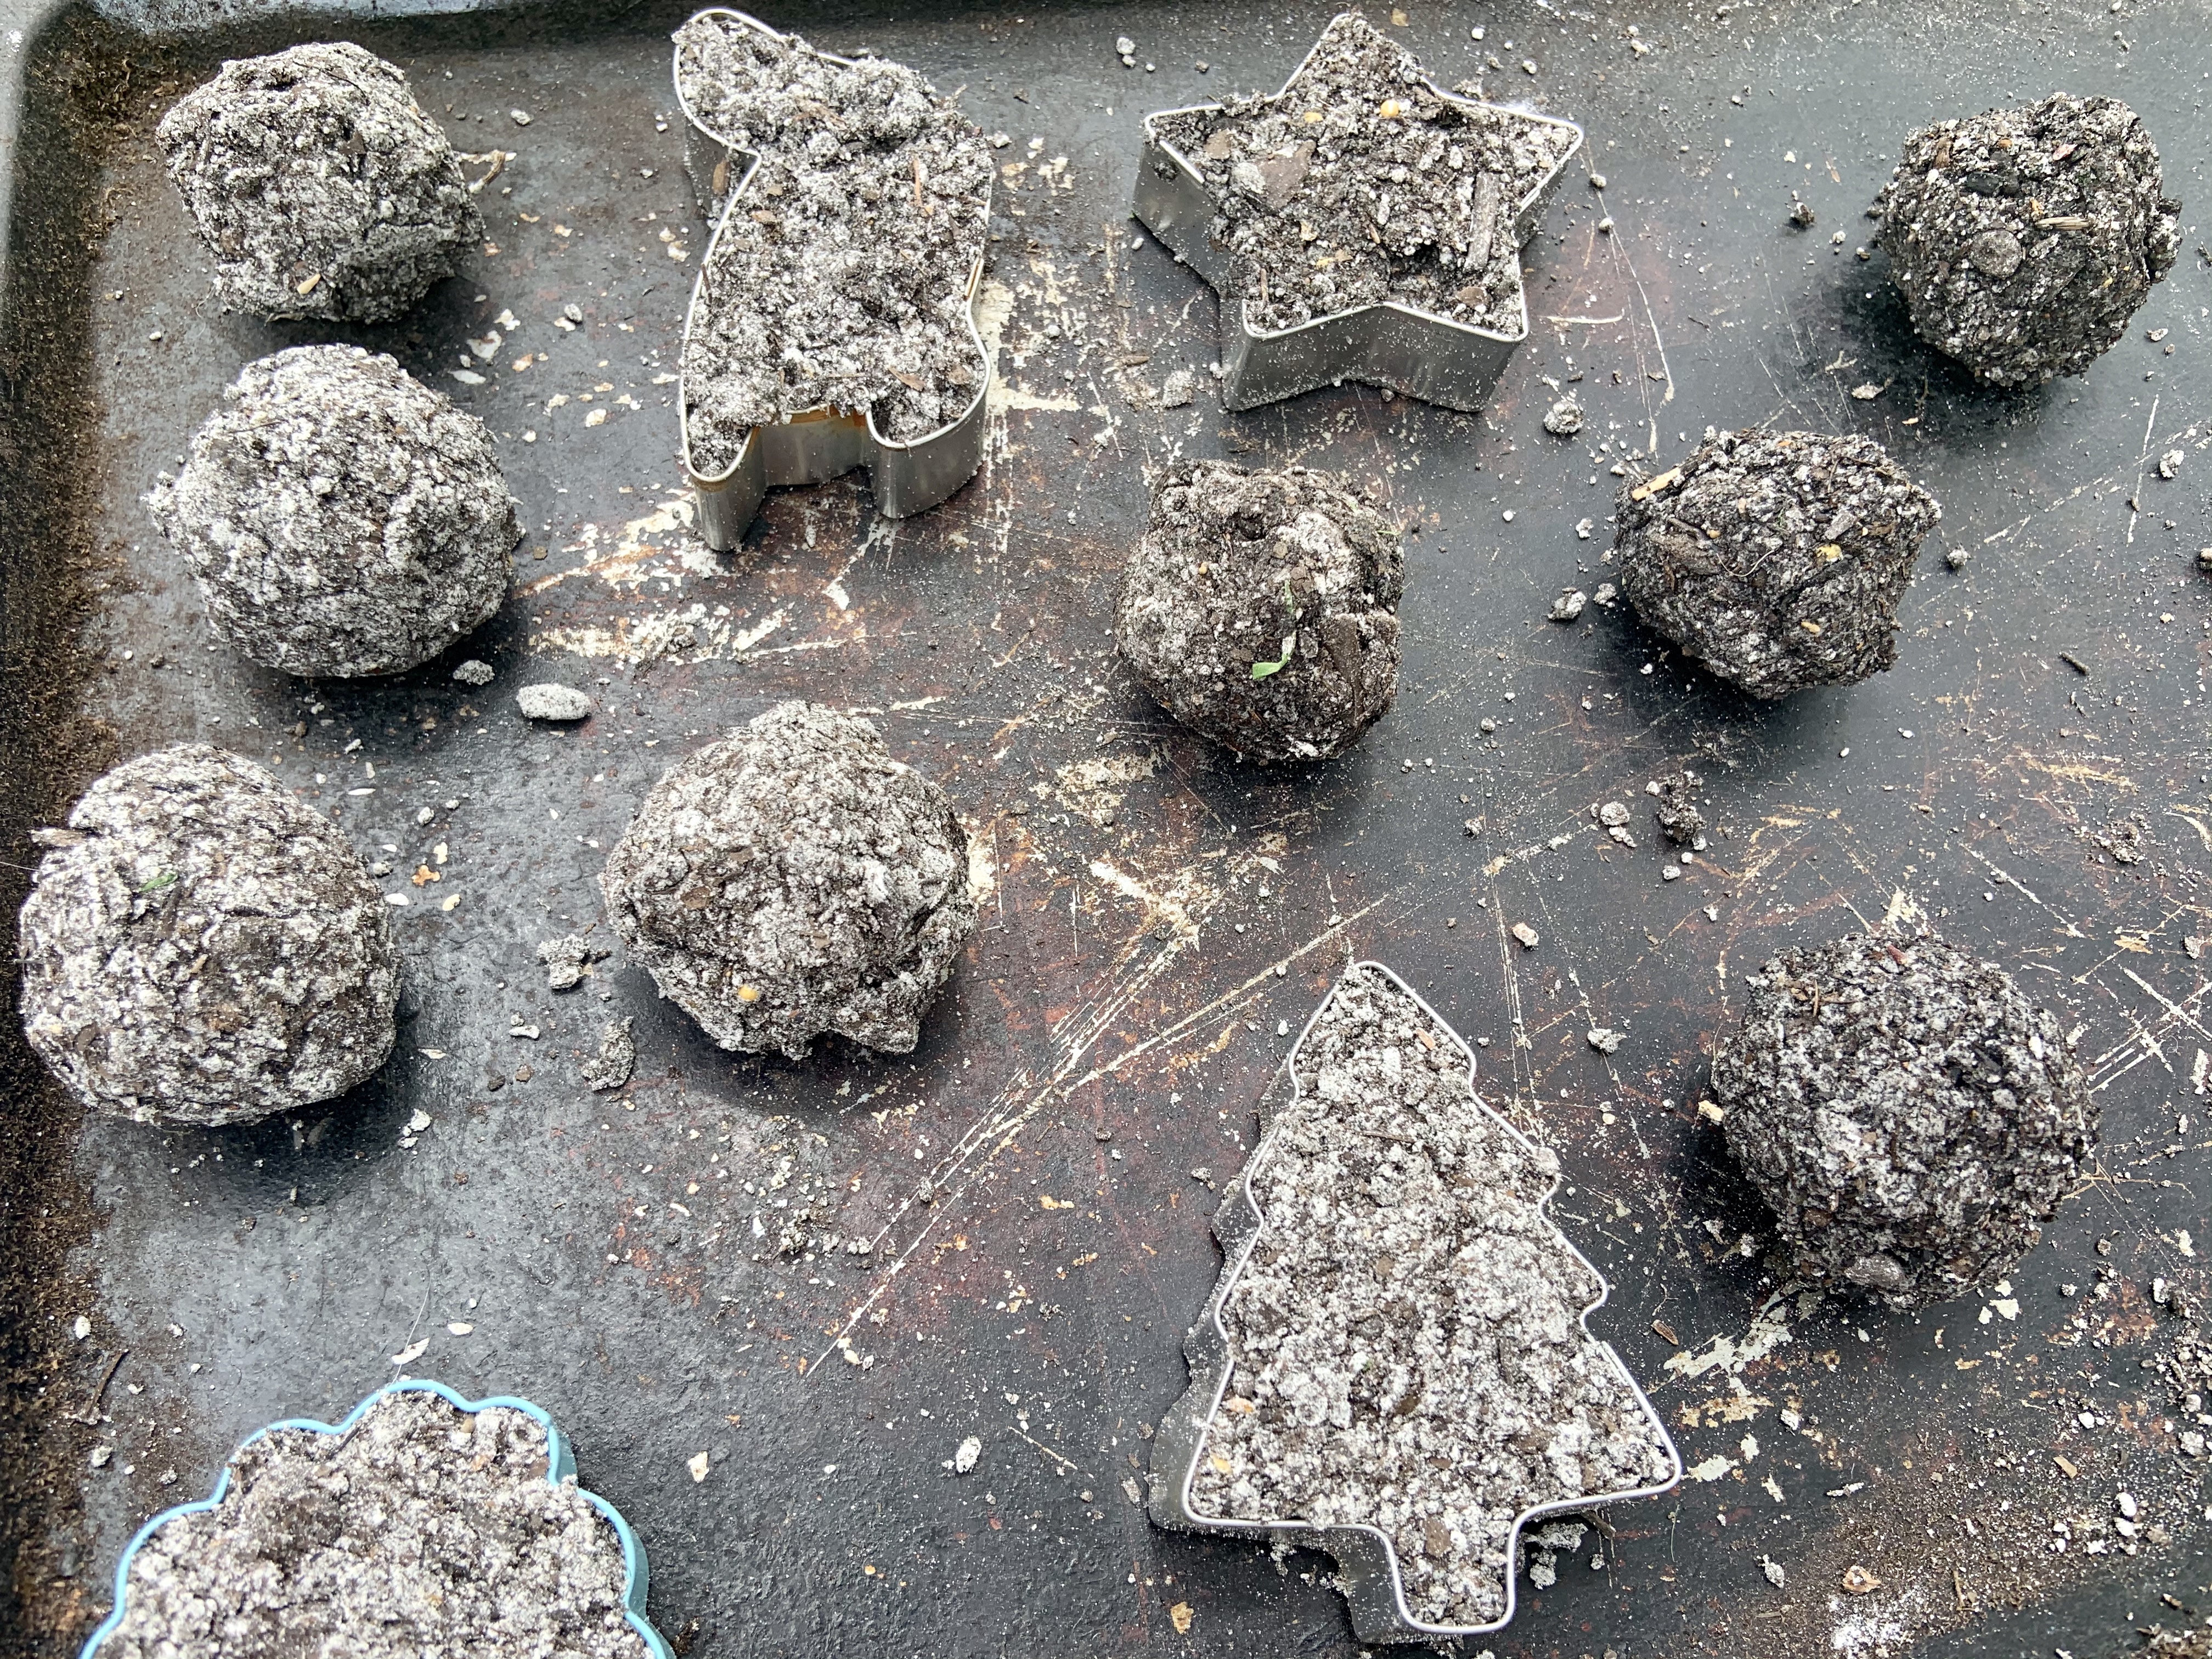
Seed Bombs
When I think of Mother’s Day, I think about flowers. I know a lot of people love planting this time of year and I wanted to combine that with something Mila loves, getting dirty. This recipe was in this month’s Mommy and Me Art Box.
You’ll need:
1 cup of flour
1/3 cup of water
2 cups of soil
2 packets of flower
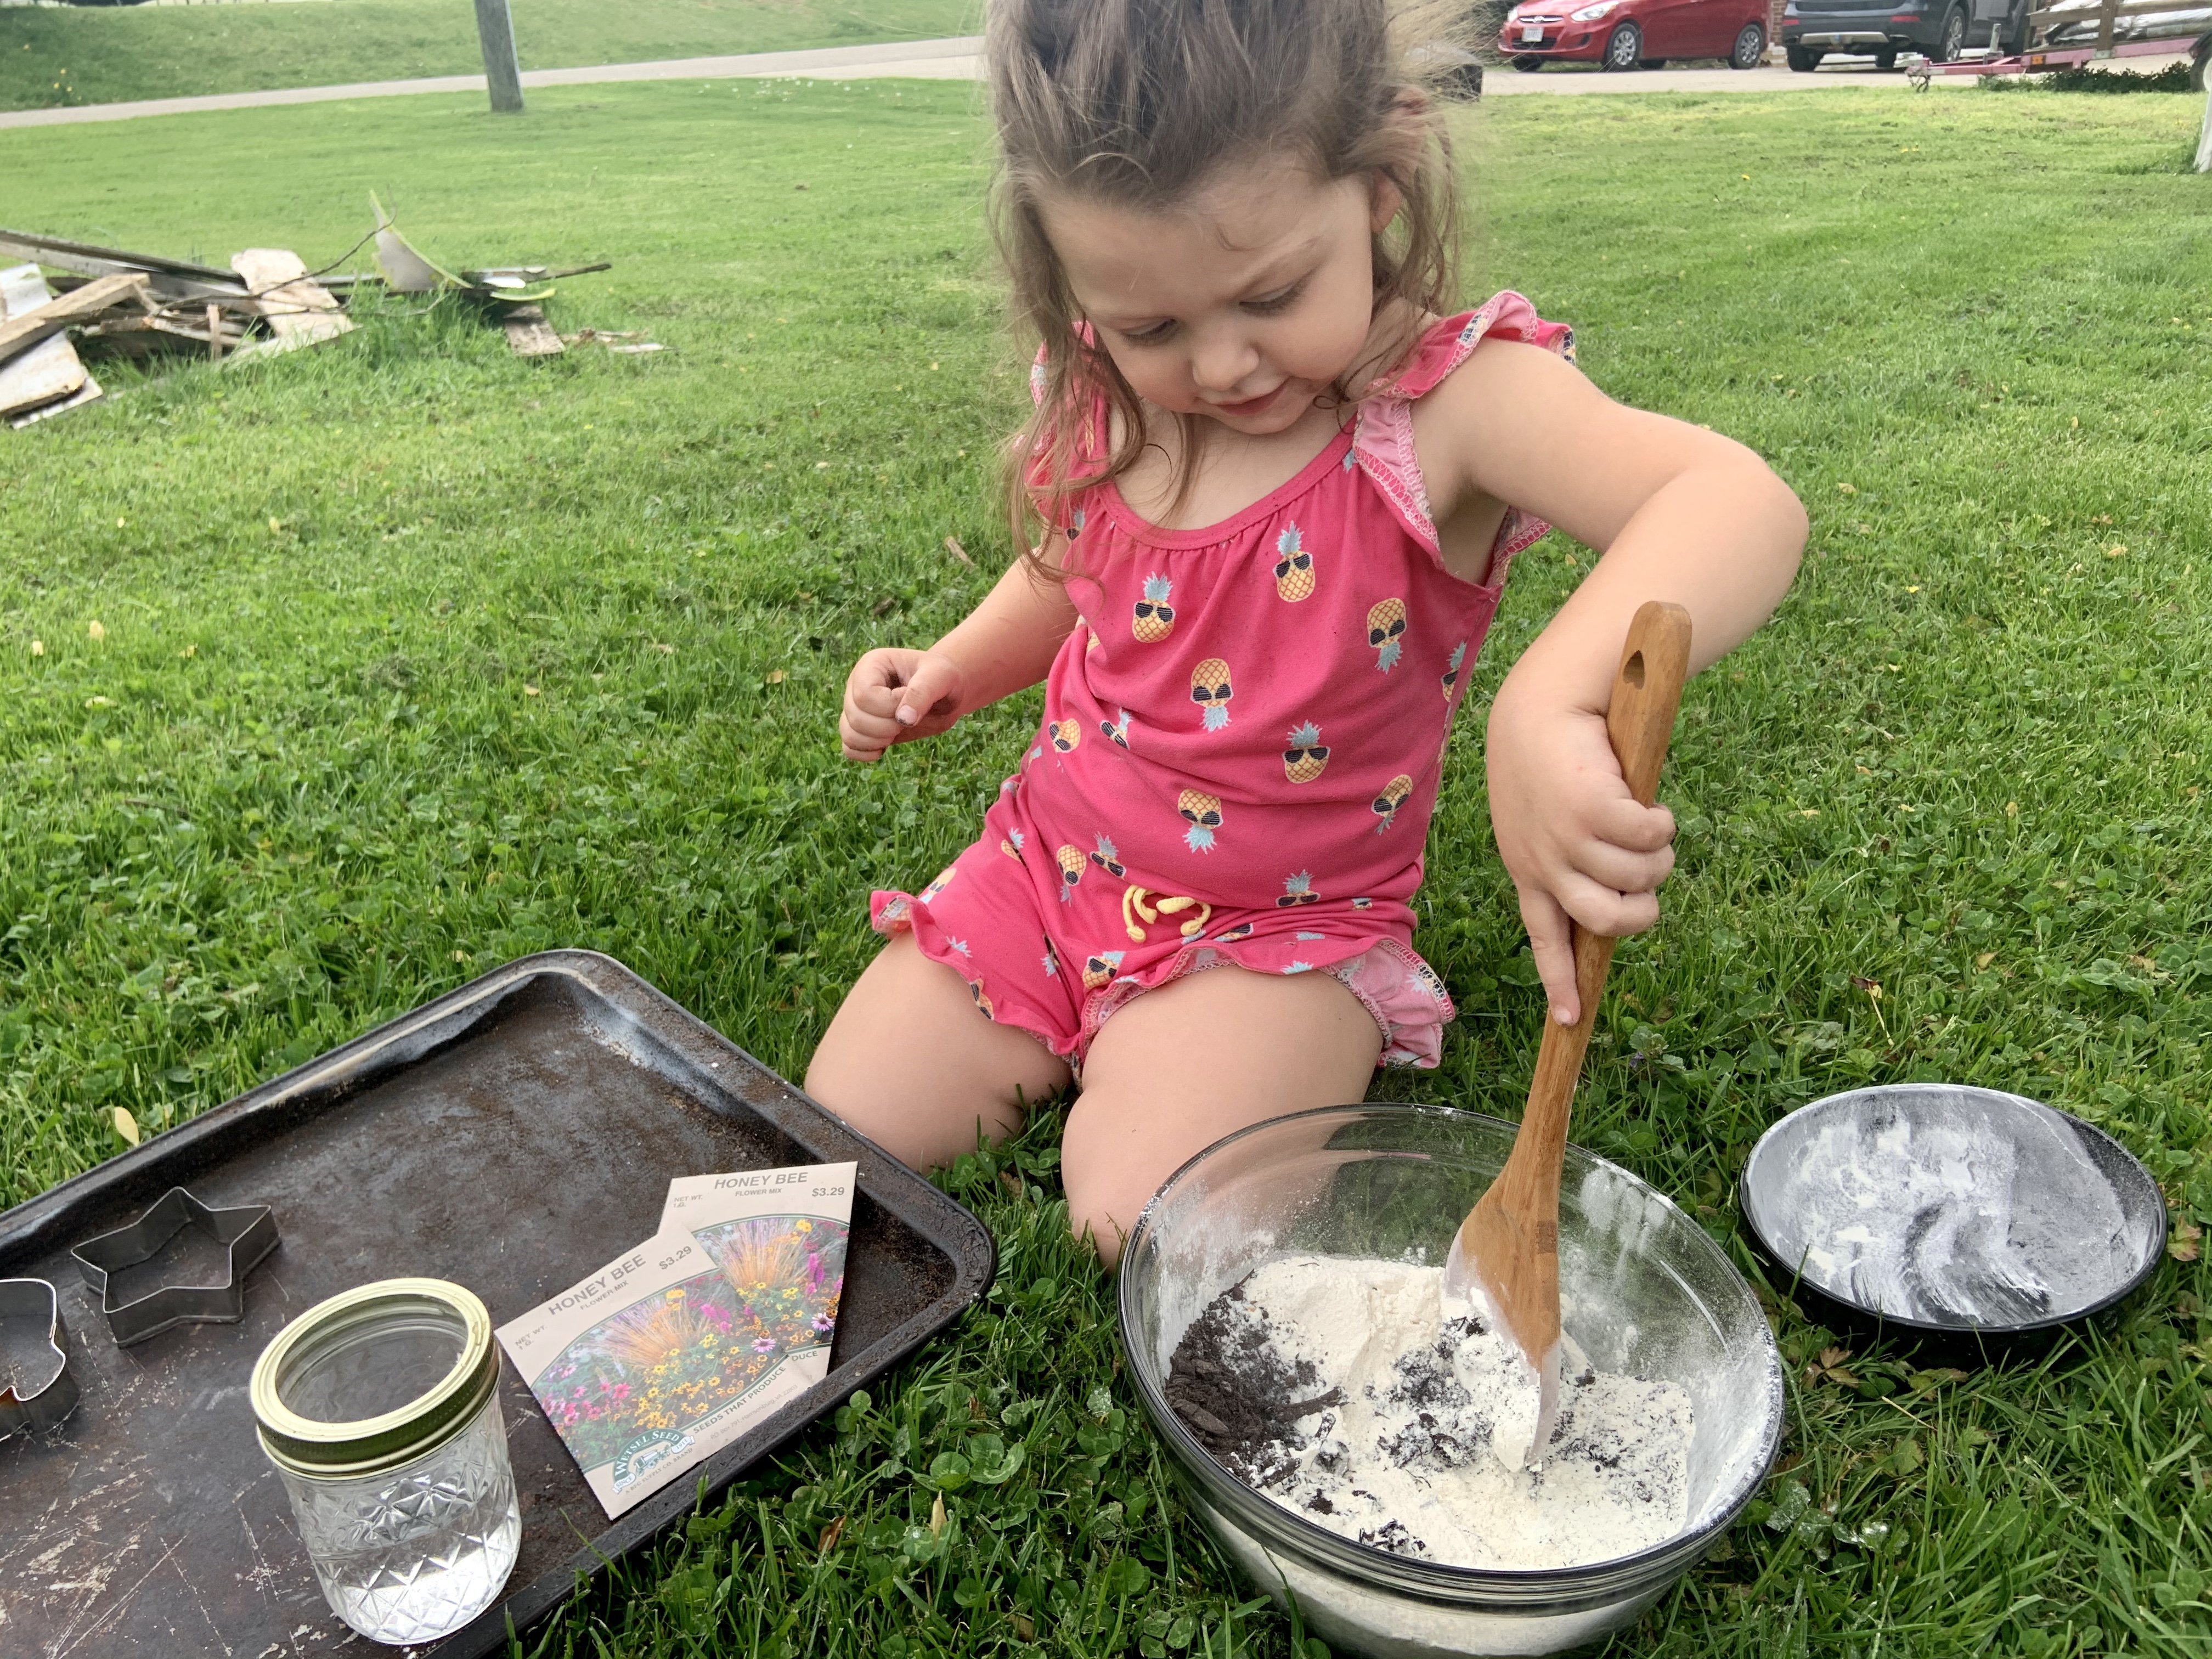
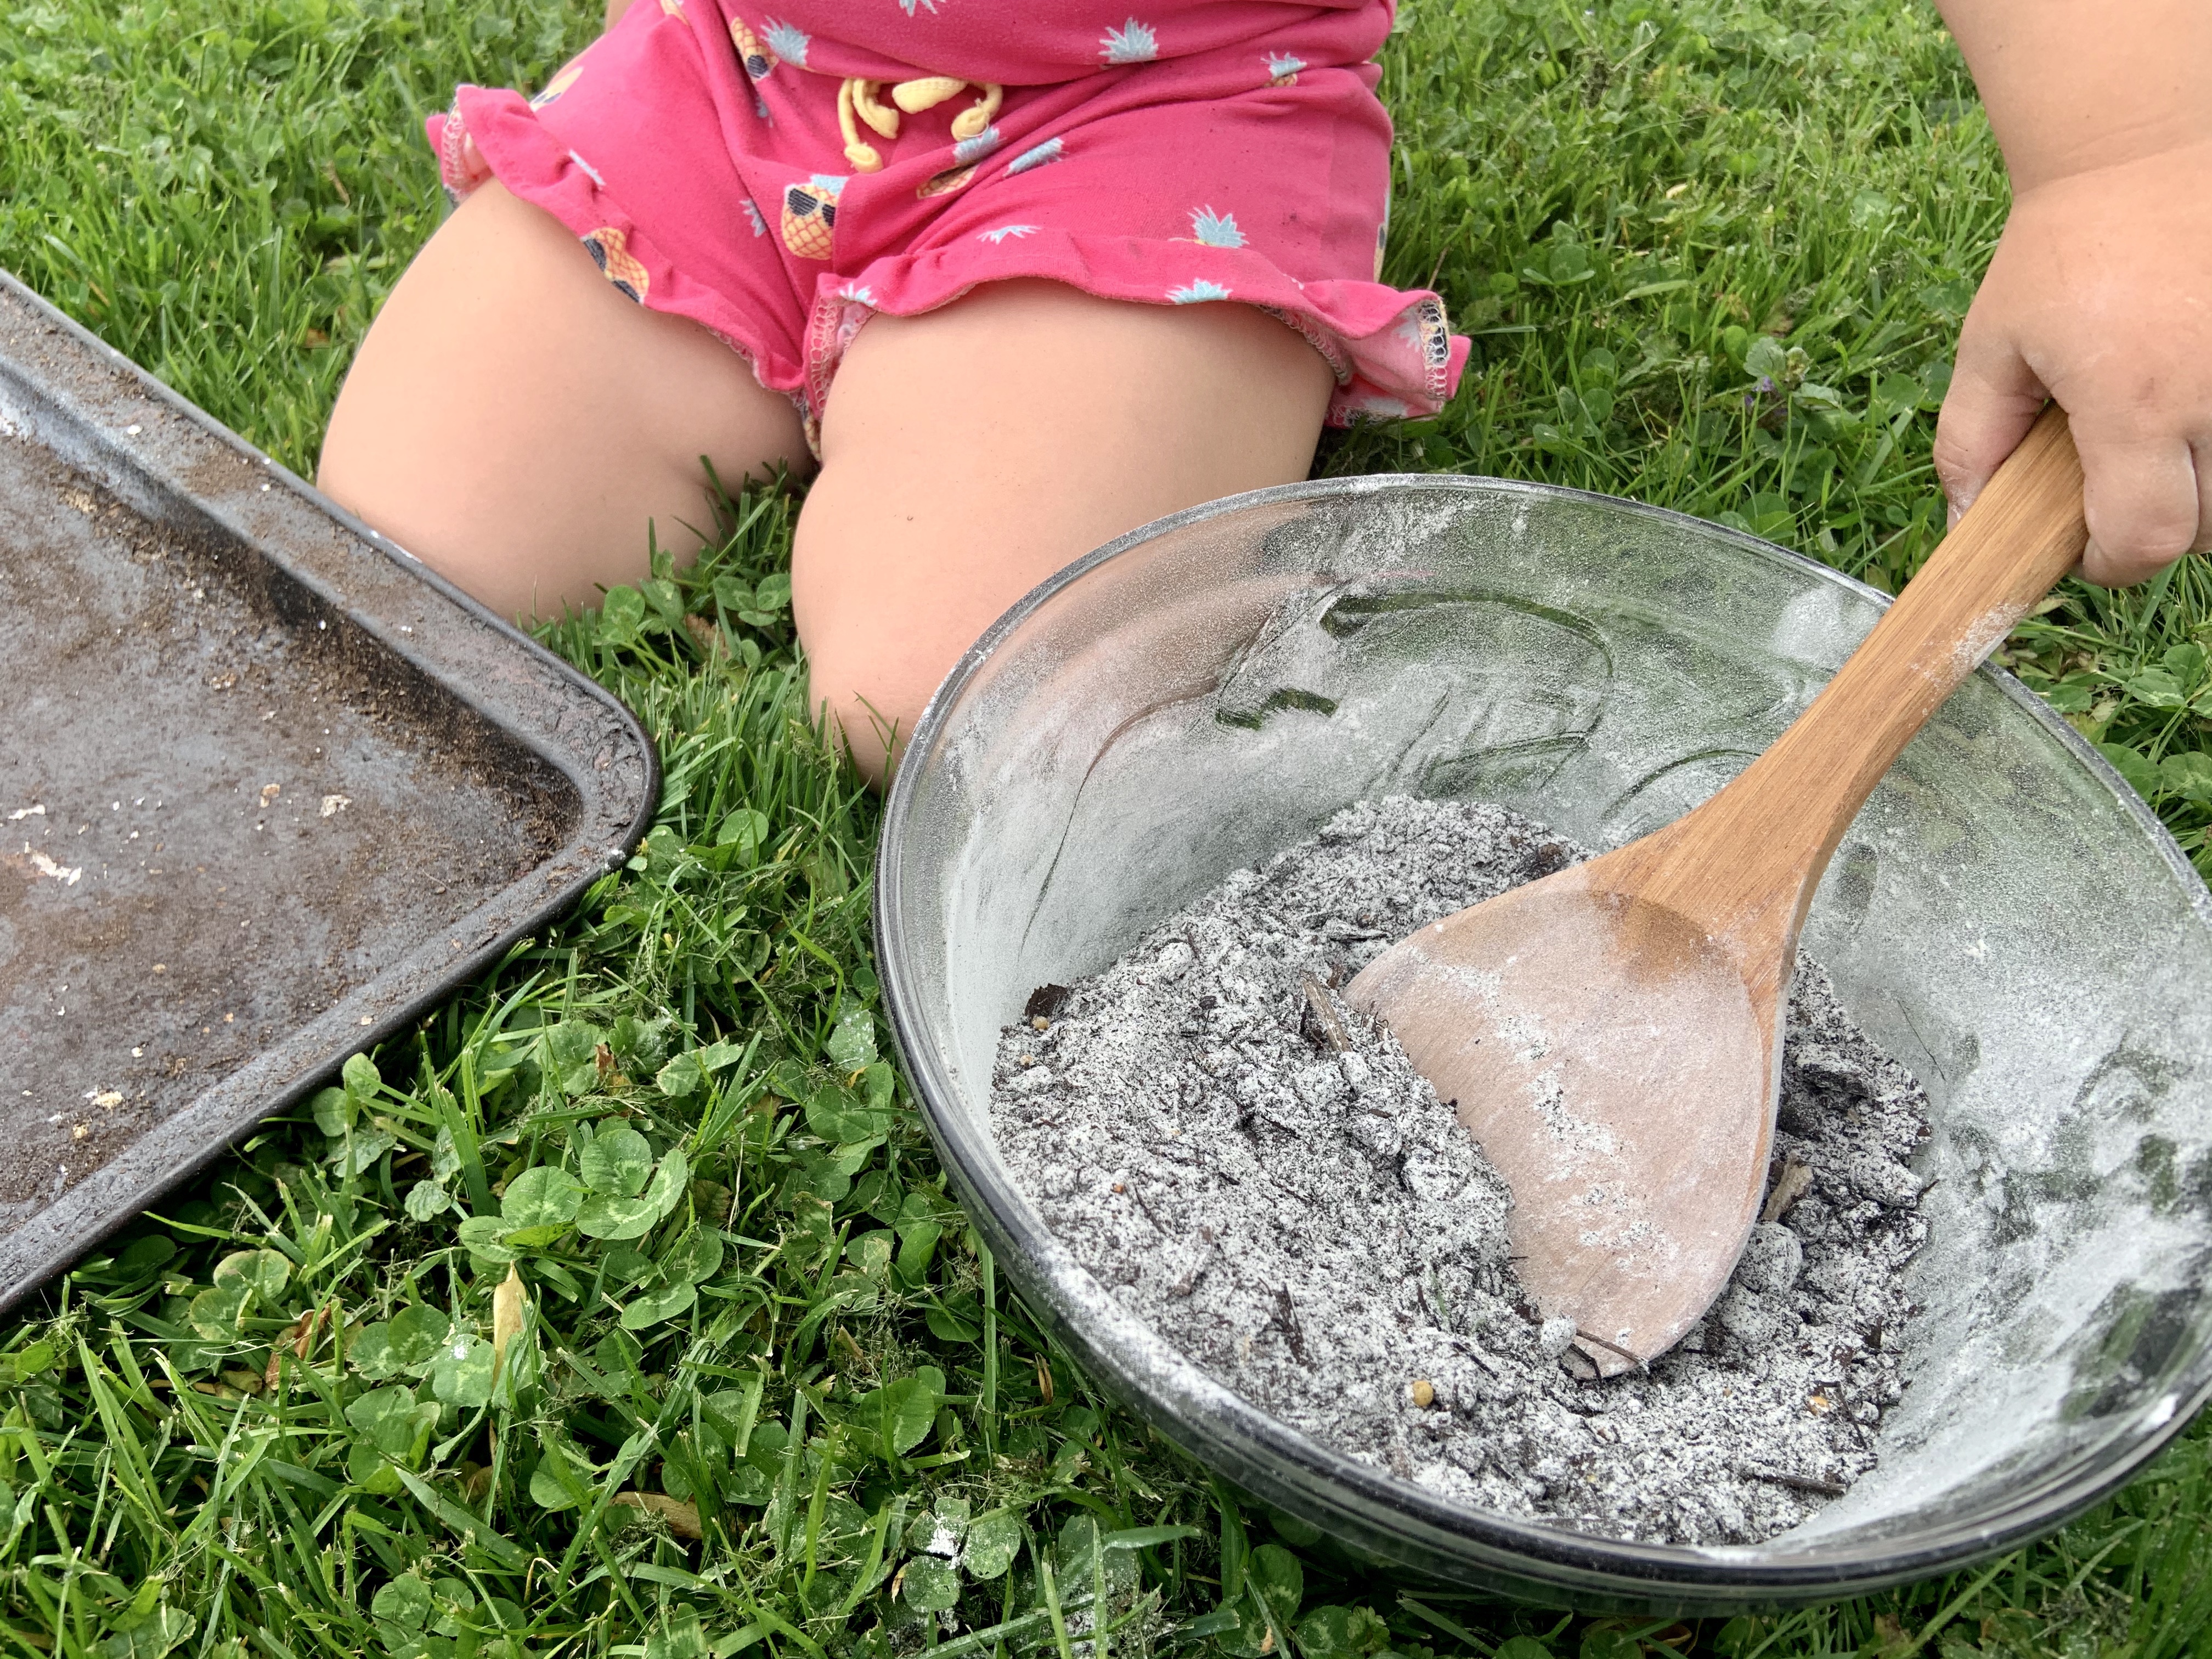
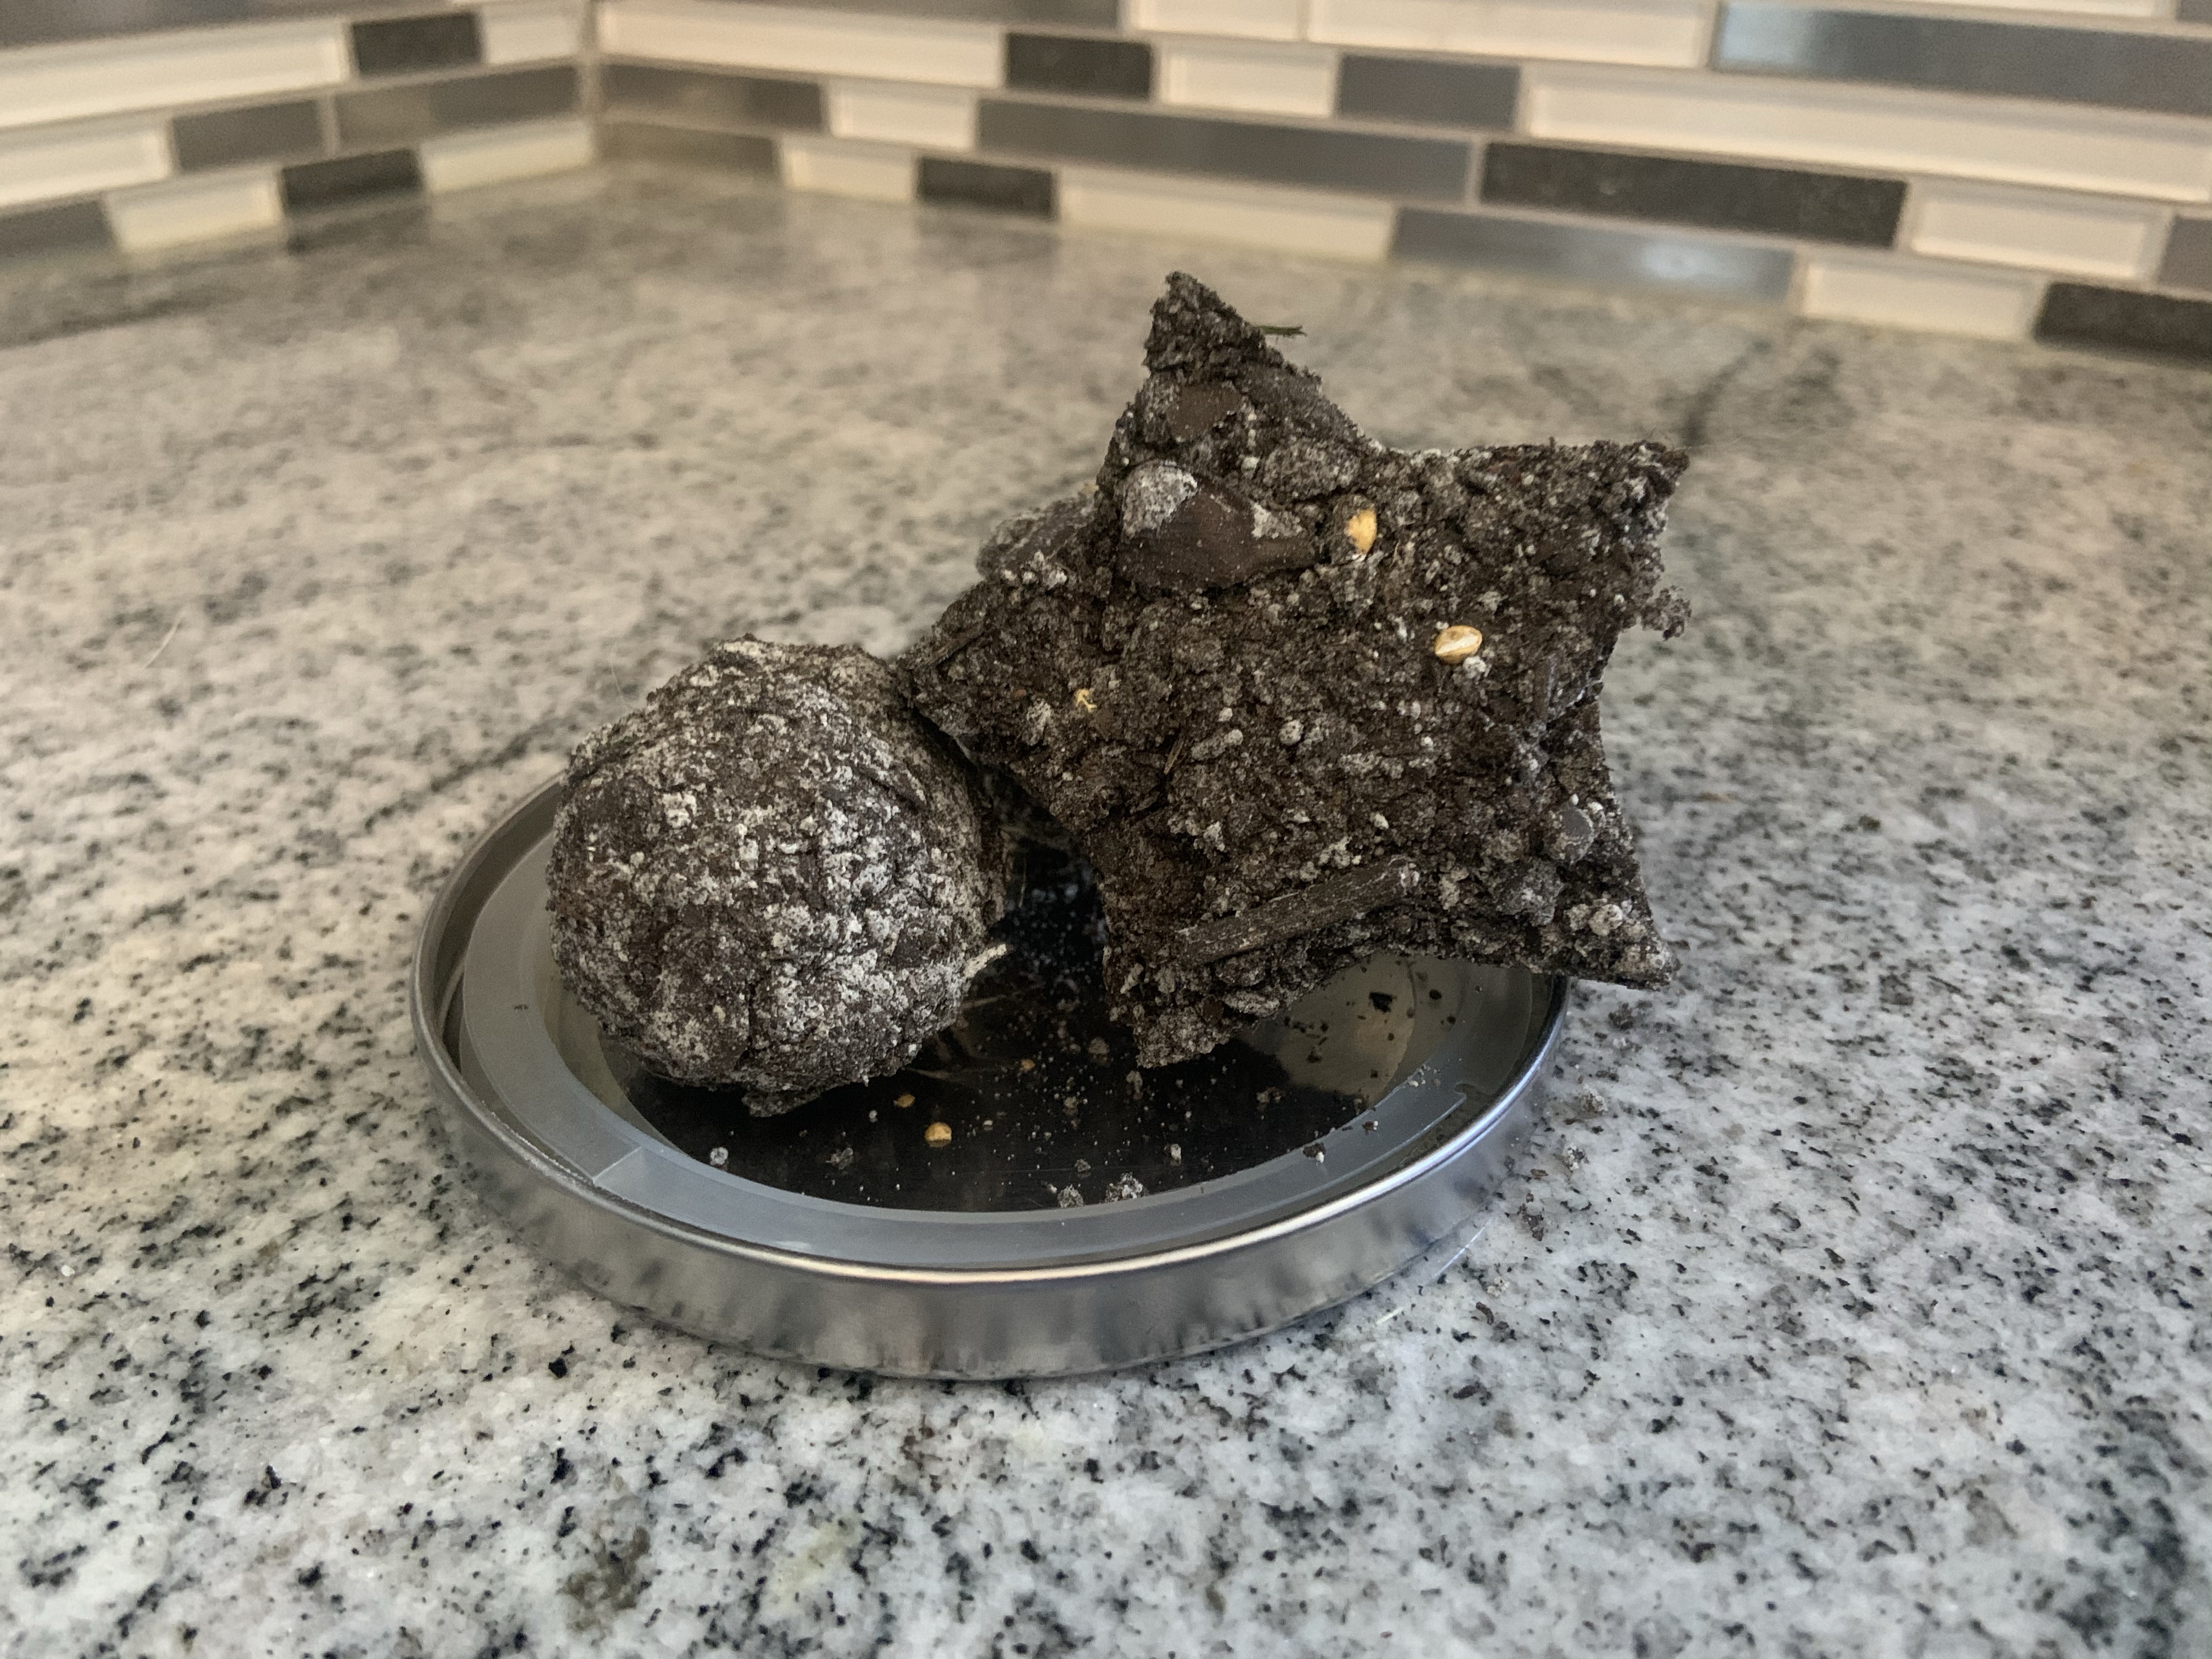
Mix the dirt, flower, and water up until you get a sticky concoction. Once it starts sticking to the spoon and forming together, add the two packets of seeds too. Mix them evenly in the mixture. Then either use cookie cutter to form shapes or make little balls. Let them dry out. She recommended two days, but I think mine were pretty good after a day!
Mila LOVED sticking her hand to help me mix it. She also enjoyed forming the shapes we did. It’s toddler friendly, but she needed a little more guidance than an older child. As with anything, right?
I packaged mine in tissue paper to give to my family. They’ll just need to put them in their flower garden or pots and water like normal.
Another suggestion if your child is going to see their grandma or other mother figure is to bring these ingredients and make them with each other.
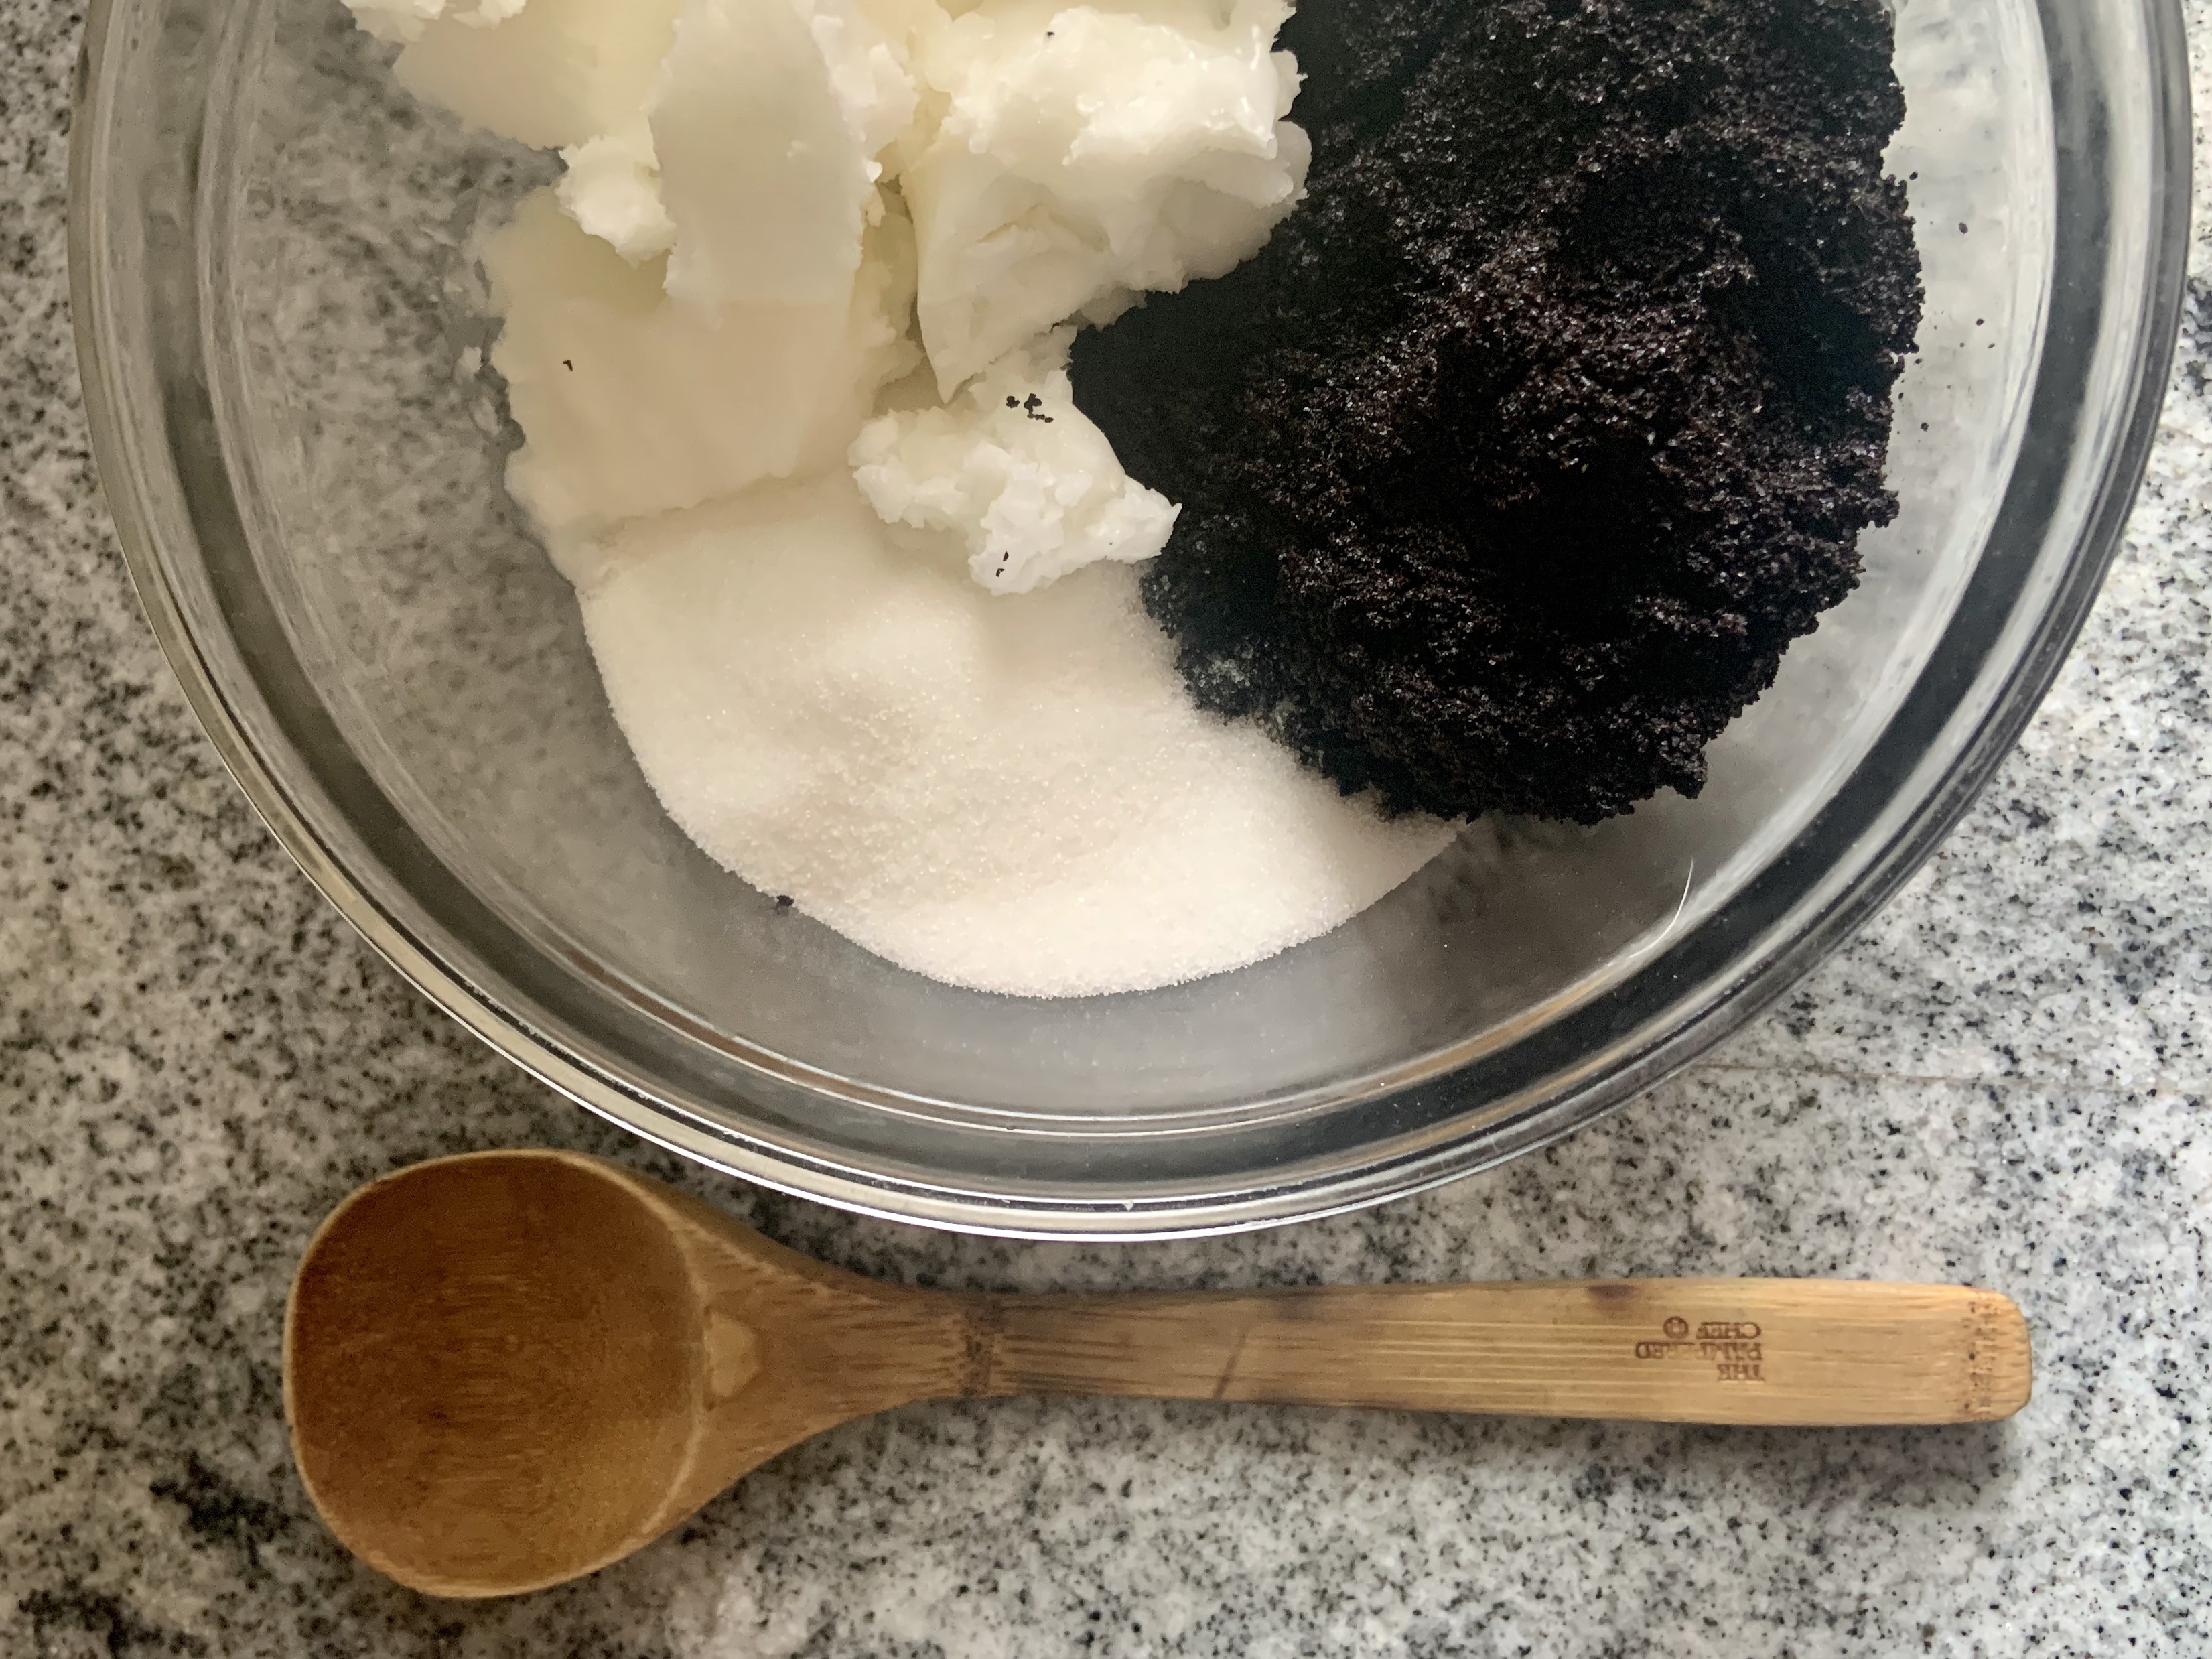
Coffee and Coconut Body Scrub
What’s more pampering than body scrub? And you probably have everything needed to make it in your house, right now.
What you need…
1 cup of coffee grounds
1/2 cup of coconut oil
1/2 cup of sugar
1 teaspoon of vanilla extract (optional, but smells amazing)
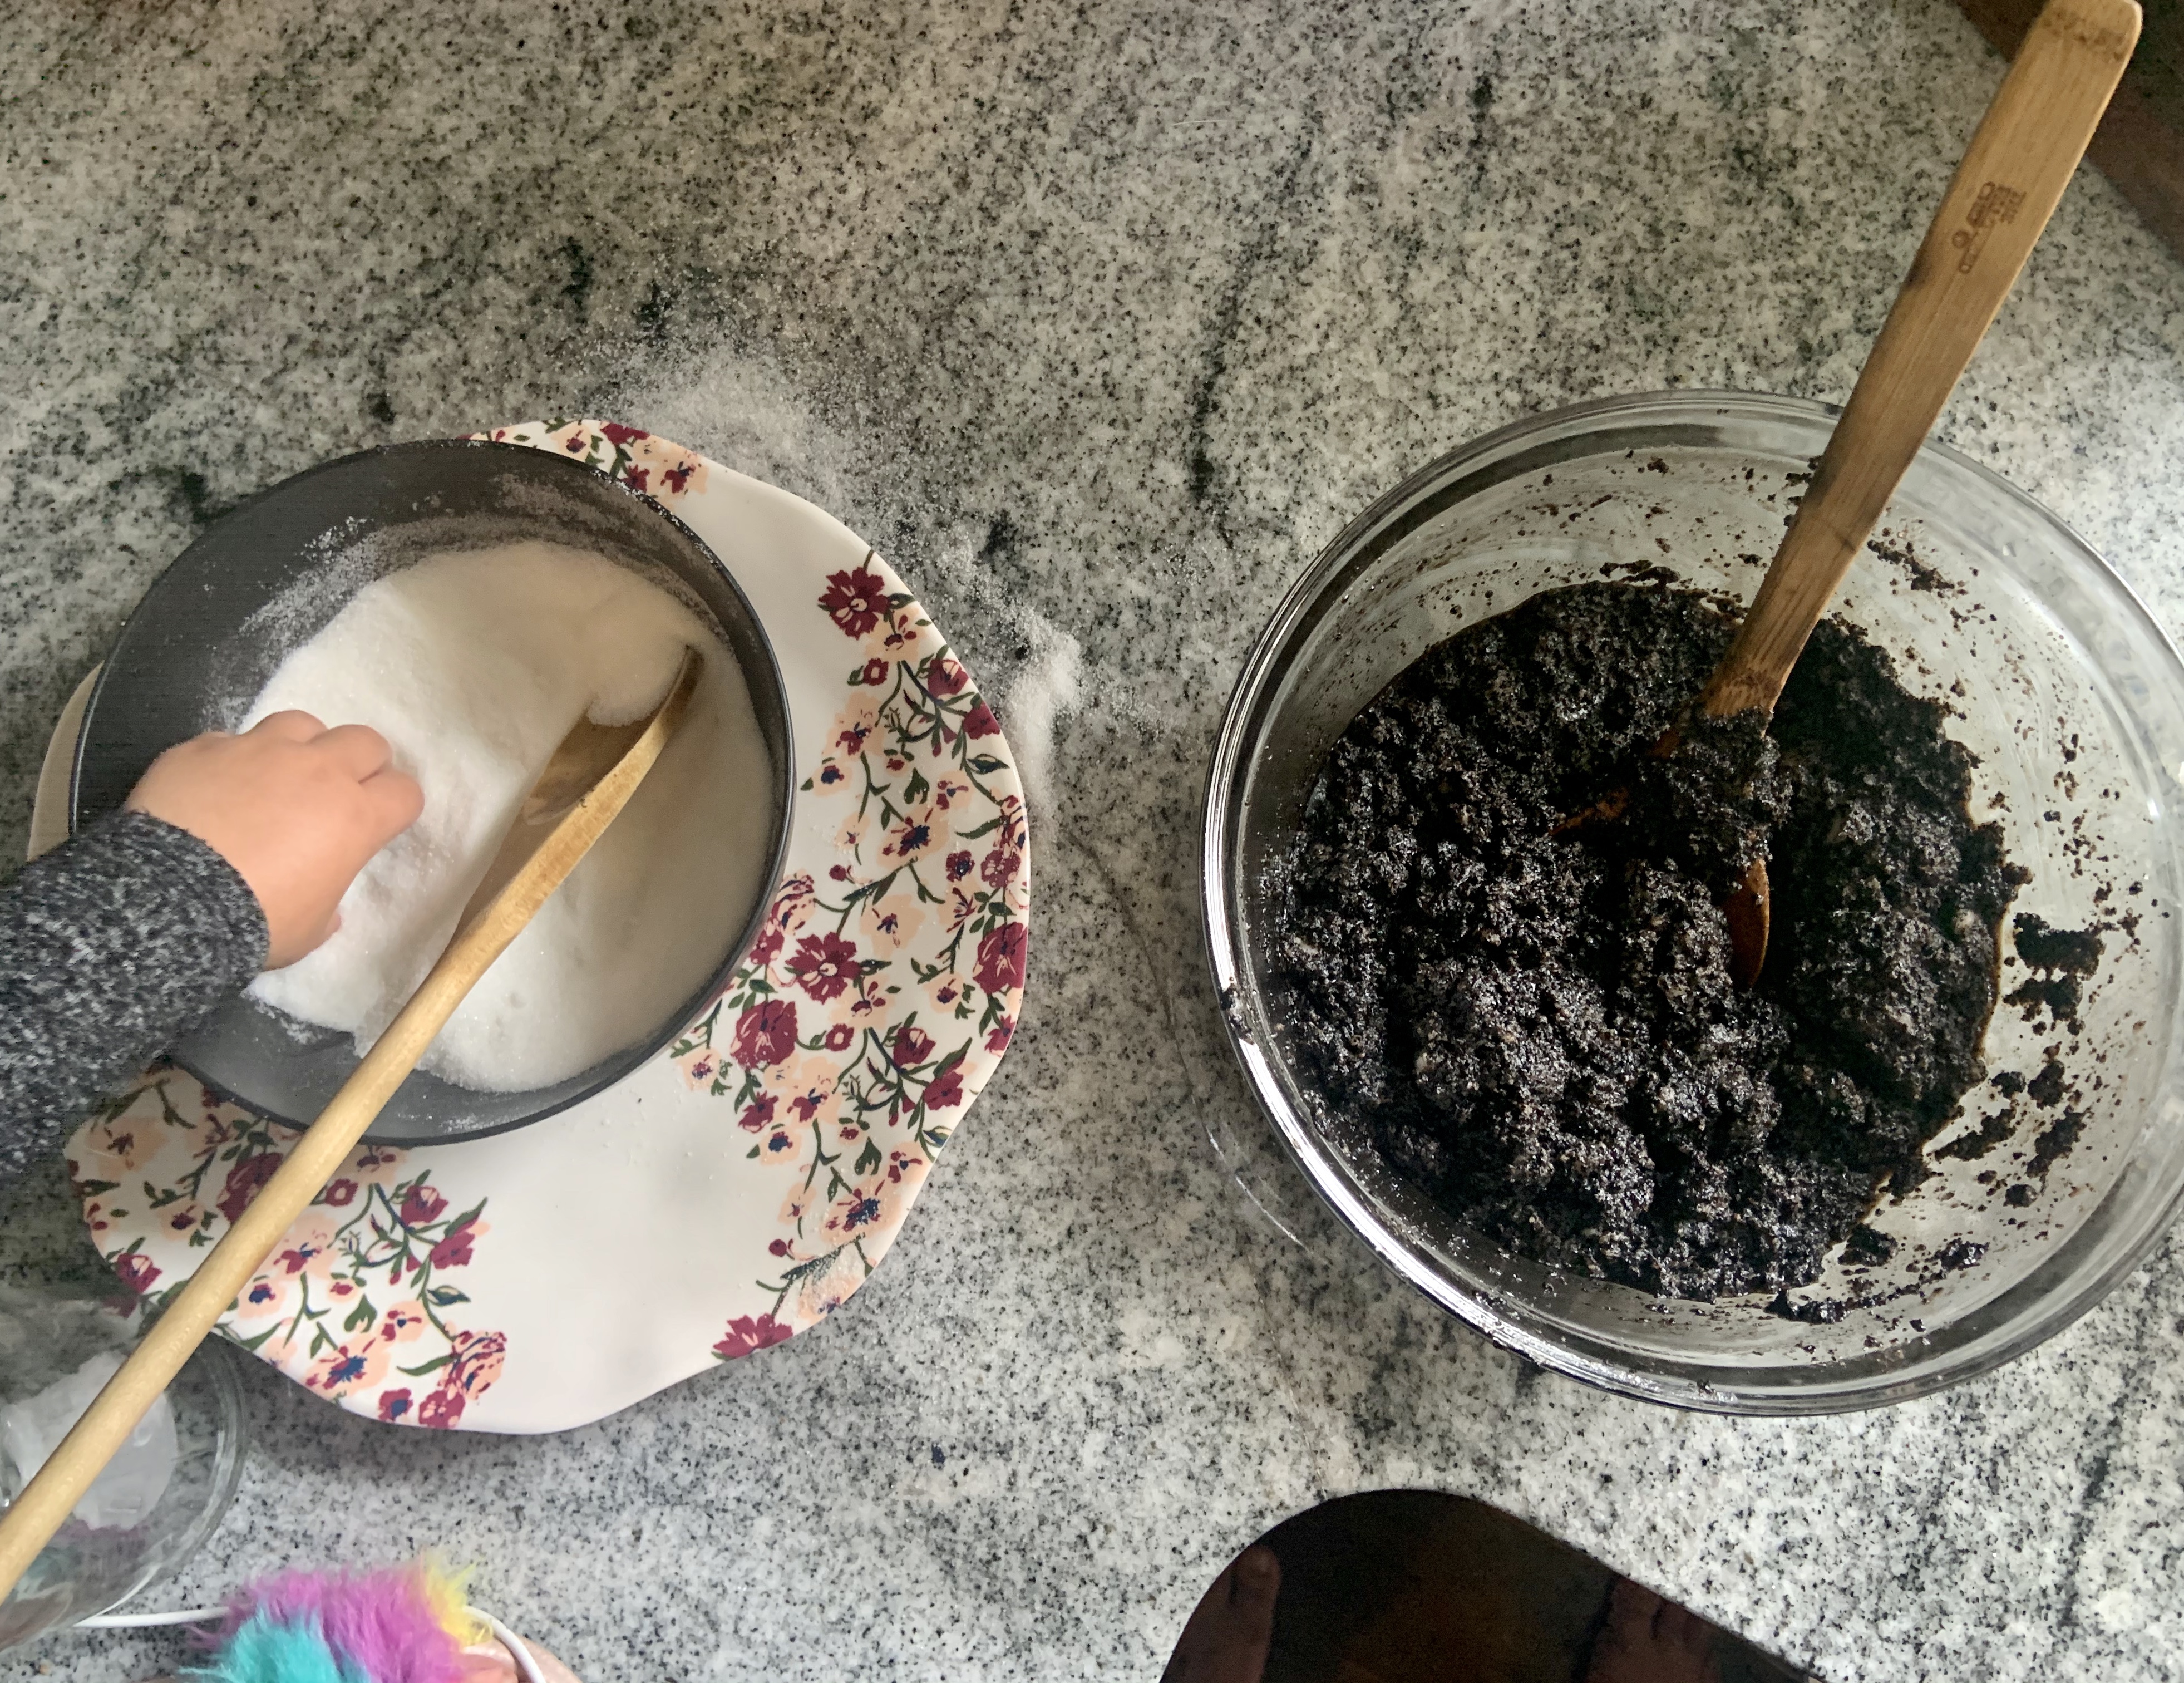
Mix the ingredients all together and once its blended evenly (sort of liked crushed Oreos) put them in a jar! Yes, it’s that easy.
To use this scrub, I’ve used it in the shower. Just get enough to scrub on whatever body part and rinse off with warm water. Your skin will feel so much softer. I’ve read online (but I’m not a scientist or anything), that coffee helps tighten the skin. If anything, it makes your skin feel softer and it smells amazing.
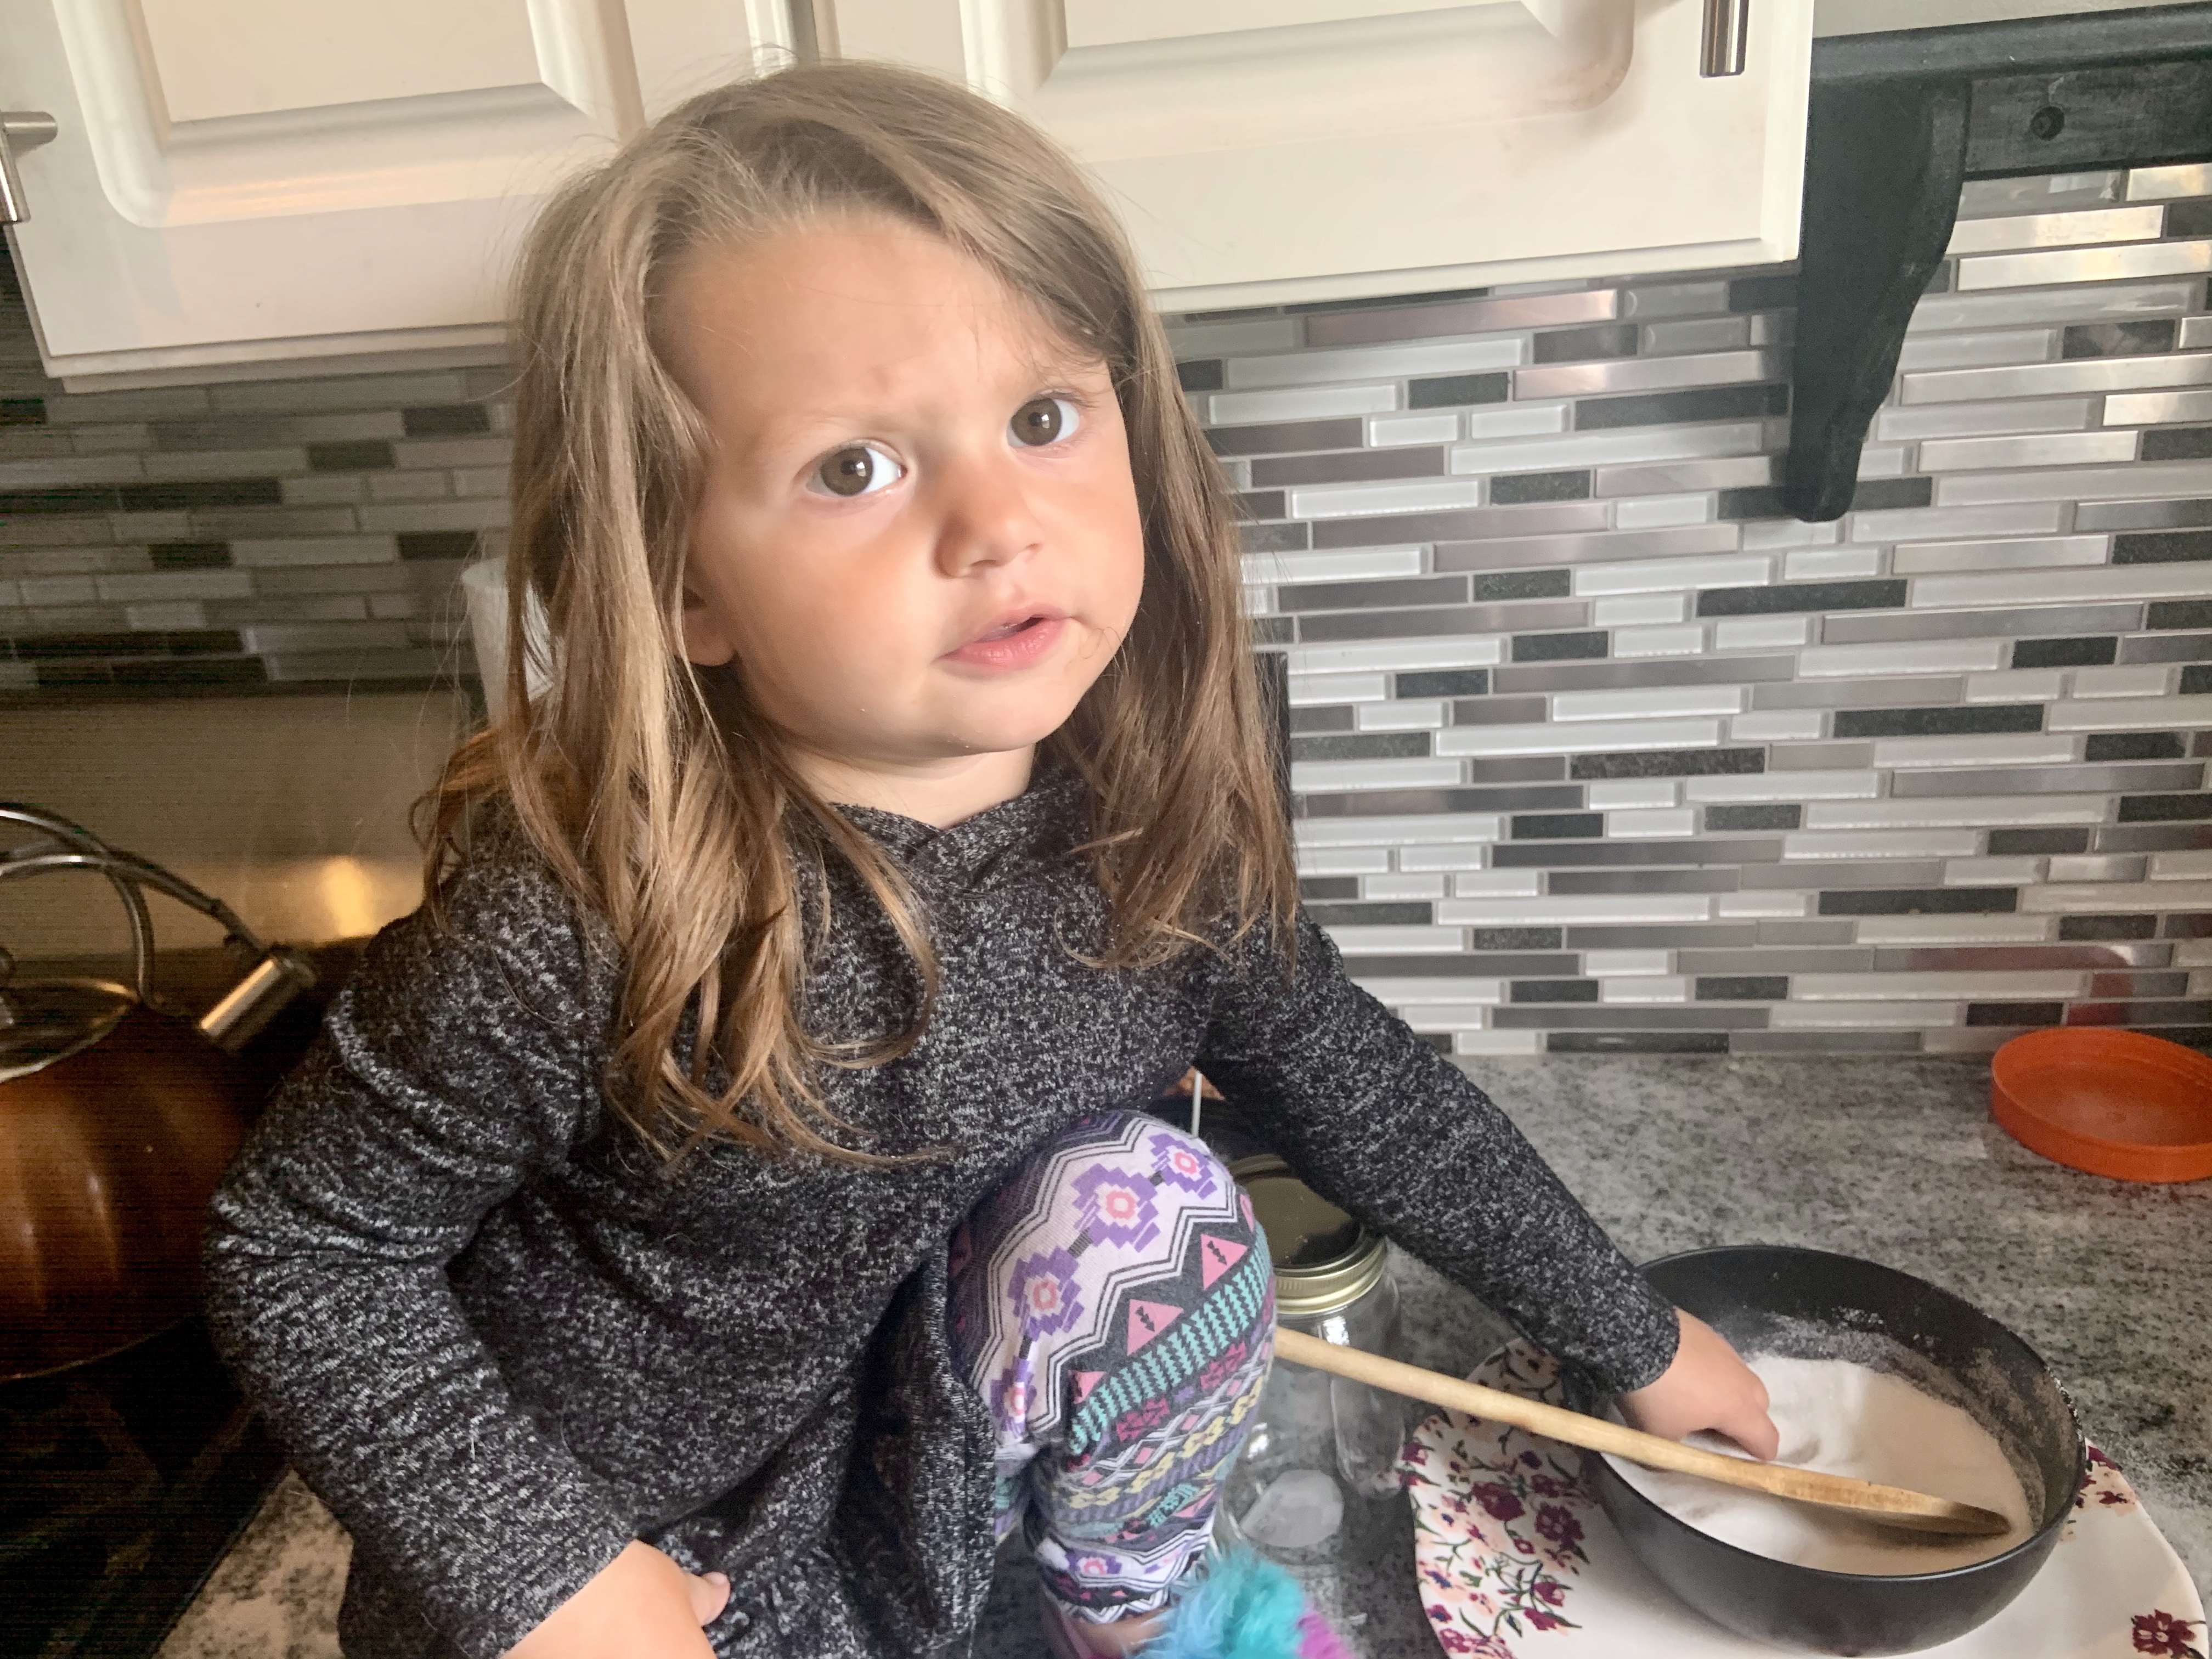
I loved making this with Mila because if it got outside the bowl, it wasn’t a big deal. Plus, I feel like kids connect so much when they can cook with you. She loves putting the ingredients in the bowl and stirring. It was also funny to watch her smell it and have to persuade her not to eat anything!
Tin Can Vases
This is probably the easiest one on the list and it came out SO cute.
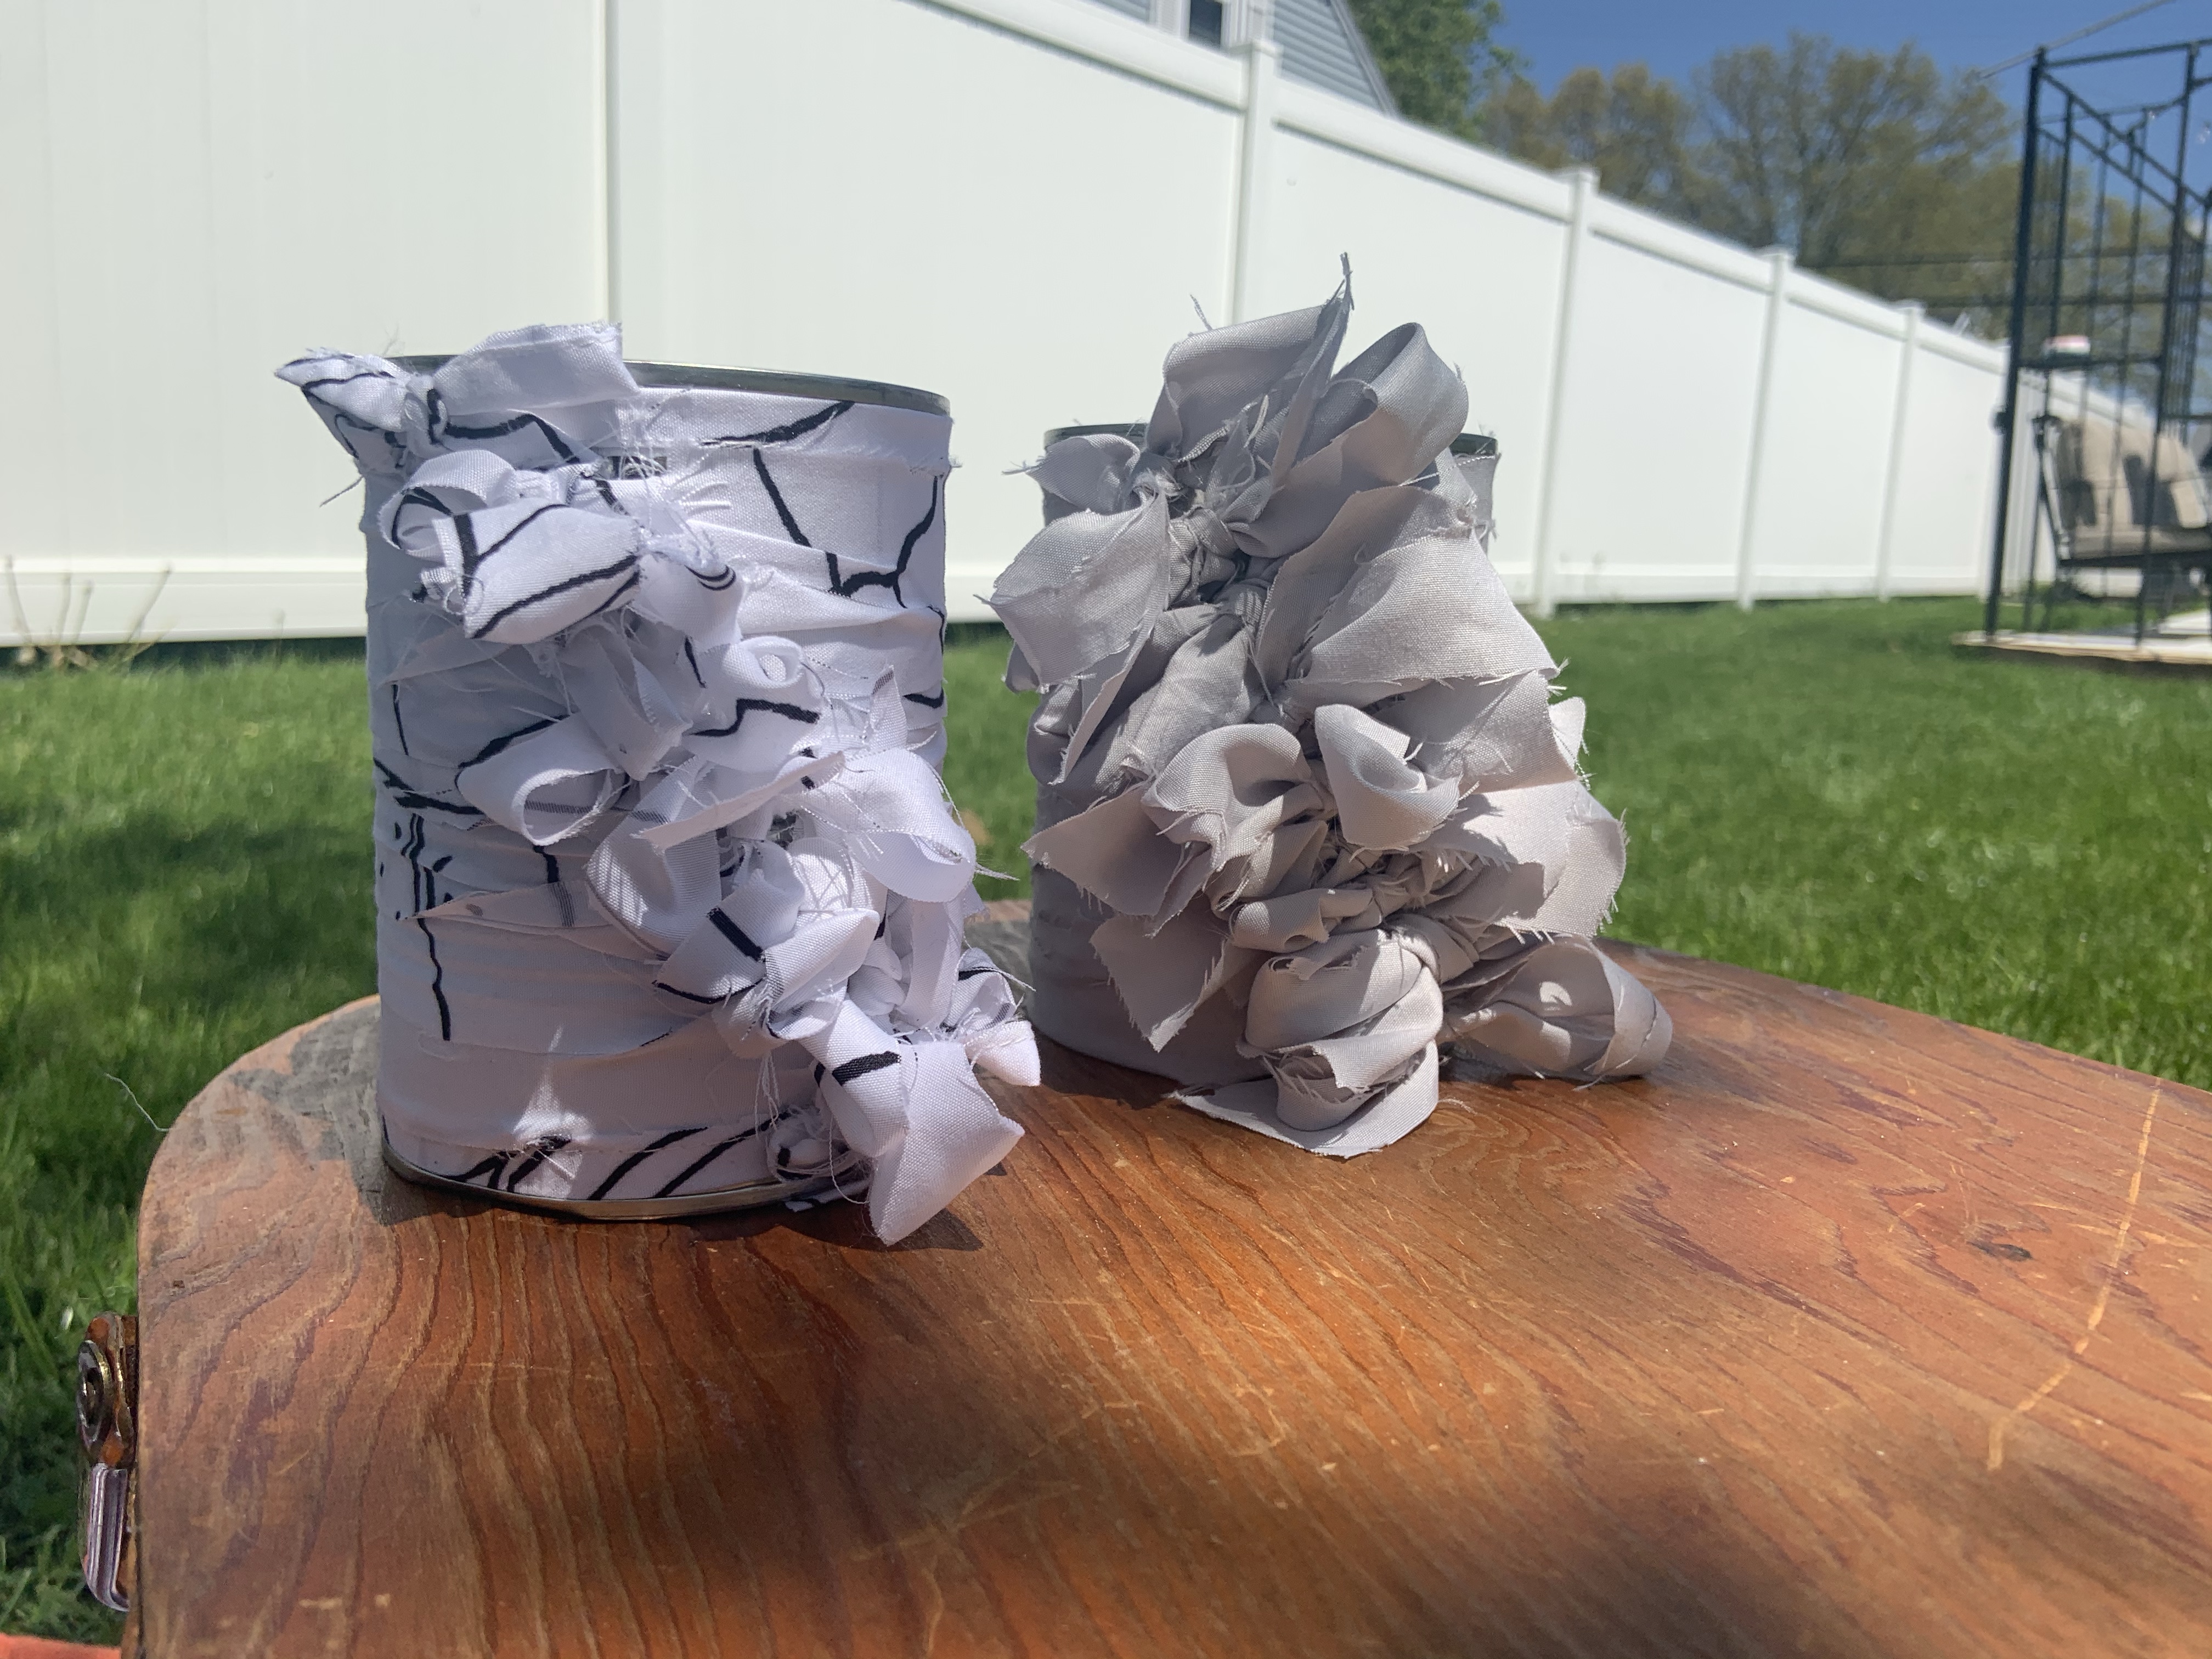
All I used was a can I washed out and scrap material. My material was the cover/bag that a sheet set came in. You could use an old shirt or any fabric that you’re wanting to throw away to give it a second life. Just measure how long the fabric needs to be to tie it around and then knot or bow it.
The opportunities on how you do this is endless. I love the way these two came out and am so glad I made them. Once I get another big can, I’ll definitely be making one for myself!
For this project, Mila didn’t technically help with the finished project. Since I was using scissors, I had her practice cutting with her kid’s scissors. She cut a few things then wanted to run around, which gave me time to finish them. This would be a nice project for older kids.
This little vase could be used to store lots of things or fill it up with handpicked flowers or handmade ones…
Bouquet of ‘Flowers’
If you’re scrambling or can’t find any flowers at the store or wherever, handmade flowers are so fun to make with your kids. Mila loves to paint and draw, so it’s a good fit for our little family. You can use different techniques or even have your older child cut flowers out, but I specifically did things age appropriate for Mila.
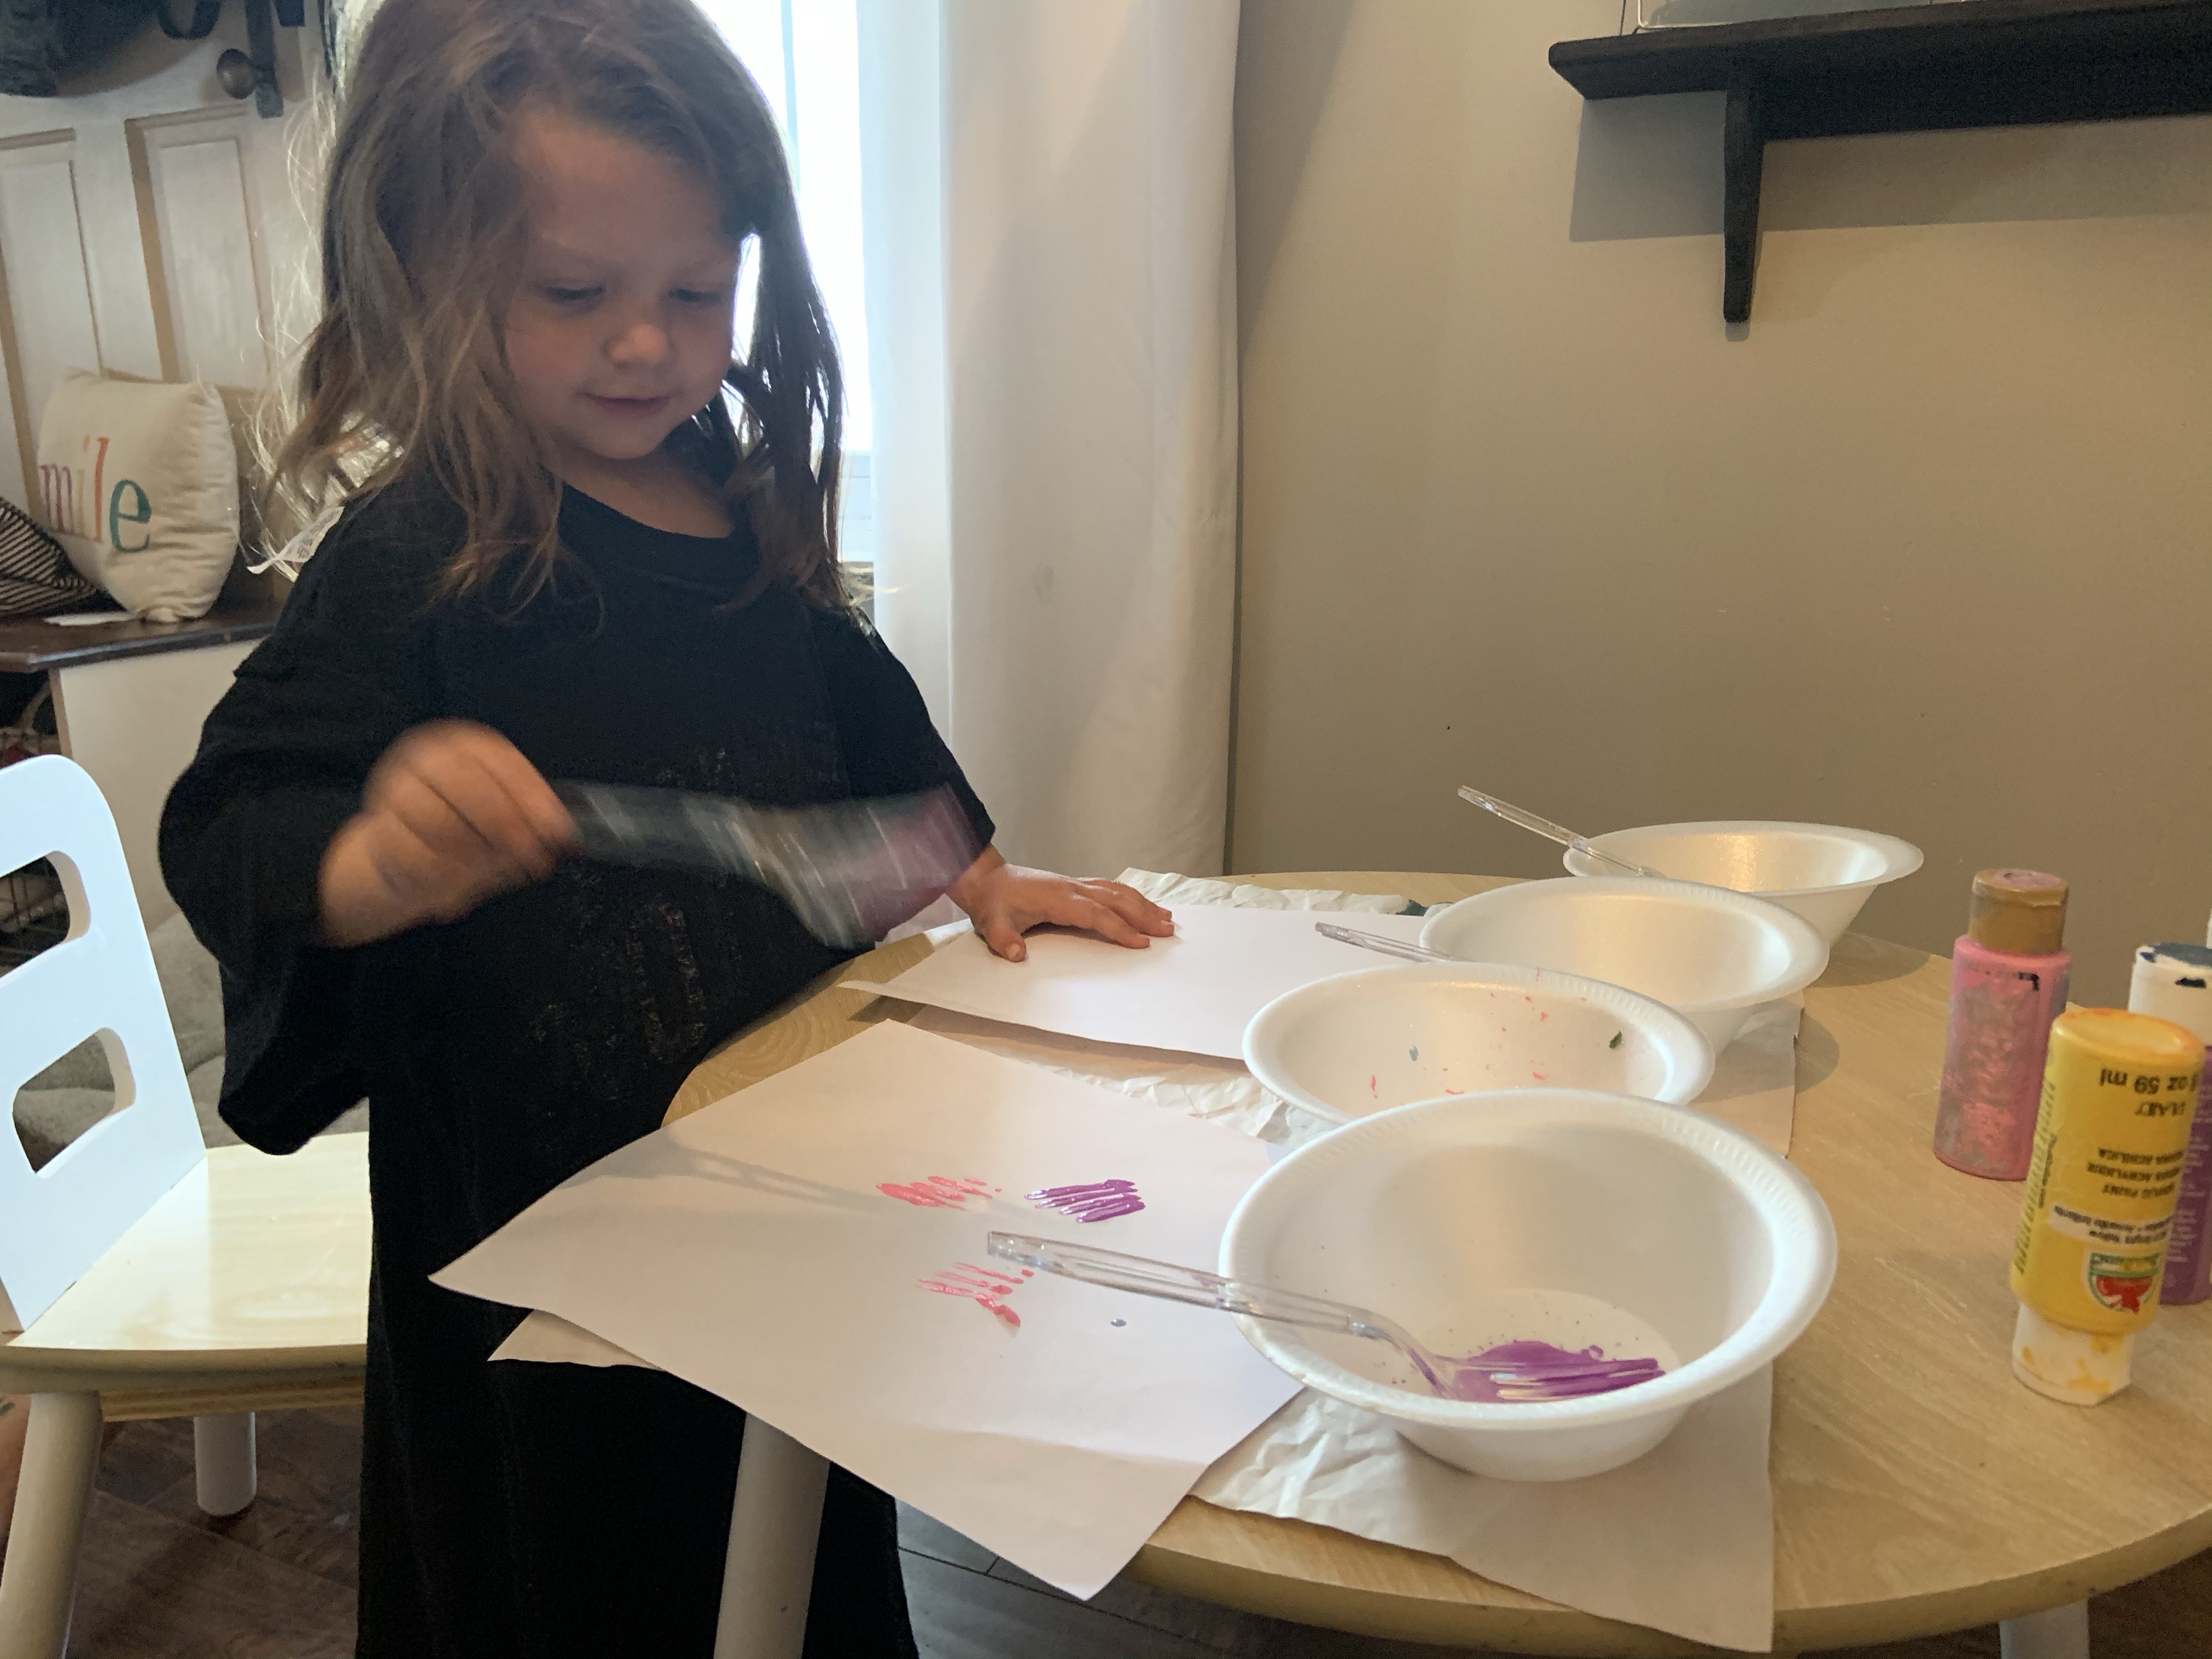
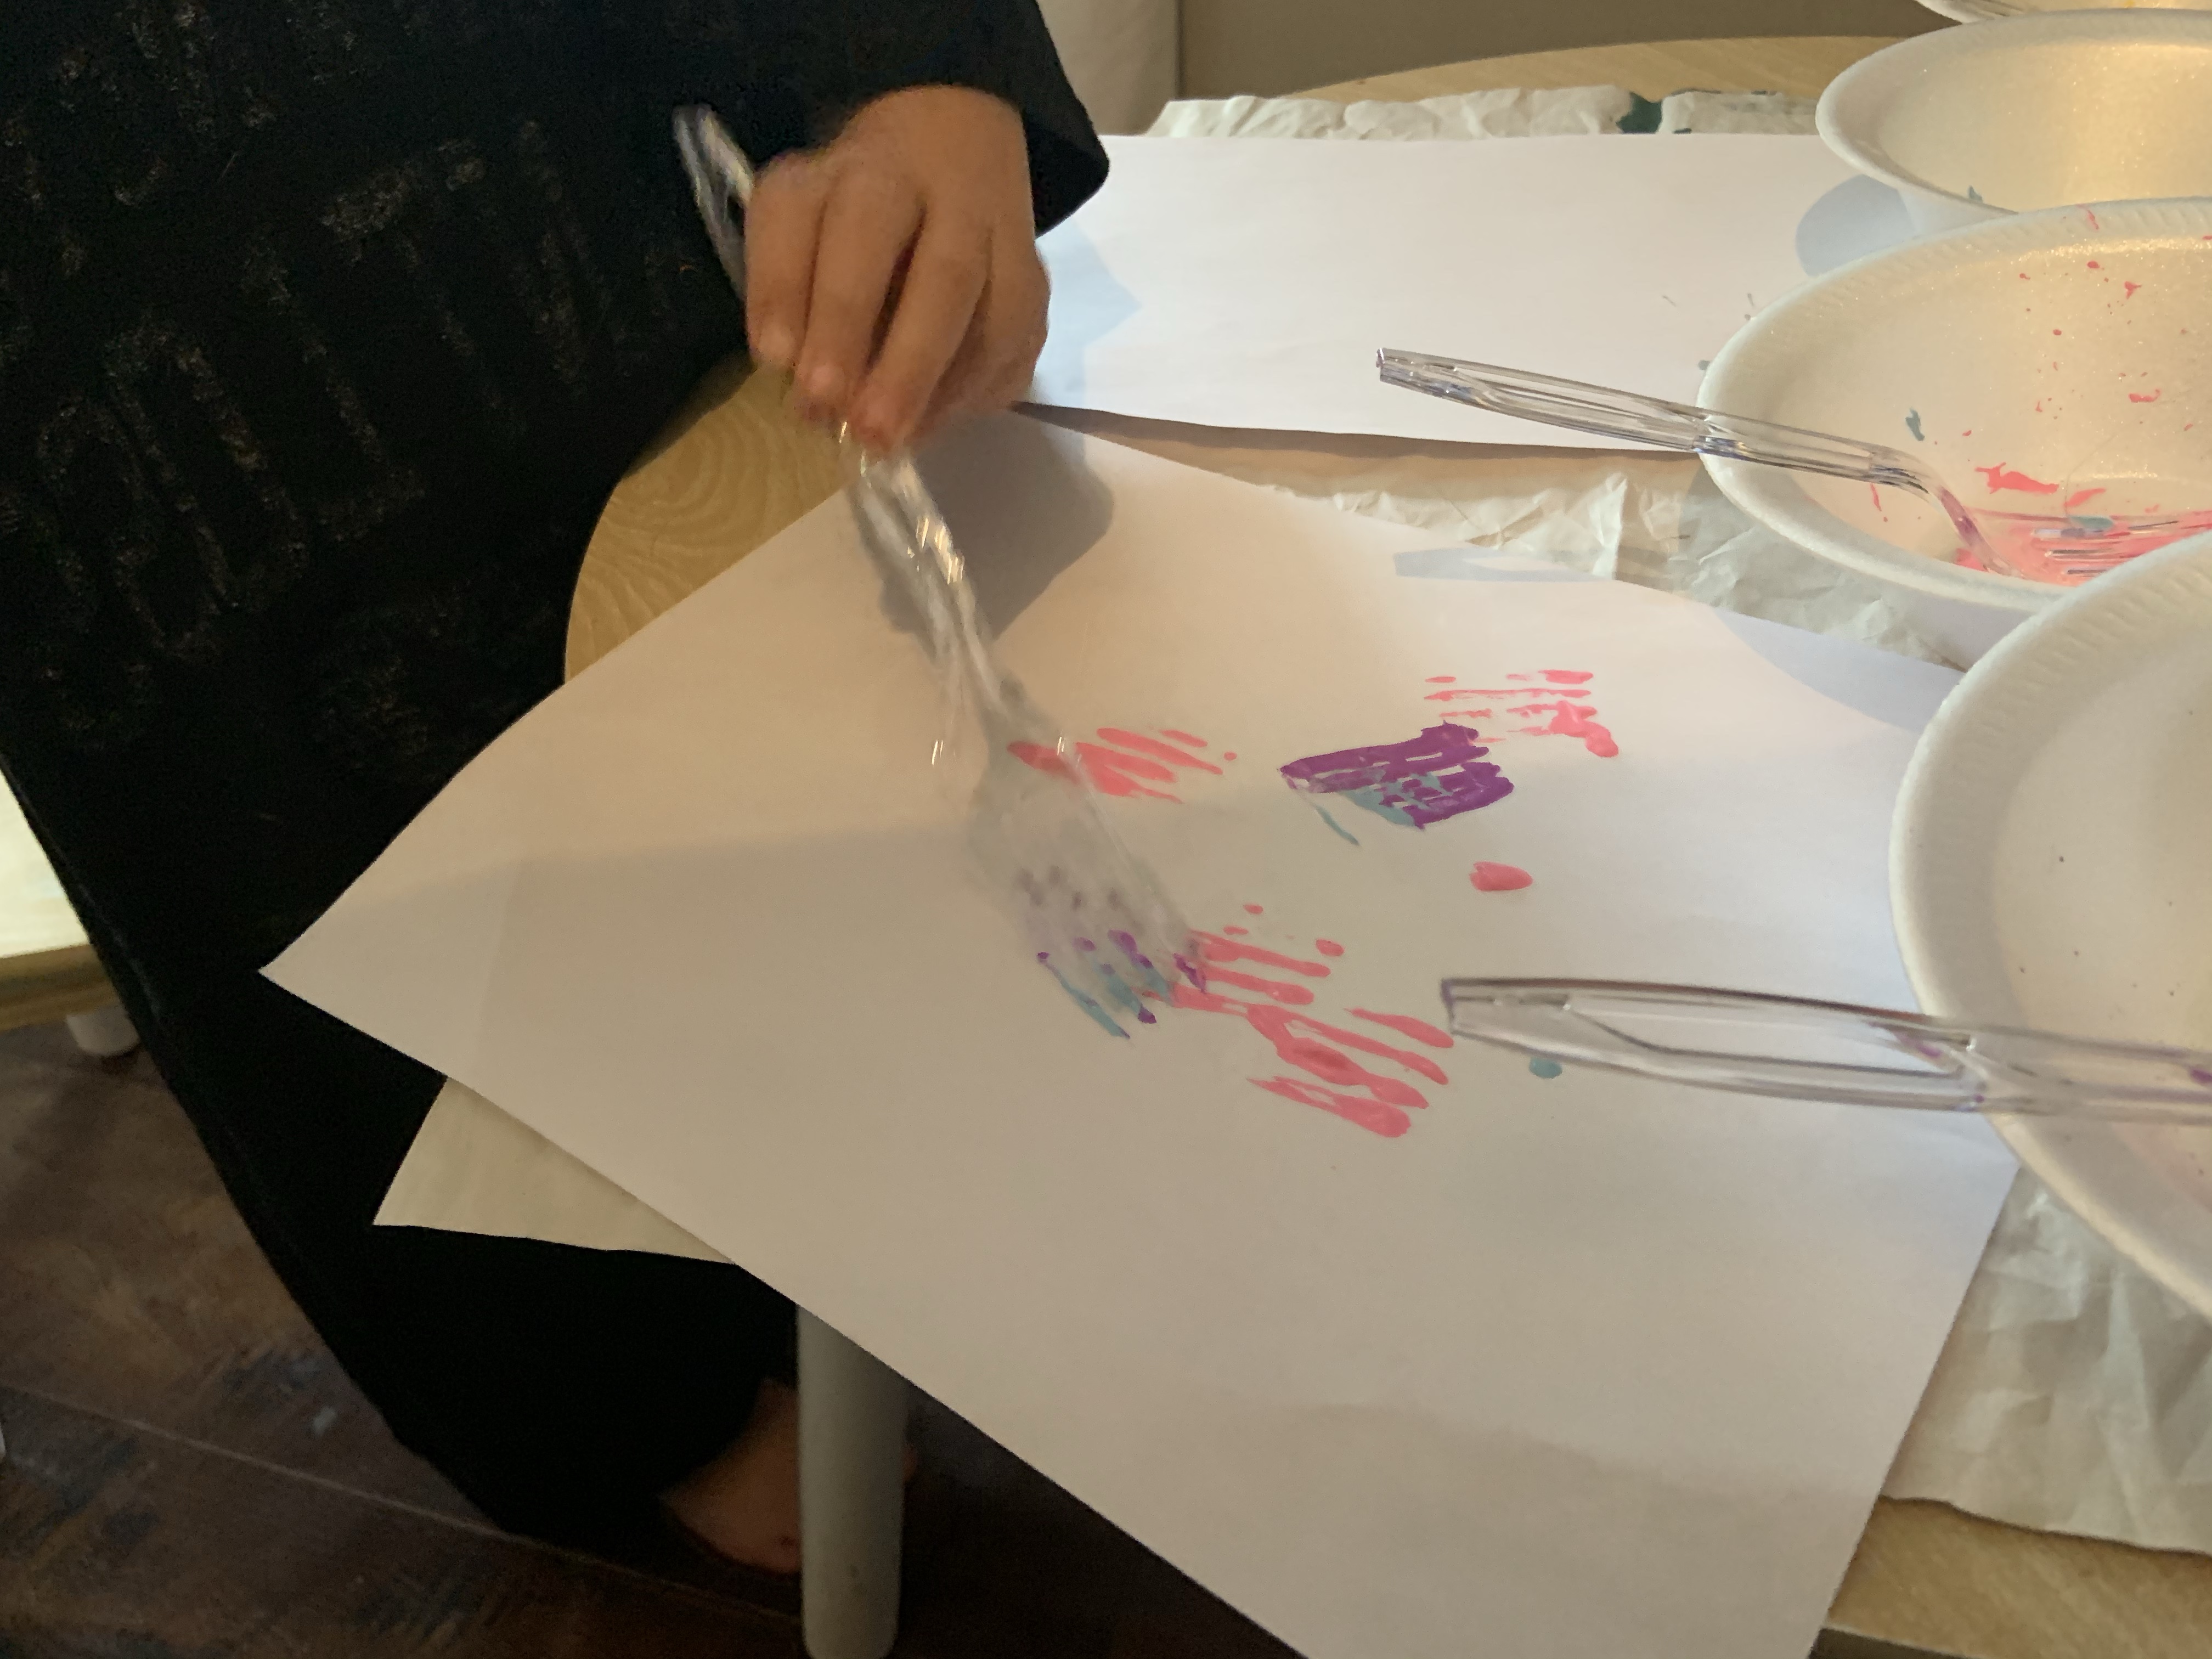
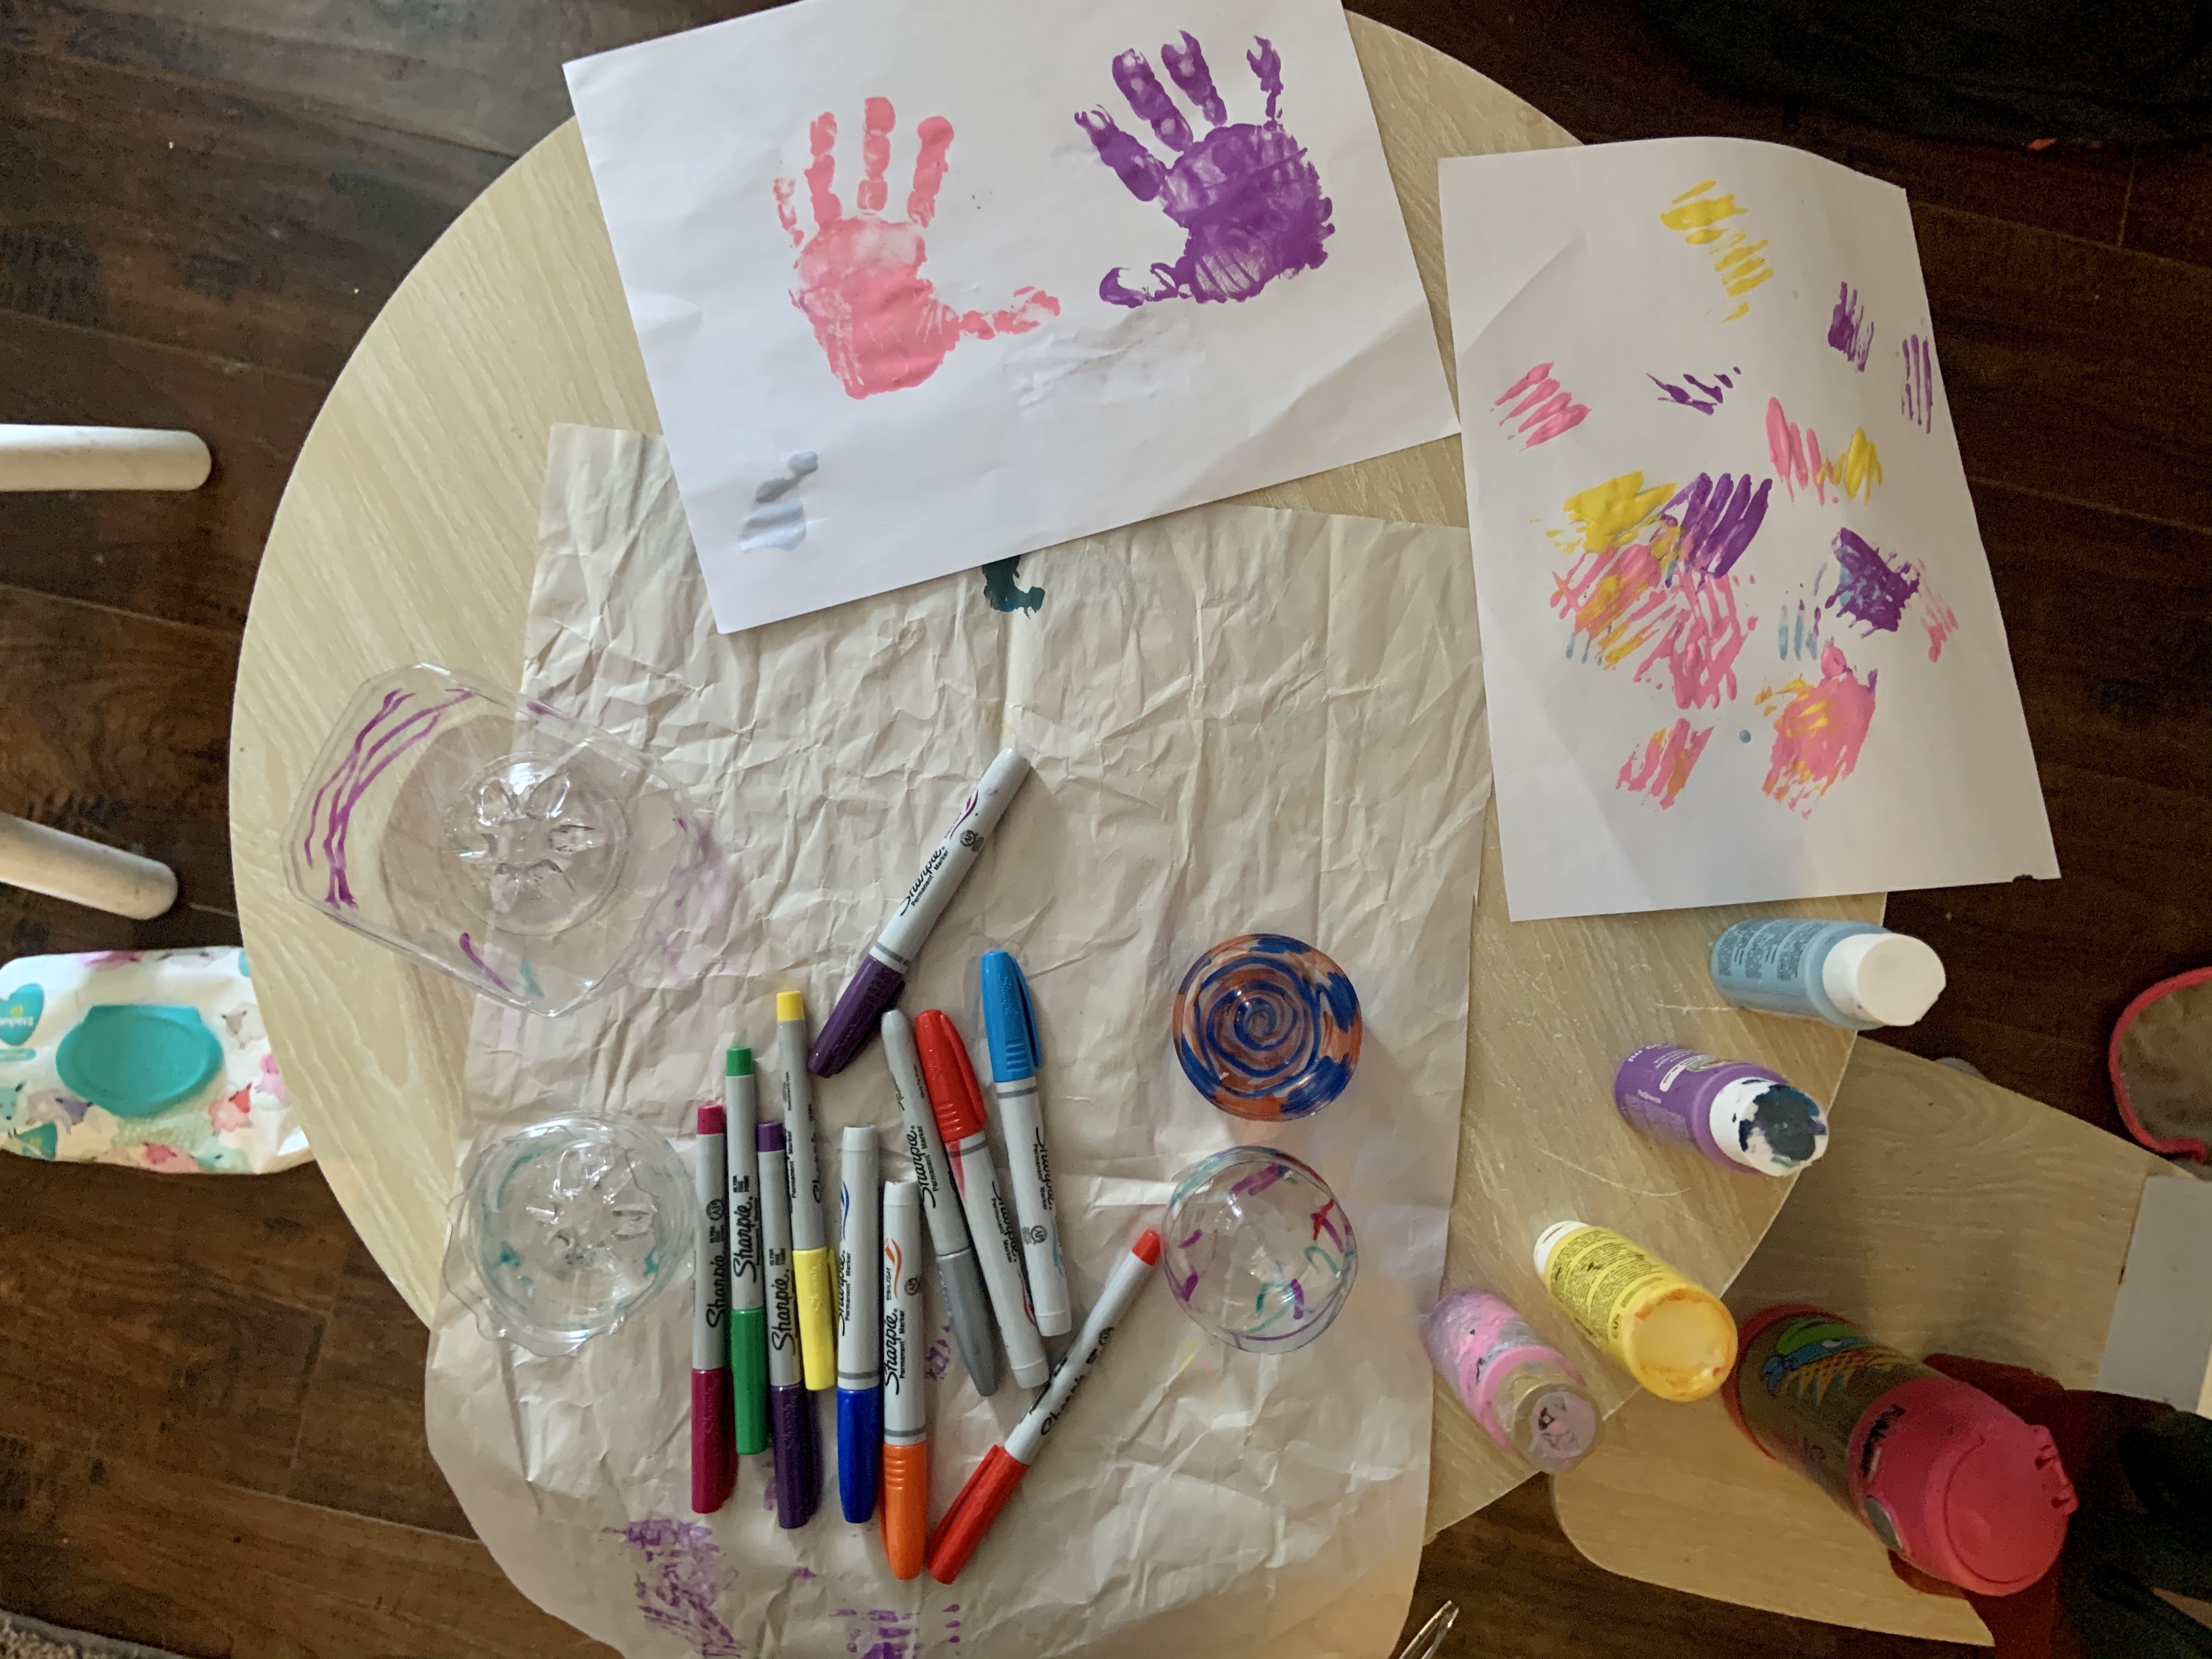
Fork Flowers– For these little flowers, I had four different paints in little bowls. Mila used a fork (one for each color) as a paint brush. It was different for Mila to use the fork, but she seemed to think it was interesting. She played around with it for about fifteen minutes. I haven’t done this yet, but I’m going to cut little parts of the painting and glue it to pipe cleaners.
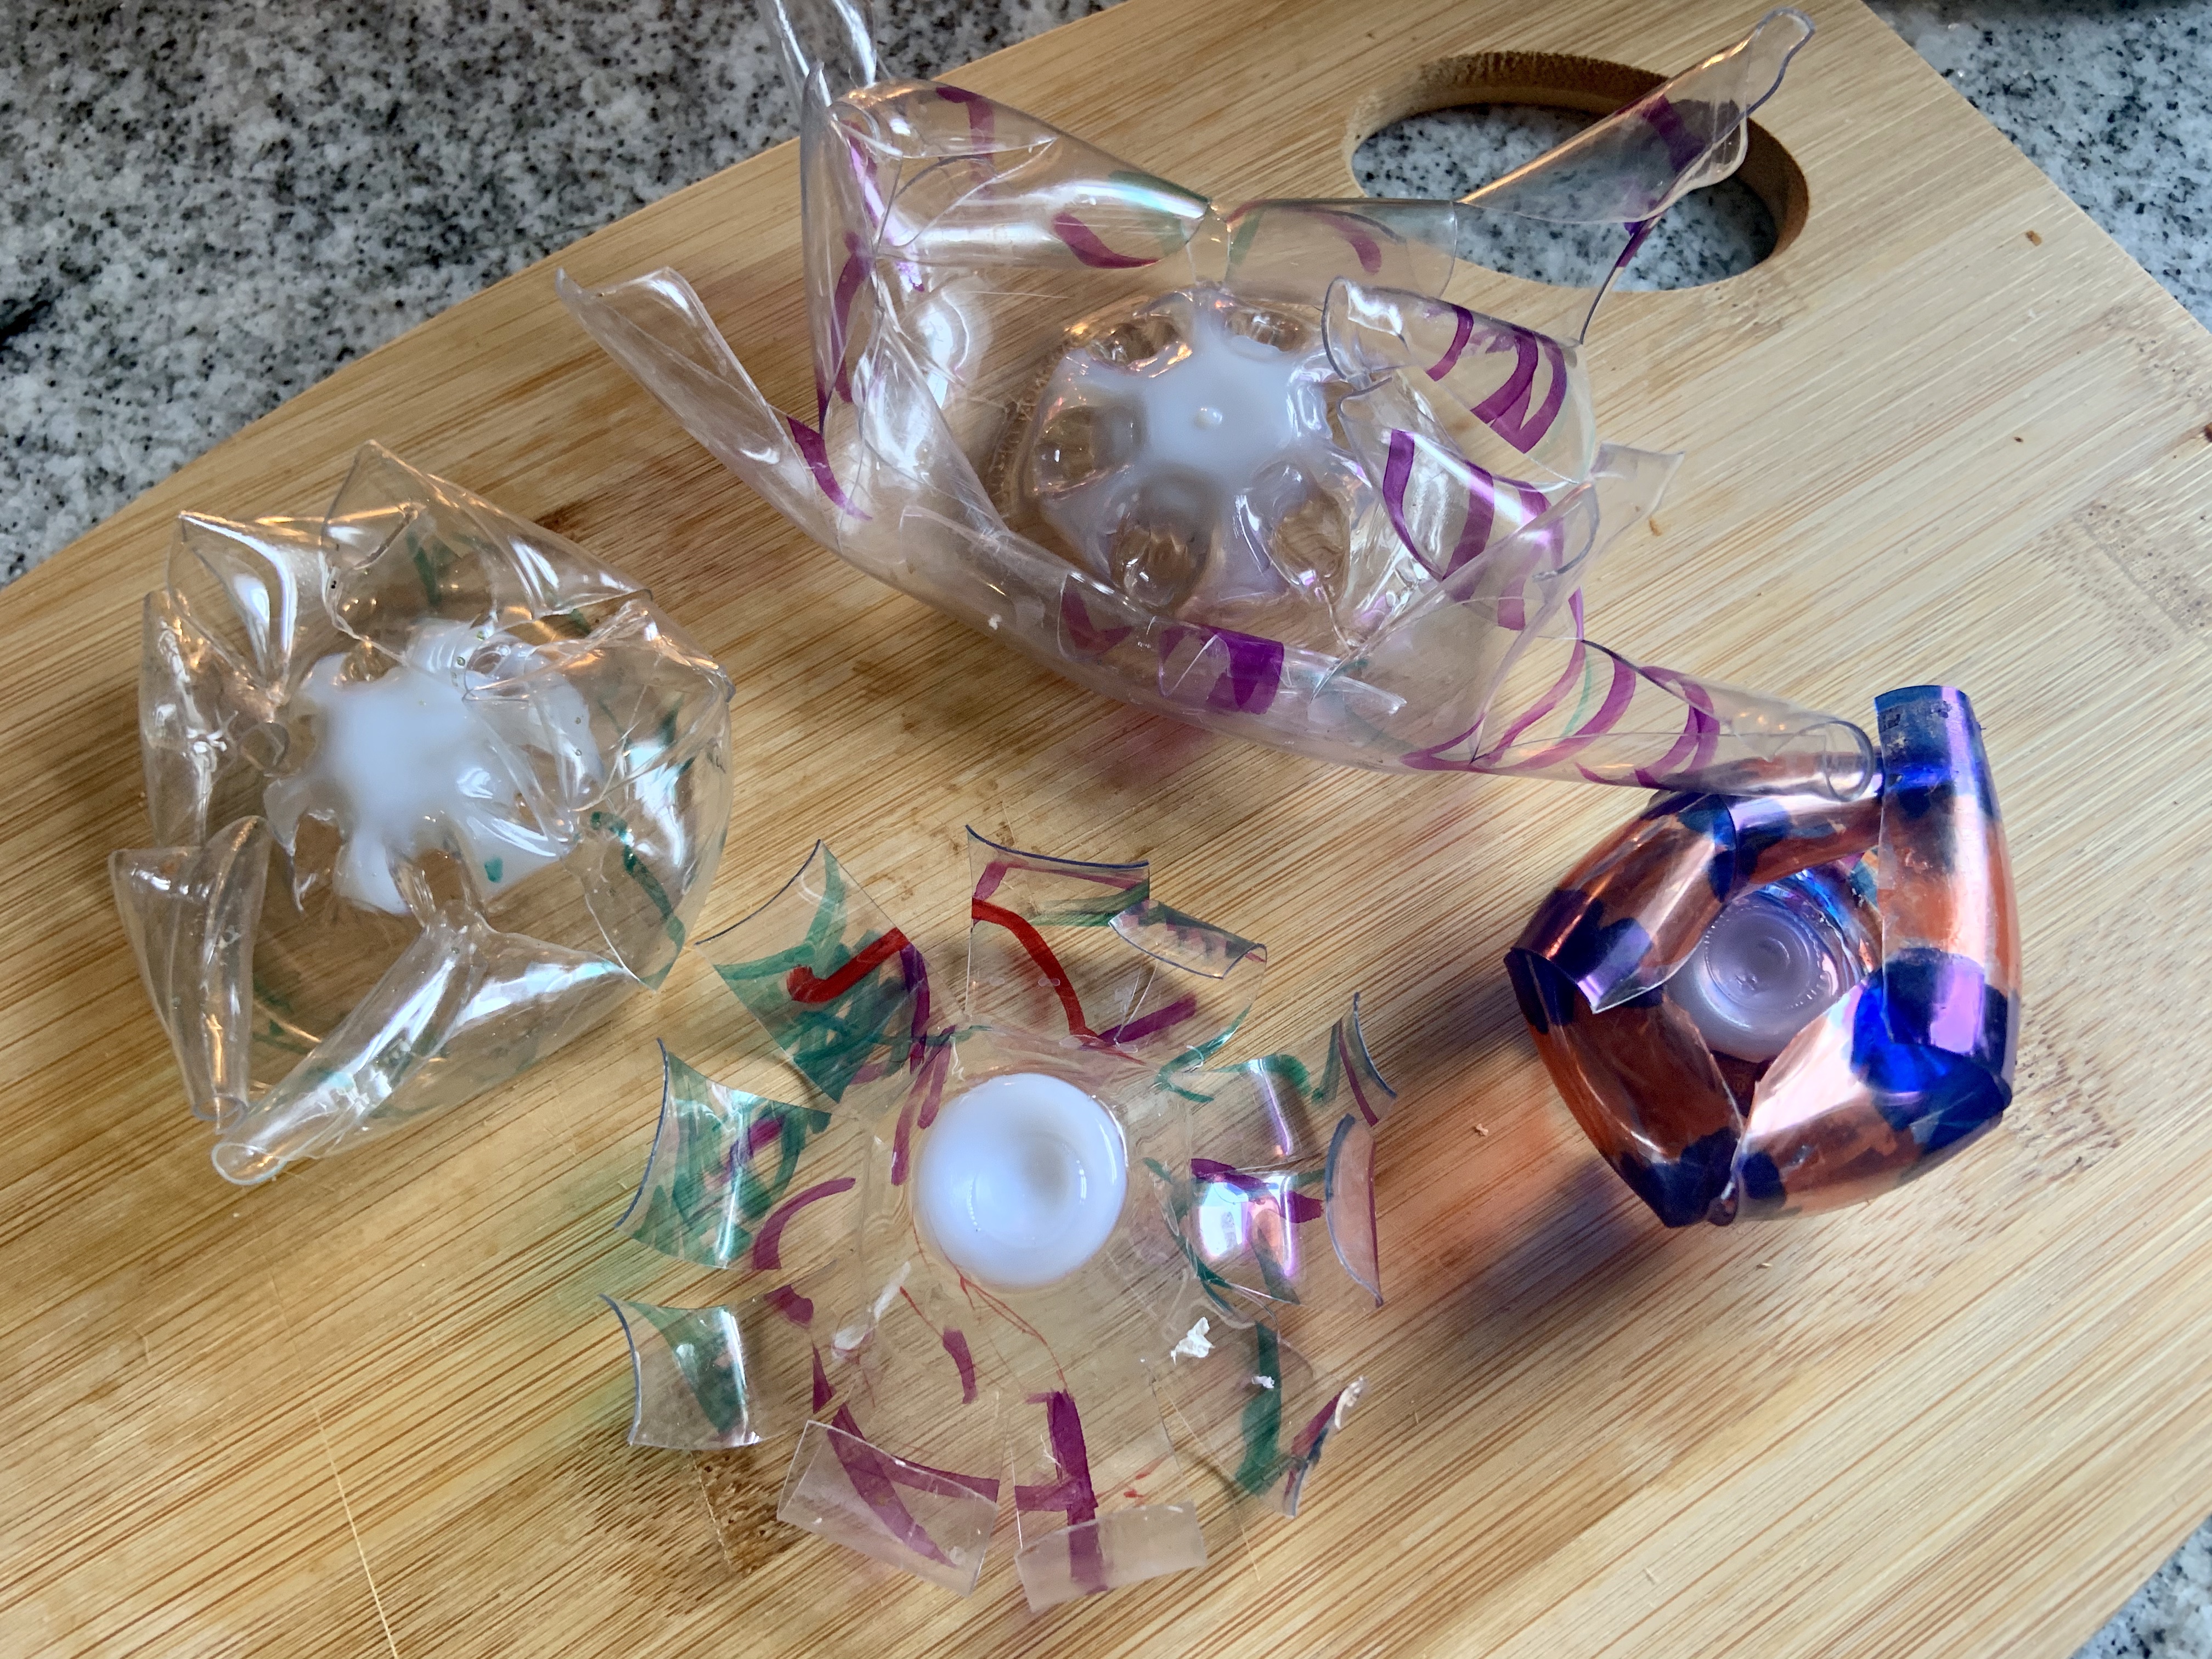
Plastic Bottle Flowers– First, I preheated the oven to 250 before I even showed Mila how to color these. There’s so many times I forget to preheat and it takes me so much longer. Then, I used some plastic bottles that were waiting to be recycled and cut the bottoms off. I had Mila use permanent markers to color them. When she was finished, I cut ‘petals’ (slits) and put them on a baking sheet. After, I threw them in the oven to bake for a little while. Honestly, I forgot they were in there and put Mila down for a nap… oops. They didn’t melt and I think they turned out really cute. I’ll either glue these on craft sticks or pipe cleaners to put in the bouquet too.
Mila also wanted to paint her hand, so we’ll use one of these as flowers as well. To fill up the bouquet, you could help draw flowers with your child or even make some out of pipe cleaners. Either way, this will be the cutest bouquet your loved one will get.
Watercolor Cards
This one was a lot of fun to do. I love making handmade cards for people. It just shows so much personality and just that extra little touch.
Mila painted these cards a few days ago. It was a salt technique too, which made the prints seem to have glitter on them. While she napped, I got creative and made more flowers. On the back, I’ll write a little message and have Mila ‘sign’ it too. The opportunities are endless with these and they can be as elaborate as you’d like them to be!
I hope you like these little DIYs. They’re not exclusively for Mother’s Day either! If you decide to do any of them, I’d love see your pictures!
Hello again today! I’m actually surprised I’ve had time to write twice today and get everything that I’ve gotten done, done.
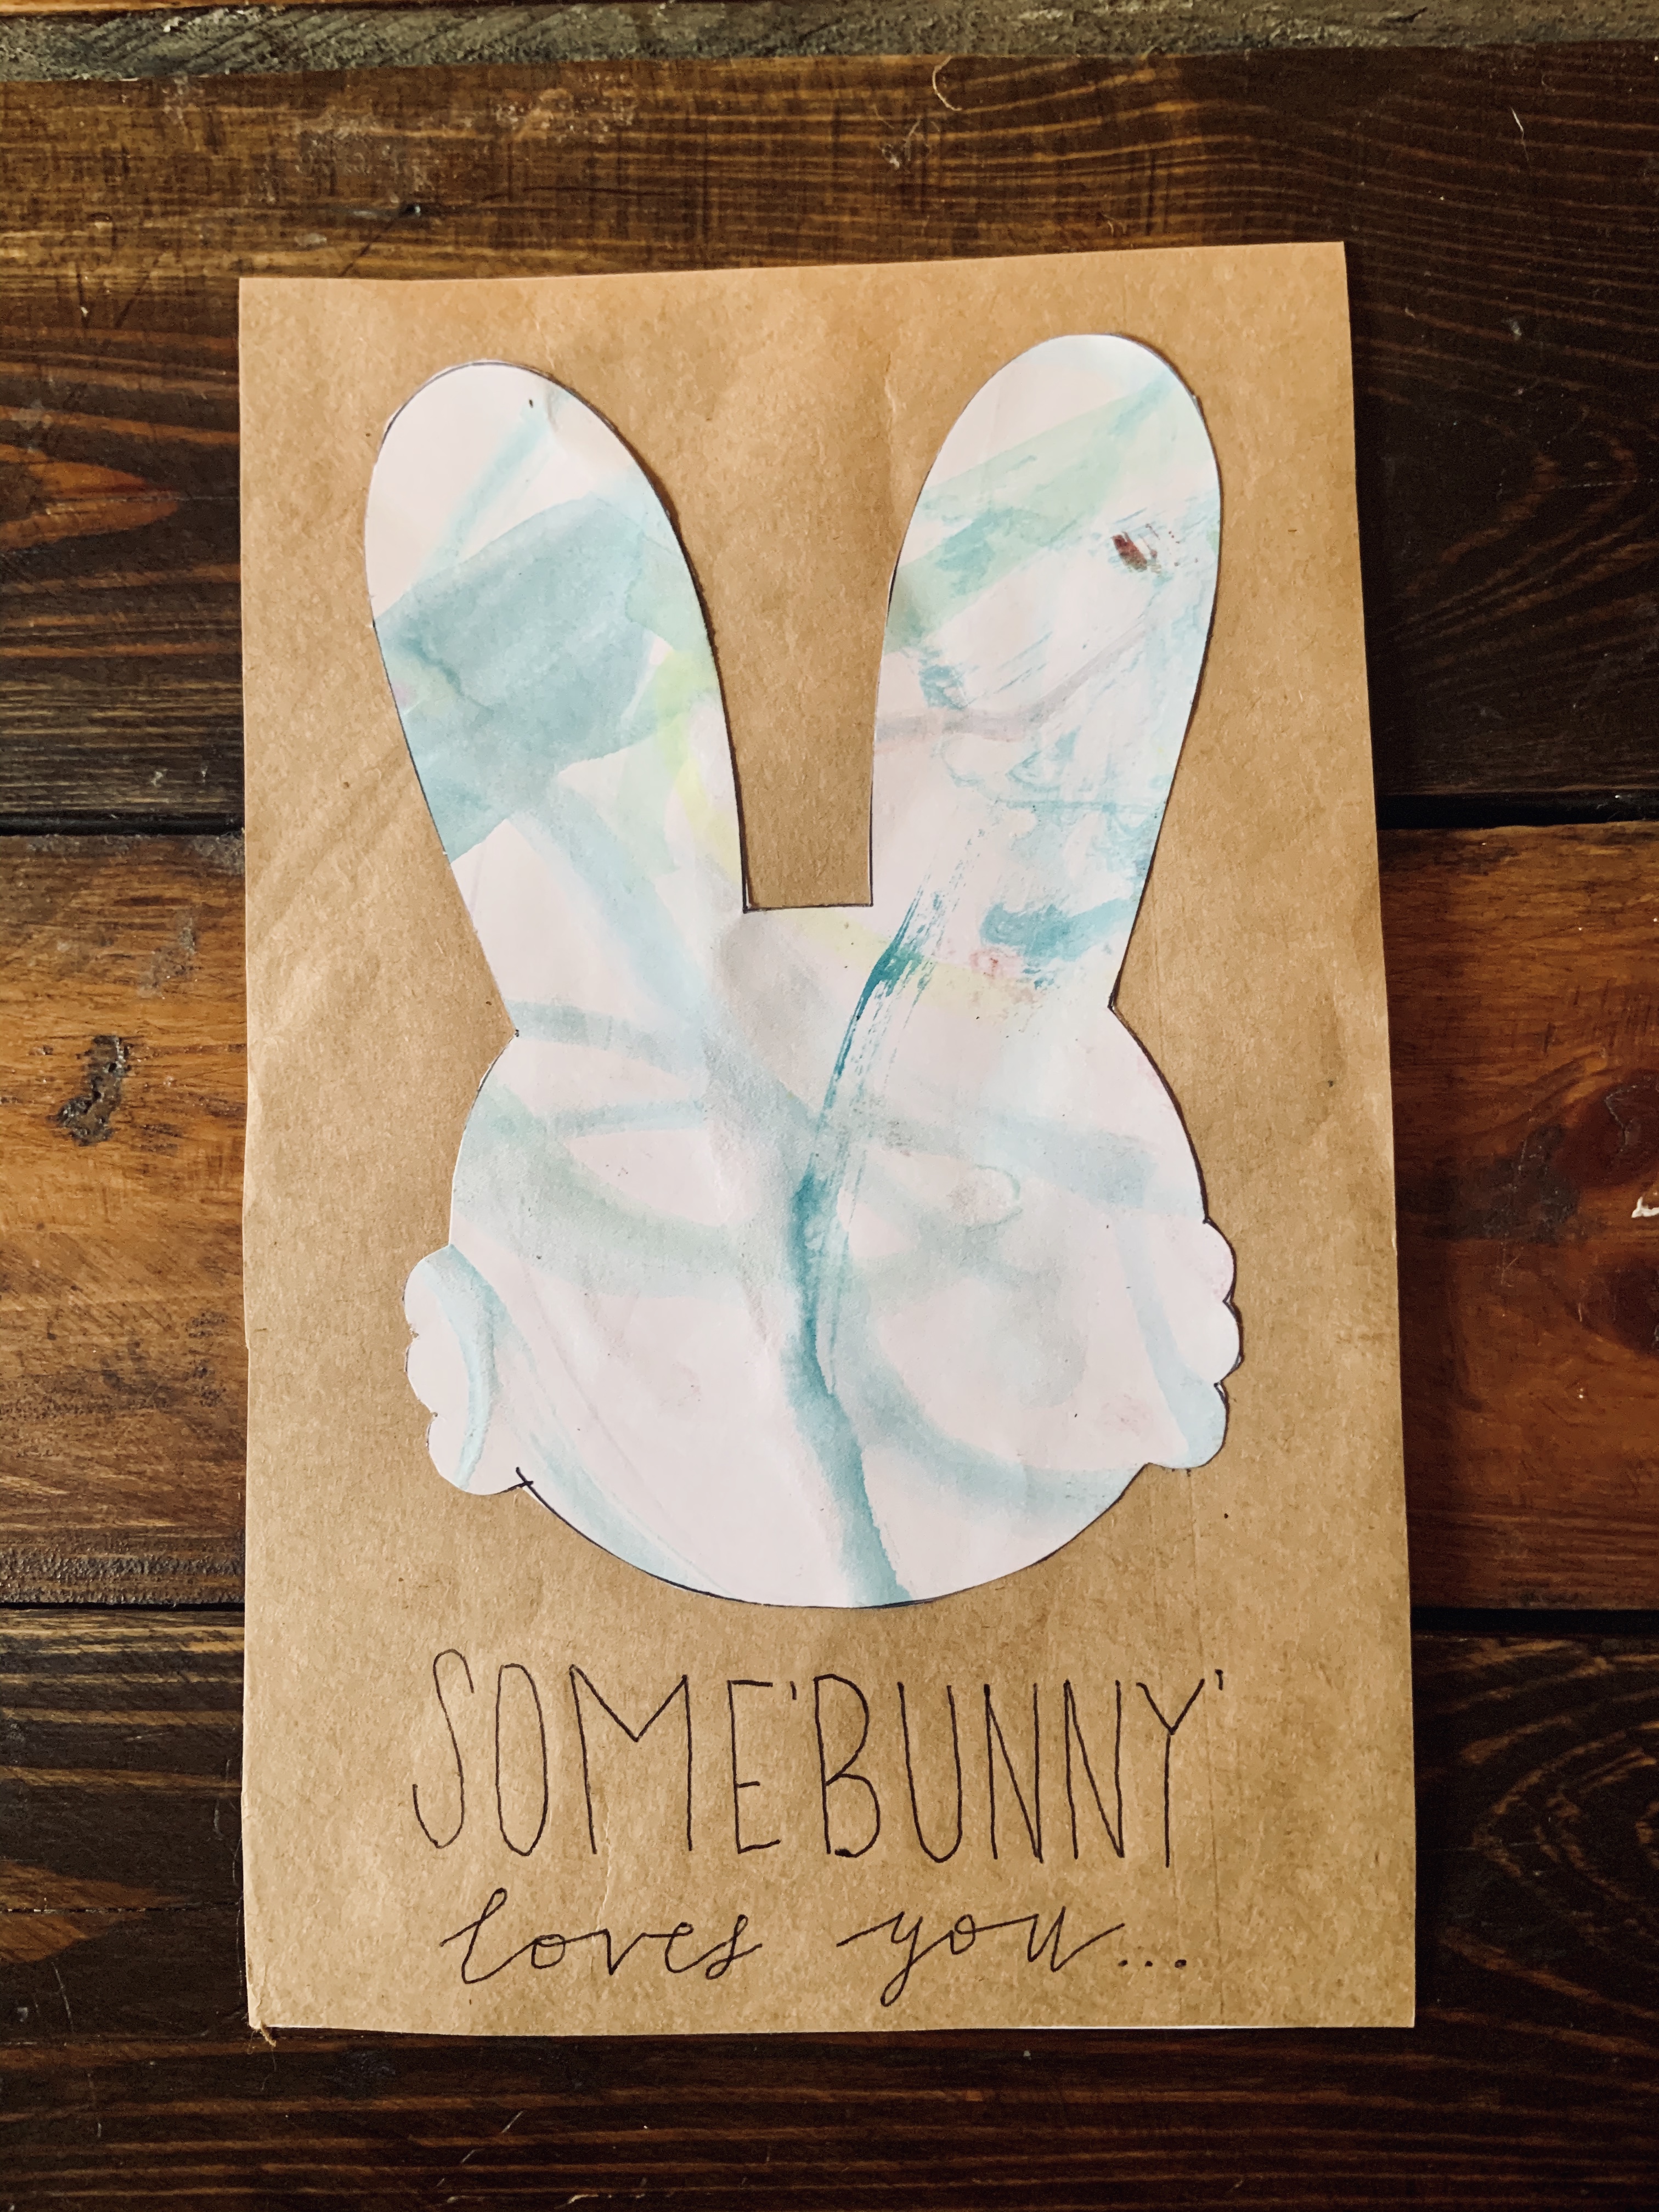
SO the title of this post is a little deceiving. Mila didn’t actually make this completely by herself. I did the cutting, taping, and lettering. She did the painting part and then went to play. If she was a little older, like preschool age, I think she would have been able to do a lot more. The cutting is a little advanced, but I love perfectly imperfect crafts made by kids.
This was her first time experimenting with watercolor. She loves to paint, but usually uses craft paint. I was pretty impressed with how she did with the extra steps. She kept wanting to put her brush in the water, then paint, then back to the water. I ended up painting with her to show her how it went. For some reason, she was feeling the cool colors.
While she was off playing, I traced a bunny onto the paper. I used the same bunny outline as the one she did in her painting a few days ago. Then, I taped it on the back of Kraft paper and that onto random scrapbook paper too.
I took scrap white paper and taped it on the scrap paper to write on it as well.
This card turned out so cute. I actually am going to make myself one tonight, without the writing, to just have a keepsake for the year. If you find yourself missing family or have some free time tomorrow, this is a fun, easy craft that can be made adapted to any age.
It would be nice to send to relatives if you can’t see them tomorrow. Maybe I should’ve posted this earlier, but there’s always next year!
Again, wishing you all a happy and safe Easter Day.
If you decide to make this DIY Easter Watercolor Card, let me know in the comments. I love seeing your creations!
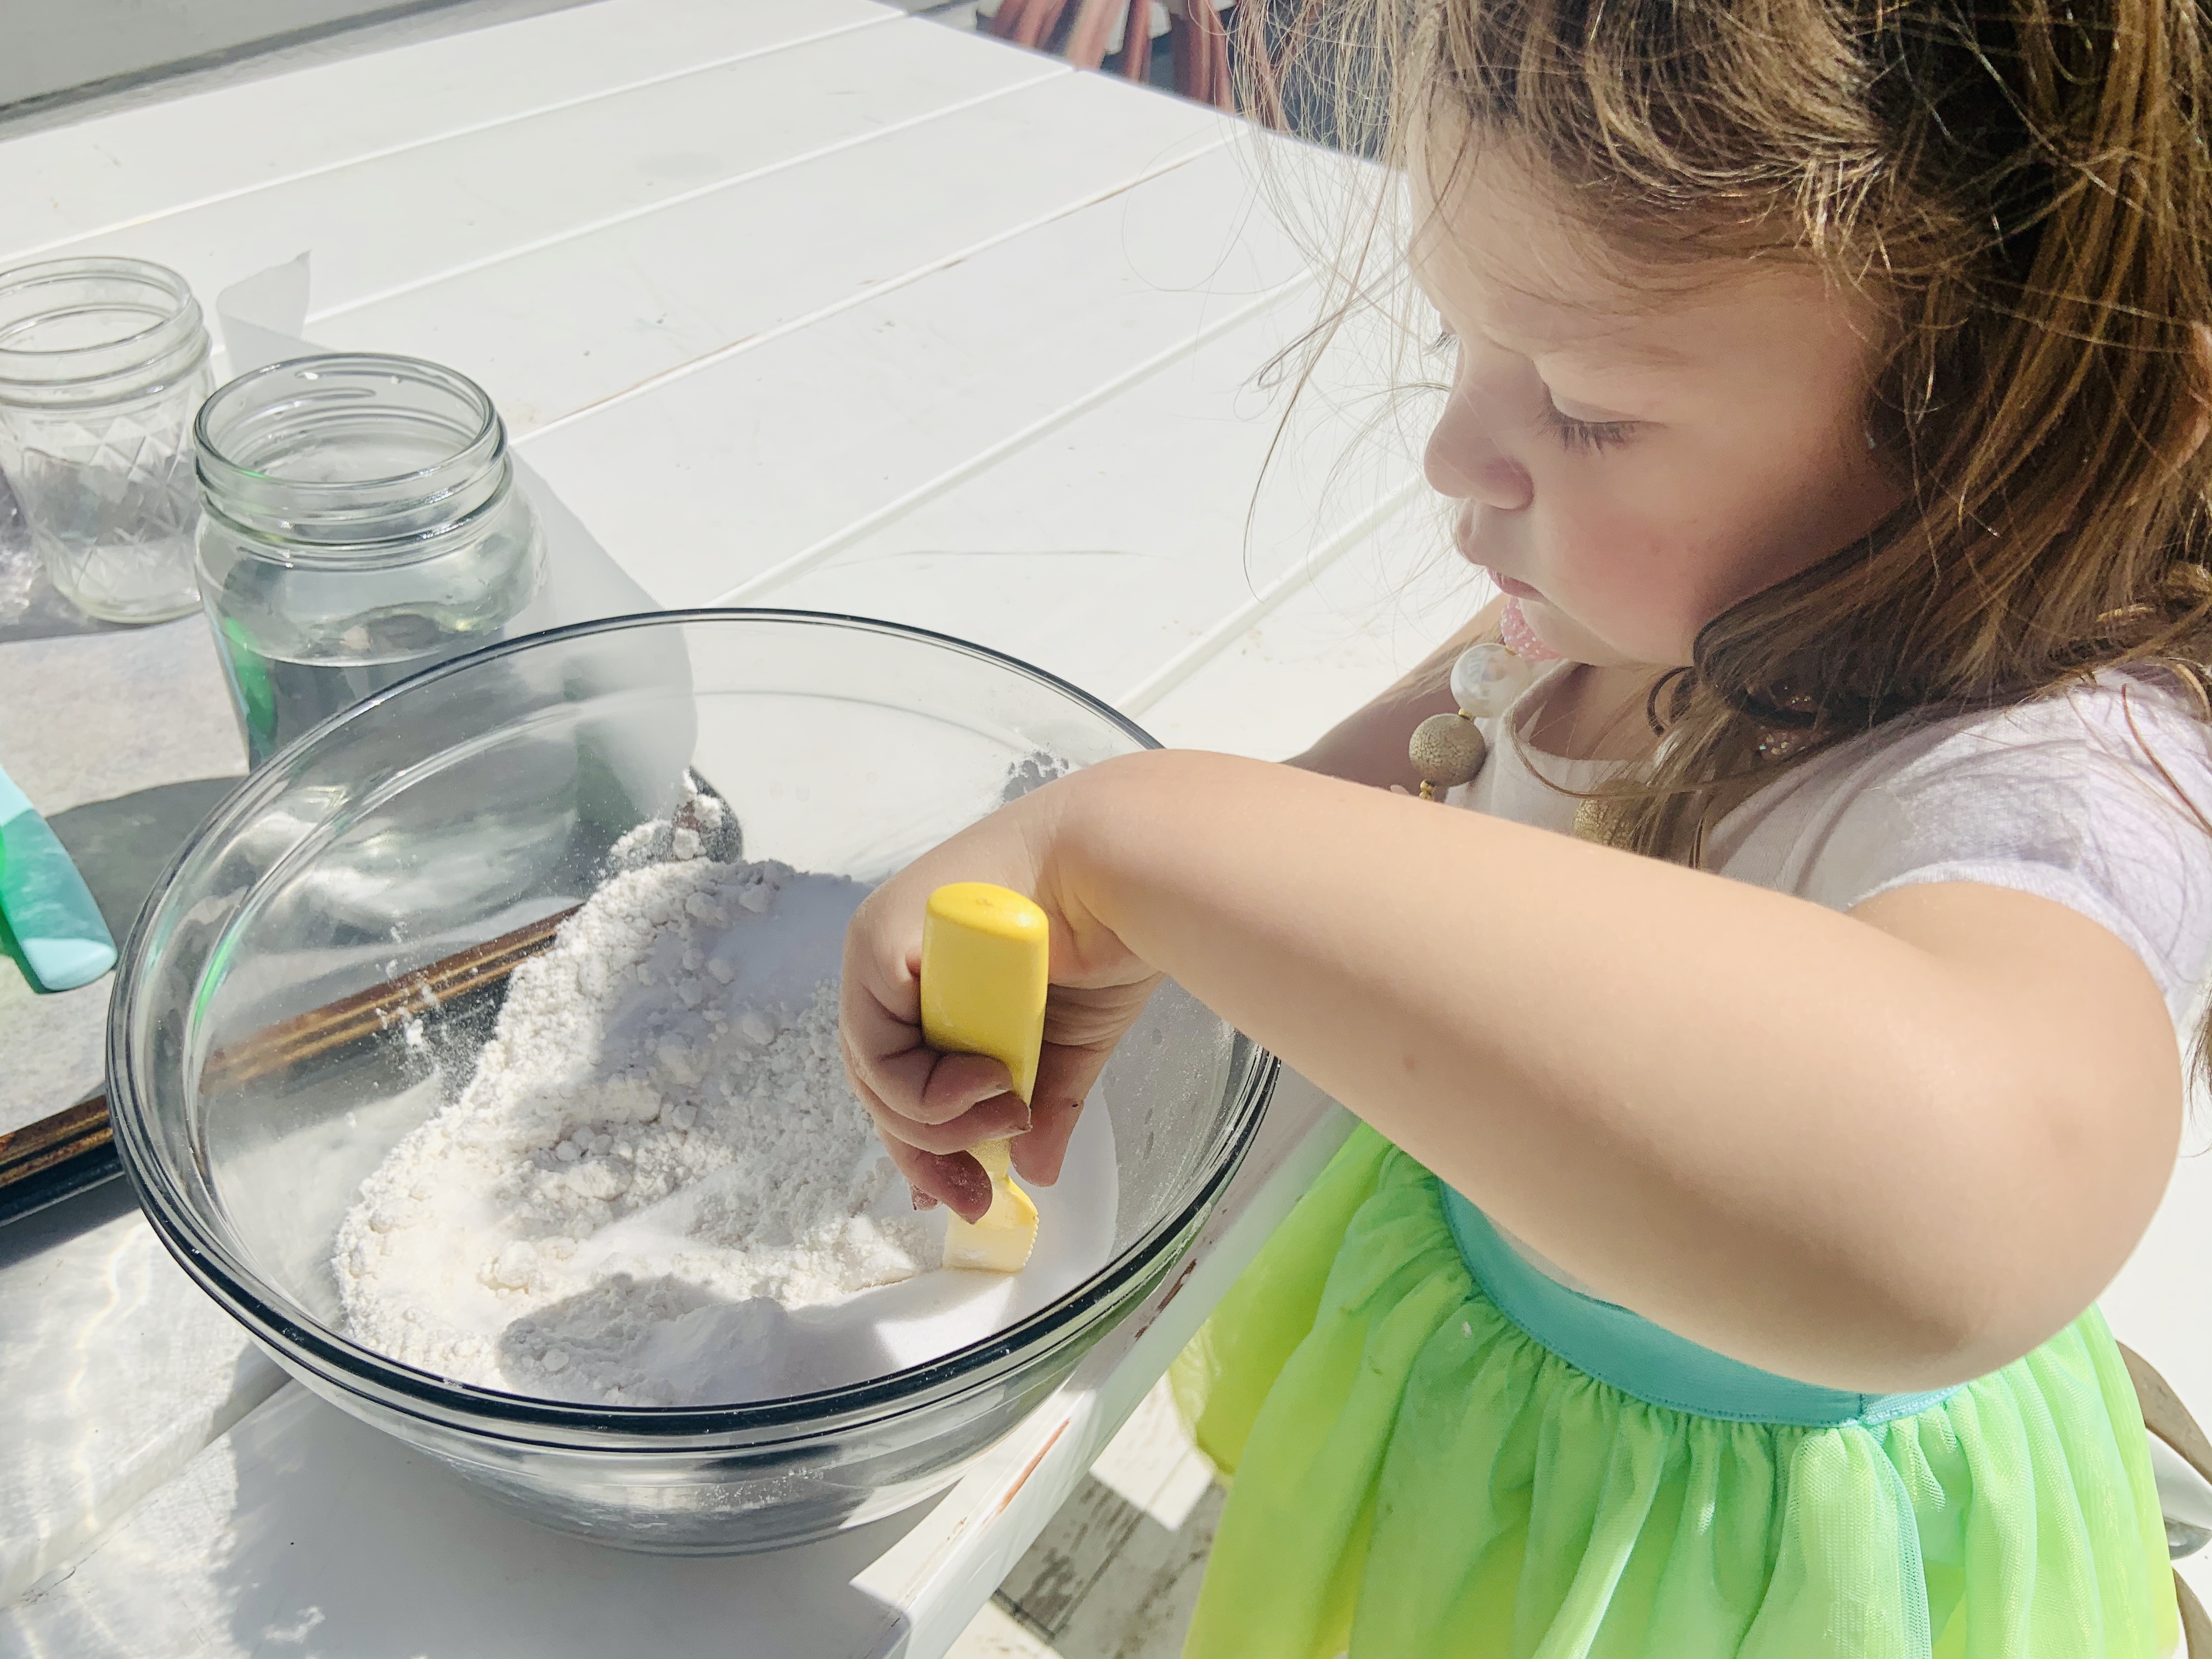
When I first thought about doing Easter crafts, I wanted to get wooden Easter eggs to paint. With everything going on, I didn’t want to leave my house with Mila and chance anything. Instead, I started seeing recipes for salt dough and knew I had everything on hand. I just didn’t realize they were going to be such a labor of love.
The salt dough recipe I used was:
1 cup flour
1/2 cup salt
1/4 to 1/2 cup of water
Then, preheat over to 200 and bake for hours*
Simple enough right? I measured out all the ingredients the night before we made the dough so it was ready to go for Mila and me.
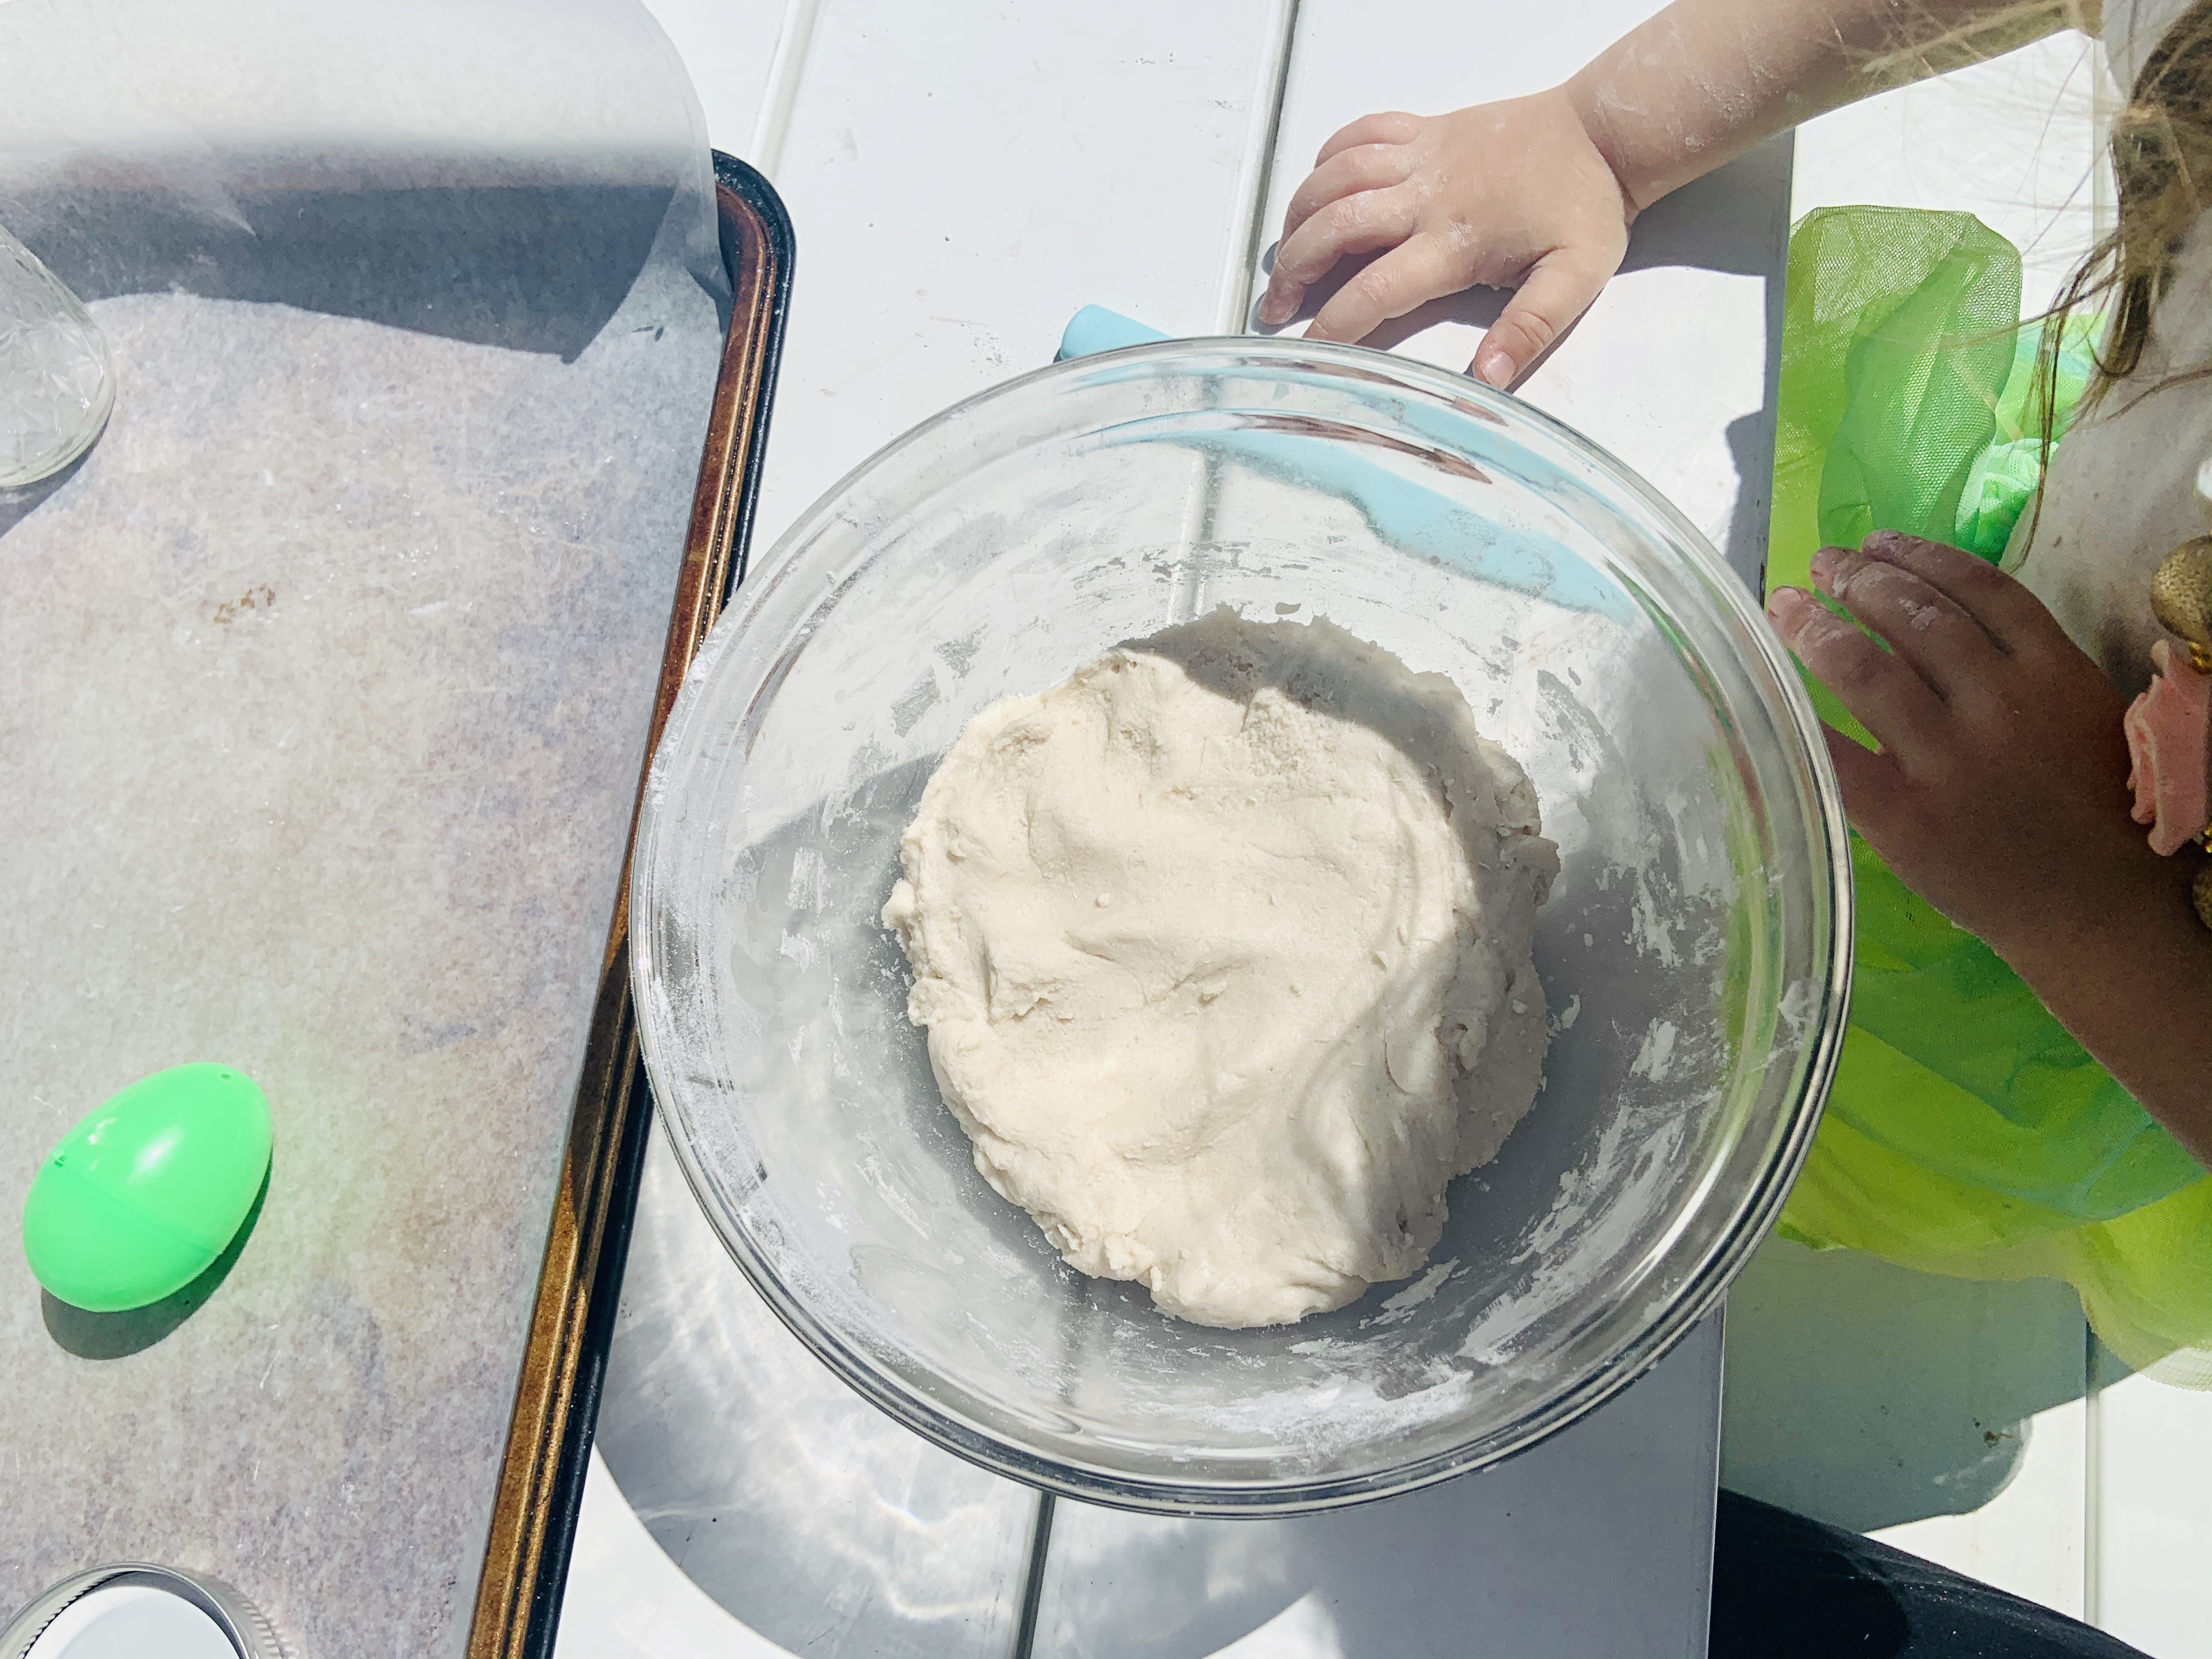
Mila loved mixing the ingredients together. She insisted on pouring everything in and using the spoon to mix it. When I told her to use her hands, she gave me a weird look and ran away. Funny enough, she went to put her hands in the dirt, which I guess is better in her eyes? Anyways, I kneaded the dough until I thought it was good enough. Since it was our first time, I wasn’t exactly sure how it needed to be, but we went with it. It reminded me of pizza dough.
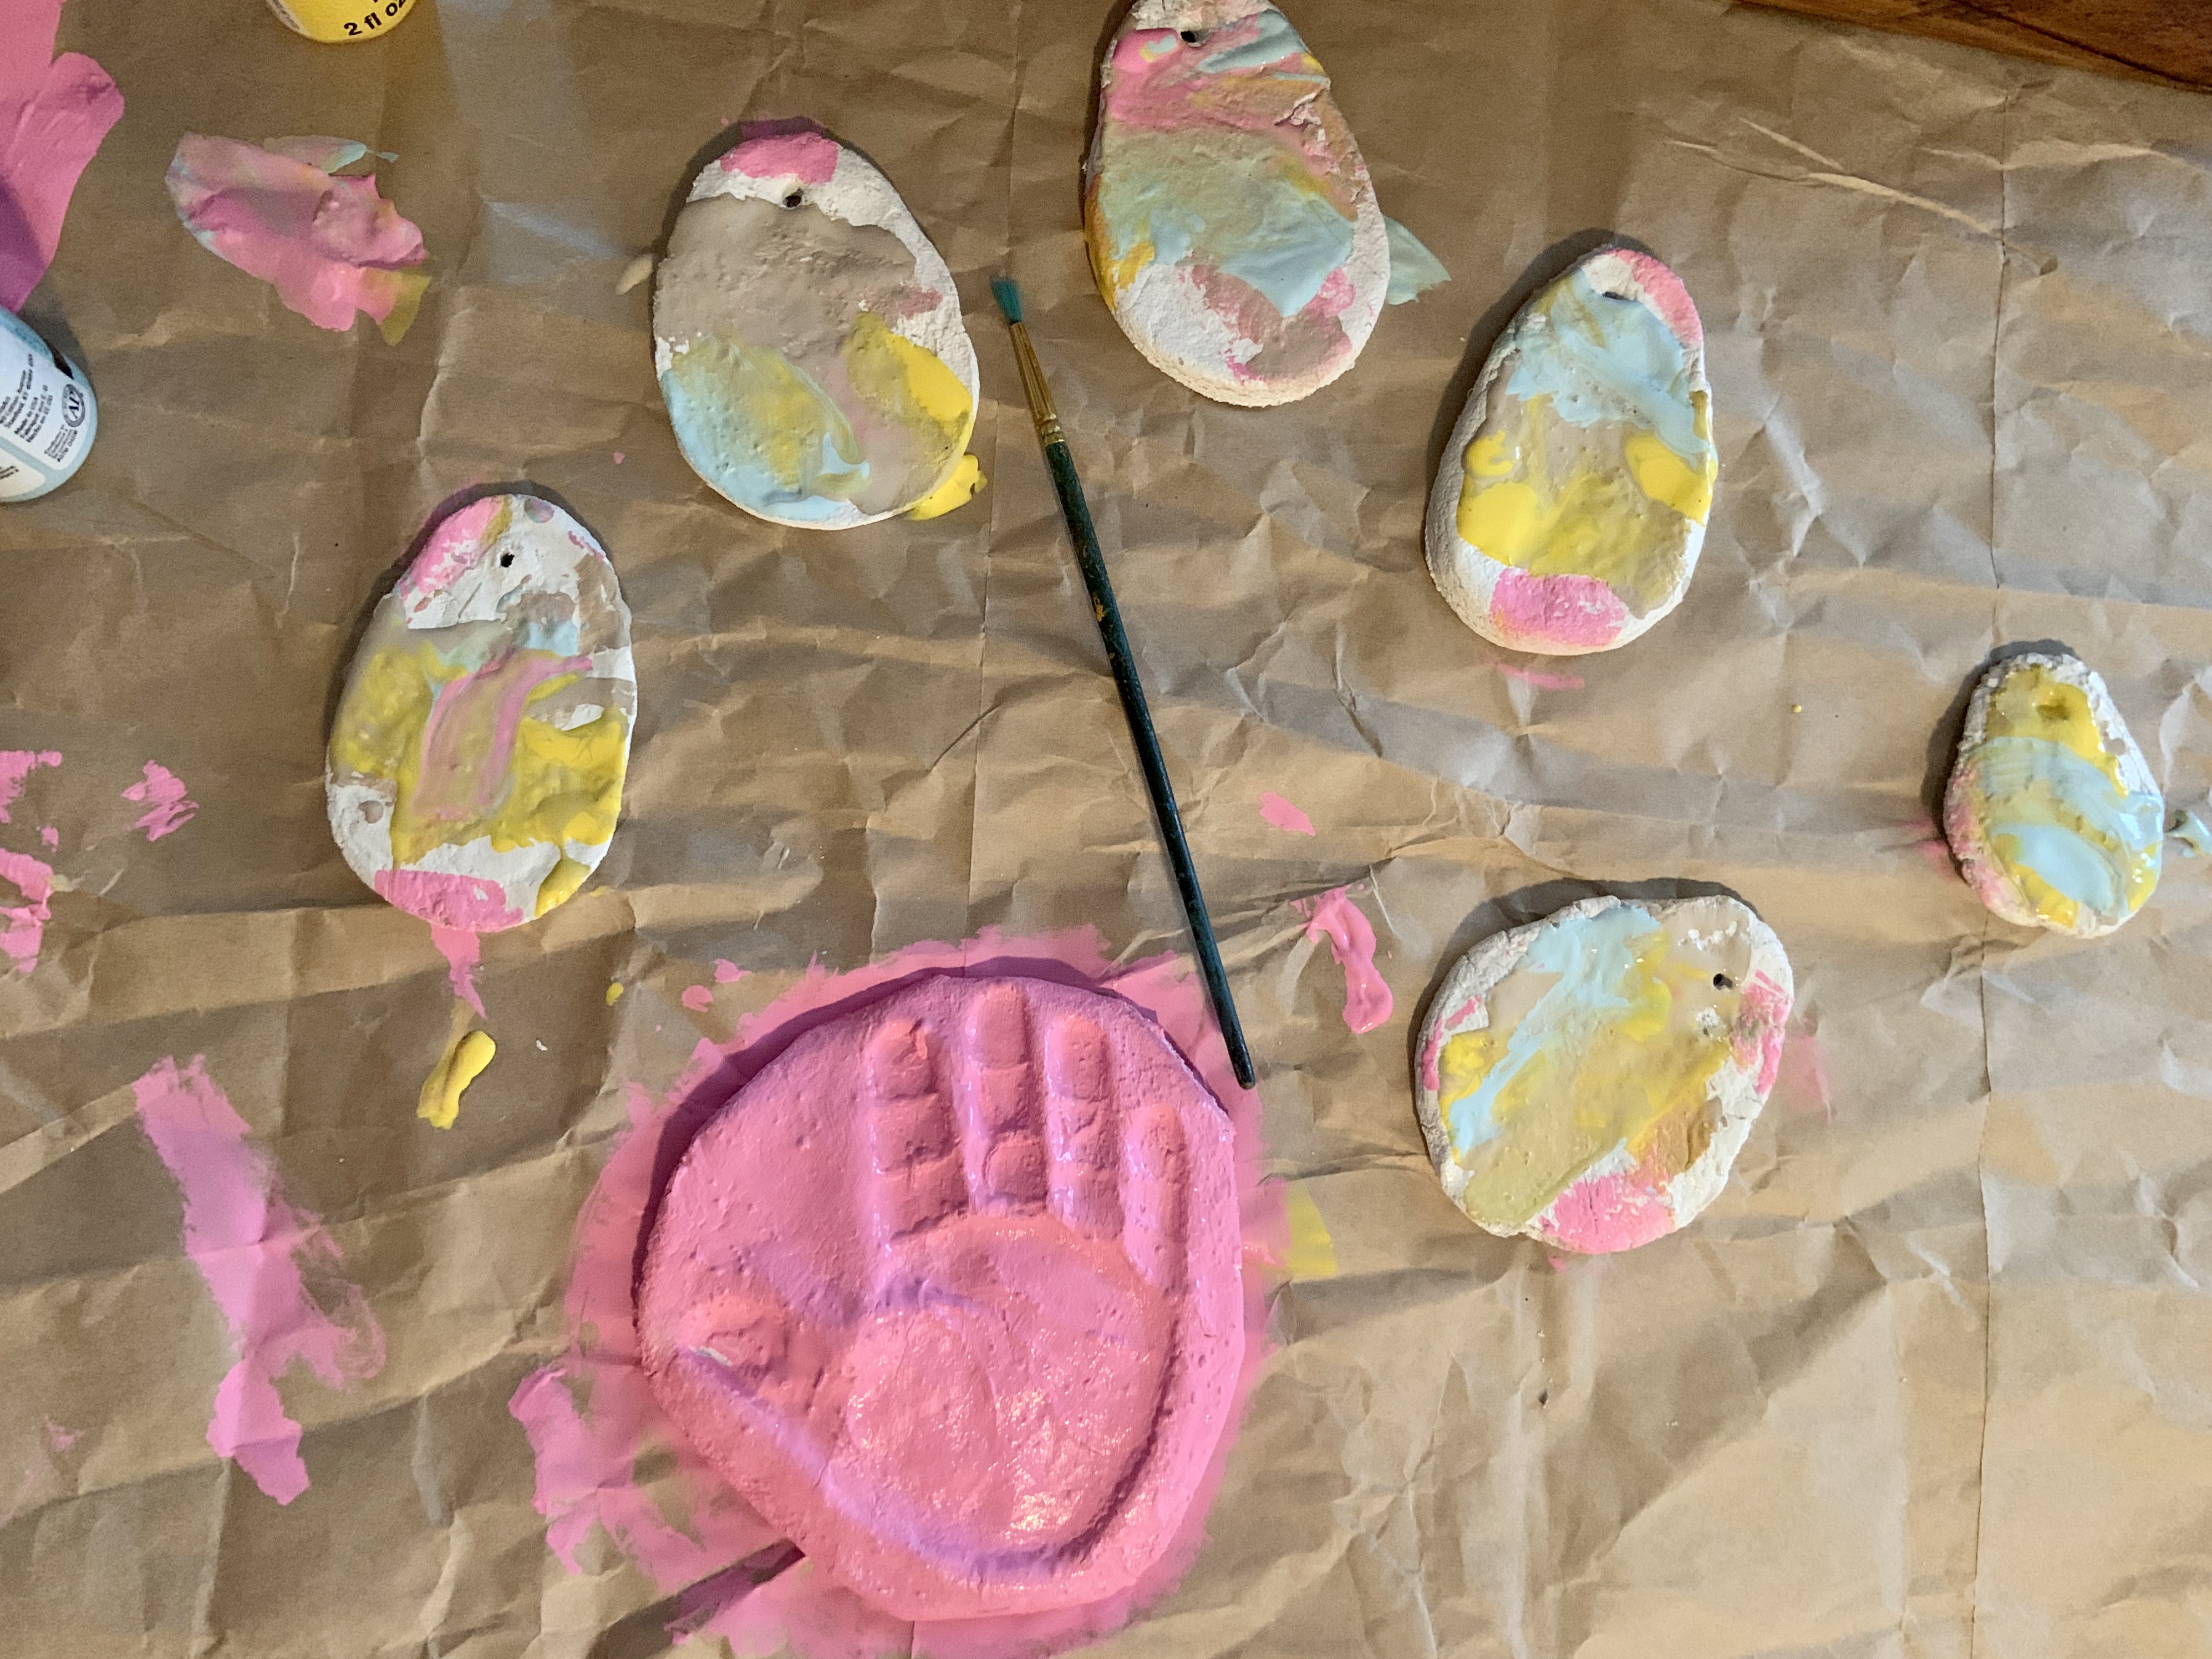
After I had rolled it out and was ready to cut, dilemma there… mila was ready to help out again. I wanted to make eggs shapes, but it turns out I only have Christmas cookie cut outs and rainbow/unicorn/magic ones. I ended up using the top of a mason jar, grabbing the top of it to stretch the dough out in an egg-like shape. Obviously it wasn’t perfect, but it worked out for us.
Along with a few weirdly, shaped eggs, I had Mila make two little handprints as well. I only have a few hand and foot prints of Mila since she’s been born. I thought it was a perfect time to do it for us, since she turns two here so soon. She kept saying ‘hand’ and wanted to make more prints. I do think I’ll try to make salt dough hand imprints every year since she enjoyed it and to mark her growth.
Anyways, the handprints and eggs were formed and ready for the oven. Up until this point, I thought it was all going really well.
I kept checking the ornaments every hour. After a couple hours, I still didn’t feel like they were done completely. They still felt mushy and maybe I just didn’t do it right? Or maybe they would’ve hardened up after I took them out of the oven? I’m really unsure where I messed up, but I had them in the oven for a crazy amount of time. Probably like seven hours in all. Next time I try to make something like this, I’m going to see if it was just a first time fluke or maybe I’m just bad at making them.
After they were finally done, I spray painted them white and let Mila paint most of the eggs and her hands, but one, because I really wanted to join the fun.
I think they turned out amazingly, especially after everything and all the time we put in them. Mila loves holding her hand. This Easter craft will be something Mila and I look back on in the future and smile about. I feel like it’ll always be excited to pull them out and see what she did when she was almost two!
Ever since she was born, I knew I wanted to make these type of memories with her. I missed so many with Jensen. Plus, Mila has fun with them so it’s not completely in vain.
Instead of just stringing them up in the house, I did something a little special. A few days ago, I read something about how communities are putting eggs in their windows for kids to go on ‘Easter egg hunts’ amidst social distancing. I thought this was so cute and I’m hoping some other people in our town have done the same! This is what I have strung in one of my windows.
If you live by me and are hunting for eggs, your kids will definitely be able to find them! I can’t wait to see everyone else’s.
So, although we had a little trouble with our baking, I love how everything came out. Mila had a blast and we were able to create some magic for Easter this year.
If anyone has made salt dough in the past, did it take ages for yours to bake? If not, do you have any tips or idea in what I did wrong? LOL. Just trying to get better for next time!