DIY PRIDE Wand

We’re getting ready to celebrate so many things next month. Just is packed full of goodies like Father’s Day and PRIDE Month. Want to see a fun DIY to make for PRIDE Month? Your little will love to play with this wand being an ally at parades or just around the house too.

Ever since Mila has been little, I’ve wanted her to be around all types of different people. I’ve always told her that love and acceptance is one of the most important things we can have and share with others. PRIDE Month is no different. We love our LGBTQ+ friends and want them to know we support them through everything.

Love is just so special.

One thing I want to do is take Mila to a PRIDE parade! I figured we’d need to bring some accessories for that and thought a wand with bells on it would be perfect! Any noise maker is a hit for Mila.

All we needed for this DIY was:

  • Dowel/Stick
  • Yarn/Ribbon
  • Bell/Disco Ball
  • Hot Glue

Mila helped me tie the yarn on to the dowel. We’ve been practicing knots and tying shoes, so this was fun for her to do. I always try to add ways she can help me in any DIY.

I didn’t hot glue the bells down. They were super stable with just tying them on. Since I’m obsessed with disco balls right now, I added one to the top.

Honestly, I think it turned out so cute and I love that it helps celebrate PRIDE and something that Mila can use over and over again.

What types of activities do you do to celebrate PRIDE? I’m also always am looking for book recommendations and would love to share the ones I have here too.

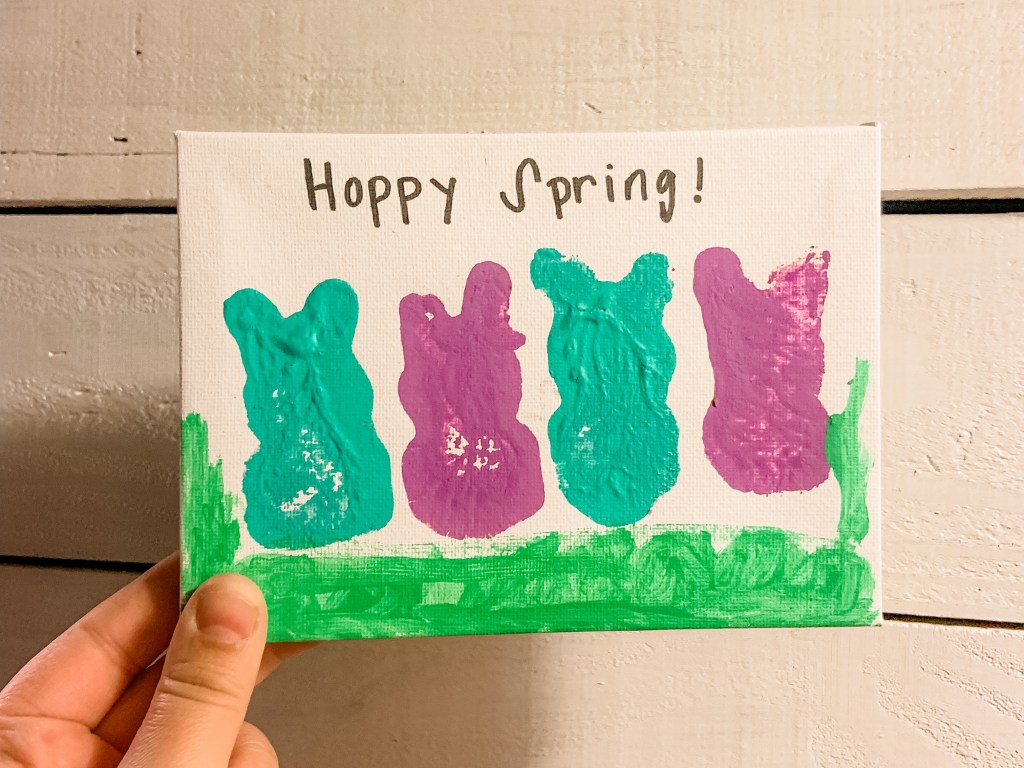
Hoppy Spring Artwork with Peeps!

It’s the first day of spring! To celebrate, we created a piece to showcase all season long. The best part is that kids of any ages can join in on this fun.

For the last year, I’ve been decorating Mila’s room to match the current season or holiday. Instead of buying new things all the time, we’ve been making decor! It makes it so much more personalized and Mila is always super proud of her work.

This Hoppy Easter project was a ton of fun to make. We decided to recreate our family as bunnies on a small canvas, but the opportunities of this project are endless. Last year we made a project with the same concept, but with a year difference they look completely different.

Here’s what you’ll need:

Although we used canvas, you could definitely use paper or cardboard too. We use cardboard for so many crafts and activities. It’s a great way to reuse from leftover boxes.

To set up, lay something down you wouldn’t mind getting paint on. Then lay your canvas on top of that. Again, we use cardboard to catch all the left over paint. If you keep reusing the same cardboard, it looks so cool at the end of a season or year.

The most perfect size paint tray for these Peeps Bunnies are the tops of butter containers. They bunnies fit just right. Pick a color with your little for the bunnies. We decided to do just two colors: purple and blue. The purple represent the girls in our family and the blue the boys. You could also do the person’s favorite color per bunny or whatever colors are in your spring decor.

Next, have them use the Peeps Bunnies as a stamp. These aren’t too hard for little to grasp and use. I would definitely keep a wipe nearby in case they do get paint on their hand.

Although we didn’t add details to our bunnies, you could add faces which would make them even more cute. We did add grass though at the bottom and ‘Hoppy Spring’ at the top. Here are a few other sayings your sign could have too:

  • Every bunny is welcome here.
  • Hoppy Easter
  • Hanging with my Peeps
  • Some bunny loves you.
  • Don’t worry, be hoppy!

I love how are Hoppy Spring sign turned out and can’t wait to share all our crafts and activities we have planned all season long.

If you end up making this sign, please tag me on socials (Facebook, Instagram, Tik Tok) or comment a picture in the comments. I love seeing everyone’s interpretations. It makes me so happy seeing that we could help inspire you!

Most of all, make sure to treasure all those memories you get to make with your family. That’s the best thing we can do.


Here’s some other fun Easter activities to try with your kiddo this year:

DIY Cardboard Christmas Tree Craftivity

Happy December, everyone!

Let’s celebrate this month with some fun cardboard crafts that every one can make with their kids at home. By repurposing cardboard and using supplies at home, you can have Christmas fun without breaking the bank.

But first, it’s been forever since I’ve posted on here. I’ve been busy growing my other socials and I’ve neglected actually writing our activities and adventures. My goal is to get back into writing and sharing on here as I did before. If you’ve been missing out or want to see more of our every day things, make sure to follow me on Facebook, Instagram, Pinterest, and YouTube — we’re on all the things now, lol.

Anyways, let’s get back to the DIY Cardboard Christmas Tree.

This was really easy to make and took minimal prep. It made for a cute and easy decoration that Mila loved to make. Here’s what you need for this activity:

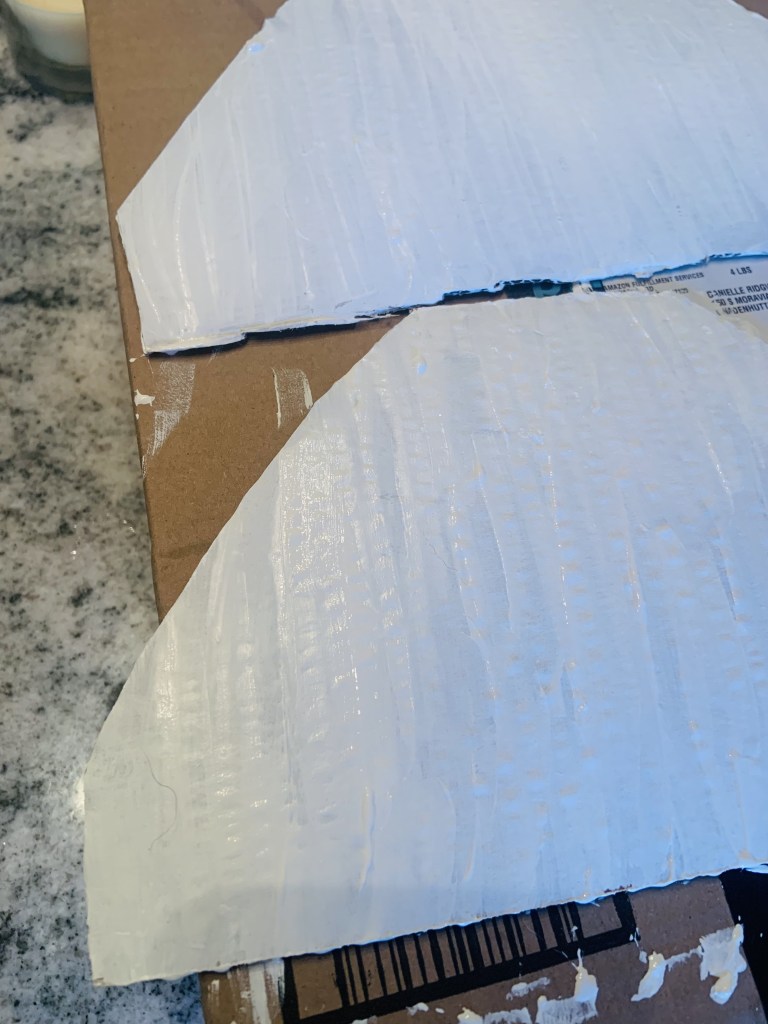
To prep for this activity, all i did was cut my cardboard in the pieces I needed. I did three triangular pieces for the actual tree, a star for the topper, and a rectangle for the trunk. Then, I just painted the tree white and the star golden. You could easily not paint it or paint it whatever color. Do what’s best for you!

Once you have all the pieces cut and the paint is dried, just hot glue the pieces together to make it look like a tree.

Then, have your child use Dauber Dawgs, markers, or stickers to decorate the tree.

I absolutely love the rainbow look Mila made. Her room is decorated for Christmas this year in a rainbow themed; so this craftivity fits right in.

For a closer look in how we made this, check out this video.

Even though this activity is simple, Mila loved being able to create this cardboard tree. She loves to decorate so it made it fun watching her figure out what colors to use and the pattern they were in. Not only was it fun, she got to work on so many skills too!

I think we’ll definitely do this craftivity again in the future and see how her style changes as she gets older. I love making these types of memories and preserving them too.


I’m so thankful for Cameron Frank Products. They gifted Mila and me the Dauber Dawgs which are perfect for crafts and educational activities. It would make a perfect Christmas gift for kids who love to craft. Their boxes even come with activity sheets, which was a huge hit with Mila. You can find the one we had through this link OR others too.


What fun crafts and activities are you doing this holiday season? Let me know in the comments.

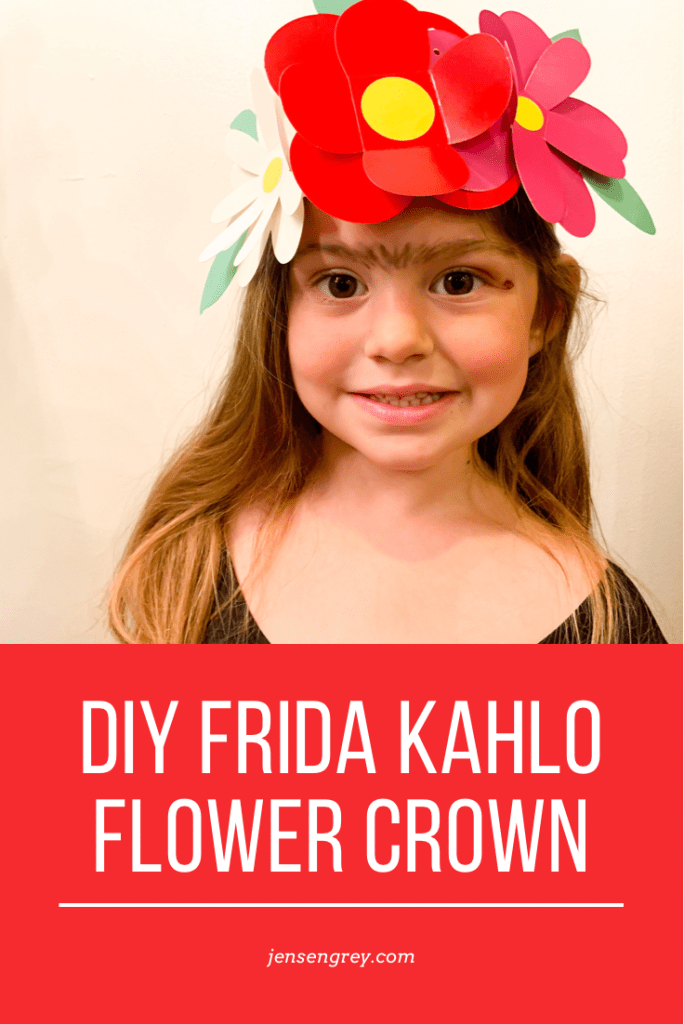
DIY Frida Flower Crown

Happy Cinco de Mayo! If you’re looking for a crafty way to celebrate the day and one of their most favorite painters, try this DIY Frida Flower Crown.

Not only will you learn a little more about Mexico, it’s a lot of fun to pretend play!

Mila and I LOVE Frida Kahlo. I even have a tattoo of her on my arm. She’s a feminist icon who went through so much during her life. Her beauty and pain shine through her work. She has inspired Mila and me in so many ways.

On Cinco de Mayo, we like to honor Mexican culture and our favorite girl with fun crafts.

Last year’s is still hanging up!

Since we’re in a pretend play kick, I made Mila a Frida inspired flower crown and gave her a unibrow. Here’s all we used to make this iconic crown.

  • Scrapbook Paper
  • Paper Flowers
  • Staples
  • Hot Glue

First, I cut the base of the crown out of green, floral scrapbook paper. I had to staple to pieces together to fit Mila’s head.

Then, I used paper flowers that was in a floral garland from Mila’s birthday party. I then attached them to the crown with hot glue and fluffed them up. You could make your own paper flowers or use fake flowers too!

After it was all connected, I used eyeliner to thicken her eyebrows and bring them together.

It was such an easy DIY! I showed Mila pictures of Frida and had her do different poses. Then, she drew a self portrait of herself.

Not only was it fun to do, it was a great way for Mila to learn more about a Mexican icon.


How do you celebrate Cinco de Mayo? Let me know in the comments.

Then check out last year’s Frida craft we did.

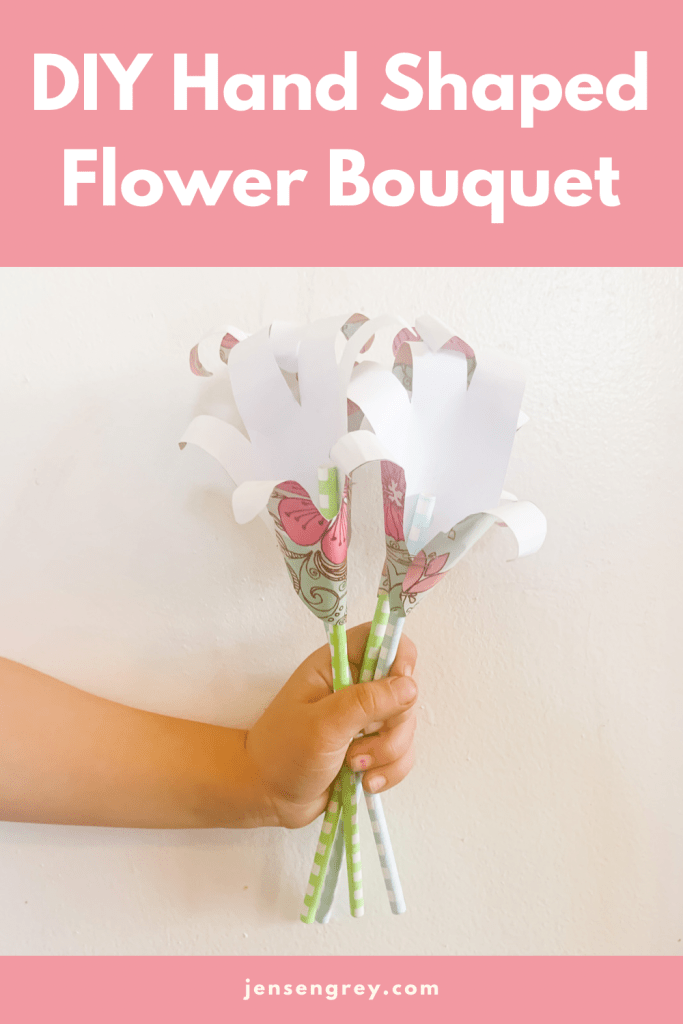
DIY Hand Shaped Flower Bouquet

If you’re looking for a fun Mother’s Day DIY, this Hand Shaped Flower Bouquet is easy to make and will last a lifetime. The moms in your life will love them!

Plus, I was able to reuse products around the house to make it Earth friendly too!

I love when Mila makes me things. Maybe a little too much. I don’t think I’ve ever thrown any artwork or drawing she’s made me. She’s so proud of herself for it too.

For Mother’s Day, it’s always fun to see what kids come up with. Mila loves gifting flowers. When I saw this on Pinterest, I knew I had to recreate it with Mila! She loved how they turned out and it’ll be perfect to add to the bouquet as she grows.

As I stated above, I reused everything for this. Here’s all I used:

  • Scrapbook Paper
  • Stapler
  • Paper Straws
  • Hot Glue

These were super simple to make.

I traced Mila’s hand on thick paper to make a stencil. Then cut it out to trace it on scrapbook paper. Although I only traced four for the picture, we’ll be making more for different family members.

You can make how many you’d like and with different types of scrapbook paper.

Then, cut the hands out. Next, I stapled the two sides together with the print side facing out.

When they’re cut and stapled, spiral the hands so they flutter out. You can make them as curly as you want!

After the flower was made, I hot the paper straws inside to make it look like a stem.

To display, I put them in a glass jar. They look really beautiful. I love that I’ll have a little piece of her at four forever. It’s a lovely Mother’s Day gift I’ll always love.


What is your favorite DIY Mother’s Day gift you’ve ever made or received?

DIY Earth Day Handprint Artwork

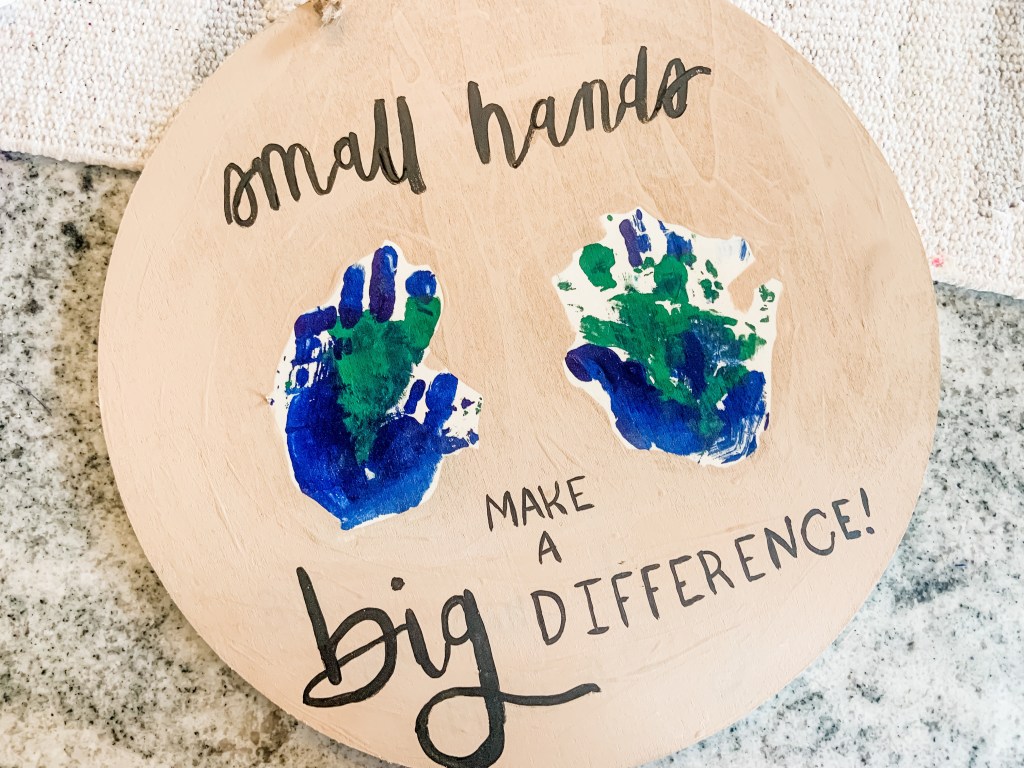
Small hands make a big different, especially when it comes to protecting our Earth.

This DIY Earth Day Handprint Artwork is perfect way to showcase your love for Earth while using recycled crafts supplies.

At a young age, I’ve taught Mila she needs to love our Earth. We’ve always talked about recycling and how we need to be mindful of our decisions. She always picks up trash off the ground and loves every part of the outside world.

It’s important to me that she knows her impact and ‘small’ hands can help our Earth heal.

This DIY Earth Day Handprint Artwork was a perfect way to showcase that. We reused supplies we already had and made it cute to show off. Hopefully signs like these will help inspire others to love Earth as deeply as we do.

Here’s all we used:

  • Wood sign
  • Paint
  • Paint brush
  • Yarn
  • Hot glue

To start off, I reused the back of an old summer sign. It was the perfect size and shape of what I had in mind. Plus, it gave it another purpose too!

Next, paint your child’s hands resembling the Earth. This was a bit tricky. I just added blue paint first then topped it off with green. Obviously it’s not going to look exactly right, but I think ours turned out pretty cute.

Then, press down on your child’s hand to get the paint to transfer to the wood sign. You have to work quick so it doesn’t completely dry on their hands.

Once the paint is dry, you can add whatever quote around the hand Earth. I was inspired by The Letter Vee’s Earth Day worksheet and used, “Small Hands Make A Big Difference.” You can write whatever speaks to you!

At this point, I could’ve been done, but I had to add a little extra.

I used scrap yarn as bows on the hanger. The color really popped and gave that earthy feel. Once I saw that, I knew this piece needed more texture than just the bows.

So, I added the fluffy white yarn around the outside of the sign. It really made it look special and stick out.

Since I wanted to spread our love for the earth, this sign is hanging on our porch. Hopefully it’ll inspire someone to make good choices. The future of our world and children are in our hands.

We can make a difference.


What ways do you celebrate our Earth? Check out these fun ways we have:

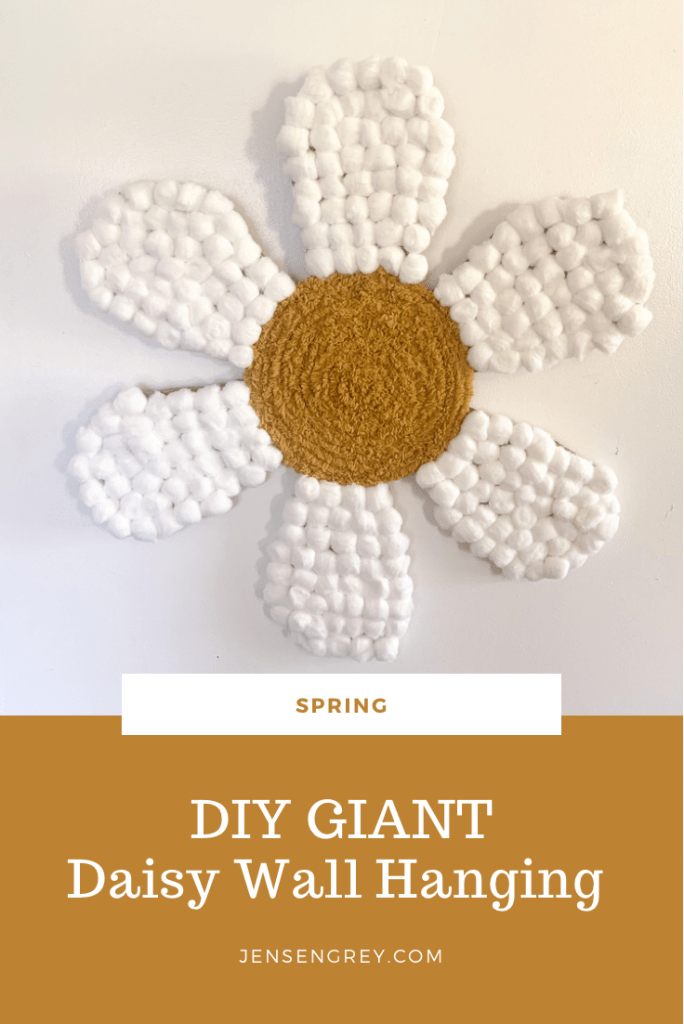
DIY GIANT Daisy Wall Hanging

If you’re looking to make a big statement with your spring decor this year, you’re not going to want to miss this DIY GIANT Daisy Wall Hanging. With material you can find in your home, you’ll have a piece of decor that demands to be seen.

My favorite part about spring is all the flowers. Since the pandemic started, Mila and I really got into growing plants. They’re spread throughout our entire house. Honestly, they just bring so much life into our home. Plus, they’re perfect for her to learn about the science behind them and responsibility. It’s a win-win.

So, when Mila ditched her space themed birthday and wanted to do flowers and plants, I wasn’t so surprised. I just knew we had to make something special.

You can easily make this DIY with items you can find around the house. Here’s what you’ll need:

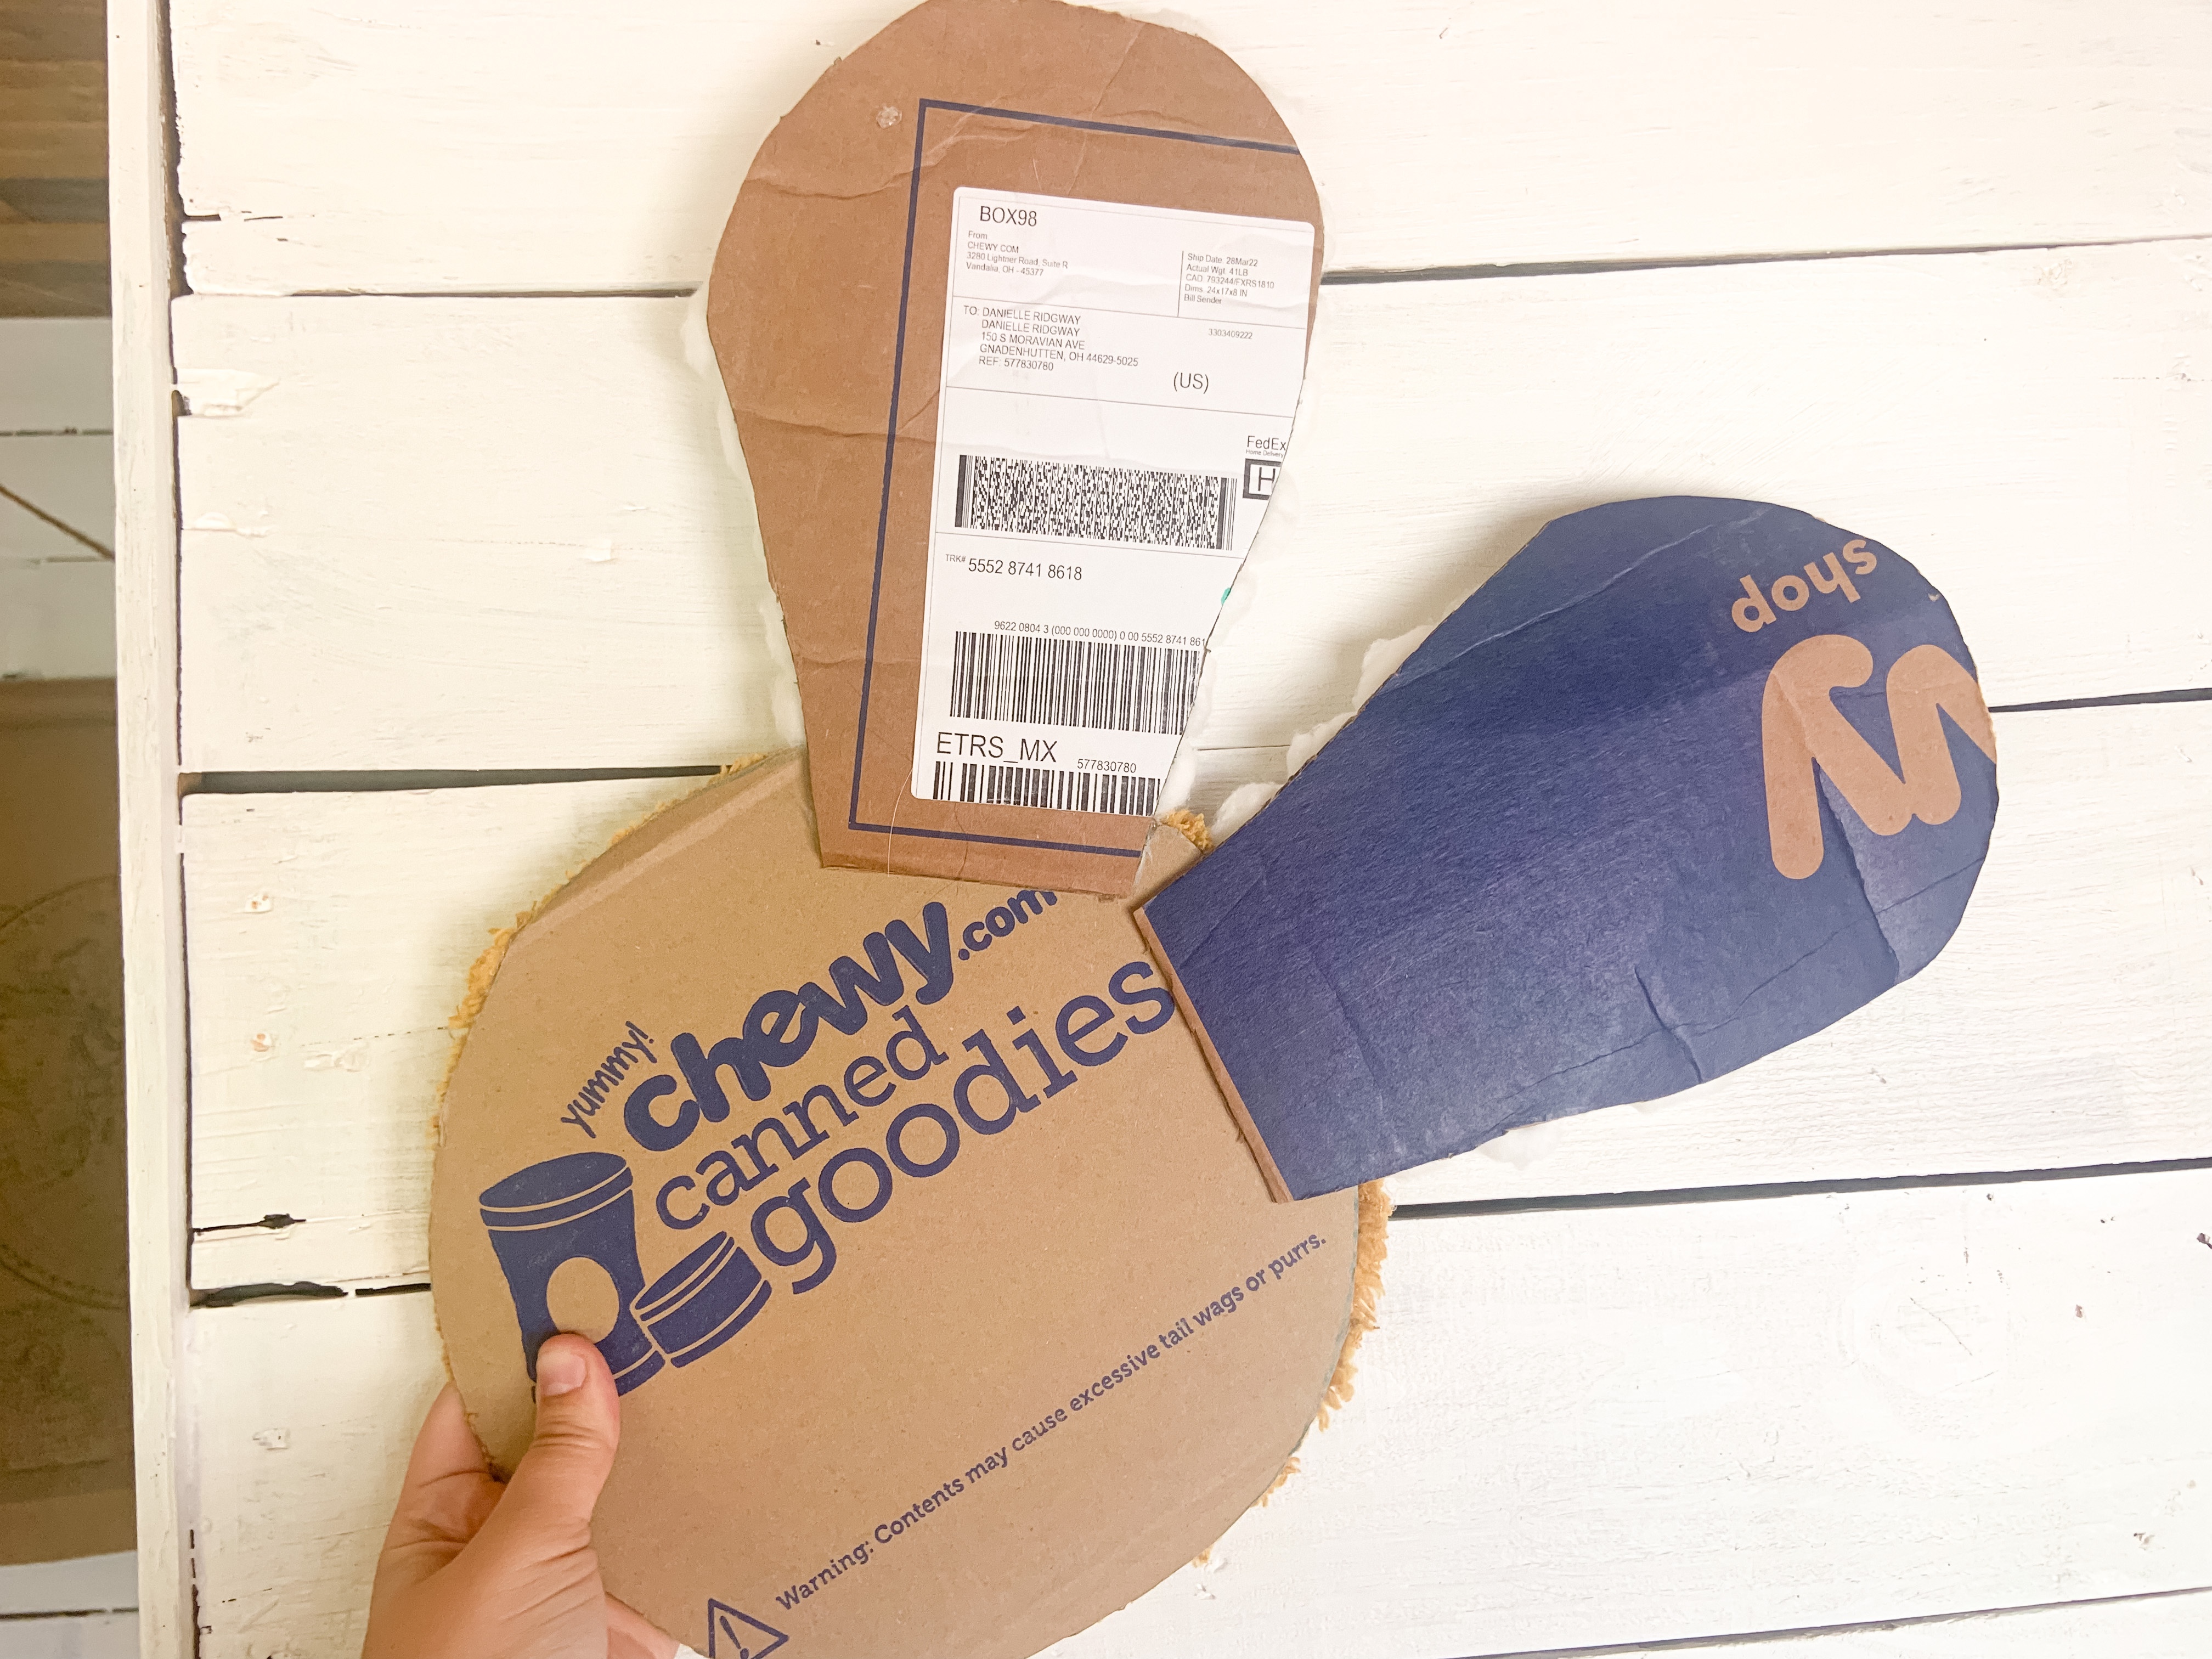
  • Cardboard
  • Scissors
  • Cotton Balls
  • Yellow Yarn
  • Hot Glue (a lot of it)

When I say you need a lot of hot glue, I mean that I probably used 15 sticks. This daisy is big and needs a lot of glue to make it stick!

But first… you need to cut out a circle for the middle and then the petals around it. I used six petals, but you can do what you think looks good for your DIY daisy.

I used a plate to trace the circle and one of the feathers from my headboard. You could free hand a petal or find something that’s a similar size and shape around your house. Then just cut everything out.

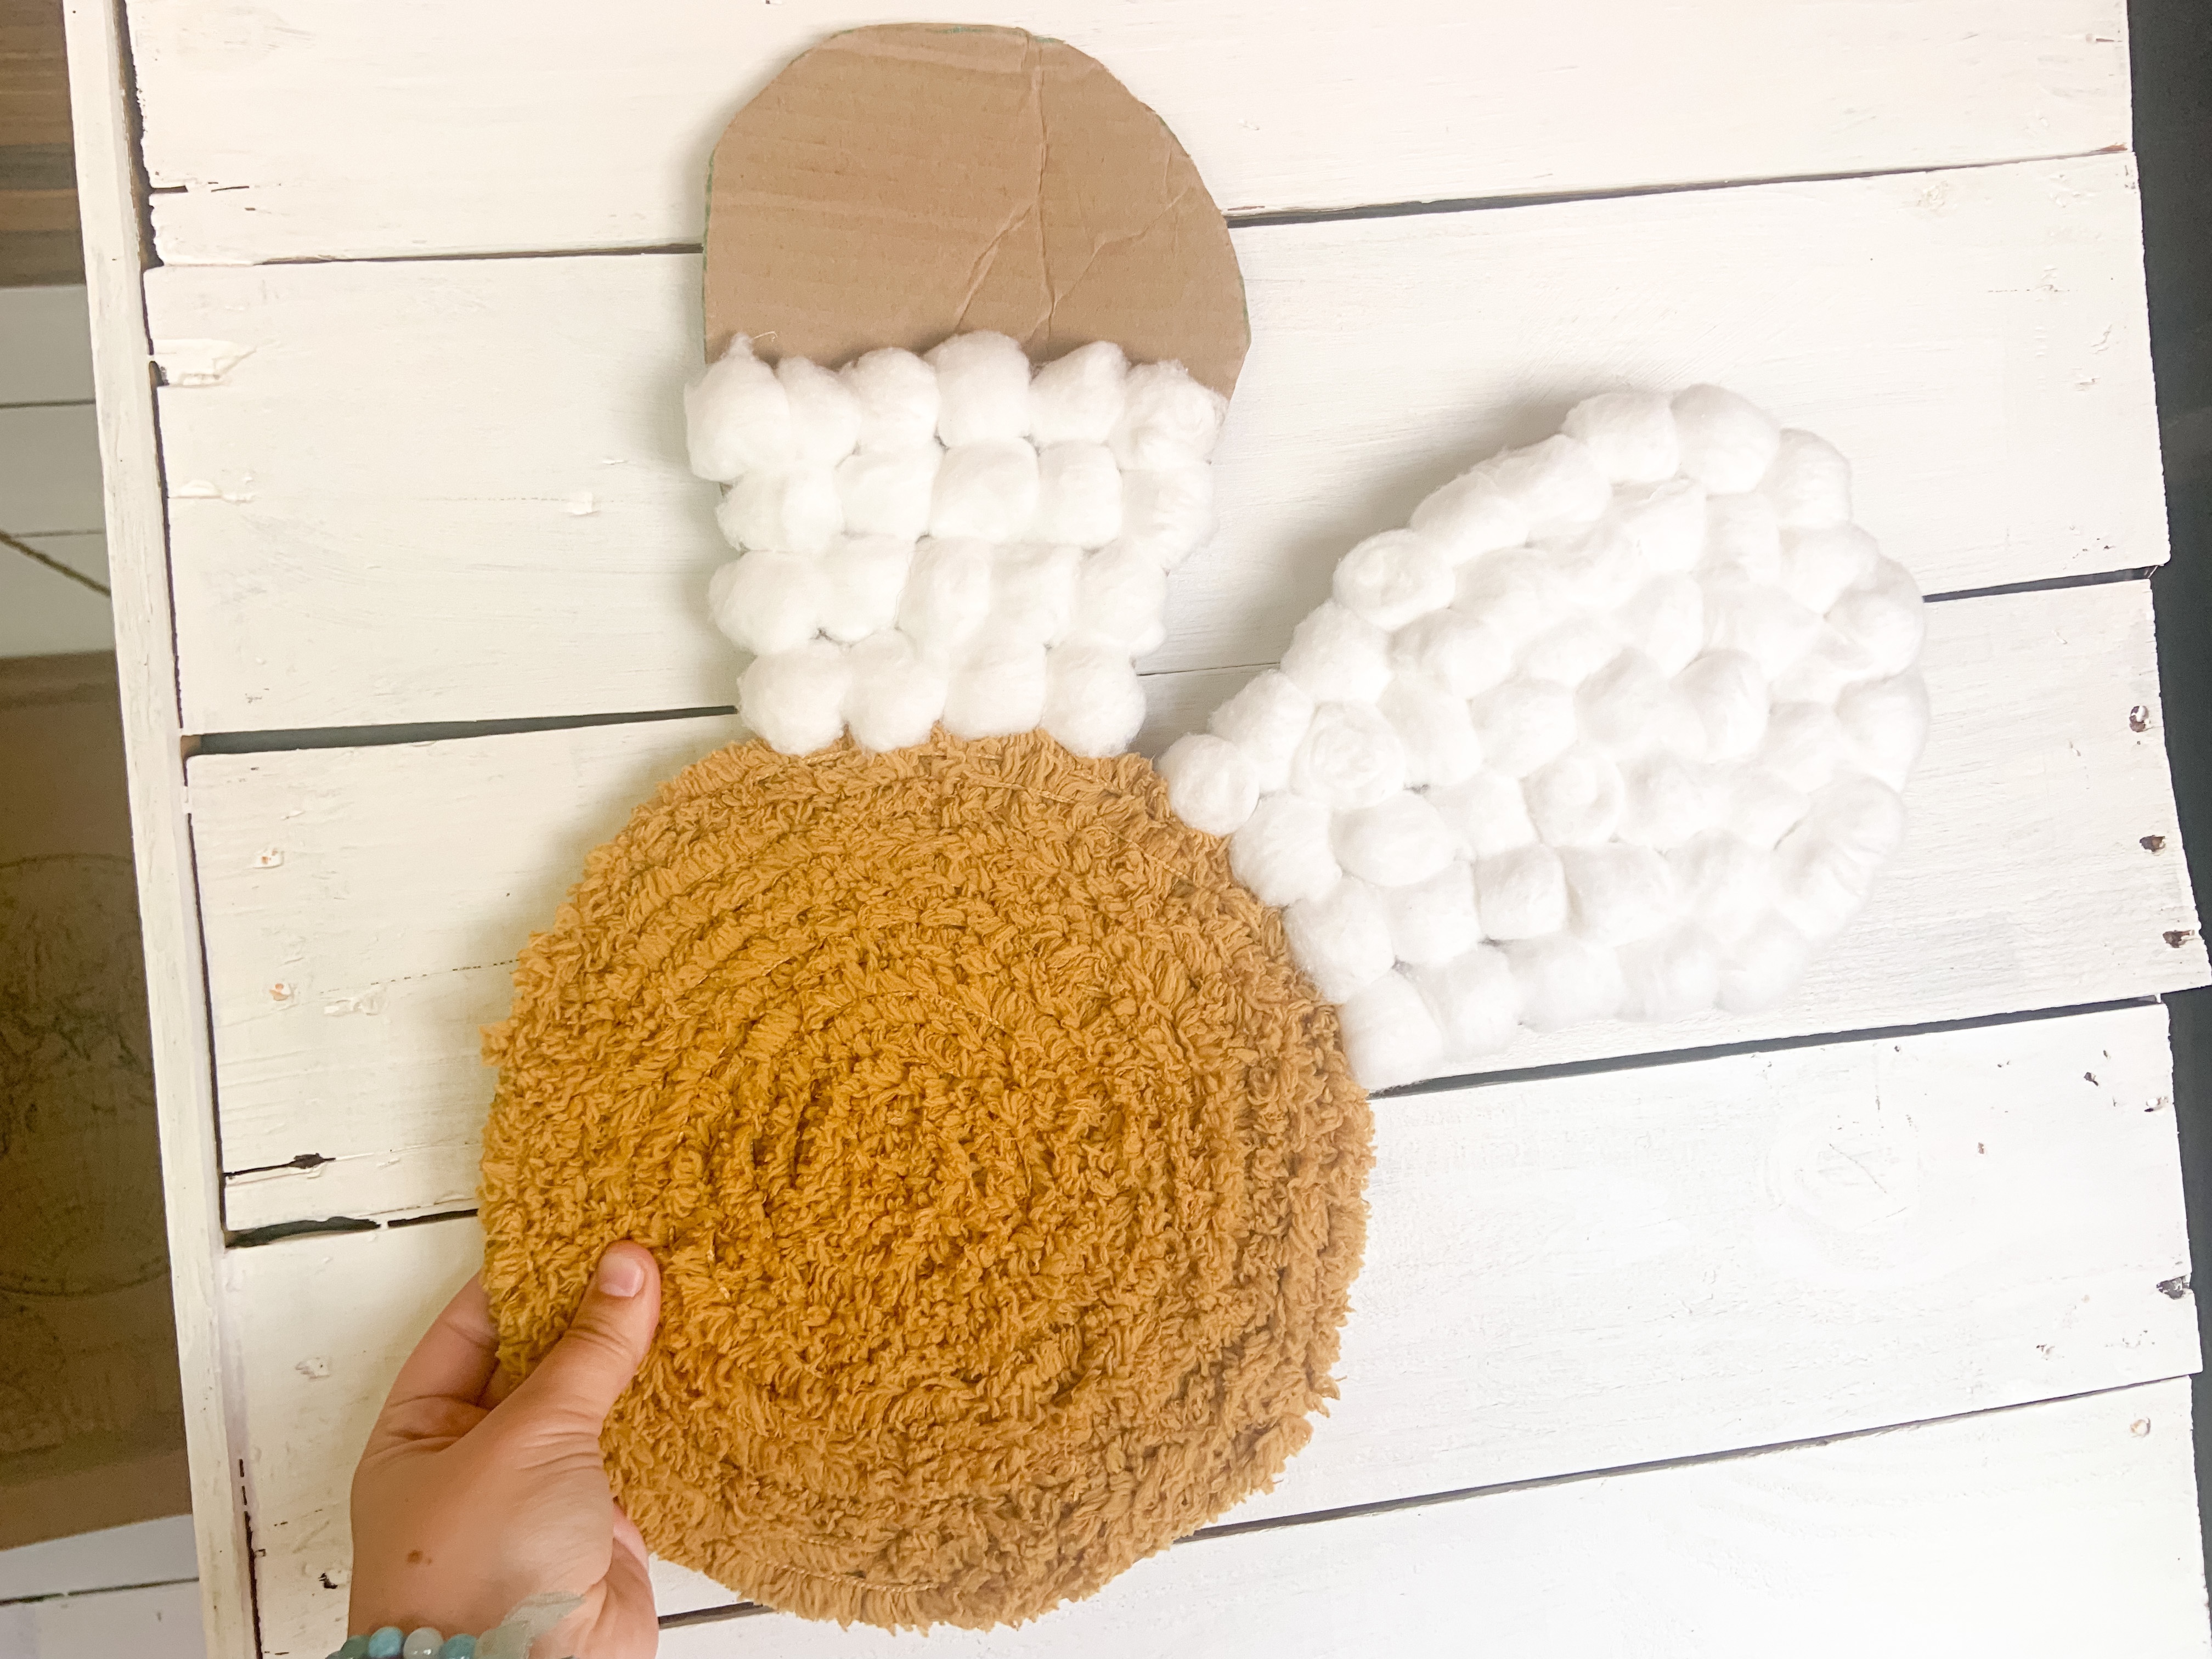
Next, hot glue yellow yarn on the circle. I just did a spiral pattern.

After that, got glue the petals to the back of the circle. I put about them about an inch in. This made the petals secure.

Once the hot glue is dry on the structure, it’s time for the cotton balls. This takes a while, but once you find a rhythm it starts to click. I tried to do patterns with them too. You’ll use a lot of hot glue here!

To secure the back, I made another petal and hot glued it on. Then I hot glued a string to be able to hang the flower.

Even though this DIY GIANT Daisy Wall Hanging took a little while to make, I love how it turned out. It’ll be perfect for a picture backdrop for her party! After I’ll have it in my home too.
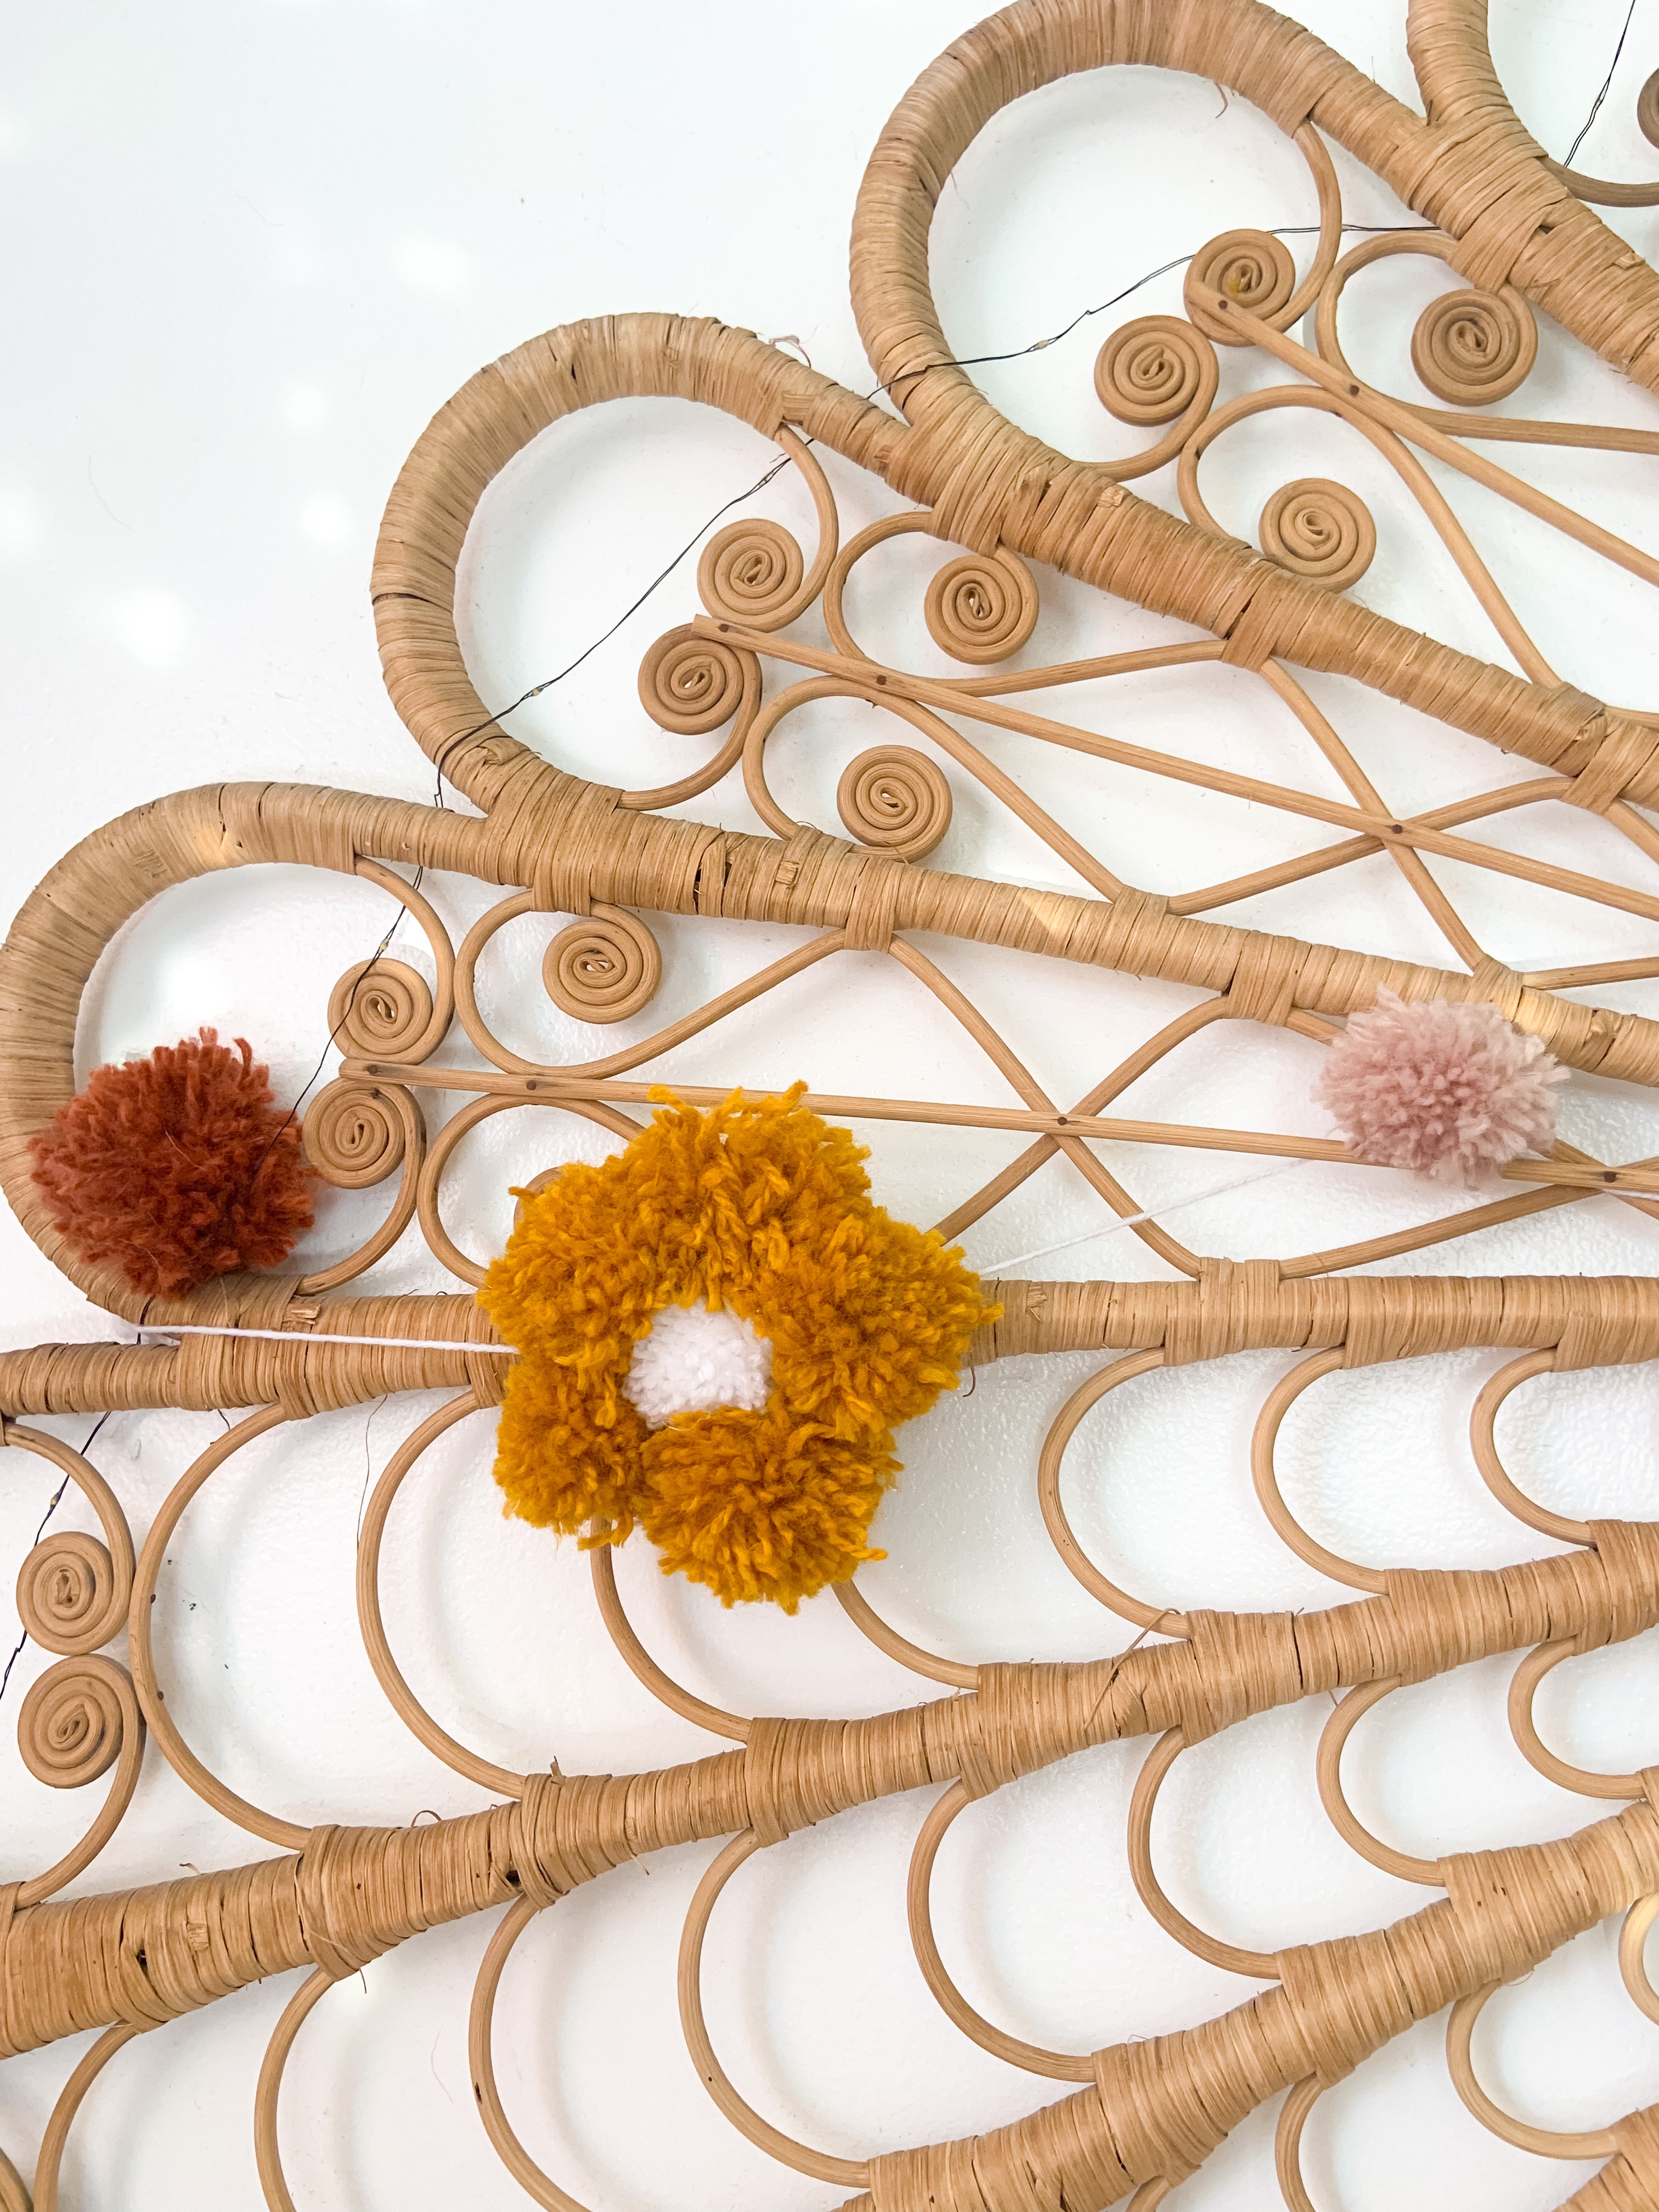

What’s your favorite flower? As you can imagine mine are daisies!

DIY Match the Egg Memory Game

Looking for a fun way to challenge your little this season? A DIY Match the Egg Memory Game is an egg-ellent option!

When I saw the egg match printable from The Letter Vee, I knew I had to utilize it. Mila loves playing memory games, especially when they’re seasonal.

With a little work, it became such a cute and fun way for her to settle and use her brain.

This DIY Match the Egg Memory Game takes a little bit to make and set up. After the hard work though, it looks beautiful and my little loved it! She spent about 30 consecutive minutes playing with it.

Here’s what you’ll need:

Not going to lie… this DIY took a little work.

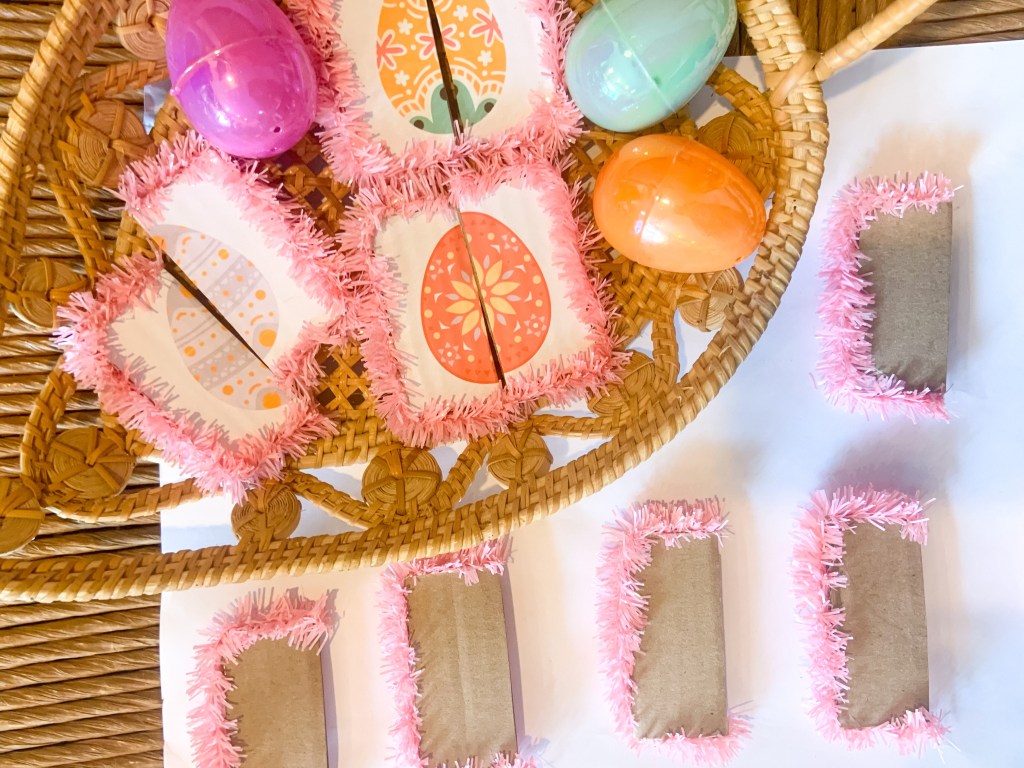
First, you need to print out the sheet from The Letter Vee. Then cut each of the egg pieces out.

Next, use modge podge to glue the paper on to pieces of cardboard. I only used a thin layer between the paper and cardboard. It seemed to have stuck perfectly fine.

Once the glue is dry, cut the cardboard into the right sized pieces too.
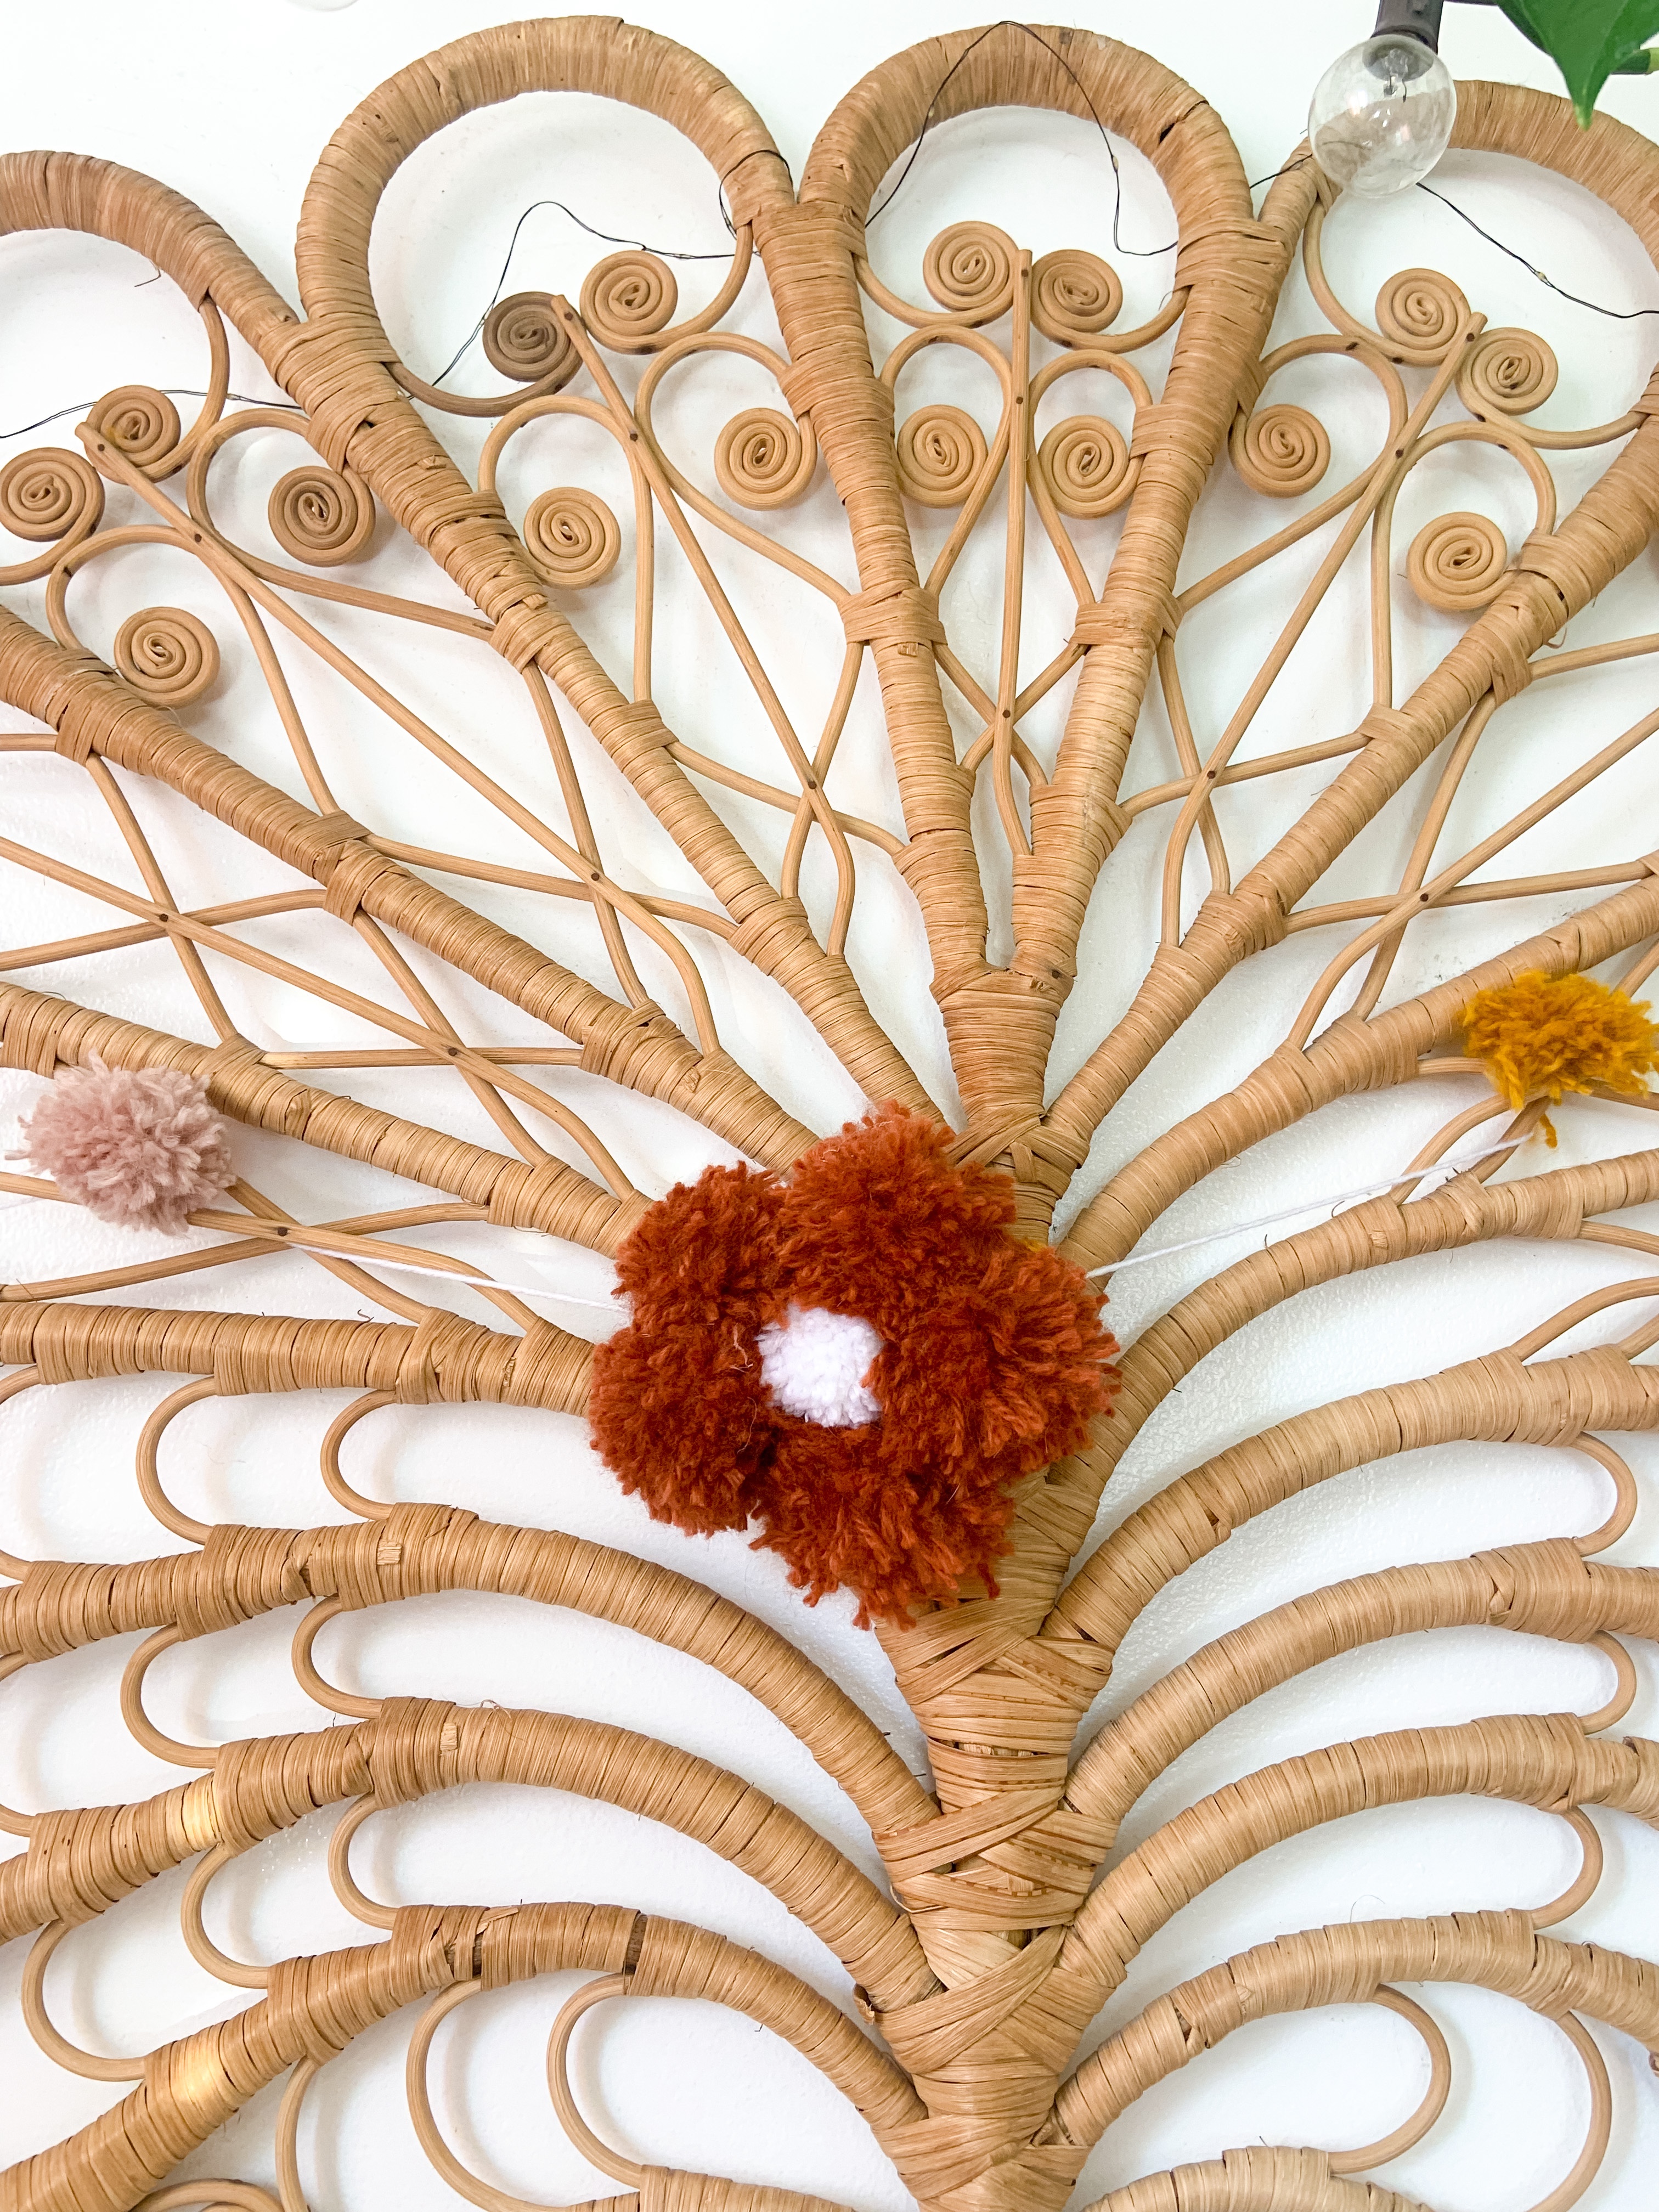
You could easily be done with your Match the Egg Memory Game, but we wanted to make it extra cute. This is totally optional, but I think it made it extra special.

We reused pink tinsel to trim out the pieces. To do this, I just cut the tinsel to size and hot glued around the cardboard. Then you just stick the tinsel around the outside and let it cool. I decided to leave the tinsel off of the side where the eggs come together too.

You can use these pieces as a traditional memory game or make it a little more special by hiding them in eggs around the house. Either way, it’s full of Easter fun!


What Easter games do you play with your kiddos? Let me know in the comments.

DIY Flower Pom Poms

Springtime is here and we’re bringing the best parts inside. To decorate and embrace spring, we made DIY Flower Pom Poms.

These boho flowers are easy to make and really make a statement to any wall.

Mila and I are obsessed with plant and flowers. They bring us so much joy and are beautiful to look at too. I think they’re one of our favorite parts about springtime.
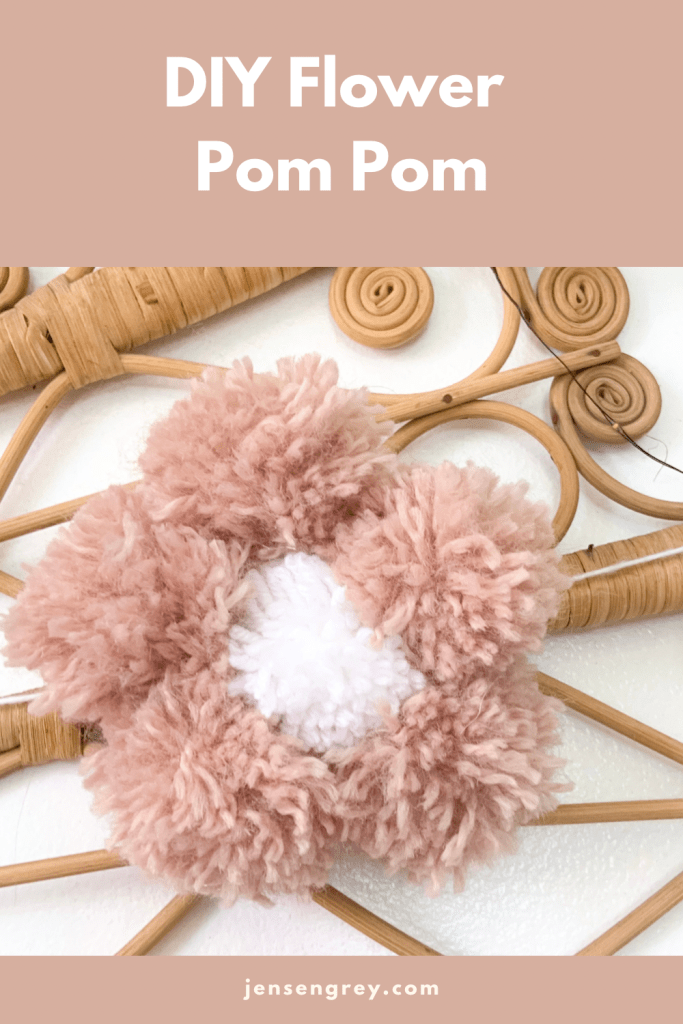
Even though we have plants and see flowers constantly, you can never have too many! That’s why I love this DIY Flower Garland.

Here’s the only two things you need for it.

  • Yarn
  • Scissors
  • Large needle
  • Pom pom maker (optional)

The first thing I did was pick out what color yarn I wanted for this project. I am in love with this orange, yellow, and pink color scheme lately. It gives me 70’s floral pattern vibes.

Then you need to make your pom poms. I personally don’t use a pom pom maker, just my hand.

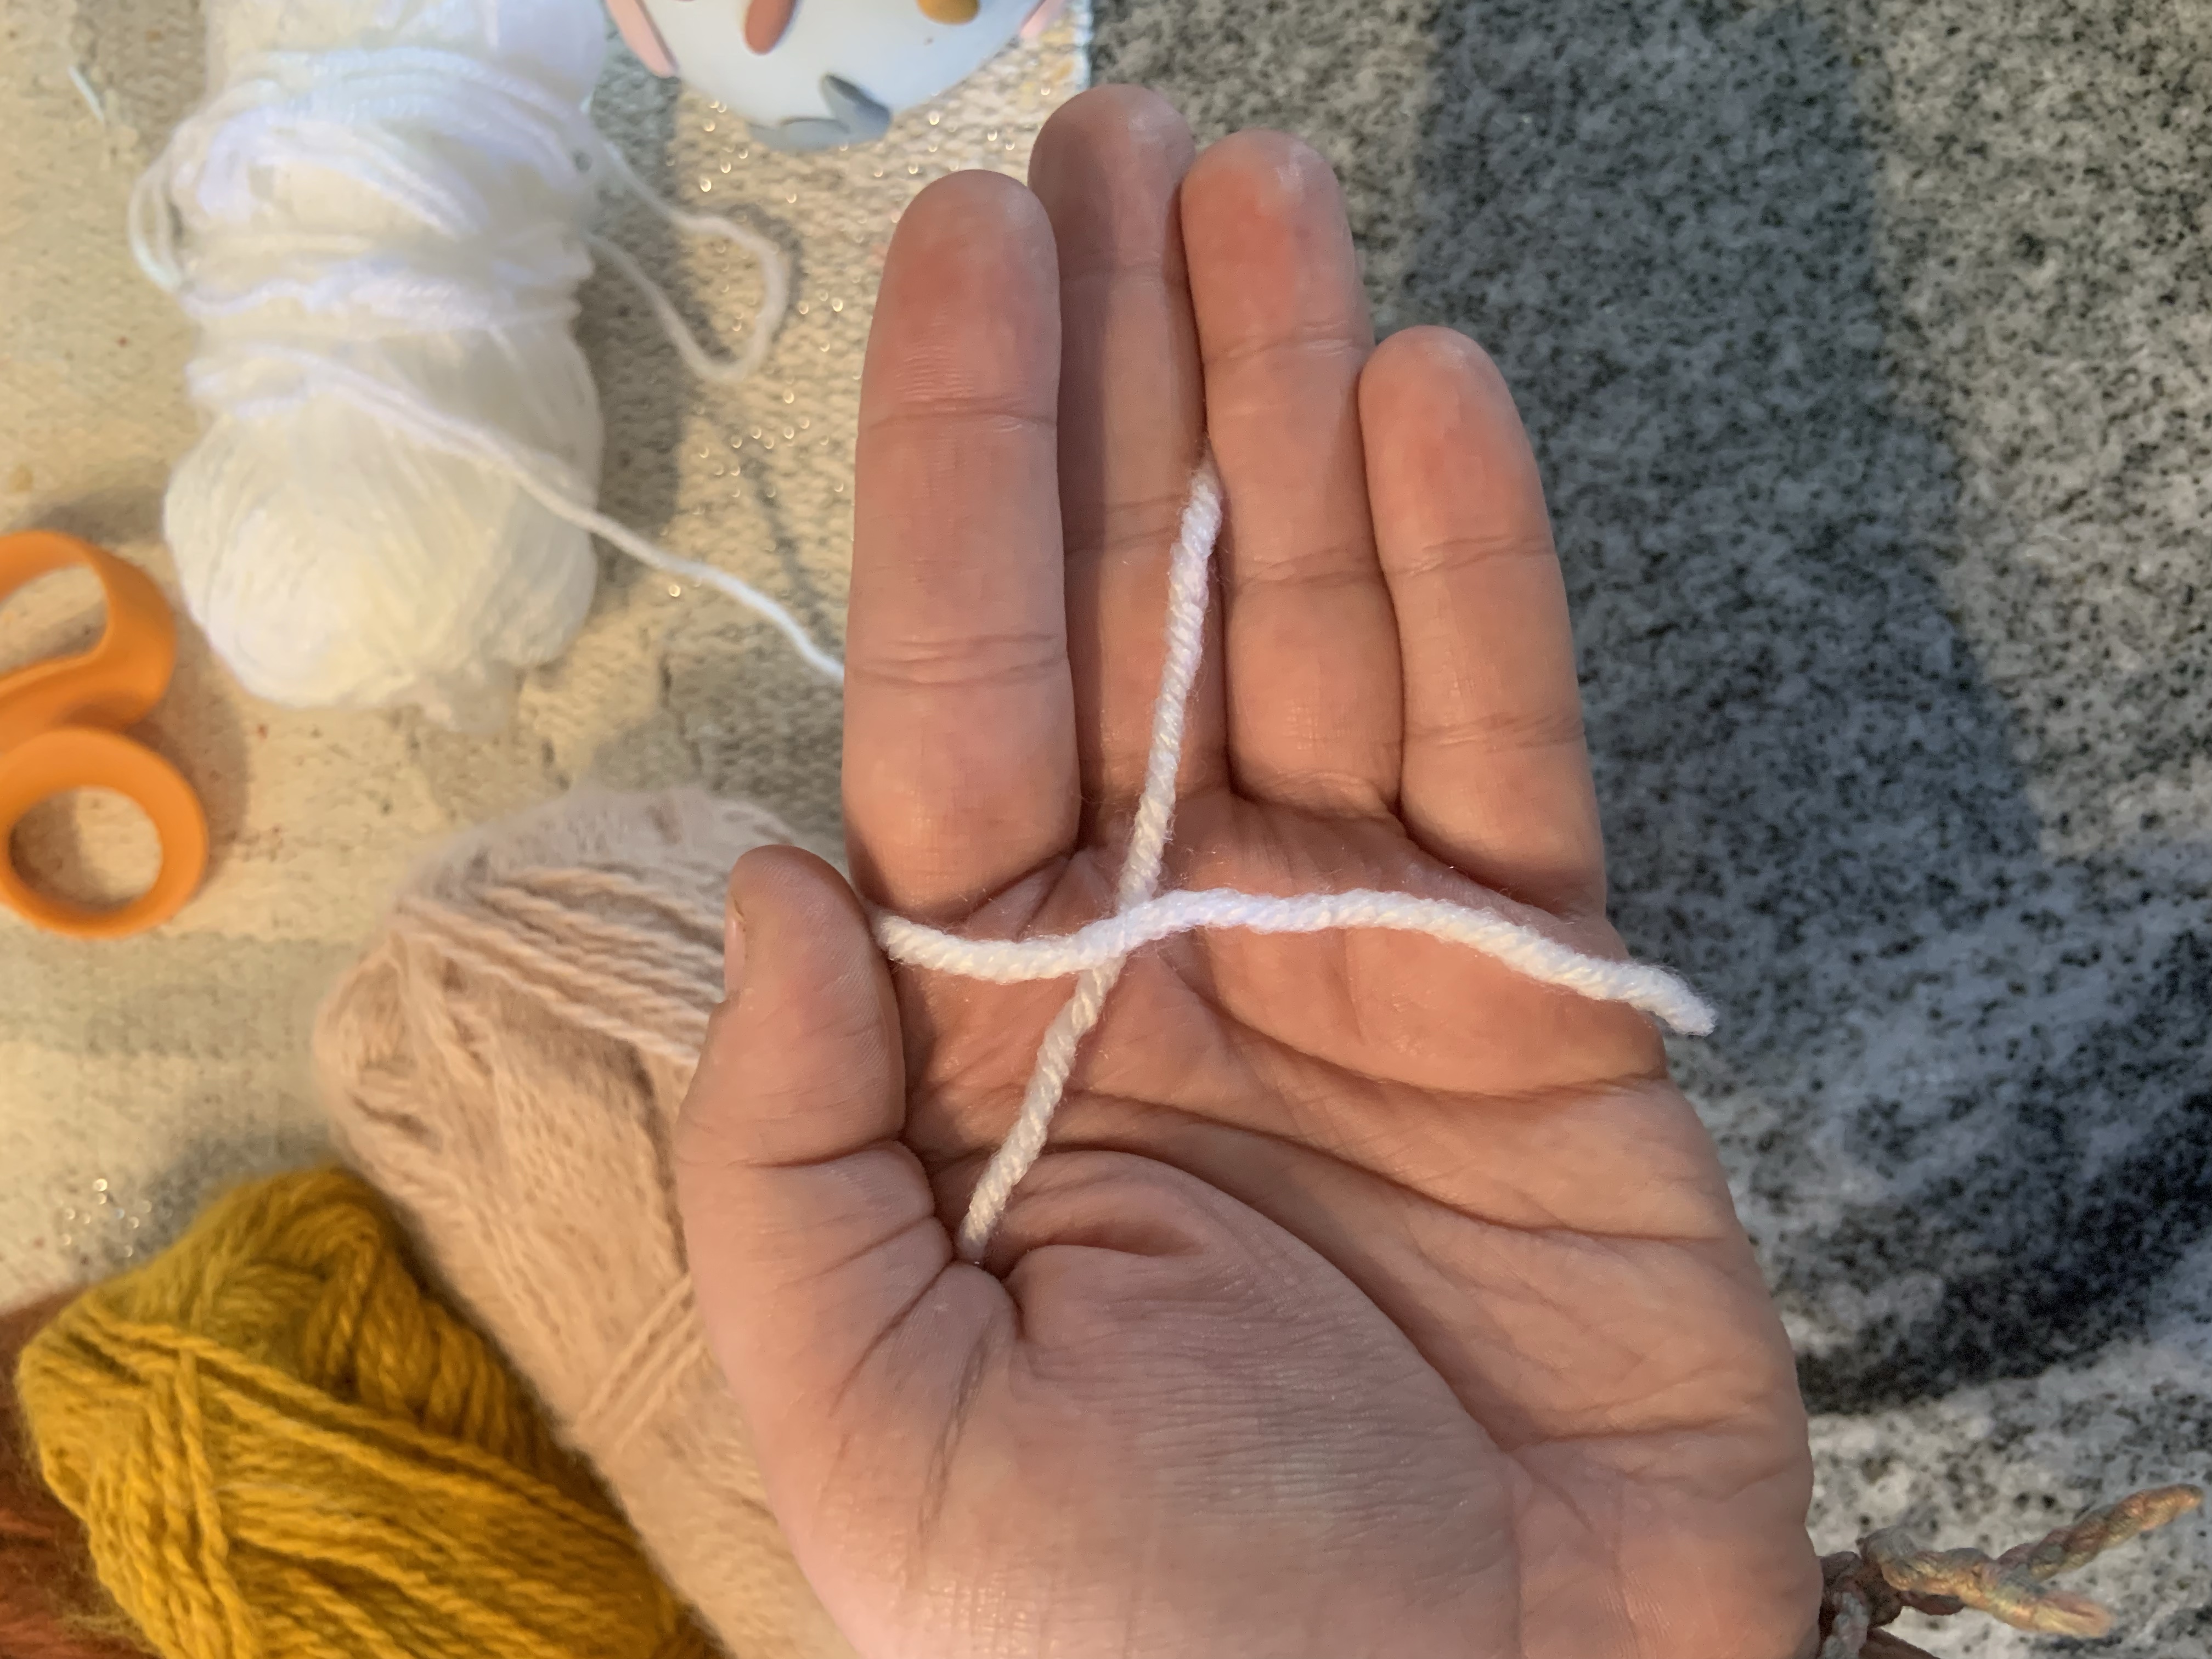
All you need to do is cut and hold a string in your hands horizontally, then start wrapping string vertically around your four fingers. Wrap it around 150 times to get a full pom pom.

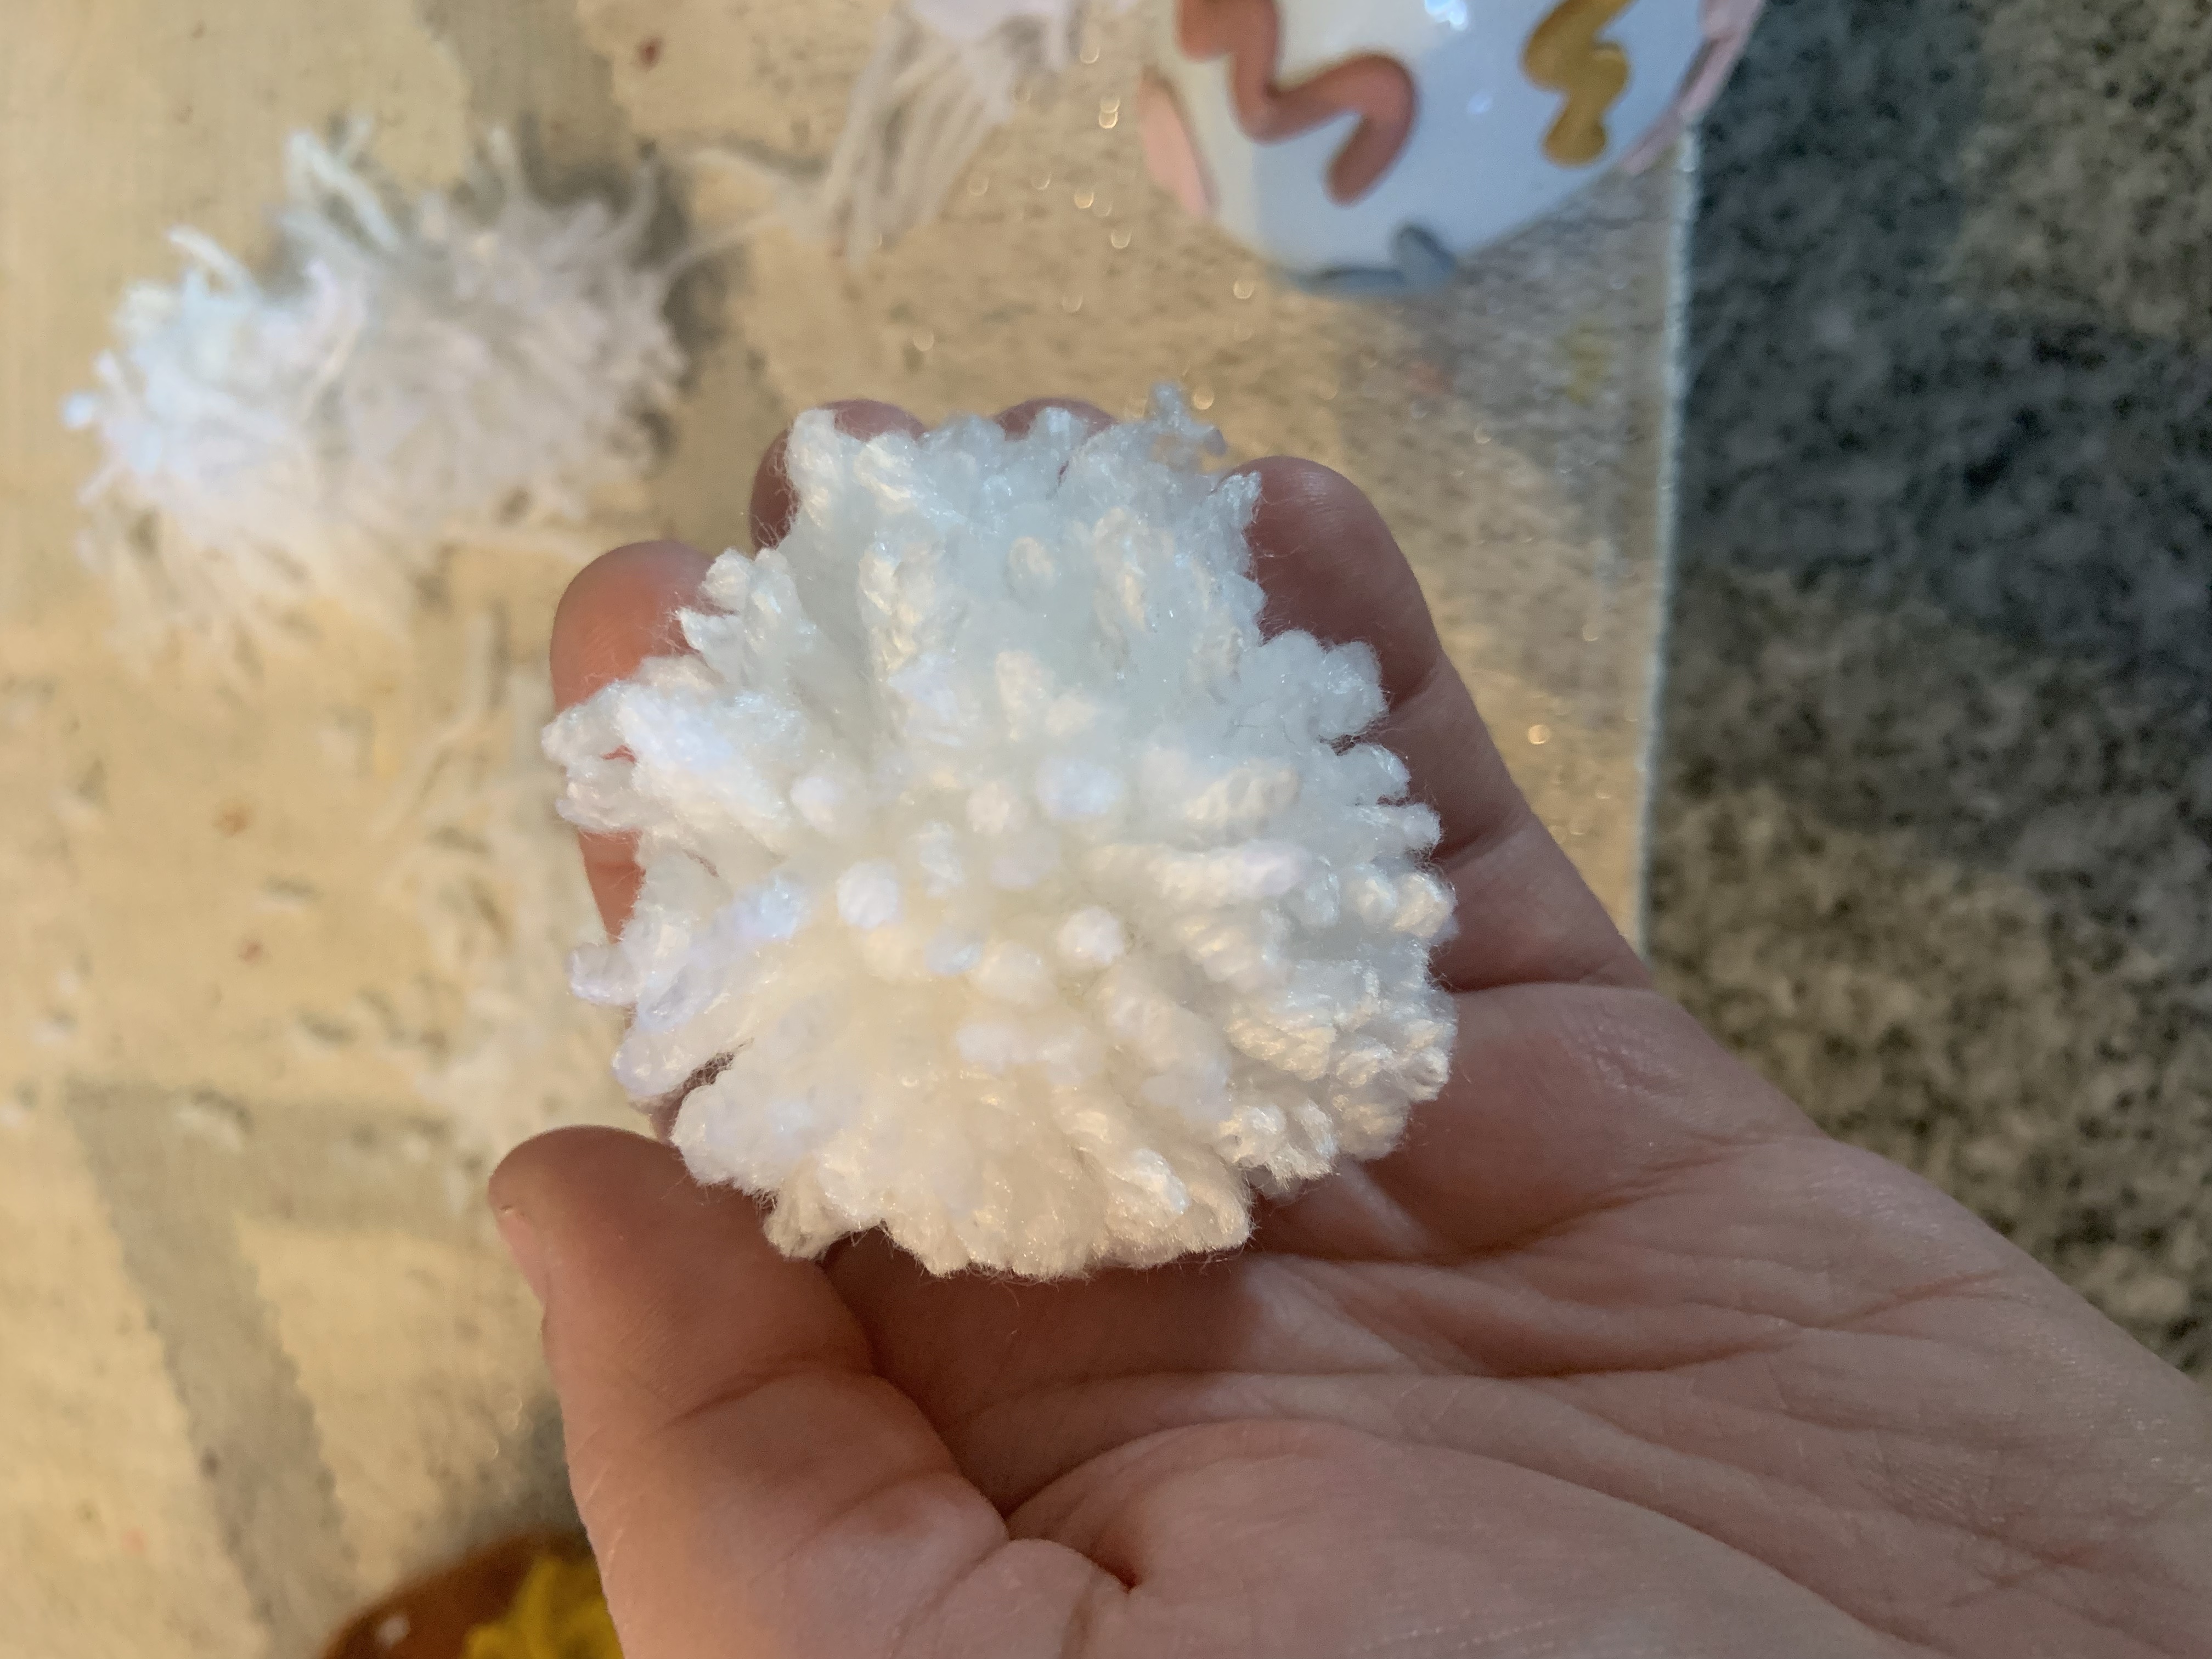
Next, you have to tie the first string you had horizontally. Once it’s tied, cut the loops for the rest of the strings to flare out.

After you have your little yarn ball, it’s time to shape and make it look fluffy. You’re going to trim A LOT of yarn here. Just keep cutting it down until it’s the size and puffiness you’d like. Once that’s done, your first pom pom is complete.

For each flower you do, you need to make six pom poms. I usually do a white center with colors on the outside.

To connect them, you can either use hot glue or stitch them together.

I made a garland of hearts, but you could easily make a single wall hanging, faux flowers, or a rear view window decoration. You can also change the size of your poms using a pom pom maker or different technique.

Personally, I love how this turned out and totally want to make one for my room too.

Prepare yourself for all the spring and Easter content. We are so excited for this tike of year and are so ready to create!


What craft or activity are you ready to tackle this spring? Let me know in the comments.

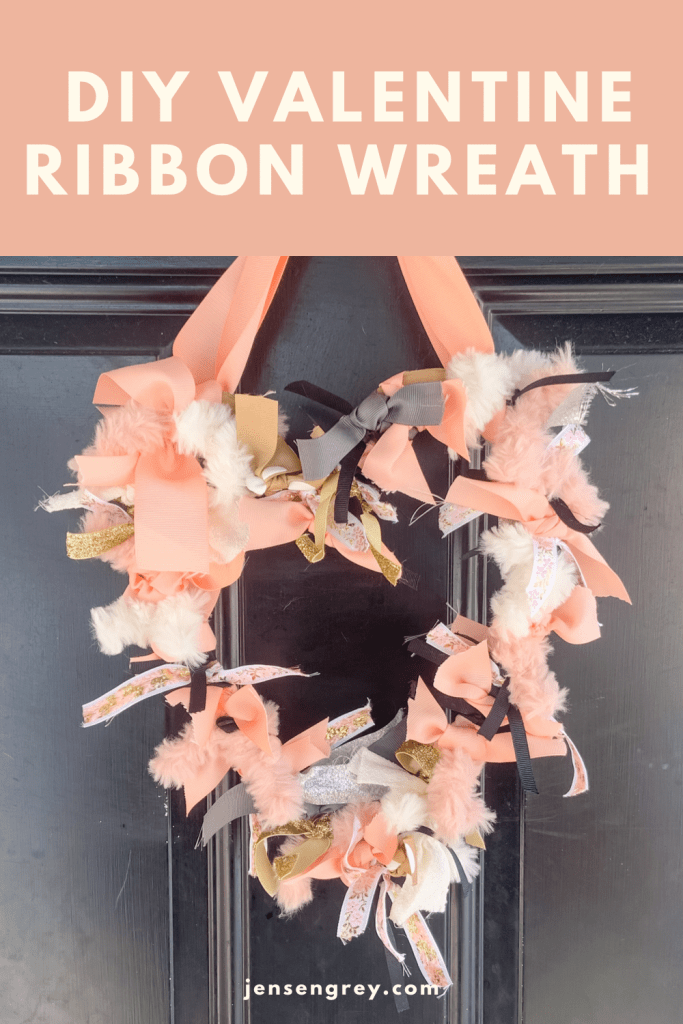
DIY Valentine Ribbon Wreath

If you’re looking for a fun way to add interest to your front door and celebrate Valentine’s Day, try making this DIY Valentine Ribbon Wreath.

It’s a cute way to be festive AND thin out your craft supplies too.

Real talk. I’m the type of person who saves everything just in case I can use it in the future. Most of this ribbon comes from a project I did in Mila’s room… while I was pregnant.

Now I’m happy I saved it for this quick DIY, but it’s a little embarrassing I kept it for that long, oops.

Anyways, here’s what I used for this DIY Valentine Ribbon Wreath:

  • Cardboard
  • Scrap Ribbons
  • Scrap Fluffy Yarn

The first thing I did was cut out a heart for the frame out of cardboard. I actually cut out a big one then cut a smaller one from it to just get the outline. This can be a little tricky with cardboard, but I promise it can be done!

After the heart frame was ready, I got my scrap ribbons out. Like I said before, they’re from Mila’s nursery, so a ton of pinks. What’s fun about this DIY is you can use any color ribbon or yarn to fit your style.

To secure on the heart, I double knotted the ribbon. Then if the ends were too long, I trimmed it up.

I actually use quite a lot of ribbon. Just keep adding until it’s almost full.

Then, I added my fluffy yarn in pink and cream to the heart. This gave it so much more dimension and interest. When I just had the ribbon on it, it was boring, so I totally would recommend adding something like yarn or anything soft.

When everything on there, you can fluff the ribbon and yarn to make it look fuller.

To make it be able to hang, I attached a run on on both side of the heart bumps (no idea what else to call this). Then, I tied a bow at the top to hang it from my wreath holder. This way it wasn’t hanging at an angle and you can clearly tell it’s a heart.

Now you have a beautiful DIY Valentine Ribbon Wreath and was able to use that extra craft supplies you have laying around.

A total win-win for Love Day.


Have you ever used cardboard to make a wreath? What are some other items you use?