May the Fourth be with you… okay, Happy Star Wars Day! To celebrate this fun little holiday, Mila and I made slime for the first time. We had a blast with our little DIY and I loved introducing her to slime and the force.

If you’ve never made slime or hate how sticky some recipes are, this one was actually great. It was a few simple steps that’ll make you actually want to make slime with your kids.
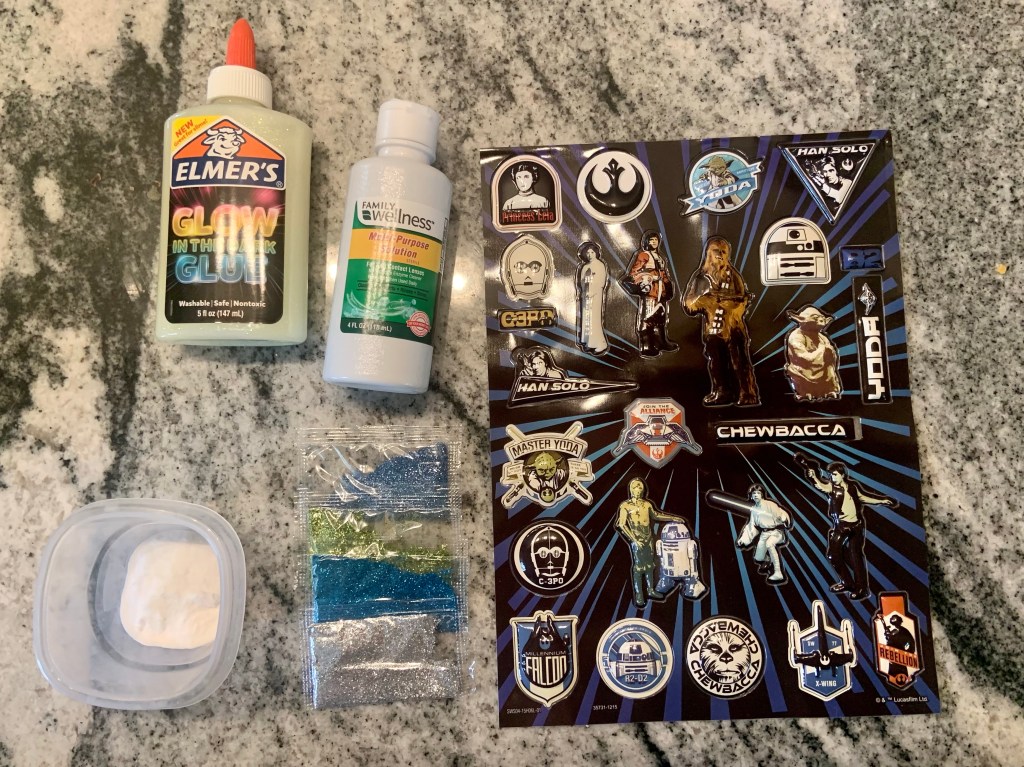
Here’s what you’ll need:
- Glue (5 oz) – we used glow in the dark
- Contact solution (1 tablespoon)
- Baking soda (1/2 tablespoon)
- Food coloring
- Star Wars Stickers
- Sparkles – just in case
The first thing to do is empty out the entire bottle of glue in a bowl. We did glow in the dark glue with sparkles in it. I thought it would be unique and it reminded me of Star Wars.
To get all of the glue out, I cut the bottle in half and spooned out what wouldn’t come out.

Then, add the baking soda to the glue. You’ll need to mix this up and it starts to get really thick. Mila loved helping mix it at this stage, as well as pouring everything into the bowl. I did end up having to help her at this point because it did get difficult.
After it’s mixed together, add food coloring to it. We chose purple because it’s on of Mila’s favorite colors, but it’s reminds us of space and galaxies. Of course, we added more sparkles too.

Next, add the contact solution.
This will make the slime almost impossible to mix. It immediately clung to the spoon when we started mixing it. After a minute, I ended up mixing the slime with my hands. It was way better kneading it with both of my hands.
Although our slime wasn’t sticky, you could add more contact solution if needed.
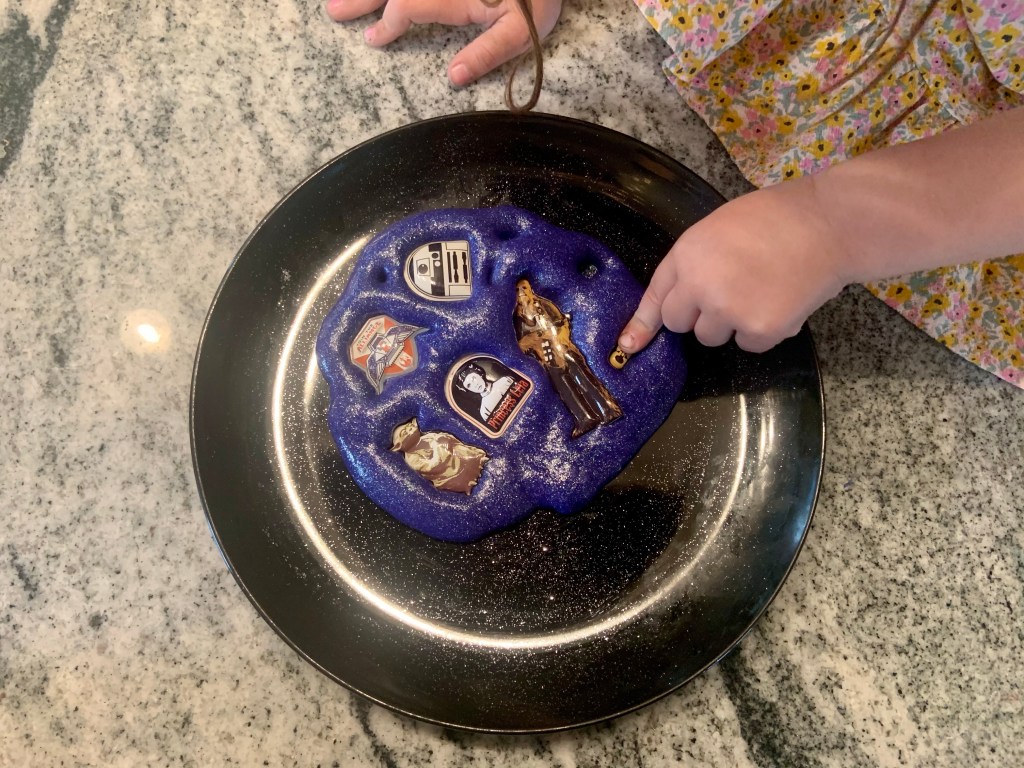
Mila was a part of the entire process, but it was still fun to present it to her with Star Wars stickers. She loved pressing the stickers into the slime and asking what all of their names were.
We talked about the characters being in space and that’s what the slimed looked like. It’s great because she knows that the moon and sun are in space. She might not grasp the entire concept of space yet, but it’s fun seeing her learn more about our universe each day.
As much as we had fun talking about Star Wars and space, Mila really just had a blast playing with the slime!

With how well our first slime making experience went, we will definitely be making more in the future too. It was also such a fun way to get Mila started with the Star Wars universe. I’ll love it when she is old enough to watch the series with me. If I had to guess, Princess Leia buns will be next.
What’s your favorite slime recipe and do you enjoy the Star Wars films?
Before you go, check out how strong the force is with these DIY moms and their kids.