Small hands make a big different, especially when it comes to protecting our Earth.
This DIY Earth Day Handprint Artwork is perfect way to showcase your love for Earth while using recycled crafts supplies.

At a young age, I’ve taught Mila she needs to love our Earth. We’ve always talked about recycling and how we need to be mindful of our decisions. She always picks up trash off the ground and loves every part of the outside world.
It’s important to me that she knows her impact and ‘small’ hands can help our Earth heal.
This DIY Earth Day Handprint Artwork was a perfect way to showcase that. We reused supplies we already had and made it cute to show off. Hopefully signs like these will help inspire others to love Earth as deeply as we do.
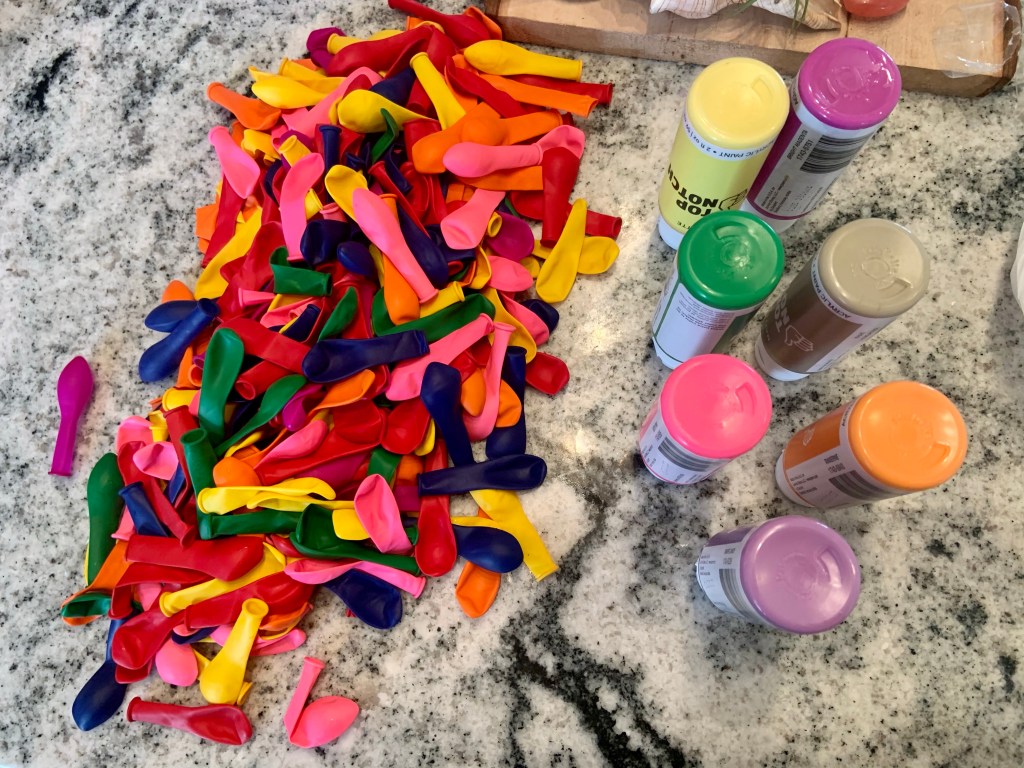
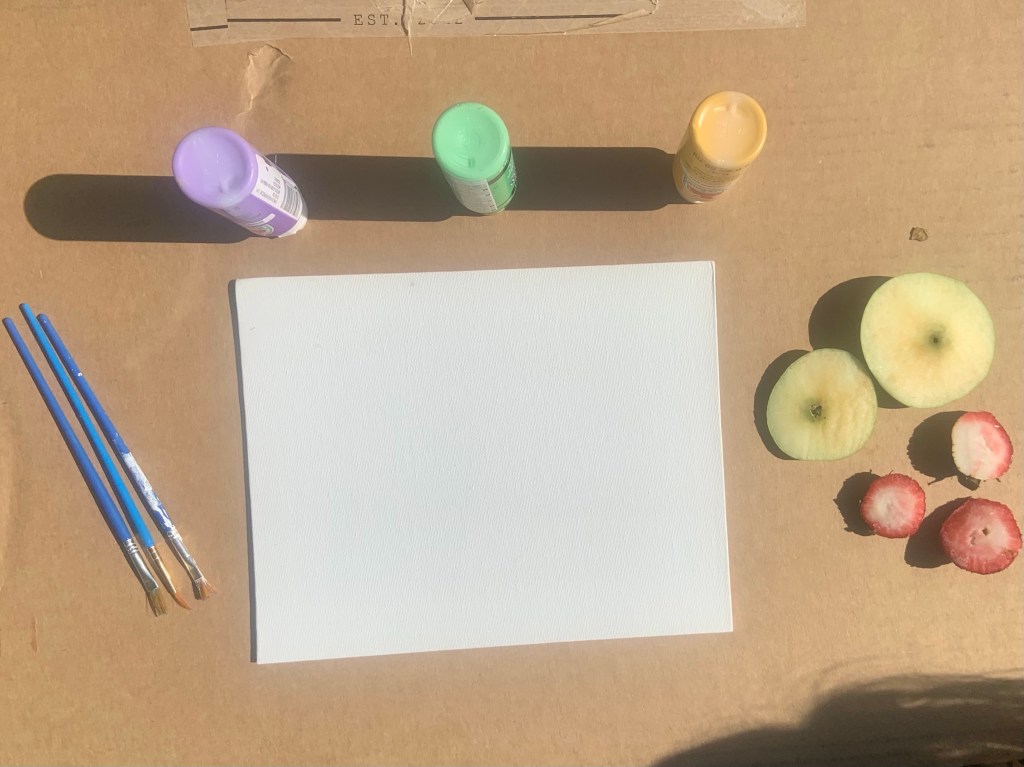
Here’s all we used:
- Wood sign
- Paint
- Paint brush
- Yarn
- Hot glue
To start off, I reused the back of an old summer sign. It was the perfect size and shape of what I had in mind. Plus, it gave it another purpose too!

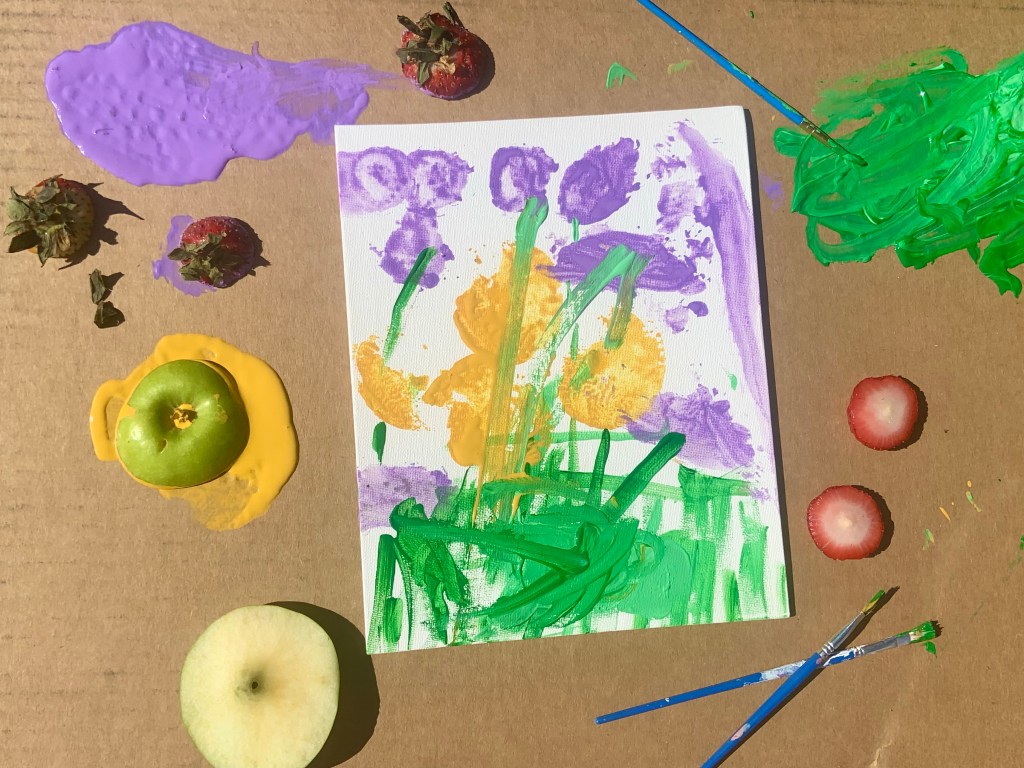
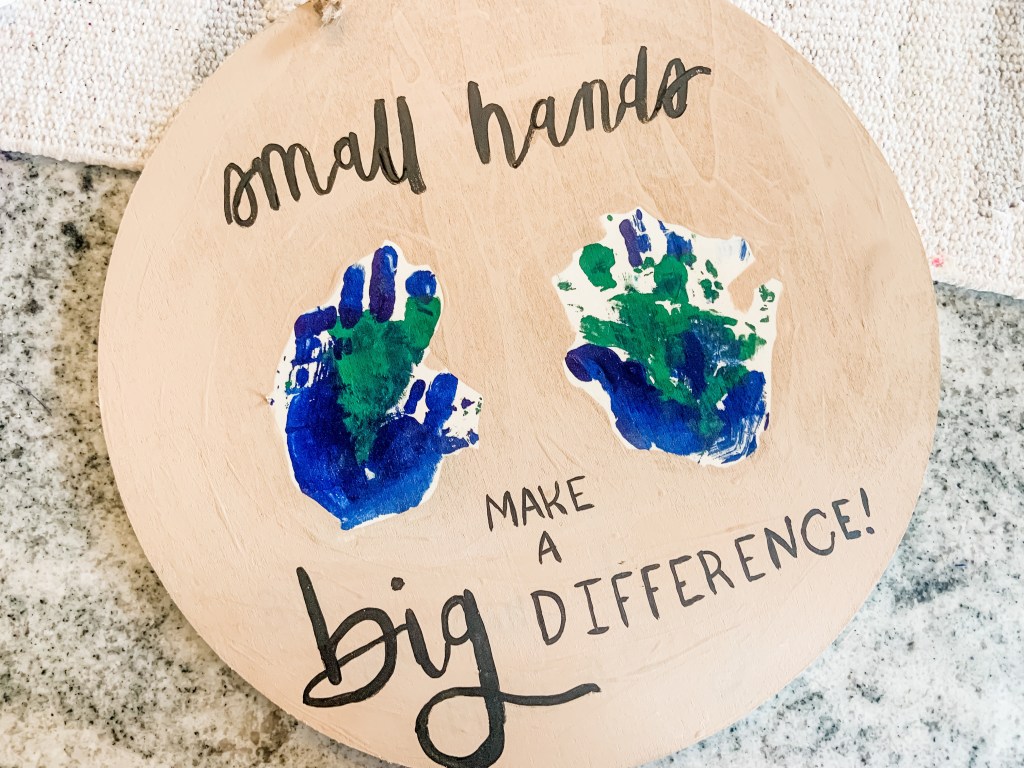
Next, paint your child’s hands resembling the Earth. This was a bit tricky. I just added blue paint first then topped it off with green. Obviously it’s not going to look exactly right, but I think ours turned out pretty cute.
Then, press down on your child’s hand to get the paint to transfer to the wood sign. You have to work quick so it doesn’t completely dry on their hands.
Once the paint is dry, you can add whatever quote around the hand Earth. I was inspired by The Letter Vee’s Earth Day worksheet and used, “Small Hands Make A Big Difference.” You can write whatever speaks to you!
At this point, I could’ve been done, but I had to add a little extra.
I used scrap yarn as bows on the hanger. The color really popped and gave that earthy feel. Once I saw that, I knew this piece needed more texture than just the bows.
So, I added the fluffy white yarn around the outside of the sign. It really made it look special and stick out.
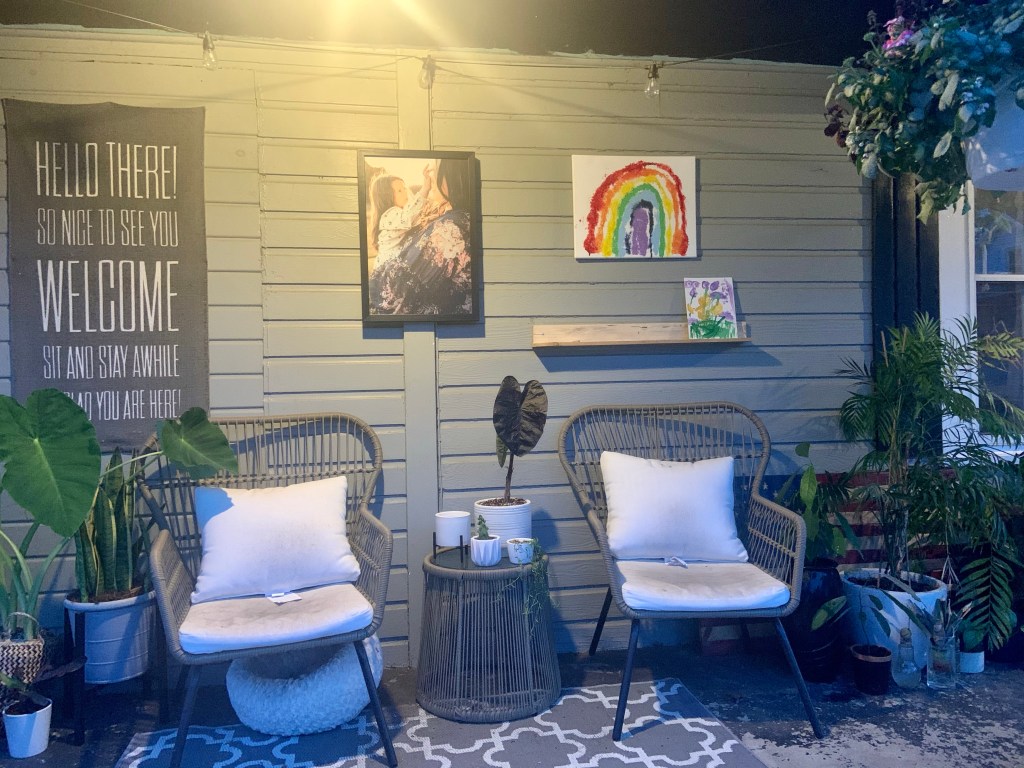
Since I wanted to spread our love for the earth, this sign is hanging on our porch. Hopefully it’ll inspire someone to make good choices. The future of our world and children are in our hands.
We can make a difference.
What ways do you celebrate our Earth? Check out these fun ways we have:
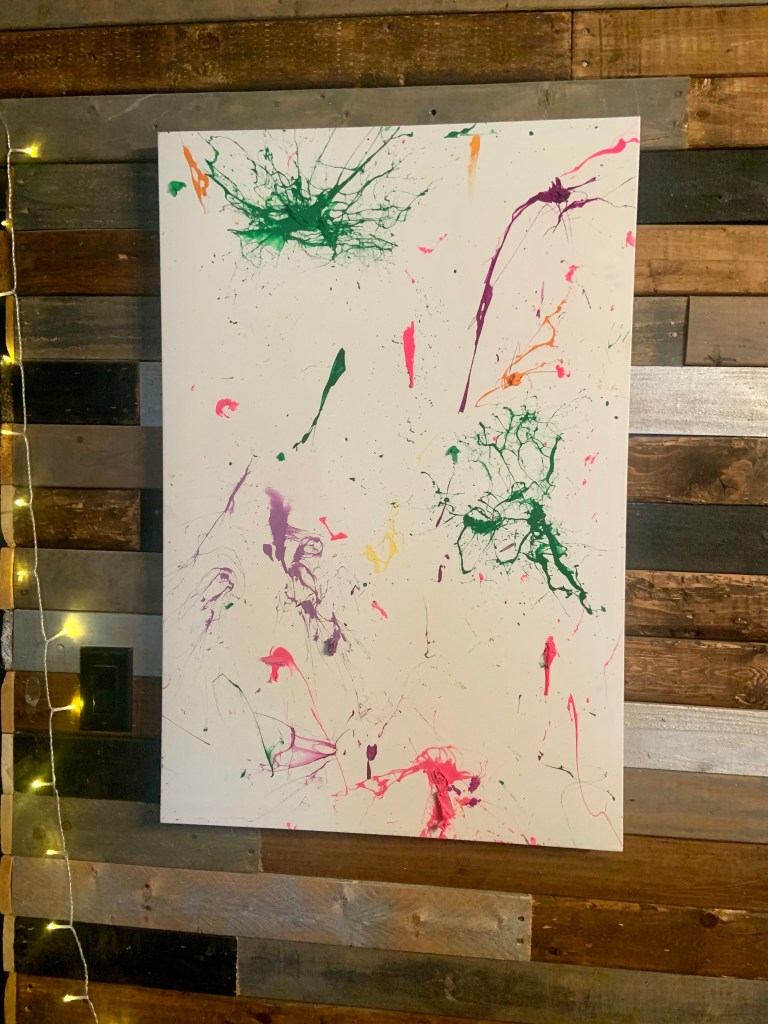
- Earth Day Painting
- Earth Day Collage
- Ocean Pollution Cleanup
- Seed Bombs
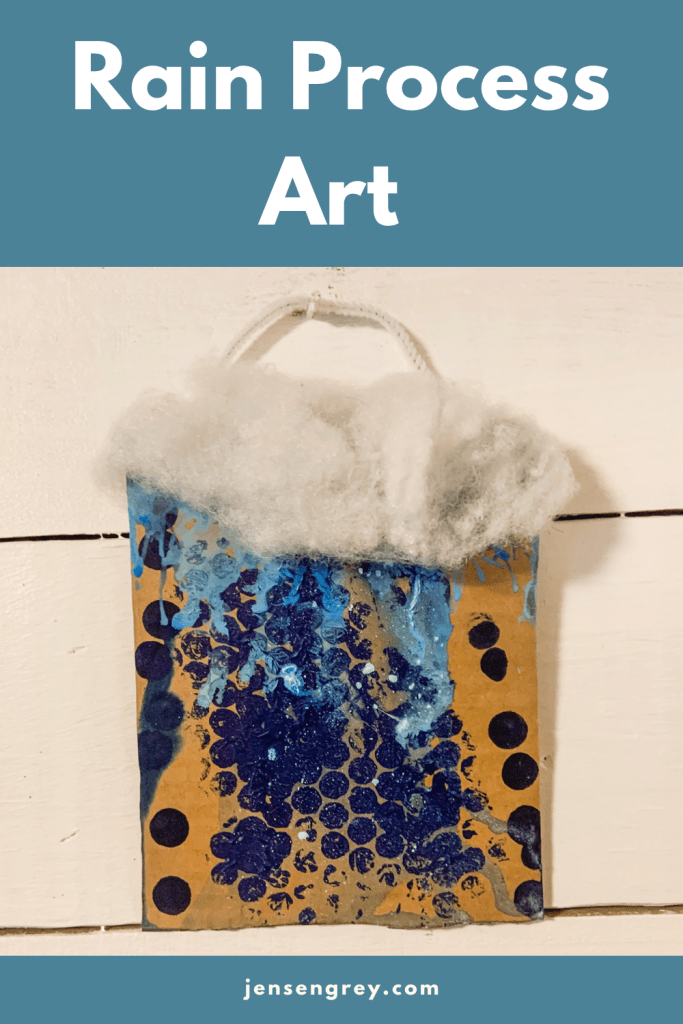
- Rain Process Art
- Recycled Planter Pots
- Backyard Scavenger Hunt
- Nature Scavenger Hunt