Toddler Activity: Frida Kahlo Portrait

In celebration of Cinco de Mayo, femininity, and art, Mila learned more about one of my favorite historical woman: Frida Kahlo. Of course, we had to do a craft of a Frida portrait; just with a toddler spin.

If you don’t know about Frida, she’s truly an amazing woman. Her history was tragic, but her perseverance to keep going against all odds really speaks to me. Through everything, she became one of Mexico’s greatest artists. She did a ton of self portraits, which is why we honored her this way.

Now, I understand Frida has NOTHING to do with Cinco de Mayo. This holiday commemorates Mexico’s unlikely defeat over France in 1862. Since then, it’s turned into a huge celebration.

With Mila being three, I don’t feel completely comfortable talking about war with her yet. It’s still a great way to teach her about Mexican culture. Frida is a huge cultural icon and since we love learning about art, it felt perfect.

Anyways, you can look up all kinds of information about CInco de Mayo and Frida all over the internet. Now it’s time to get to our little craft.

Here’s what you’ll need:

Honestly, i wish I had a free printable for everyone to make this craft a little easier. The elements in this project are a little detailed, but the end result is worth it.

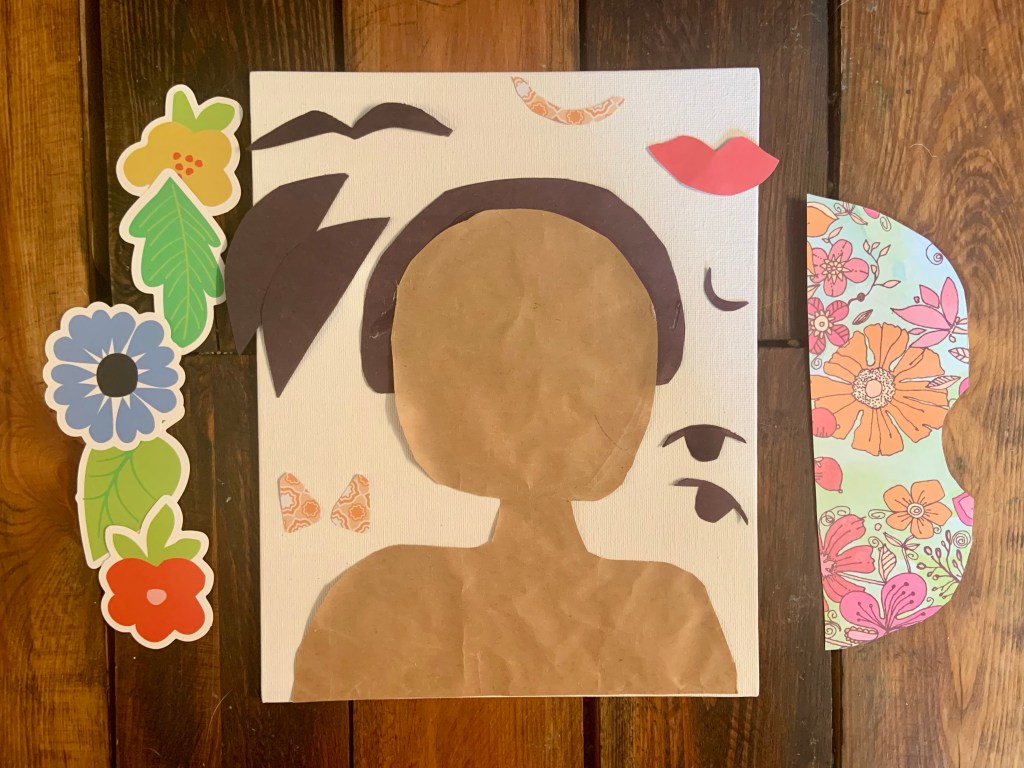
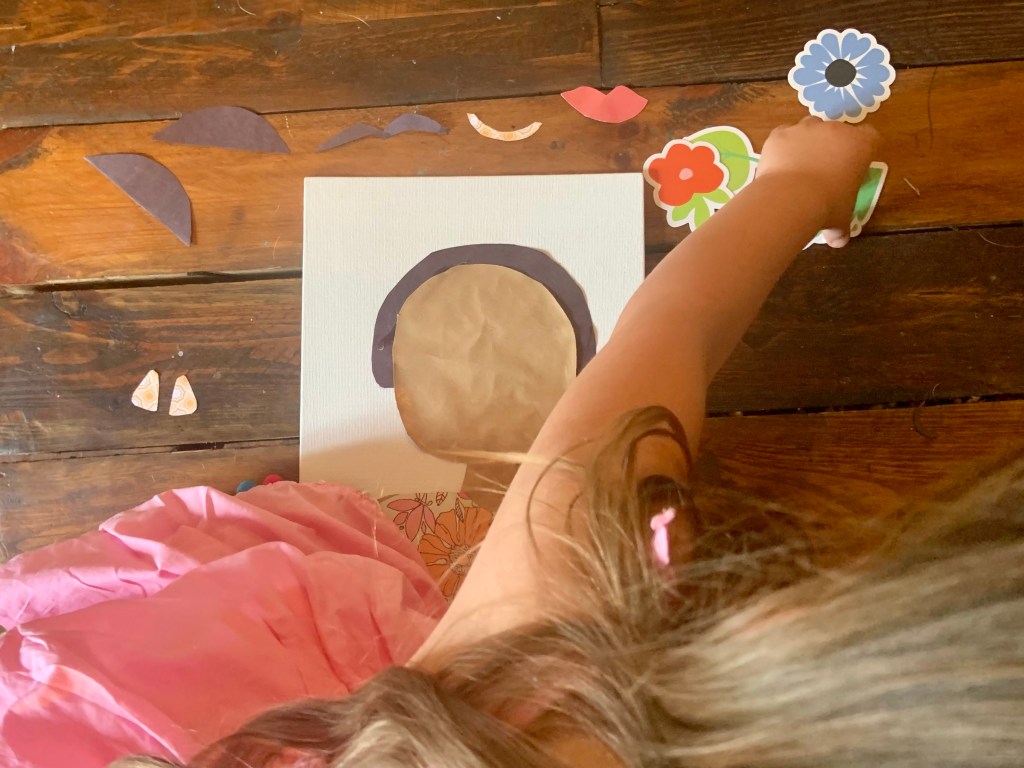
To prep for this craft, I drew the different elements of Frida’s face on the construction or craft paper. They don’t have to be perfect. I think the more unique it is with its imperfections, the more it connects with Frida and her work.

I drew Frida’s hair, nose, eyes, and unibrow on black construction paper. Her lips on red scrapbook paper. The accessories on yellow scrapbook paper. Her body is made out of brown construction paper and the dress out of floral scrapbook paper.

Once everything was drawn, I cut them out.

Since we used a canvas, I hot glued Frida’s body and part of her hair down. Then, it was all up to Mila.

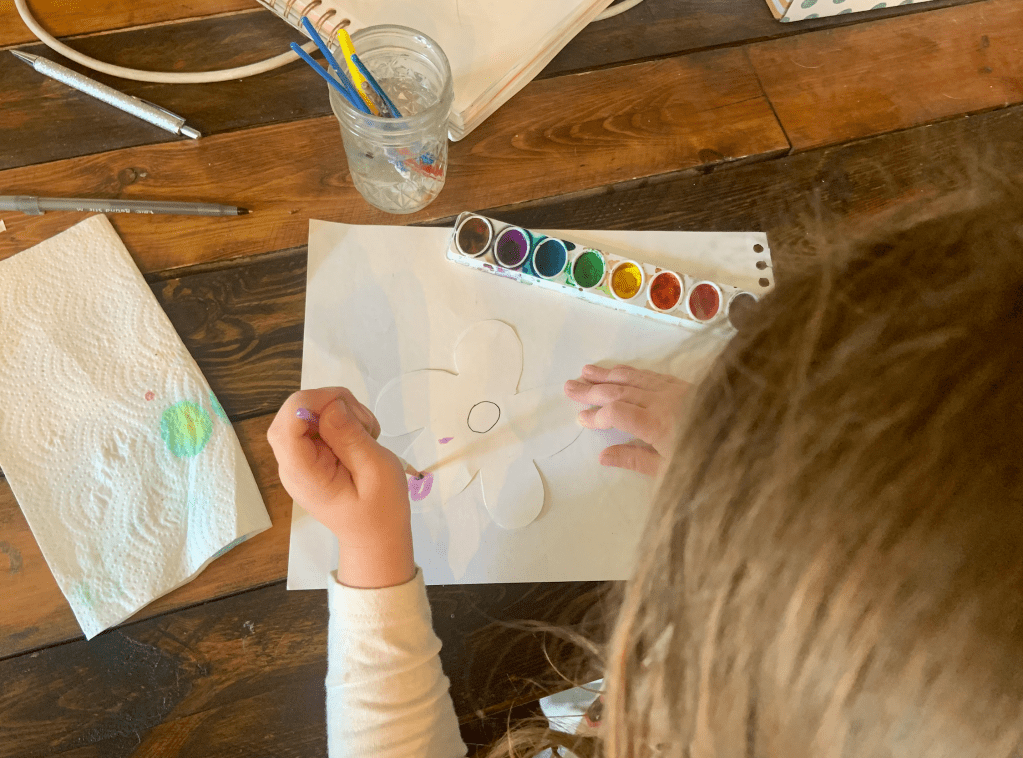
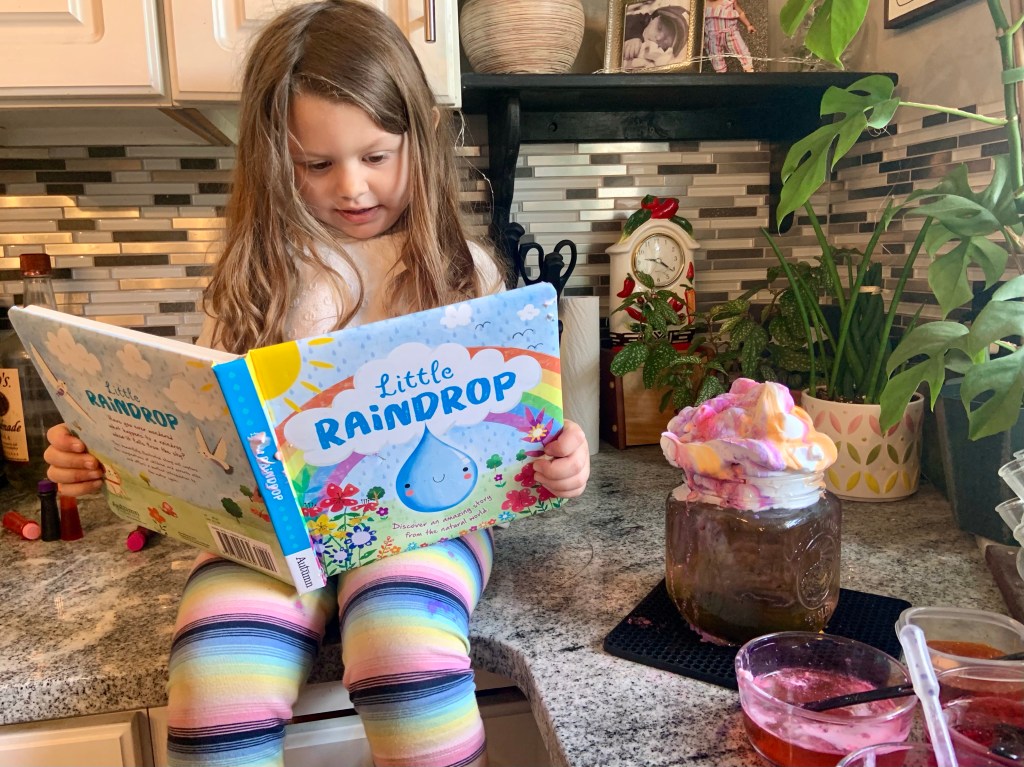
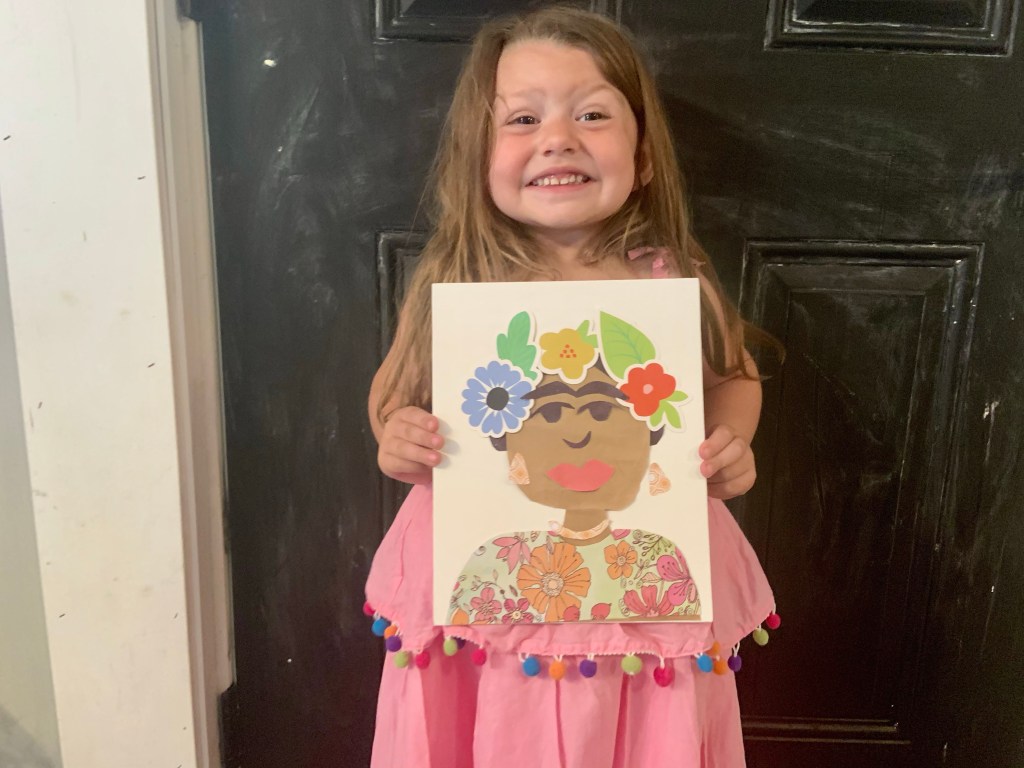
She has seen Frida and her artwork for her entire life. We read books with her in them, but I showered her a picture before she started. After, I asked if she could make her face.

Honestly, she did a great job. She loved talking about the different parts of her face and was in love with the flowers. I think she said Frida about a thousand times too. It amazes me that she picks up on all these new words.

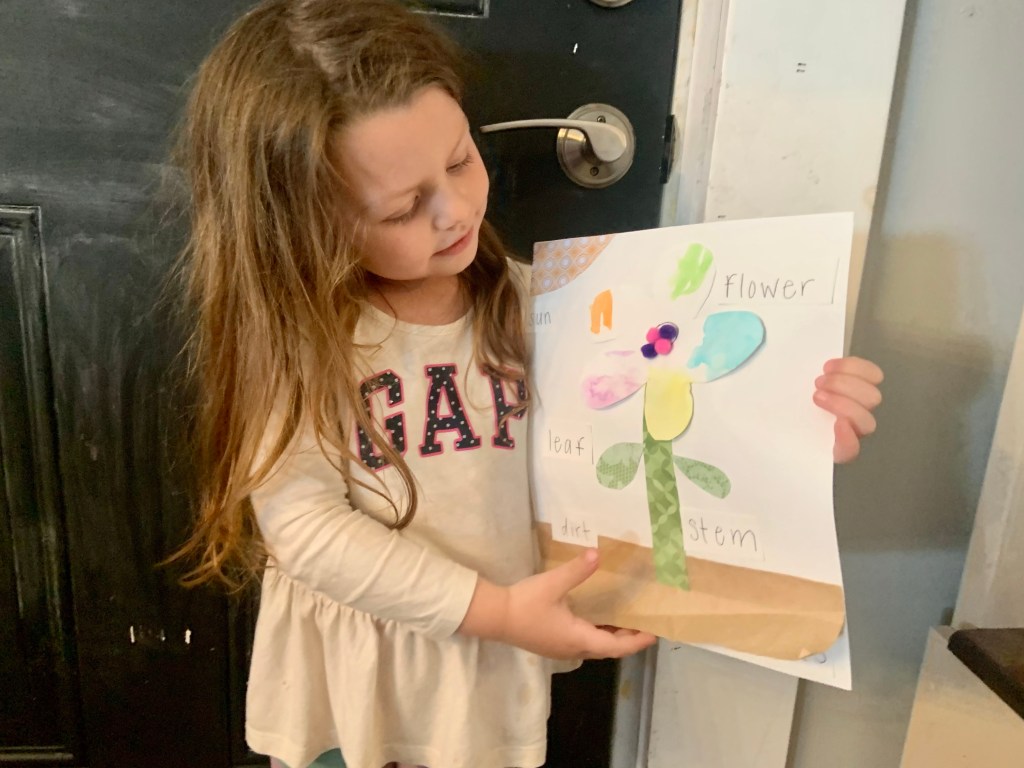
I think she did a really good job. She put it in a prime spot for all to see! I love that she loves all her hard work.

Plus, it was a fun way to celebrate Cinco de Mayo.

Tonight we’ll be enjoying tacos and I’ll have a margarita. We love to celebrate these holidays and learn all about new culture.

Let us know what you think about this Frida craft and how you celebrate Cinco de Mayo!

Before you go, check out how these moms celebrate Cinco de Mayo and Mexican heritage.

Advertisement

Toddler DIY: Painted Flower Pots

Don’t scramble this Mother’s Day to come up with gift. Try these DIY painted flower pots to give to your loved ones.

Not only are they easy to make, it’s adorable watching your child pick out the plants for it.

Plants are great gifts to give because they keep growing! It’s extra special to get a personalized pot as well. The combo makes a beautiful present and you’ll toddler will be proud to gift it.

Here’s everything you’ll need:

Most of these items, you probably have at your house. If you don’t have any extra pots laying around, terracotta pots are inexpensive and can be found at most stores. Another option is to use plastic ones too.

To personalize the pots, I added stickers to it before we painted. This is completely up to you!

Then it was time to set up.

I laid a sheet of parchment paper down on my island. Just so there wasn’t paint everywhere like her Earth Day painting.

Next, I had her let me know what color paint she wanted to do. Another great way to practice her color recognition, which she has nailed! But, it’s always fun listening about her favorite color. I ended up putting all the colors on a plate.

After everything was set up, I instructed her to paint all over the pots.

It took her a little bit to get both of them done.

All of the colors got mixed together too. It made a beautiful green color, but it’s a good word of caution if you don’t want all the colors together.

We let the pots dry and took a nap. I should’ve tried to pull the stickers off before we fell asleep though!

When I removed them, the paint stuck. Of course.

To fix this, I ended up just using permanent markers to fix it. This happens with DIYs. Nothing will ever turn out perfect, but I just love them.

After everything’s dried and the way you’d like it, it’s time to pick the plant or flowers.

I have a ton of plants that need ‘real pots,’ not just nursery pots. Yes, yes. I’m most definitely a crazy plant lady at this point!

Honestly though, I think these turned out so cute. I love how mine turned into a rainbow, marble piece and my mom’s is a nice blue and green swirl. They’re both made with so much love.

You and your toddler can easily make these pots in an afternoon. They’ll make anyone smile to receive!

Let me know what you think about these pots in the comments. If you DIY them, tag me on Instagram: @greyskies.rainbowhighs. I can’t wait to see your and your toddler’s creativity.

Before you go, check out what these other moms are doing for Mother’s Day this year…

5 Tips to a Successful Garden

Last year, Mila and I tried our best to maintain a toddler garden. With a little practice, we’ve found five tips that really help our garden grow and thrive.

I will admit, we’ve acquired a few houseplants since our go at it last year. It’s really helped up understand what plants need to grow. Germinating seeds are a little more tricky than having houseplants, but it’s the same principal.

We ended up buying an herb kit from the dollar store to practice. It costed $5 for the seeds, soil, and container. I thought it was a great deal. They’re a little wonky right now since they’re growing towards our grow light, but they’ll even out soon!

Here’s what we did to make them sprout.

Warmth

One of the best things you can do for your seeds is to plant them in a warm environment.

At this point, they don’t need a ton of sun. Windowsills can be really cold in April, so keeping them in the kitchen or another warm room of your house is perfect. This will help promote them to germinate and sprout. They also grow quicker when they’re warm.

If they get too cold, they’ll freeze and won’t be viable to sprout.

Humidity

Besides warmth, the other most important component of starting seeds is humidity.

If the heat in your house is on, your home probably doesn’t have a humid environment for the seeds. But, there are easy ways to create it.

The easiest way is to use saran wrap. After you plant your seeds and spray water on them, just tear off a piece of saran wrap and put it over your containers. This and heat will create a humid environment that your seeds will thrive in.

It may not be the prettiest sight, but it really does help!

You could also use plastic takeout boxes or Tupperware to create the same effect too!

Shallow Planting

I think this is where Mila and I messed up the most last year!

Your seeds do not need to be buried in your soil mix. They need to be able to feel the warmth and humidity. Last year, I put them further down and although some sprouted, it was too deep. This year, I mostly spread the seeds on top of the soil and gently pressed them in the soil.

It took them a shorter amount of time to sprout this year and they’re really thriving. I believe this tip was the biggest factor there.

Patience

Gardening and growing herbs and vegetables from seeds take a lot of time and patience.

It can take up to two weeks for seeds to sprout. If they get overwatered or it’s too cold, they can end up rotting and not even sprout. There’s a lot of components and science to starting a garden.

This garden is a great time to talk to your toddler or child of any age about patience. They’ll be excited to check and see if their plants have sprouted every chance they can get. Once they finally start to, your child will be so proud of their efforts. You will be too!

Love

They say plants grow better when listening to happy music. Think how much they can grow from kind words and love from you.

Gardening truly is a labor of love. Not only to the plants, but with you and your little ones too. There are so many teachable moments and just teaching your child that something can grow from the love you put into it sticks.

I might not be the gardening guru, but these tips have helped us out this year. Mila is so excited to see her garden grow!

When our plants get bigger and it’s time to switch pots, I’ll update with those tips too.

If you’re wondering if you should start a garden, you most definitely should! Start small and see what works for you this year. By next year, you can take on more if you’d like. Either way, it can be a fun and ongoing experiment with your kids.

Before you go, check out how these other moms garden with their children:

As always, let me know in the comments if you have any other tips or tricks. Or you can let me know what you’re growing this year.

Toddler Activity: Identifying Parts of Flowers

If your toddler is anything like Mila, they love flowers. Spring is the perfect time to not only go and pick flowers, but to learn and identify parts of flowers too!

After learning about the water cycle, it was an easy transition to learning about flowers. While reading the Little Raindrop Book, Mila noticed that flowers and plants were a part of a raindrops journey. Since I have a ton of plants, she connected how our houseplants get thirsty and that they needed water to live.

So, we reread the book, talked about what makes a flower, a flower, and made a fun craft too.

To do this activity with your child, you only need a few supplies.

Before beginning this activity, there’s a little prep to do.

First, cut out pieces to make a stem, flower, leaves, sun, and dirt. I did basic shapes, but you can be as creative as you want. For the flower, I left it white so Mila could paint and personalize it.

Then, cut squares for your child to actually label the flower. There should be six squares. Label them with these: sun, flower, stem, leaves, dirt, and roots.

There are a few ways to introduce this activity to your child. Mila interacts with flowers and plants everyday at our home and through the book I mentioned. Your child might enjoy going outside and actually seeing flowers before doing this.

After you talk to your child about flowers, it’s time to set up the activity.

I first had Mila paint her flower with watercolors. Since we’ve been in a creative mood, she loved this part!

After that was finished. I had Mila tell me what she remembered about flowers.

To get to the main part of the activity, I asked her a few leading questions. The first was where do flowers live. She instantly said dirt, so on our paper we laid down where dirt would be. Then I asked her what part of the flowers lived under the dirt. Roots! This is a difficult question and I think she only knew this through my plant propagations.

We glued down half of the ‘dirt’ and then drew roots underneath the other half. This makes this project interactive.

With the dirt and roots set, it’s a little easier for them to figure out what comes next.

Mila ended up putting the stem, leaves, and flowers on by herself. She helped me glue the pieces of paper and placed them where she wanted them to go. For the sun, I asked her what gives the plant life. the sun and water. She placed the sun in the top corner and said that was in the sky.

We used the little pompoms to talk about seeds. Since seeds are in the middle of the flower, we put them there. Although we didn’t talk about seeds, I did extend her learning and told her seeds go in the ground. Then I told her they sprout roots and flowers from that one little seed. She seemed pretty amazed by that.

After it was all laid out, I made her go through all the parts to label them.

As she stated what part of the plant was what, I glued down the appropriate label so she could see the words by them.

Overall, it was a fun activity that she’s really proud of. She’s showed everyone who’s came over.

Make sure to check out these seven spring books that can help you talk to your toddler about flowers and spring. They all have beautiful illustrations and I know toddlers and young children will LOVE them.

If you tried this activity, let me know in the comments. I’d love for you to tag me on Instagram at @greyskies.rainbowhighs so I can see everyone’s creations!

Before you go, check out how these other mom incorporated flowers with their kids:

Toddler Activity: Stormy Clouds Experiment

Rain rain, go away, come back another day! Or if you insist on staying, it’s a perfect time to introduce the water cycle to toddlers.

Mila LOVE experimenting. I try to tailor to her learning style as much as I can. She would prefer doing an experiment every day, but that’s not always possible. Thankfully, teaching her about rain and the water cycle gives us an amazing opportunity to get dirty and make what she calls Stormy Clouds.

This experiment is fun for both toddlers and adults. It not only talks about the rain cycle, but you can incorporate color recognition, the Scientific Method, and motor skills too; so much learning packed in one rainy day activity.

Here’s what you’ll need to make stormy clouds:

I’m going to first start off by saying this activity can get messy. Whenever there is food coloring, it somehow gets everywhere. I’d recommend placing a plate, mat, or some sort of paper under your big jar. Of course, food coloring will clean up, but it’s nice to just take some precautions.

Once you get an area where you’ll experiment set up, fill a big clear jar with water. The jar I used had a lip on it. I filled it up to the bottom of the lip so it gave me some room to put the shaving cream.

Next, mix your food coloring with water in little jars and bowls. Your child will be either scooping the colored water with a spoon or using a pipette. I used very small Tupperware containers for this step. For the water/food color combination, I used 8-10 drops of food coloring and eyeballed the water. I wasn’t too scientific about the measurements!

Then, add shaving cream to look like a cloud on top of the BIG jar of water. I did this step after the food coloring because Mila would not have had enough patience to wait for all of the colors.

After you’re set with the cloud, have your toddlers start spooning or dripping the dyed water over the could.

It takes a little bit for the water to penetrate through the cloud, but once it does, it’ll look like rain drops are coming out of it. Mila enjoyed using purple the best since it was easier to see. Although, it was fun to do a huge mix of colors.

Throughout the experiment, we talked about how clouds make the rain and then it goes down to Earth. I’m not a huge science buff, so I turned to Little Raindrop, which is a cute book that talks age appropriately about the water cycle! It has adorable pictures and tells the story about a single raindrop. Mila got this when she was one and it was too advanced for her. At almost three, it’s perfect!

Even if your child is not interested in learning about the water cycle or even into rain, the activity is fun to just make a mess and play with colors. I showed a group of adults this activity and they enjoyed it too. It really is fun watching the shaving cream turn different colors.

Next time it’s raining or anytime you want a hands on activity to do with your child, this Stormy Clouds Experiment is perfect!

If you liked or tried this activity, let me know in the comments!

Check out these rainy day activities from other moms!

Toddler Activity: Egg Rescue

If you’re stuck with abundant amount of plastic eggs from Easter, let your toddlers play with them! This Egg Rescue is fun for active toddlers who like to work with their hands.

Mila loved ripping through and tearing all the tape off the eggs. It was fun to watch her too!

Here’s what you’ll need:

  • Plastic Easter Eggs
  • Washi Tape
  • Candy, little prizes, or change.

This activity takes a little time to set up. It’s worth it because they get really into it.

Fill Easter eggs with whatever stuffing you’d like. Think of leftover eggs from Easter Egg hunts!

Then, tape them on to whatever table.

Next, have your toddler rip the tape completely off. I made Mila tear off every single piece of tape before she could open the egg. It made her be precise in how she did it.

When they have all their tape off, it’s time for the surprise. Mila had no idea they were filled and was so excited! I let her open the eggs all by herself too.

This activity has so many important motor skills that they use. I also had Mila tell me the color of the egg she was opening to get some color recognition in.

Although I think I spent more time prepping, it really was a lot of fun to watch. She even taped down some of the eggs to keep practicing.

The star of the show was the quarter though!

Mila was genuinely excited that the egg gave it to her. Plus, she got to use her piggy bank which is ALWAYS a treat.

Overall, this is such a fun activity. I think it’d be awesome to do if it was a rainy Easter or in the days following. Since they’re mostly plastic eggs, reusing them for other activities and saving them for next year is great for our world!

I hope you liked this activity and if you try it out, let me know in the comments.

Bacon and Avocado Egg Sliders Recipe

If you’re like me? You probably wonder what to do with all the hard boiled eggs every Easter. I have a simple recipe that you might solve your problems!

And… it’s not deviled eggs!

These bacon and avocado egg sliders are keto friendly. Plus, they pack a lot of big flavor in a little package!

Here’s all you need:

  • Hard boiled eggs
  • Avocado
  • Bacon
  • Salt and pepper
  • Quantities depend on how much you want to make!

The first step if you don’t have any leftover Easter eggs is to hard boil eggs. Everyone has different ways to doing this.

If you already have eggs made, start with your bacon. I like mine a little crispy, so I keep it on there for a while. Same as with the eggs, I won’t tell anyone how to cook their bacon either!

Next, cut your avocado up. Then mash it.

Usually, I add salt and pepper to the avocado to give it some spice. Make sure no one steals this mixture… like Mila.

When you’re bacon and hard boiled eggs have cooled down. It’s time to assemble these sliders

Then, slice your eggs in half, longways.

They can get a little slippery at this stage. Be careful of which plate you put them on! I’m speaking from experience if you couldn’t tell.

Then spoon avocado on top.

After, break the bacon up in smaller pieces. Then stick it on top of your egg slider.

If you have extra bacon left, you can add more to it too! I usually add one to the bottom to make a little sandwich.

This little bite-sized slider has amazing tastes. I love the saltiness of the bacon and the creaminess of the avocado. Plus, it’s a great mix of textures too.

Honestly, this is one of my favorite ways to eat hard boiled eggs. Mila loves them too!

There’s not a ton of steps to follow and kids can easily help making these. Bacon and avocado egg sliders are really great for the days following Easter.

If you liked and tried this recipe, let me know in the comments!

Before you go, check out these Easter recipes from other moms that blog:

Toddler Activity: Waffle Day Letters

If you hadn’t guessed it already, today is Waffle Day. To celebrate, Mila and I of course ate, you guessed it, waffles! She also did a fun activity that we thought you’d love too!

Mila is obsessed with numbers, which is wonderful. She can count to fourteen all by herself. But… letters… they’re not her thing yet. The only ones she likes are m, i, l, a. I’m sure you get why. To help her get excited about them, we got to play with out food again.

For this activity, we got to combine making brunch, learning letters, and eating. Yum!

Here’s all you’ll need:

You might be wondering… why waffles and why letters? The squares in waffles make GREAT place holders. Plus, it’s fun too.

To start this activity, make your preferred waffle recipe and cook one wafffle.

While this is cooking, get a small bowl of blueberries or chocolate chips ready. Then, make sure to have out a whiteboard and marker or a piece of paper and pencil.

Once the waffle is done, let it cool down a little bit and then place it in front of your child. Draw a letter on your white board or paper. Then instruct them to write the letter with the blueberries or chocolate chips on the waffle. They might need a little help at first!

While you’re cooking, you can keep writing different letters for them to try. Make sure to say the letters out loud and connect them to something they know. I started with Mila’s ‘letters.’

Just keep in mind, your little one might eat their tools!

This was such a fun activity that can be anytime you’re enjoying waffles. It teaches them their letters and challenges them how to create letters too! Plus, they’ll be using their fine motor skills too! Just an overall educational and interesting activity.

If you liked this activity, let me know in the comments! Have you ever used food to learn?

While you’re at it, check out the fun other bloggers had with Waffle Day!