DIY Thanksgiving Gratitude Sign

Happy Thanksgiving everyone! This year, I’m trying to start a new tradition with my family: a DIY Thanksgiving Gratitude Sign.

Since there’s been so many events, people, and things in general that have happened in our family, I thought it’d be special for everyone to write it all out. It’ll be a snapshot of gratitude.

Who doesn’t need a little dose of that?

Like this year’s Christmas Bucket List, our DIY Gratitude Sign only uses craft paper and markers. To make it a little more special, I used some left overs fall elements from a centerpiece.

Then, just add tape to the back and it’s ready to go.

I added the first three items to the list: family, health, and laughter.

After looking at it, I decided to add my name to the sign too. Hopefully all my family will so we can all see what everyone says.

I think this will be a beautiful tradition for my family. It’s something I want to do with Mila as she gets older. Even if she’s not in a positive space, I want her to know that I’m always thankful for her. Plus, sometimes the things you’re most thankful for are ‘small.’

This simple and easy to make gratitude sign will make a big impact on Thanksgiving Day.


I hope everyone has a Happy Thanksgiving and holds their loved ones close this year and for as long as they can.

With that, I know so many people grieving through the holidays. They are so hard. I miss Jensen everyday and am so thankful that he was in my life. No matter if you can’t think of anything else to be thankful for, I know a name can be powerful. Write and say your loved ones names.

I know anytime I hear Jensen’s name, I’m so thankful others are thinking of him. I’ll never be able to thank him and Mila for choosing me to be their mom.

How do you talk about gratitude during the holidays? Do you have a tradition like this? Let me know in the comments.

Advertisement

Bingo Marker Turkey Craft

Quirky Turkeys don’t always have feathers, sometimes they have spots. At least that’s what Mila says. This easy craft is perfect if you run out of feathers or just want to give your child a simple turkey craft.

Plus, It turns out really abstract, which makes this one of my favorite turkeys of the year!

As I’ve said over and over again, I try to find crafts and activities that are easy for Mila to do by herself. This gives me time to clean or cook a dish for Thanksgiving. It also promotes her being independent and in turn it helps her with her confidence. Little ones need all the confidence to get by in the world.

For this activity, we only used a few things. That means it was SUPER simple to set up for her… and me!

Here’s the things we used:

To start off, I made a turkey head and face. I used cardboard from a box, googly eyes, and random scrapbook/construction paper that I had leftover. Your child could have also made a turkey face too.

Then, I unscrewed the tops of the bingo markers and told her to make the turkey’s feathers with them.

I actually love using bingo markers in crafts and activities. They aren’t very messy, unless your child goes wld with them. They also are pretty cheap. I found these at the dollar store and we’ve had them for quite a while. Plus, there’s a lot of different colors you can find!

The only other thing I instructed Mila to do was to fill up the background. You could also have your kids sort the colors or do different numbers of dots for more learning.

When I look at her last quirky turkey of the year, I keep seeing a rainbow in the background. I don’t think she meant to do it like this, it just feels really symbolic. All her turkeys this year have been so great. As always, I’m just so proud of her.

This is another activity you can easily do before Thanksgiving or on Thanksgiving Day. I hope if you do, your child loves it as much as Mila did!


What are your favorite turkey or Thanksgiving inspired crafts? If you have any links, please feel free to post them in the comments. I’d love to share and maybe do them next year too!

If you’re looking for more crafts that Mila and I have done for Thanksgiving, here they are:

As always, I hope everyone has a Happy Thanksgiving and are able to spend time with their family and friends!

Pumpkin Pie Counting Paper Plate Activity

In this house, playing with your food is encouraged; especially when it helps with learning!

This Pumpkin Pie Counting Paper Plate Activity is perfect to help kids get excited about Thanksgiving, number recognition, and counting. All in one activity.

Last week I got Mila’s first preschool assessment. Overall, she did amazing! Sometimes I forgot that she’s only three and a half because she’s so smart and social. It makes me so proud to be her mom.

These assessments also gave me an idea of what we need to be working on at home.

One thing I’m not good at are numbers. Math definitely wasn’t my favorite subject in school, so sometimes I forget to add it into our play.

In her assessment, she counted to fifteen and only recognized a few numbers. I know she can count to 20, but I honestly didn’t know about her letter recognition skills. So, that’s what we’re going to try snd do more of.

Since the holidays are right around the corner and we’re excited for pies, I thought this activity would be perfect.

All you need for it is:

  • Paper plate
  • Orange, white, and tan paint
  • Scissors
  • Cotton balls

To make the pumpkin pie paper plate, you first need to paint it. I used tan paint for the crust and orange for the filling.

The orange took me two coats of paint and three for the tan.

Next, I cut the plate into eight slices and wrote the corresponding numbers on them with white paint.

After it was all dry, I added some decoration to make it more sparkly for Mila and gave her cotton balls to count with.

She had a lot of fun counting the cotton balls, but I saw her work out the different numbers in her head too.

It was amazing to see that even if she didn’t know the number at first, she would count around to figure it out. Hopefully the more she sees them, the more she’ll know!

Either way, we had fun pretending it was a pie and eating it too. I love how fun learning is with her.


What are some ways to help kids with number recognition?

The BEST and EASIEST Jiffy Corn Casserole

Thanksgiving wouldn’t be Thanksgiving without tasty sides. Even though I love all the classics like stuffing and green bean casserole, this Jiffy Corn Casserole is a staple for our family’s Turkey Day!

Like the title of this post says, it’s so easy to make and will be the BEST Jiffy Corn Casserole you’ll ever have.

Intrigued to try? Here’s all you need to make it:

  • 1 can of corn
  • 1 can of creamed corn
  • 2 large eggs
  • 1 box of Jiffy corn muffin mix
  • 1 stick of butter
  • 8 ounces of sour cream
  • 1/4 cup of sugar

First, preheat your oven to 350 degrees Fahrenheit.

Then, in a large bowl or your greased/nonstick sprayed casserole dish, mix in all the ingredients. Just mix until it’s all together, minus the corn!

Afterwards, stick the uncovered casserole dish in the oven for 45-50 minutes and you’re done.

The first time I ever made this recipe, I was shocked! It tasted so good. It’s almost like corn bread, but softer and better? I’m unsure how to explain it. My best comparison is to Chi-Chi’s corn side.

Hello to that Chi-Chi’s throwback!

If you don’t like corn casserole sweet, just take out the sugar and you can still make it. My family usually likes cheese on top of it too. If I decide to make the casserole with cheese, I’ll sprinkle shredded cheese on, then put it in the over to melt it.

It just makes it even tastier!

Mila usually helps me mix everything together, but it doesn’t take any time at all. It’s so easy and tasty that your family and/or friends will ask you to make it for all your get-togethers!


What’s your go to side to make for Thanksgiving or any other type of gathering?

Pumpkin Pie Crescent Rolls

Want to know my favorite part of Thanksgiving dinner? The desserts! I think it’s a lot of people’s favorite part too. Pumpkin pie, in my opinion, is the best pie of the day.

This year, I’ve taken this classic dessert and out a little twist to it and made: Pumpkin Pie Crescent Rolls.

Even though I love pumpkin pie, these Pumpkin Pie Crescent Rolls taste even better!

Here what you’ll need to make them:

  • 2 crescent roll tubes
  • 1 cup of pumpkin purée
  • 2 egg yolks
  • 1/4 cup packed brown sugar
  • 1/4 cup granulated sugar
  • 1 tablespoon pumpkin spice
  • 1 teaspoon vanilla

First, preheat your oven to 375 F. Then you can line your baking sheet with parchment paper or spray your sheet with nonstick spray.

I used nonstick spray and they turned out great.

Then, mix the pumpkin purée, sugar, brown sugar, egg yolks, pumpkin spice, and vanilla in a bowl.

Next, unroll your crescent rolls. You can cut them in half, but I just went with how they were packaged instead of making smaller rolls.

After unrolling the rolls, spoon one tablespoon (or make your best judgment) of pumpkin pie filling on to the crescent roll. I liked putting a little extra so some of the filling came out.

Next, put them in the oven for 10-12 minutes and they’re done!

I ended up putting sugar and pumpkin spice on them when they were finished. It just made the flavoring pop more.

And who doesn’t love extra pumpkin spice.

Although we ate them as is, I think they’d be delicious with whipped cream or ice cream. Maybe even some caramel drizzle over them too! Either way, you’ll want to take these to your Thanksgiving dinner!


What’s your favorite Thanksgiving dessert?

Thanksgiving Treat: Rice Krispie Turkeys

The holiday season goes so quick! I’ve been thinking of Thanksgiving Treats and how to make them festive. Eventually, I came up with these Rice Krispie Turkeys.

All made from leftover Halloween candy, these turkeys are cute and perfect for Thanksgiving.

All I used to make these turkeys are:

  • Rice Krispies
  • Candy corn
  • Eye sprinkles
  • Twizzlers
  • Feathers

As I mentioned above, everything I used to make these came from Mila’s candy stash. We got a ton of mini Rice Krispie treats and this seemed like a fun way to use them. There was always an abundance of candy corn left from the Fall Scarecrow Snack Mix.

I ended up cutting little slices of a twizzler to make the turkey’s wattle. Yes, that’s what it’s called.

Then, of course, we used eye sprinkles to complete the look.

To assemble, you simple just press everything into the Rice Krispie. It’s not too difficult. One tip I’d give you is to use your hands to hold the shape of the Rice Krispie while pressing everything else in.

That way none of the ‘feathers’ or eyes fall out.

To complete the look, I added a craft feather to the back. I think it looked adorable. I’d suggest wrapping washi tape around the feather so it doesn’t stick to the Rice Krispie.

Another added bonus of this fun Thanksgiving treat is that Mila loved helping make the faces too! This could end up being a really fun activity for Thanksgiving day with the family. Im always looking for kids activities to keep them busy and smiling.

Either way, these Rice Krispie Turkeys are tasty, easy to make, and will be perfect for your Thanksgiving Day.


What foods or treats do you make for Thanksgiving or Friendsgiving? Let me know in the comments.

Fine Motor Turkey Activity

Are feathers the googly eyes of November? I think so! This Fine Motor Turkey Activity is the BASTE way to play while prepping for Thanksgiving.

Another huge positive for this activity is you only need two things: feathers and a colander.

You can make a turkey face too if you’d like.

You can find feathers at any dollar store for only a dollar and you get a ton of them. You can use them for so many other crafts and activities throughout the year too. They also make for a great sensory object.

For this Fine Motor Turkey Activity, all I instructed Mila to do was make a turkey out of those materials.

Mila had fun sorting the colors and making the turkey look ‘silly.’ It gave me time to make dinner and it would be a fun race for the kids on Thanksgiving Day.

I truly believe the simplest activities make the biggest impact.

As usual, Mila did an amazing job and I know other kids would like this activity too.

I love how this activity could be used for little kids too. It’s a great sensory activity that works on motor skills!

For older kids, you could do a timed activity where they either need to put all the feathers in OR take them out the quickest. It’s simple for kids of all ages.


What sort of activities do you do during Thanksgiving? Or does your family play any fun games?

Make a Turkey Sensory Bin

Happy November! We’re celebrating this month and Thanksgiving with another fun sensory bin. You all know how much we love them! This time Mila did a Make a Turkey Sensory Bin.

Not only did she have fun playing with the different materials, she made Thanksgiving art.

This bin looks like a random grouping of items, but it all came together so perfectly. Here’s all that we used:

Like with all sensory activities, I let Mila explore the different materials. She was familiar with everything, but the beads threw her off. We usually only use beads for threading activities… or making bracelets.

It was fun to watch her interact with these materials with the thought of making a turkey too.

Obviously, she pointed out the feathers and eyes for the turkey, but everything else she made up on her own. I had a canvas with a brown circle glued down on it. This became the base of the turkey.

Then, I let her glue down everything else and put the items where ever she wanted.

This is how it turned out:

She says the beads were the turkey’s necklace, the candy corn it’s ears, and everything else is normal.

I just love her quirky turkey.

To extend this activity, you can have your child describe the texture and feeling of the items. You could also do a fun counting game with them too.

No matter what, it’s a great way to make memories with your child.


I have a few Thanksgiving and turkey activities lined up. As always, I’d love to hear about your traditions or activities you do too!

Let me know in the comments.

Thanksgiving Turkey Hand Craft.

If you’re looking for an easy Thanksgiving craft to do, look no further.

Mila had a blast making these turkey day cards for family and one to keep. Most of the supplies I had on hand, minus the feathers and small canvas. I got both at the local dollar store.

Supplies:

  • Brown or copper paint
  • Red paint
  • Yellow paint
  • Orange paint
  • Feathers
  • Black marker
  • Tape
  • Computer paper
  • Scrapbook paper
  • Scissors

All you need to do is get your computer paper or canvas ready, paint your child’s hand like a turkey, and place it on the paper or canvas. It’s really as simple as that.

When you put paint in their hand, really put a lot on there or it’ll dry before you get everything painted. I painted the brown last and it seemed to help. With the one paint application, I was able to get four turkeys. One on canvas and the other three on paper.

After the turkeys dried a little, I glued on the feather and added the turkeys face and legs.

To make the three into a card, I taped them on scrapbook paper and wrote a little message on the back. Then it was done.

You can personalize these however you’d like or even add them to tea towels or plates with the right kind of plate. For us, it was easier to do this and they turned out adorable.

We all know this year is not a normal one, but it’s still nice to still make memories and send out cards to the ones we love.

If you give this Turkey Day craft a try, post in the comments so we can see. Lastly, Happy Thanksgiving!

Six Ways to Honor Your Child this Thanksgiving.

As Thanksgiving quickly approaches, there are a lot of anxious and sad feelings for loss parents. Many of us feel there isn’t much to be thankful for after losing our children. This results to a lot of people not participating in any previous holiday traditions and making their own. No matter what a person chooses, their decision should be welcomed with love and acceptance.

Although this is just a short list, I hope that it will allow me to feel Jensen’s presence and maybe help another mom and dad cope on Thanksgiving.

6 Ways to Honor Your Child on Thanksgiving.png

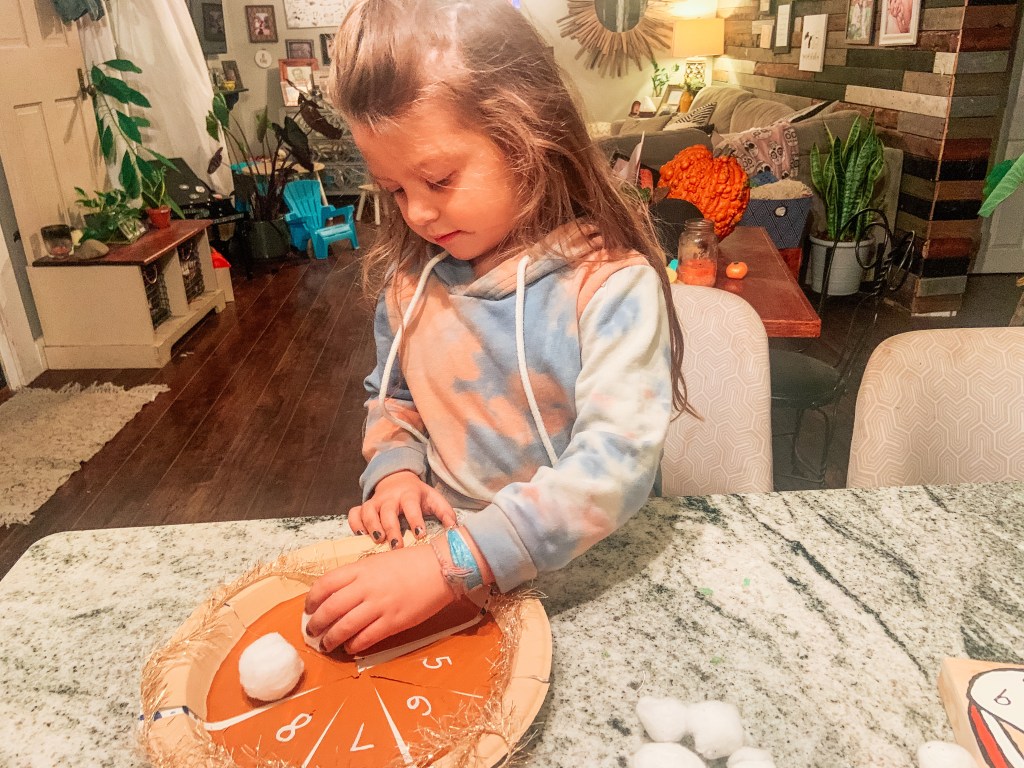
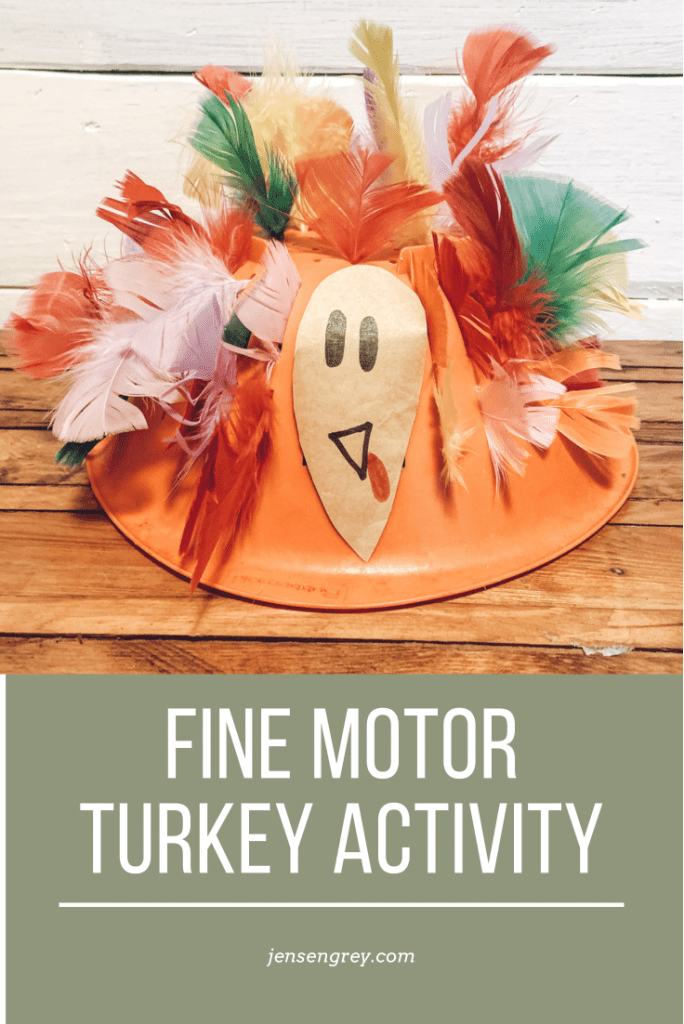
Thanksgiving Day Craft or Graphic

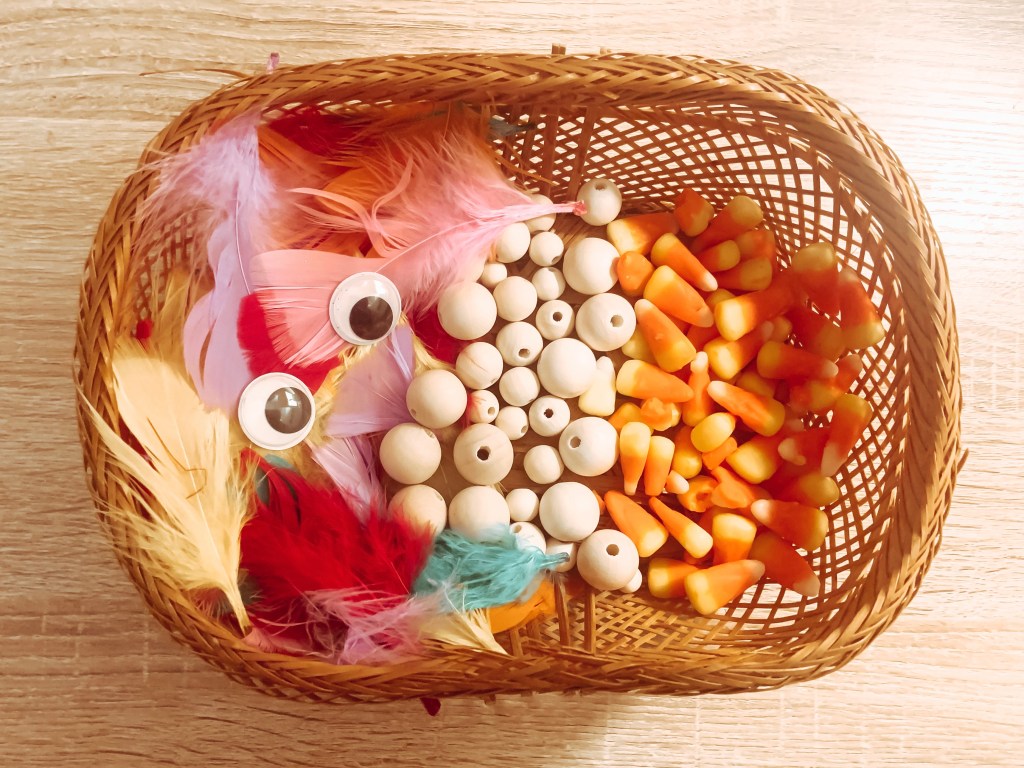
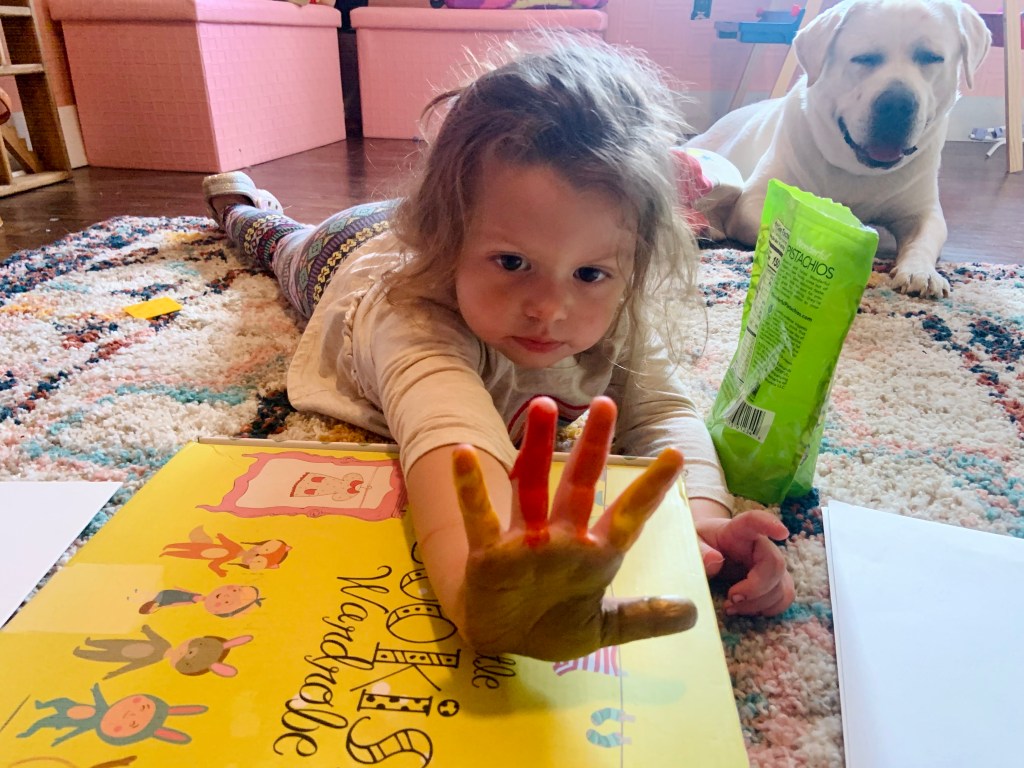
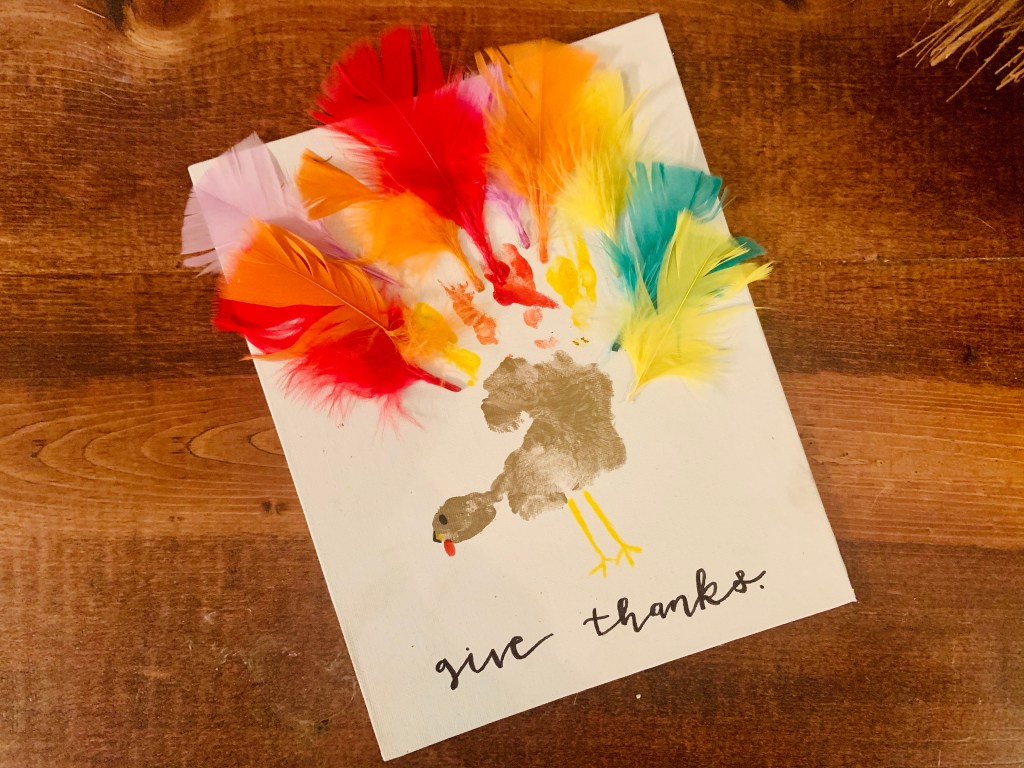
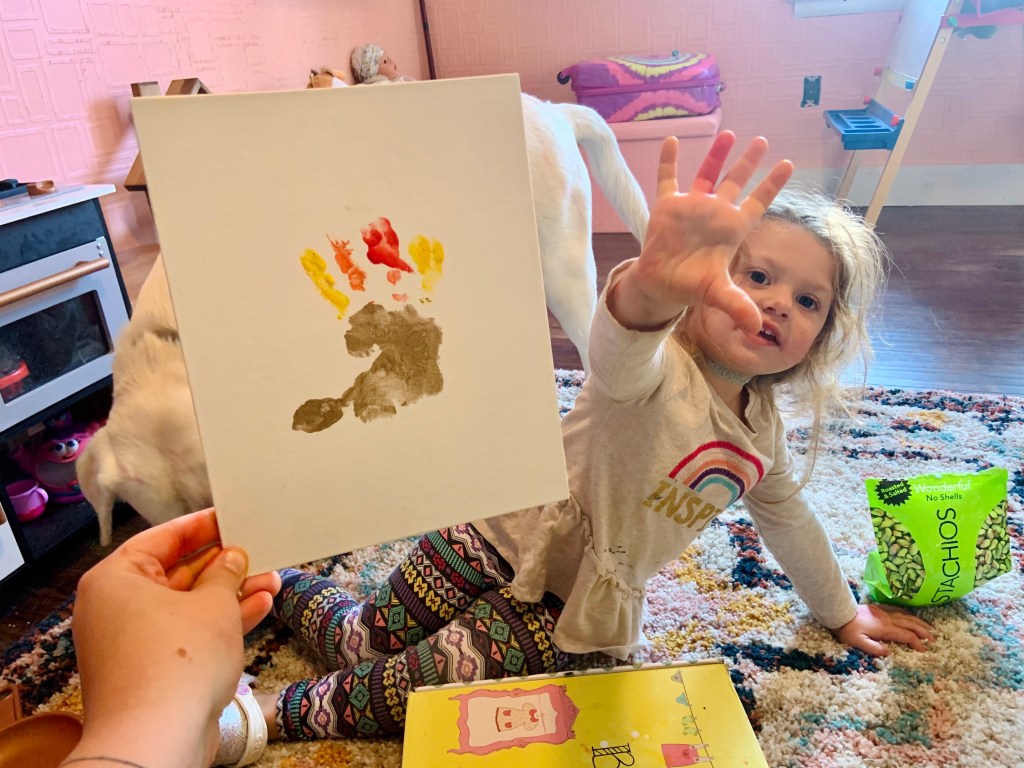
When I was pregnant, I pinned a lot of crafts to do with Jensen on all of his first holidays. For Thanksgiving, I always planned on getting his footprint and making it into a turkey. It makes me sad that I can’t get Jensen’s seven month footprint for this craft, but I’m thankful to have his footprint from when he was born on my laptop. As much as I love free graphics offered in online support groups, I wanted it to be a little more personal. I was able to make a turkey with Jensen’s footprint using PowerPoint and some help from this website. It’s really adorable and I can’t wait to share it on Thanksgiving! (Maybe I’ll post a little sooner so you all can see.) Although you’ll see it then, it’s a clipart turkey with Jensen’s feet as feathers. Really personal and really cute. It’s important to me to still do all the crafts and things I had planned for his first year. Also, it’s a fun way to be creative and take your mind of things for a little bit. I’ll be looking forward to using that feature on PowerPoint to do more crafts for some upcoming holidays as well.

You could also do this craft with printing out their handprints or footprints and drawing/gluing feathers on the paper. There are no right or wrong ways with crafts and there are a ton of ideas on Pinterest.

Donate Food to a Local Food Bank or Food Drive in You Child’s Name

I imagined Jensen being a little gentleman and wanting to help. As I’ve said many times, I wanted him to volunteer his time and be able to help others in need. To honor a value I wanted to instill in my son, I’m going to donate food to the local boy scout food drive in his name, which is actually going on a few days before Thanksgiving. There are a lot of different food drivers going on this time of year and local food banks are always in need of food. So many people are not fortunate enough to be able to eat on Thanksgiving Day and how special would it be to give back in our child’s name. It brings happiness to the receiver, you, and your child’s memory. No matter how big or small your donation is, you’re able to help out at least one person. If you’d like to be able to include your child’s story, you can always add a graphic you did for Thanksgiving and put your story on the back. It’s just another way to talk about stillbirth, miscarriage, infant loss, and child loss in general.

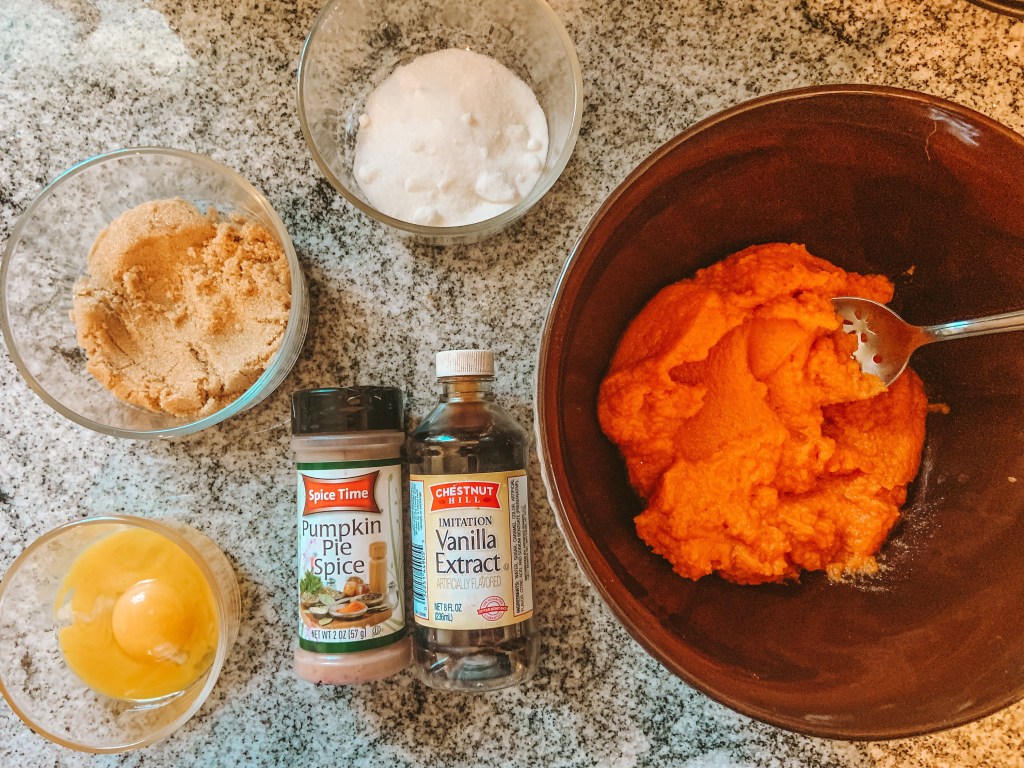
Make Child’s Favorite Food for Thanksgiving Dinner

Thinking ahead to actually getting ready on Thanksgiving brings me a lot of anxiety. I’m not even sure if I’ll be brave enough to go to dinner. To bring Jensen in on the meal, I think it’d be really interesting to make one of his favorite foods. Whether that being macaroni and cheese or just drinking chocolate milk with dinner. It brings Jensen to the table and probably a lot of laughs with the crazy cravings a lot of us have during pregnancy. If you’ve lost an older child, you can make their favorite and talk about the times you made it for them. This idea can be carried out whether you’re going to a big family dinner or just having a small dinner with you and your partner (or for me, Leo and Poe). Also, it brings comfort. Speaking from my experience, whenever I’m feeling a little down I go and make chocolate milk. It reminds me of Jensen kicking and ends up making me smile. I feel like having that little part will bring that experience to everyone else as well.

I can imagine everyone drinking chocolate milk out of wine glasses during my family dinner. It’d definitely be a light moment.

Set an Empty Place Setting

My family doesn’t really have a formal Thanksgiving dinner, but I really like this idea. It actually shows to the people around us what we’re seeing in our minds. I know for me, I always am imagining what Jensen would be doing and although he’d probably just eat off my plate, he would still be there and eating with us all. This is very symbolic and I think like the previous idea, would be able to bring your child into everyone’s hearts that day. I know this one is kind of sad to think about that missing place setting, but it’s just another idea I liked and have heard about before. It’s really hard because it makes it ‘more real’ for everyone else. Just the image of loss is hard to grasp, but I think it would promote family members being supportive. This could also be a plate for all family members that are gone in case there are others that are grieving on this holiday.

Family Picture Including Your Child

Years ago, my family took a big family picture. Since then, there’s been more people to come into the family and obviously we’ve all grown. It’s nice to document those days, especially when everyone’s all together. After child loss, it’s hard to gather everyone when, again, we know there’s a huge part of our family missing. Our child can’t physically be there and have their picture taken, so it’s difficult for a loss mom and dad to want to take these pictures. But, I think it’s important to have them. If this is an option for you family, include your child in the ways you can. Whether it be their Molly bear, a framed picture, or any other remembrance item, include them in this. They’re present right there and I know it’s not the same as them being there, but they’re being remembered in that moment. It’s also another way to open conversation about how you’re doing on your grief journey and to talk about our children. We want them to be included on these big holidays and this one way to document it.

Plus, I love showing off Jensen bear. It would be the first time my family will feel Jensen’s weight. It’s special to be able to share that with everyone.

Start an “I’m Thankful For…” Conversation

Another challenging moment for loss parents on this THANKSgiving, is what we’re thankful for. Yes, I’m so thankful for Jensen and the thirty-eight weeks and two days I had with him, but he died. I mean there’s really no other way to explain. Other than the time and memories I have with him, I haven’t been thankful for much else this year. There’s little things like bluebirds and dancing flames, but it’s hard. I’ve heard it doesn’t really easier during the holidays years out as well. Yet, this is a moment we can honor them. Say out loud we’re thankful for our child and death cannot spoil everything. Death cannot take away the time we had with them and I’m thankful for that. Going along with the theme, this is a way to talk about our child without adding death and grief in, which lets our support people know we still are happy to talk about them. That it’s okay to talk about our children and there’s way more to their lives than death. It could be another way of talking about the community and the others ways you’re honoring your child during the holiday season. I think our families might surprise us and let us know that they’re thankful for our babies too.


I hope you’re able to use some of these ideas or come up with new traditions this Thanksgiving. If you do, please share with me. I’m always looking for ways to honor Jensen and survive the holidays without him.

I’d also just want to let you all know, if you’re feeling overwhelmed and need support this coming week (and anytime really!), that I’m here for you. We’re a strong community that are always supporting each other. Especially when we need it the most.

As much as I’m thankful for Jensen, I’m thankful for all of you too.