Red Velvet Cookie Recipe

If you need a last minute Valentine’s Day treat/present or are really craving something delicious, you’ll love these cookies.

They take about twenty minutes to make and everyone will want more. It’s easy too!

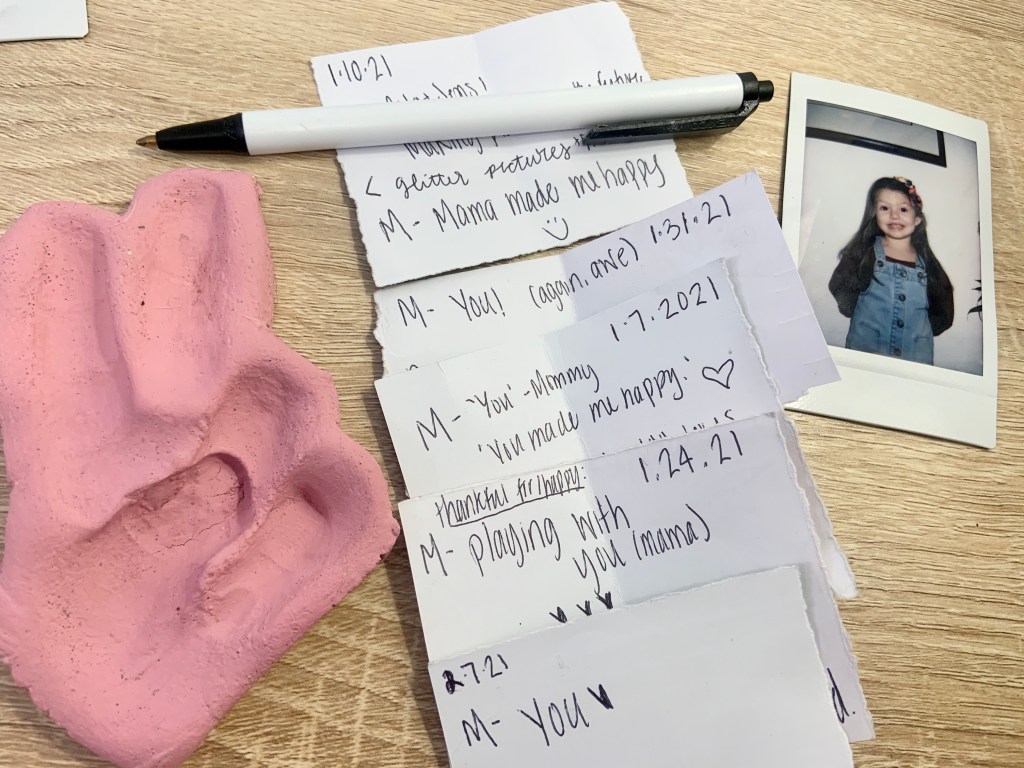
This recipe also reminds me of Jensen. I craved these throughout my pregnancy. They’re always fun to make and honor him too.

The best part of this recipe is there’s only FOUR ingredients:

  • Red Velvet Cake Box
  • Two Eggs
  • 1/3 Cup of Vegetable Oil
  • Powdered Sugar

First, preheat your over to 375.

Then mix the red velvet cake box, eggs, and oil together. It’ll get to a cookie dough consistency. When it does stop mixing.

Next, make the dough into little balls. I did one at a time and then coated them into powdered sugar. Without the powdered sugar, they’ll stick to a baking sheet. That makes it hard to pick them back up again.

Put them in the oven for ten minutes.

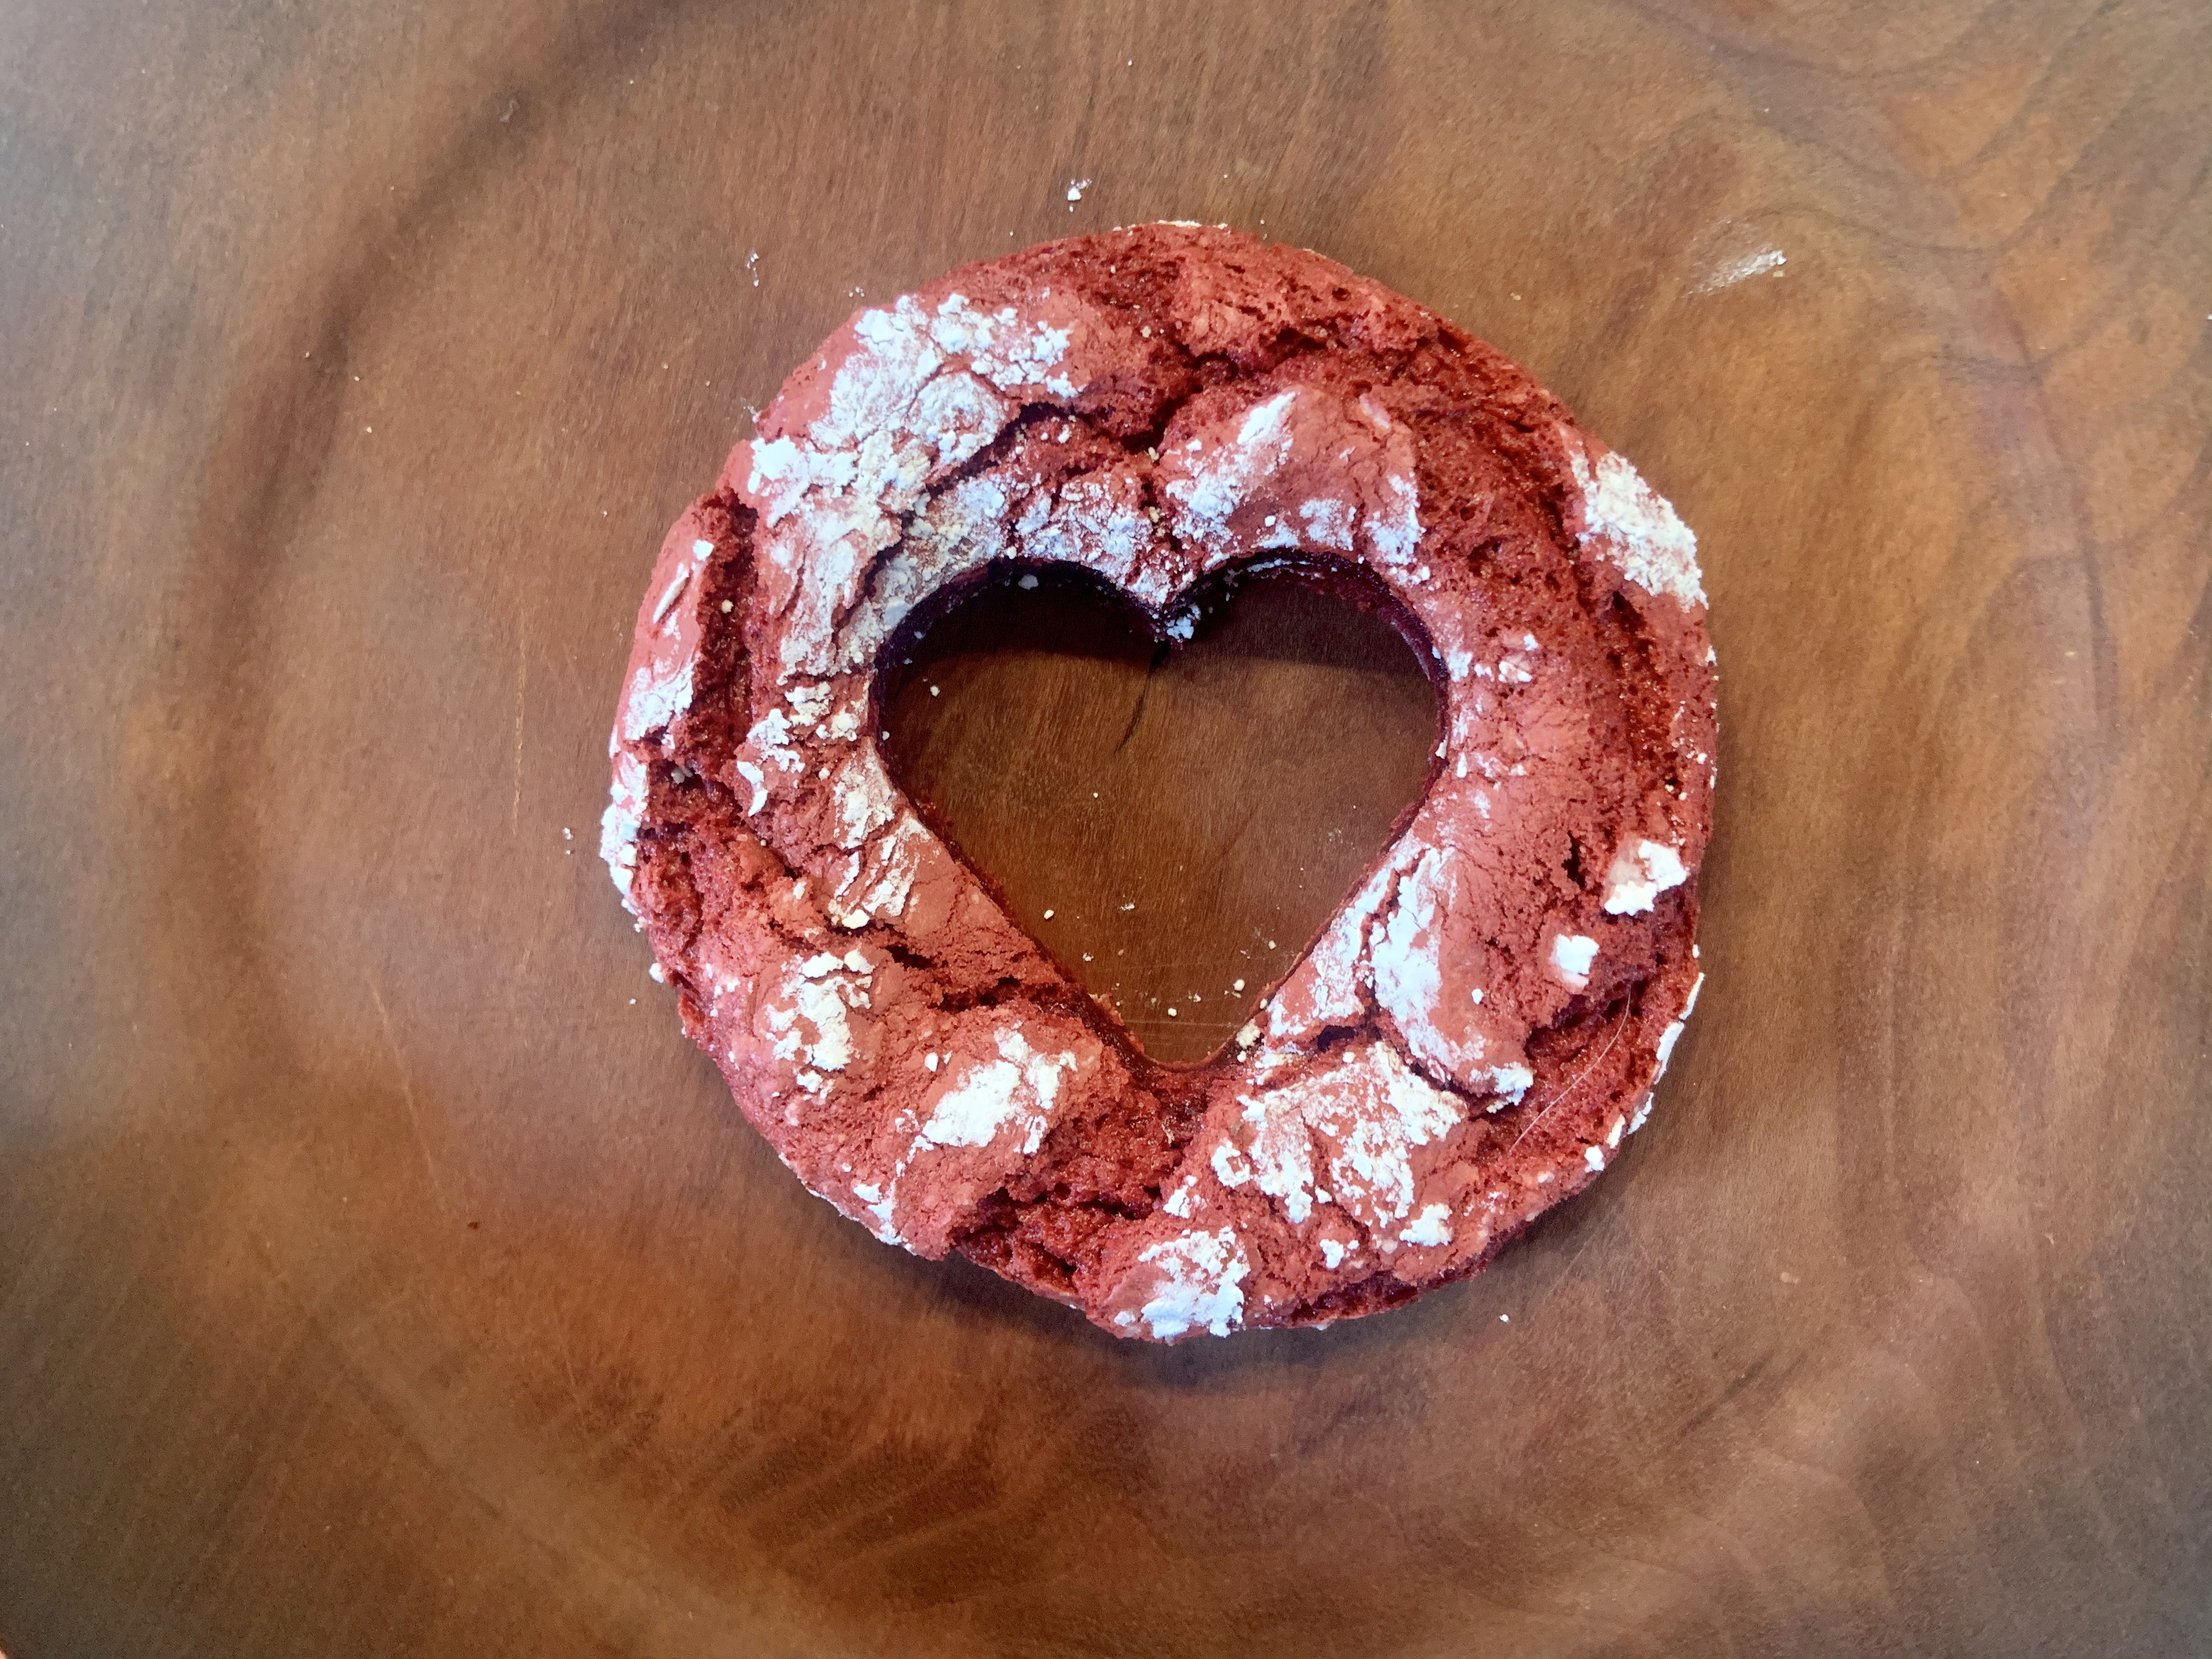
After you pull them out, you’ll notice they’ll fall. Don’t worry, they’re not supposed to stay risen. They still taste fluffy!

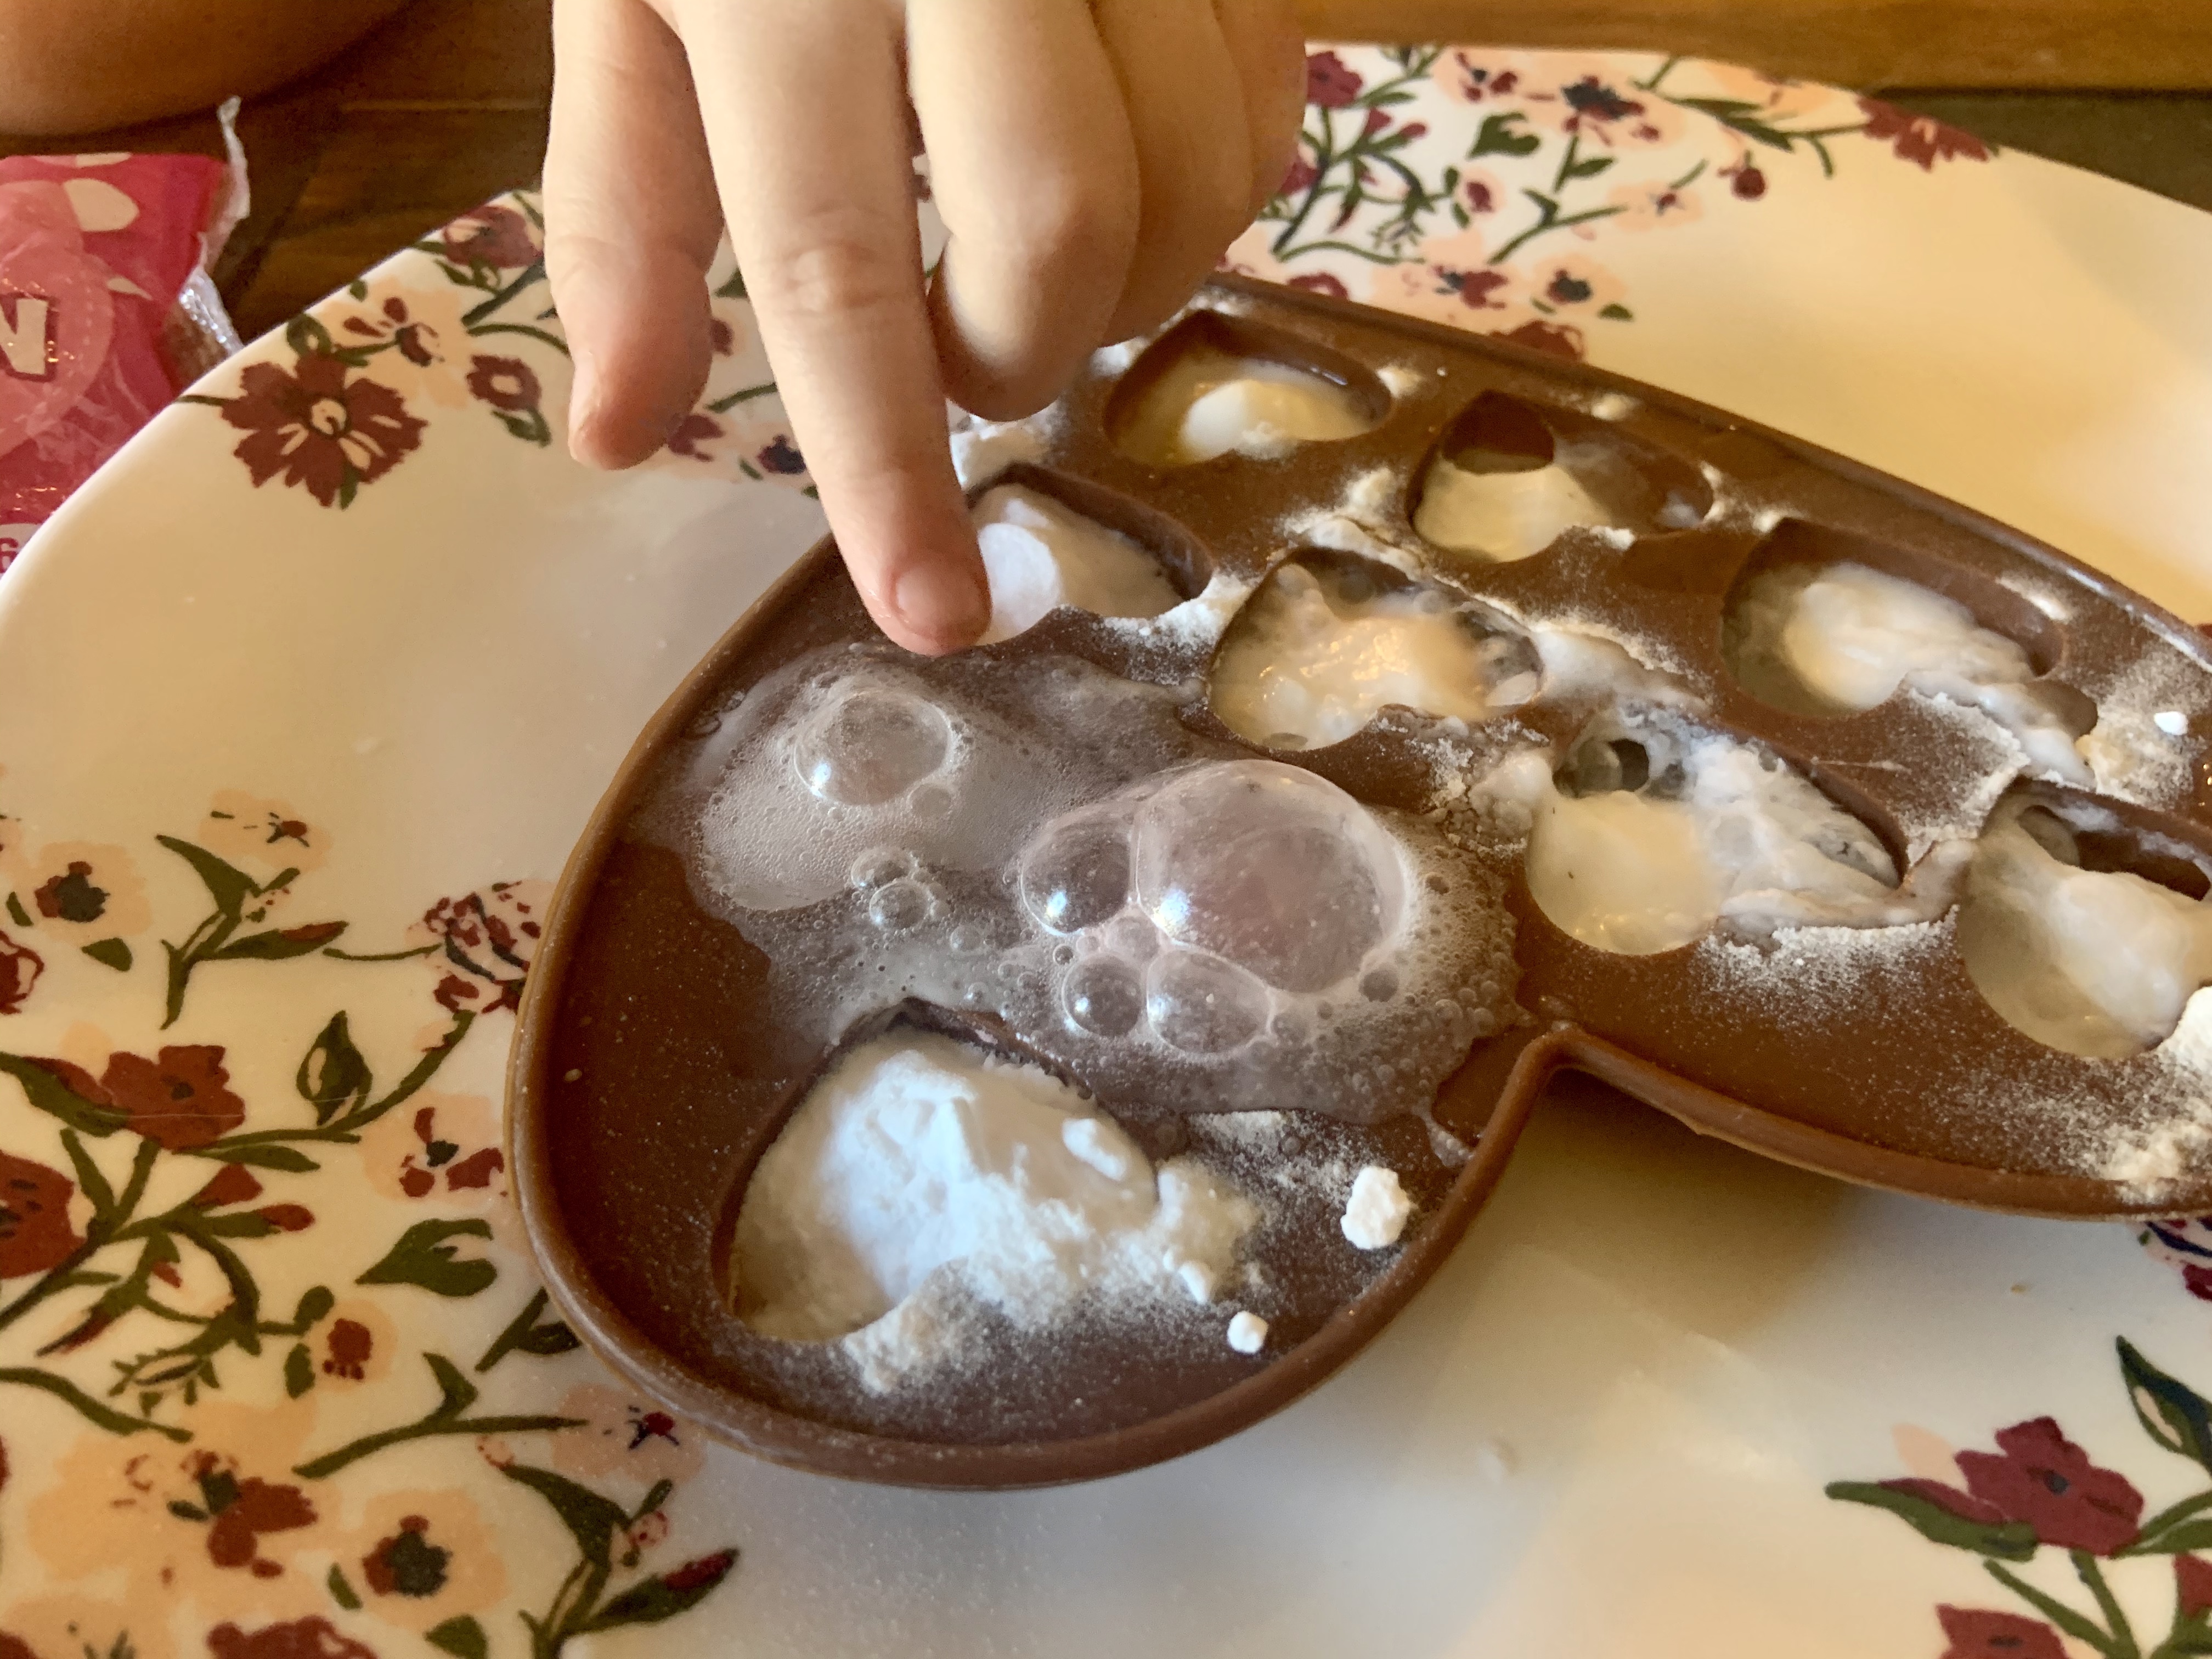
One little word of caution with the doughs stickiness… throw some flour or something on your hands.

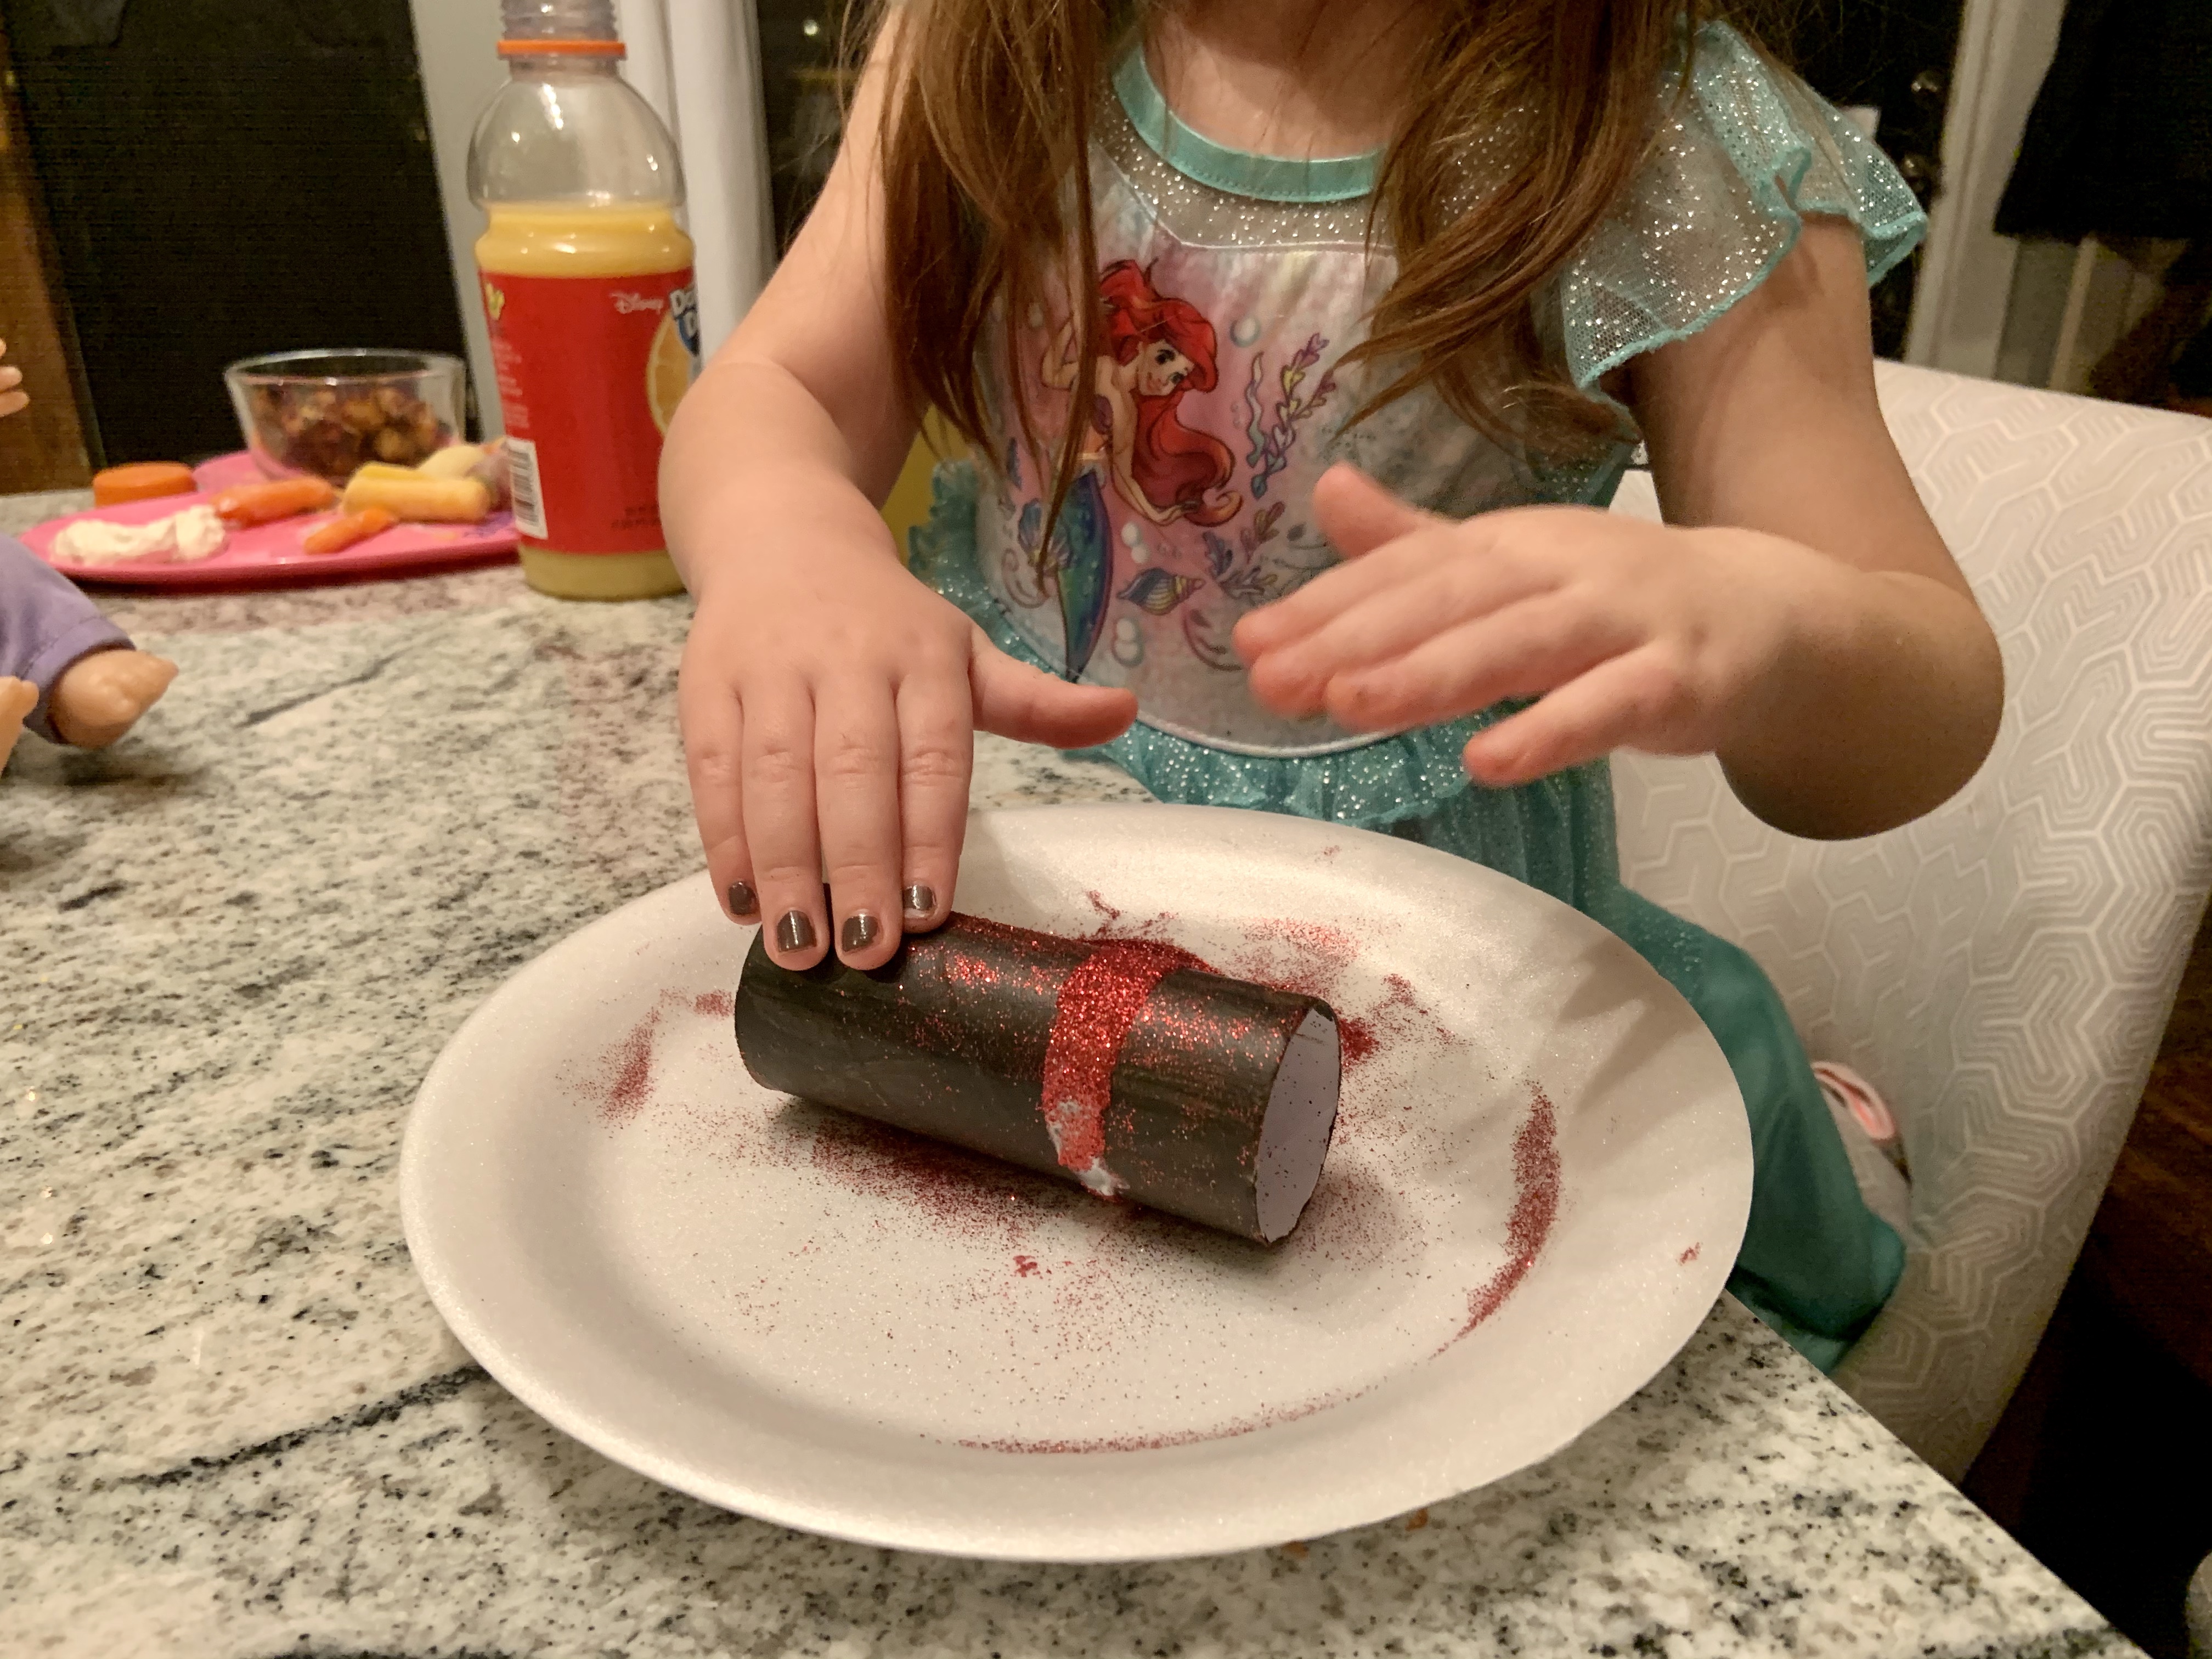
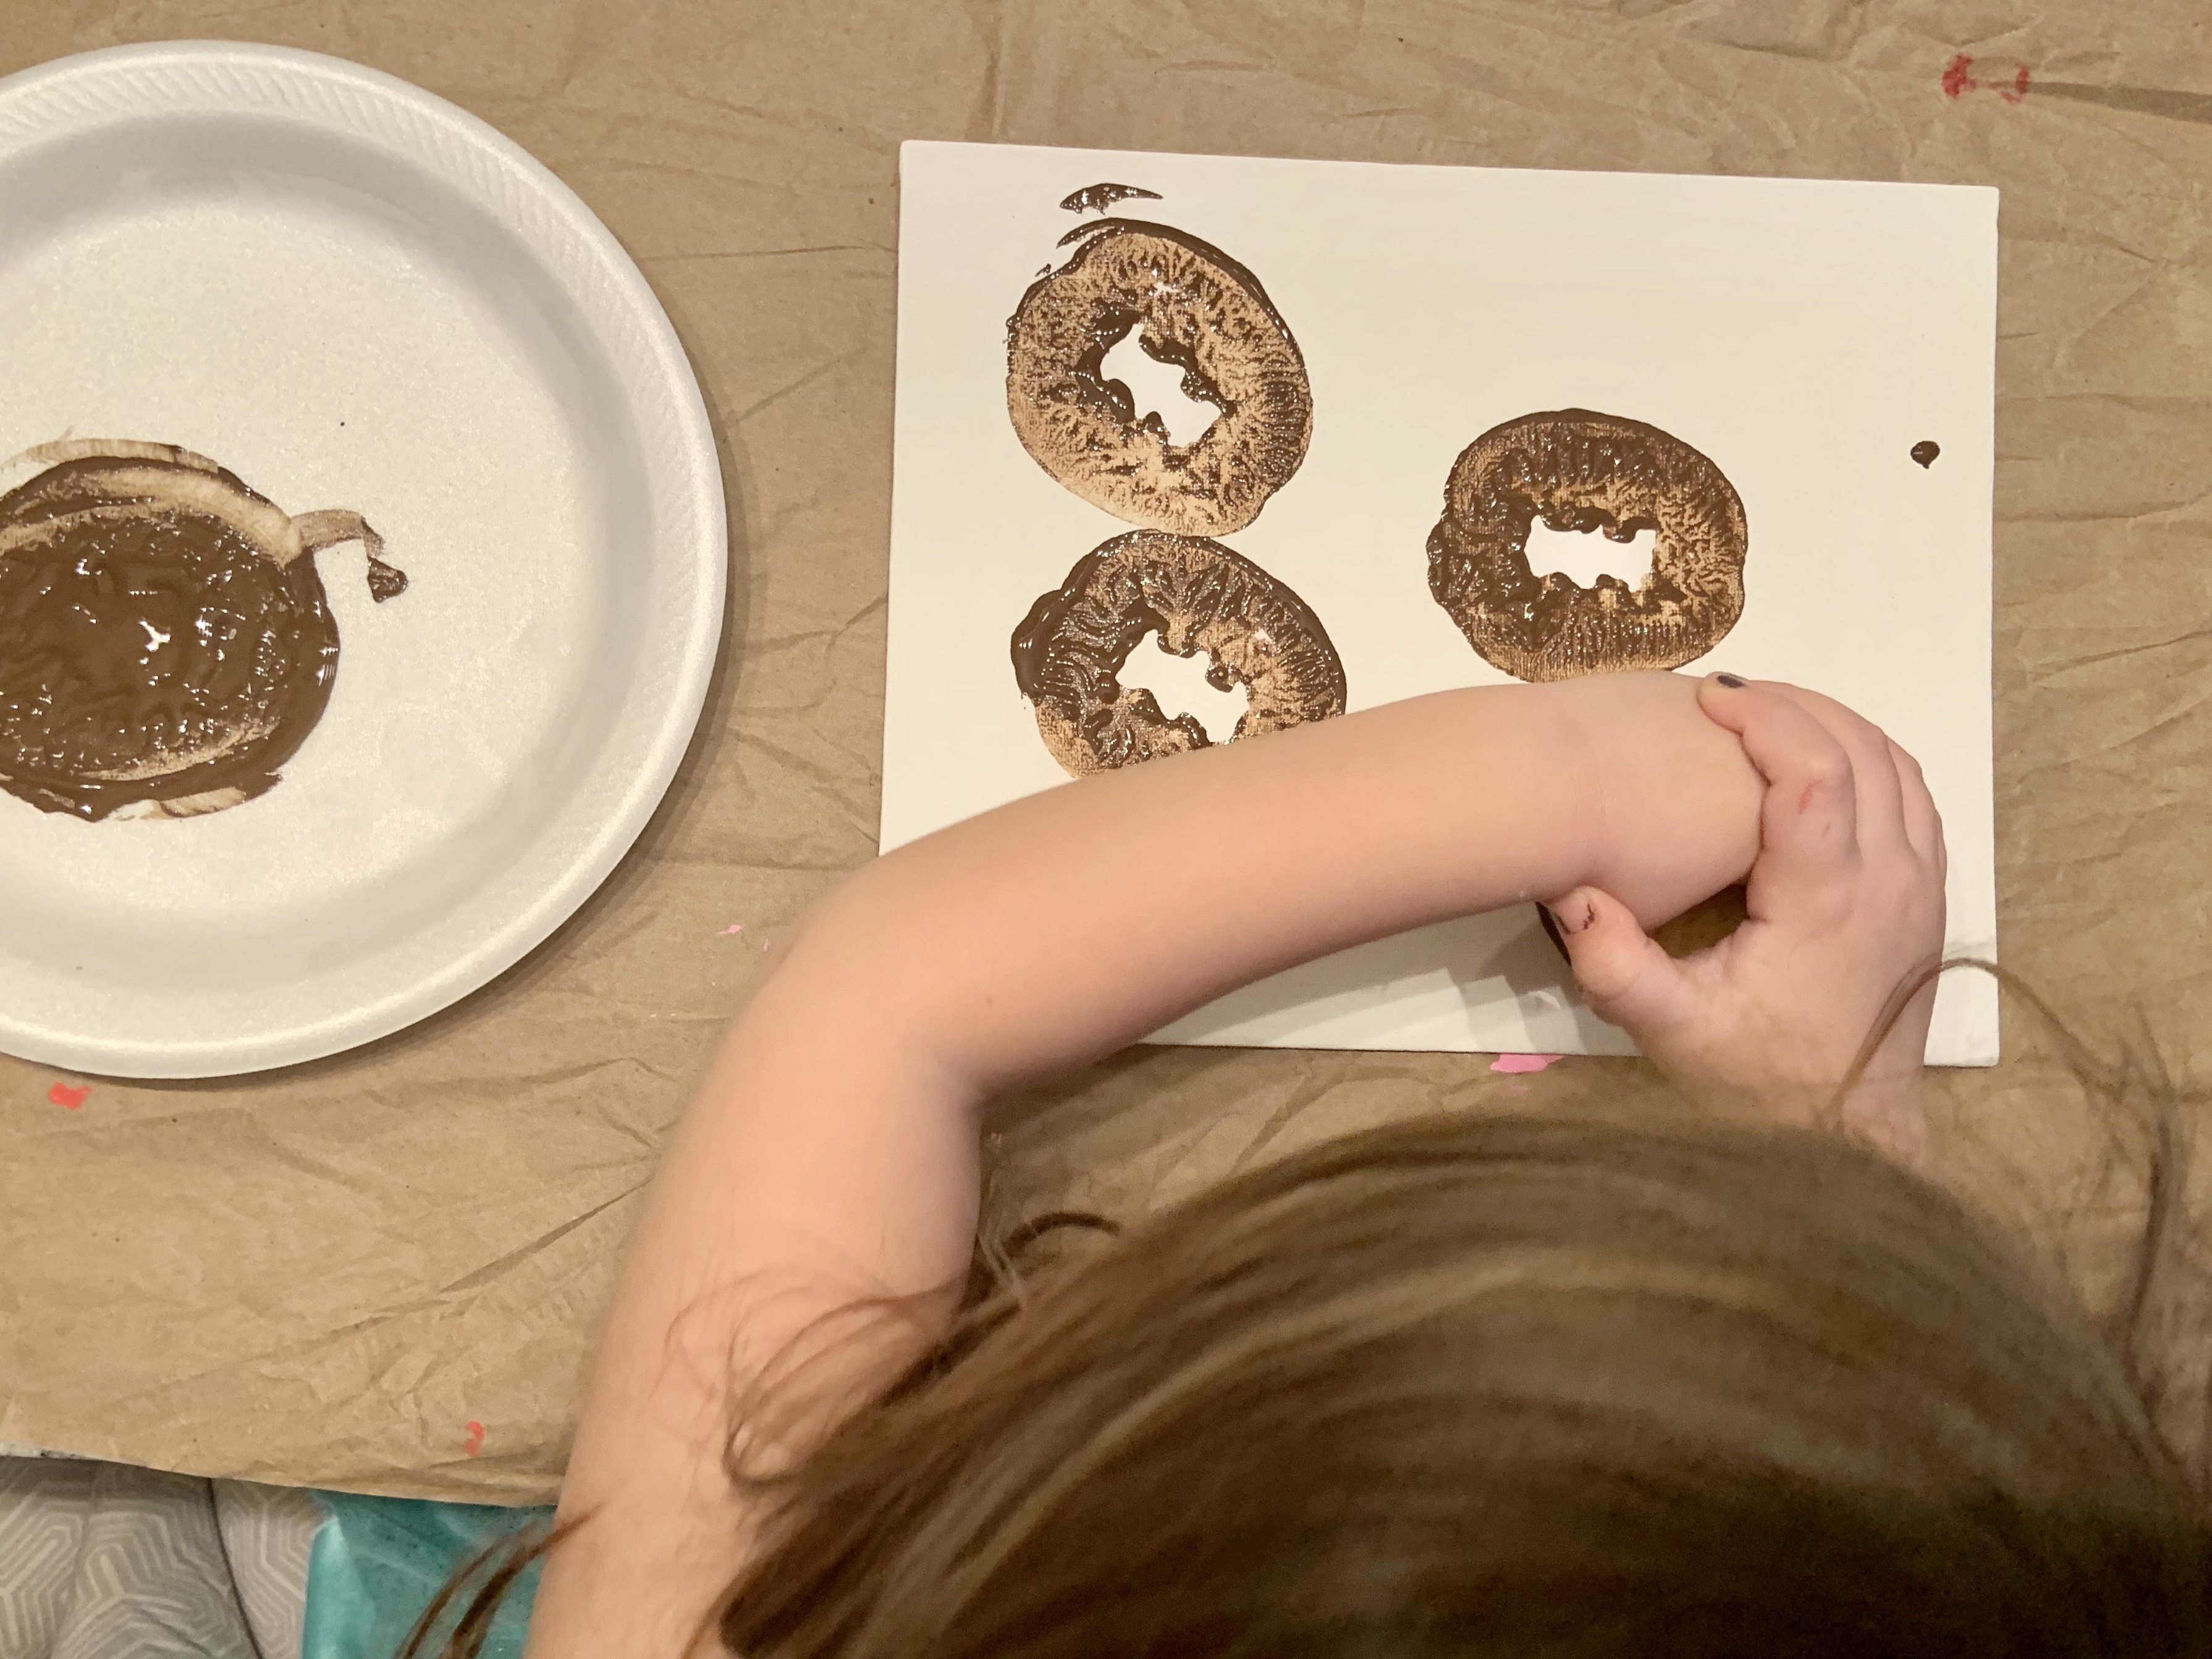
Mila tried to help before I could cover her hands and…

She had fun helping roll little cookie balls, but it got messy quick!

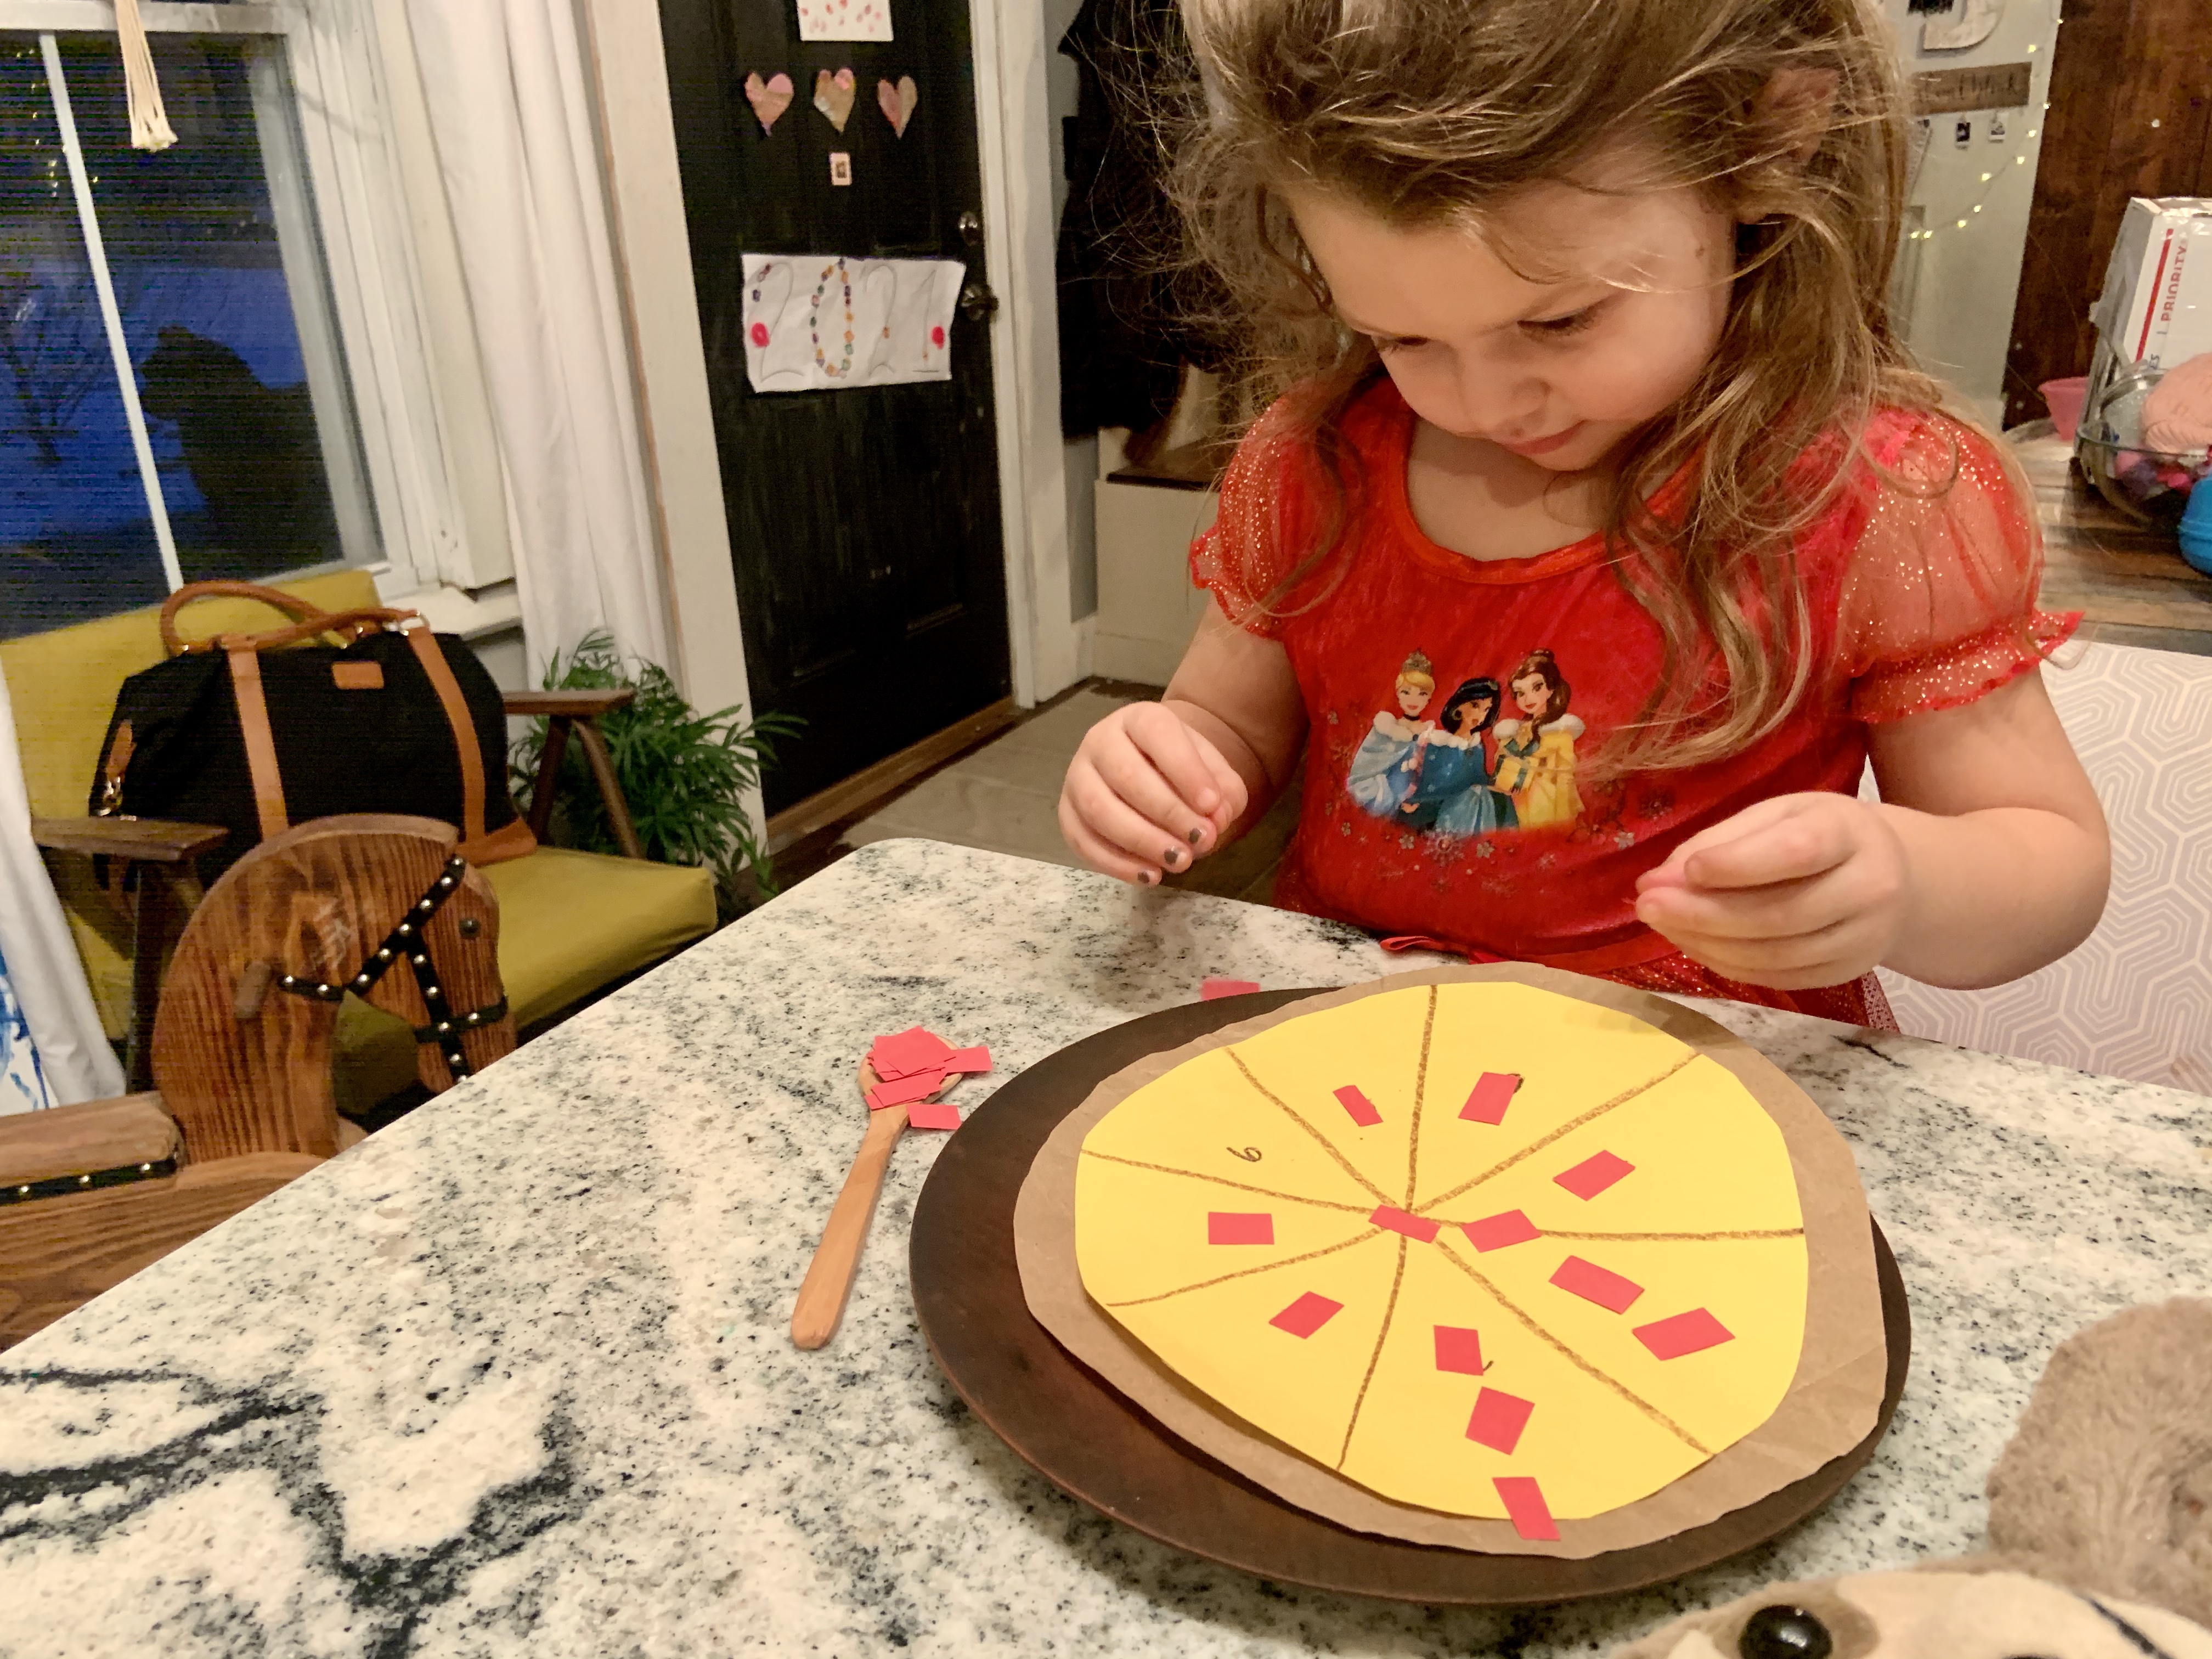
This would definitely be a great and quick way to surprise your kids, partner, or whoever your celebrating Valentine’s Day with!

Let me know what you think of this recipe in the comments.

Toddler Activity: Candy Heart Science Experiment

Valentine’s Day projects don’t always have to be sweet. This spin on a classic science project is just as fun and festive for toddlers.

Most people will have the basic supplies for this already at home too!

Here’s what we used:

  • Conversation heart candies
  • Rubber heart tray
  • Baking soda
  • Vinegar
  • Cup
  • Eye dropper

Before we started, we did a little stacking game to see who could stack the hearts the highest. We also did a color match game too.

These little conversation hearts have so many different and educational uses.

Back to the experiment though.

I had Mila place all the candy hearts into the mini heart molds. Once they were all placed, the fun really happened.

Since it was her experiment, I had her place as much baking soda on the hearts as she wanted.

Then, with an eye dropped, she added vinegar.

Although adults know this reaction and I’ve done this a few times with Mila, she’s always amazing.

She kept saying how cool it was to make bubbles and was perplexed when the bubbles changed colors. It always makes me laugh when we do this too because she ends up pouring everything out.

There’s always a big reaction.

Even after being told that the candies were covered in vinegar, mila wanted to eat them.

Thankfully, she didn’t get any!

This Valentine’s Day science experiment was a fun one for us. It’s simple enough to let them do supervised, but complicated enough to help them learn more through it.

We’ll definitely keep doing this experiment, but this is great you have a science minded kid. It’s fun for them see the hearts and come up with their reasons as to why the hearts have disappeared or gotten smaller.

If you give this experiment a try, let me know in the comments.

Weird Things My Toddler Does: Part Eleven

At the beginning of the year, I made a jar to document the good things we experienced that week. It’s been fun reflecting, but knowing Mila, she has to make it a little weird.

That’s just what toddlers do!

I will admit, this one is more cute than weird, but I thought it’d be perfect to share with Valentine’s Day coming up.

Mila has had the same thing that makes her happy every week… ME!

When I go to our jar, I date it, then make an “M” for what makes her grateful. Then I ask her what made her happy this last week.

The second time we did it, she just said, “you.” I thought it was the cutest thing ever.

When it came to ask her again, she replied with the same thing. Admittedly, I felt a little bad. I was writing down things I wanted to remember at the end of the year, not just Mila or Jensen. Maybe it was a fluke of her just saying me?

On the fourth week, she said, again, said I was what made her most happy. Still feeling sad, I asked her to elaborate and she said, “playing with you.”

Since that fourth week, I haven’t re-asked her what made her happy and accepted this cuteness.

As much as she loves Pizza, her grandparents, Max, and Mickey Mouse, I always find it a little weird that she consistently chooses me as her happiness. Of all the things in the world and her lame mom is her answer.

Honestly, I’m going to love looking back and remembering that I made her smile for weeks in a row. I know one week she won’t say me and that’s okay.

For now though, I guess she’s just a weirdo, with a big heart for her mom.

Toddler Activity and Snack: National Pizza Day

Today is National Pizza Day.

I love that it feels like everyday is a holiday. It makes not being able to do things like normal feel a little more special.

Anyways, since Mila is learning to count, I decided to make a fun counting activity and a pizza wrap for the occasion. Of course, her friend, Pizza, had to be involved too.

All I used for this little activity was construction paper, a crayon, scissors, and tape!

I divided the pizza up into eight slices. Then cut out enough square pepperonis for them all the have the correct number on them.

If your child is working on scissor skills, this would be great for them too.

This is a simple activity, but the repetitiveness helps solidify their counting skills. Mila has a hard time with four and five and likes to skip them. By doing this activity, it made her see four and five and do it eight times in a row.

I also love that she’s using her fine motor skills to pick up and place the small pieces on the pizza.

After she went through the activity once, she had time just playing with the little pieces. Pizza and her Barbie dog enjoyed it as well.

Even though this is a simple game to put together, it really does help with counting. It’s always such a good feeling to see them put their knowledge to use. Not just repeating numbers. Plus it gave me time to make food too.

Of course, we had to make something pizza inspired for the day!

Using the same wrap style as I did for the Cheesy Beef Quesadilla, Mila and I had cheesy, pizza wraps.

All you need are these things:

  • Tortilla
  • Pizza Sauce
  • Cheese
  • Any toppings you’d like!

Make a cut halfway through and down the center. Then add pizza sauce and cheese all over it.

Next fold the tortilla and place it on a hot pan.

Once it’s brown on both sides, you can take it off and serve it. I turned the pan on a lower setting so the cheese could melt more.

We love having handheld food, especially when it tastes so yummy.

We had a blast celebrating National Pizza Day!

One funny thing that did happen was Mila thought it was Pizza the Sloths birthday. So, it was just a day of being happy for all types of pizzas.

I hope you can make or order some pizza in really soon!

If you do the counting activity, let me know how your child likes it.

Also, check out these two AMAZING pizza recipes from my friends Erica and Irma. Erica did an amazing Rainbow Veggie Pizza that I want to immediately make. Irma made a yummy bubble pizza too. Another recipe I’ll try soon too!

Italian Chicken Dinner Recipe

I know I say this with almost all my recipes, but this is truly an easy recipe. This Italian chicken dinner recipe comes with potatoes, green beans, and a lot of Italian seasoning.

It’s be perfect to make for a romantic dinner or putting it in your meal rotation.

Either way, you won’t be disappointed.

Here’s all you need:

  • Chicken breasts (I used four for lunch leftovers)
  • Green beans (I used frozen)
  • Russet potatoes (2)
  • Zesty Italian dressing mix
  • Salt and pepper
  • Butter

Preheat your oven to 350.

Then peel your potatoes and cut them and the chicken into bite sized pieces. You can leave the chicken as whole breasts, but it gets more seasoned when cut before.

If you have fresh green beans, you’ll also want to cut them into smaller pieces.

Place the chicken in the middle of a pan with the potatoes and green beans sandwiching it. This way the chicken gets the most flavor.

Next, evenly pour over a packed of zesty Italian seasoning, leave some behind to season the other side. Then top with salt and pepper.

Grab a stick of butter and evenly cut slices of it. Place over top the chicken, green beans, and potatoes.

Put the dish in the oven for forty-five minutes.

Then take out your dish to mix or flip (whatever’s easier for you) each section and add the rest of the seasoning too.

Pop your dish back in the oven for fifteen more minutes.

When it’s all done, it’s ready to serve.

I seriously was pleasantly surprised with how this turned out! If you’ve read my recipe posts before, I’m not super confident with chicken. Yet, this meal gave me the chicken confidence boost I needed.

Mila loved it and I loved being able to have amazing tasting leftovers for work.

As always, let me know if you try this recipe!

Toddler Activity: Celery HeARTwork

Process art is one of my and Mila’s favorite ways to be creative. This week we discovered that celery makes the cutest, little hearts.

Isn’t that just amazing or is it just for me since I’m the worst at drawing heart?

Anyways, this celery heARTwork activity is so easy to set up and your child can be as creative as they want. It was also great for us to mix in with snack time.

It takes playing with your food to a different level.

This is all you need for this activity:

  • Canvas or something to paint on (craft paper makes amazing wrapping paper!)
  • Paint
  • Celery
  • Something to put paint on (I used recycled milk jug lids.)

That’s seriously it! We obviously used different shades of pink and red. You can use whatever colors your child picks.

All they have to do is use their celery sticks like a paint brush. Dip the celery into the paint. Then press it down on the canvas.

At first, Mila wanted to move the celery like a brush. I showed her how to use it like a stamp to clear that confusion. She immediately recognized they were hearts.

Celery transfers the paint MUCH easier than potatoes. That means they don’t have to push down as hard.

Mila had so much fun playing with her food, while eating the same type.

When she would switch to snacking, I had a rule that all four celery paint sticks had to be in the upright position. That made me feel a little more comfortable when she kept switching back and forth!

No paint was consumed during this art project.

I love the way this process celery heARTwork turned out.

She just made the canvas and wrapping paper, but again, this can be used for anything you need hearts on!

The biggest thing to remember while kids do process art is there’s no end goal. This is their time to be as creative as they like.

I think the best part of process art is to see how your child grows with it. They get a better sense of composition, shapes, and colors the more they paint.

Their growth is truly the greatest gift.

As always, I hope if you do this activity, you let me know in the comments.

Toddler Activity: Super Bowl Artwork and Noise Makers

The Super Bowl is this weekend! If you’re a person who just watches for half time, here are two activities you can do with your kid’s before the game or during.

I incorporated two things Mila loves: art and music. For both of these activities, you probably have everything you need in your home.

When doing these, I would highly recommend a parent to help on a few steps.

Noise Makers Supplies:

  • Toilet paper rolls
  • Paint
  • Glue – Elmers and hot glue
  • Glitter
  • Ribbon
  • Rice

The first step is to paint both rolls.

I tried to stick with both teams colors, so Mila can shake when either team scores. She was able to help me paint them, but it was messy!

After the paints dried, you can add glitter to them. I did stripes around each side and Mila rolled the glitter on. To get it to stick, I did another coat of Elmers paint on top of the glitter. Then she wanted to add a sticker to both.

When the glue is dried, fold one side of the roll down. Then, put hot glue over top to seal it.

Add rice when the hot glue cools down and the fold and glue the other side too. I didn’t measure out the rice to a science. The rice probably filled half of it!

Then, we added ribbons on the end for extra decorations and to cover up the dried glue. It also double seals the ends so no rice flies out.

These are fun to shake and Mila loves dancing with them!

The next activity is so simple and we turned it into a little gift!

All you need is three things:

  • Brown paint
  • Canvas
  • Potato

To get the football effect with the potato, just carve the laces into it. I used a knife. That was one step definitely not suitable for young kids.

Then, all you have to do is dip the potato in the paint and use it like a stamp. I would suggest to really press down on it. If not, it doesn’t transfer the paint well.

I let Mila do her own design, but it’d be really cute to tape down a rectangle to make a frame. Then put your child’s picture inside of it.

We ended up taking pictures and made our own little frame with a clip. It turned out SO cute.

Other ideas for the potato/football stamp would be table cloths, banners, or place settings. Another idea could be to use the potato stamp for a fun way to keep score. There are so many possibilities.

We had so much fun making these and I can’t wait to see her play with the noise makers. My dad, her papa, is going to love this little gift as well.

I hope this gives you something to do if you get bored during football or are just really excited for the game.

As always, if you decide to try these out, let me know in the comments.

Weird Things My Toddler Does: Part Ten

We’re back with another week of Mila being weird. There was a lot that I could’ve wrote about, but this one makes me laugh the most.

Everyone meet Pizza the talking sloth!

The first stuffed animal Mila actually decides to name is one that talks back to her. Of all the names in the world, she somehow settled on Pizza.

If that name wasn’t weird enough, just wait.

This sloth repeats everything you say. It can get a little… much. Mila thinks it’s the coolest thing in the world though.

That is until they start arguing. In essence, she’s arguing with herself. It’s quite hilarious.

Their big argument is about who’s a boy and who’s a girl. Mila gets angry with Pizza says he’s a girl because you know, he’s just repeating her. Then when she says, ‘you’re a boy’ and pizza says it back to her… so much anger and annoyance.

Honestly, it’s hilarious to watch. I had to take a video for everyone.

So, yeah. It’s easy to say, my toddler is still weird.

What’s the weirdest thing your toddler has ever named something?

Philly Cheese Steak Cheesy Bread Recipe

Thinking about what to make for the big game this coming weekend? Or are you just a philly cheese steak fan? Either way, you’re going to want to make this.

This take on cheesy bread adds some meaty bites with some freshness with the bell peppers and onions.

It’s extra cheesy, which is my favorite part, and perfect to share.

Here’s all you’ll need:

  • French bread
  • Mayonnaise
  • Bell pepper (I used red and yellow because it’s what I had on hand)
  • Yellow onion
  • Mushrooms
  • Provolone cheese
  • Worcestershire sauce
  • Philly Gourmet Sliced Steaks (you can use whatever steak you want)
  • Salt and Pepper
  • Olive oil
  • Butter

Yes, to those who are wondering about my bread, those are Mila bite marks! She attacked it while I was getting everything ready. Life with a toddler is always fun. It’s also why I didn’t get a ton of preparation pictures.

This recipe is not hard. It took under thirty minutes to do in all… including wrestling the bread away from her.

First, cook your steaks and preheat your oven to 400 degrees.

I’ve used the Philly Gourmet brand a few times. It’s easy and gives me that classic vibe. I can imagine ribeye would work really well too!

For this, all I did was put the meat on the pan with some oil. I added salt and pepper and let it all cook through. If you’re using this brand, I used the entire box.

After that’s cooked, transfer is into a bowl. Then take your chopped peppers, onion, and mushroom to the pan. Add a little butter and cook.

While that’s on the pan, slice your bread. I lost the entire bottom half to Mila and and Max, but still had plenty.

Put mayonnaise on the bread, then a provolone layer. Next, add the cheesesteak on top and another layer of cheese.

After your veggies are done cooking, layer them on too.

Once everything is placed, stick it in the oven for 10-15 minutes, or until browned.

Take it out of the oven. When it cools off, cut it how you please and enjoy!

It’s seriously so tasty and cheesy! I can see it being a hit for a Super Bowl party or for a quick weekday dinner.

If you give it a try, let me know in the comments!

Valentine’s Day Gift: I Love You Instax Picture and Frame

If you want to show off the cutest series of photos at the office, in your home, or even as a gift, you should definitely try this out!

‘I love you.’

We have an Instax camera and love snapping pictures. Mila likes how the film instantly come out and their aesthetic pleases me.

I got an idea to make myself (sorry not sorry) a Valentine’s Day present that I can always remember Mila at this time. So, we had a little photo shoot.

Obviously, she loved getting dressed up and making her hair ‘pretty.’ She was all for it!

Then it was time to shoot.

Since I can’t have Mila’s voice always telling me she loves me while I work, I thought of the next best thing… sign language.

In one of Mila’s dance songs, they sign ‘I love you,’ but a little reminder didn’t hurt.

After I got those first three pictures, she wanted to take more. So, so obviously I took the opportunity to take a few pictures of her.

Anyways, I found a perfect, Instax picture frame on Amazon! It’s pretty sturdy. The only issue I had with it was I had to tape the pictures in to stay, but that wasn’t a big deal.

Once I put it all together, it turned out so beautiful.

If you have more than one child, this frame also has a six opening frame too.

I think this would be an amazing gift to parents, grandparents, or anyone your child loves. It didn’t take too long to do either.

Your child will love seeing their pictures instantly and will be happy to give this as a present.

I hope if you decide to make this Valentine’s Day gift, you’ll let me know in the comments below.