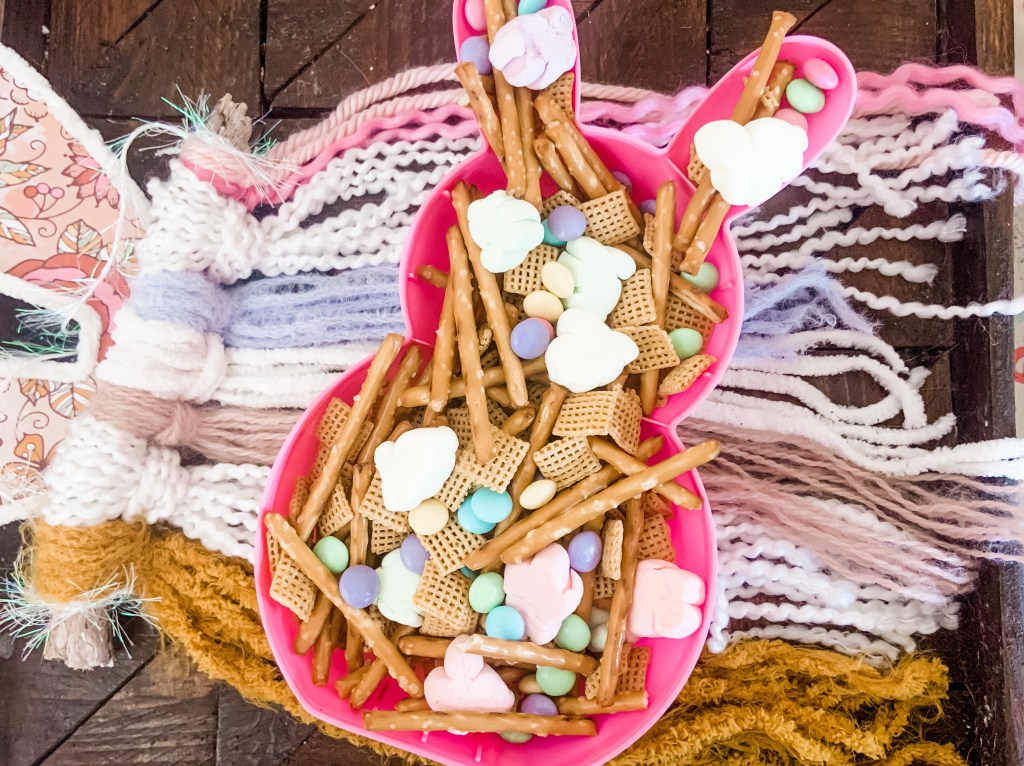
Easter is almost here. Hop on over to check out this Nut Free Bunny Trail Mix for Easter Sunday or a fun after school spring snack.
Mila and I LOVE trail mix. It’s such a yummy and easy snack… but I can’t eat nuts. Instead of missing out, I’ve found a few staples of a mix I love.
Not only are they yummy to snack on, you can easily store snack mixes to enjoy for the entire week. It makes snack time SO easy!
One of the best parts of having a great mix is adding seasonal snacks to enjoy.
Here’s the ingredients of our latest spring mix:
Pretzel Sticks
Pastel M&M’s
Bunny Marshmallows
Chex Mix
Jelly Beans
Anytime I make nut free mixes, all you have to do is throw it in a big bowl. You can mix them up a little bit and you’ll have an amazing snack.
Sometimes we also like to add sprinkles as well!
One fun way to serve these is to use different shaped plates or big jars. It just adds a little more magic. The Dollar Tree always has fun containers and plates. That’s where I found this bunny!
Hopefully your friends and family will love this Easter snack mix!
What are you favorite things to add into trail mix? Let me know in the comments.
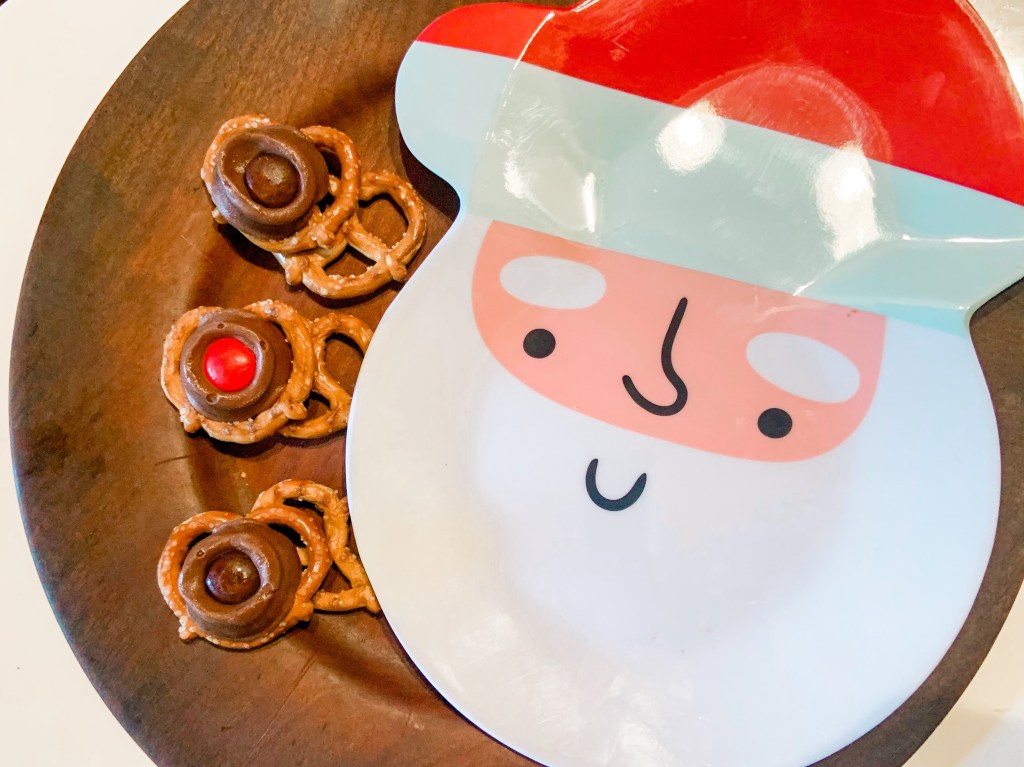
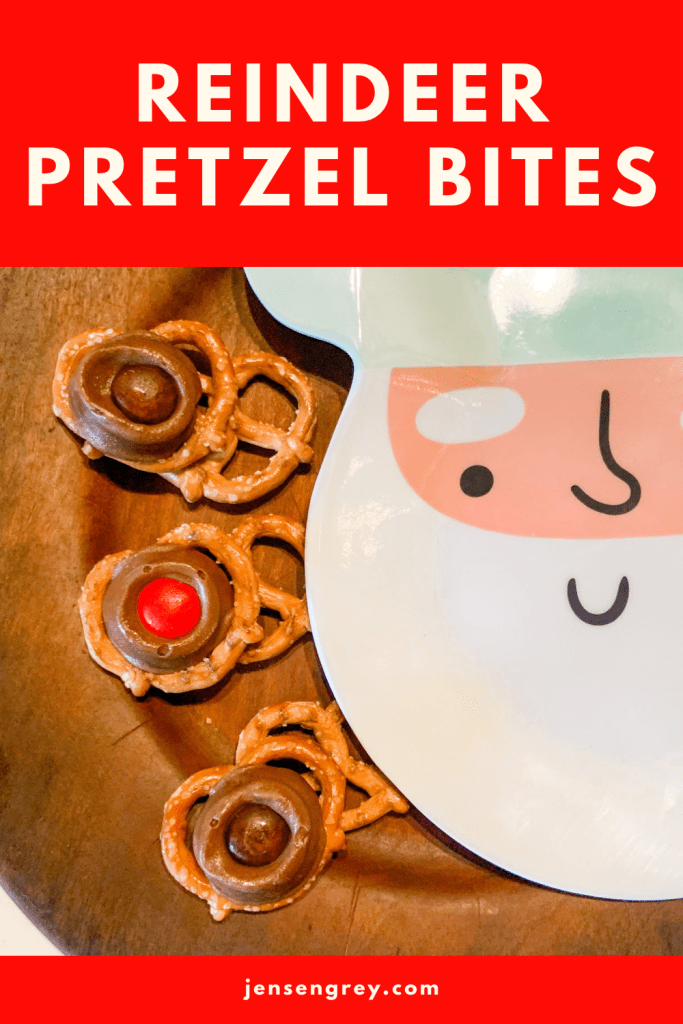
Christmas and baking go hand-in-hand. Cookies are great, but these Reindeer Pretzel Bites are easy into make and oh so tasty!
You only need three ingredients and I’ll guarantee Santa will be happy on Christmas Eve.
I actually made these Reindeer Pretzel Bites for Mila’s preschool class. They’re a perfect snack! I only had three reindeer bites per student and filled the rest of the bag with pretzels. It’s great since the kids don’t get all the sugar if they had a bag full of these.
Anyways, here’s all you need for this recipe:
Mini pretzels
Rollos
Red and brown m&m’s
These are a lot of fun to make and Mila got to help a lot!
First, preheat your oven to 250 F.
I would suggest taking the foil off of all the rollos before baking. When I was doing this, Mila picked out the red and brown m&m’s. This small activity that helped me was great for her motor skills and talking about all the colors.
Once the foil was off and colors were separated, we lined as many pretzels as we could on a lined baking sheet.
Then, put rollos on top of the pretzels and bake them for two minutes.
Once they’ve been in there for two minutes, press the m&m’s into them. This is a little tricky. I would suggest holding the pretzels while pushing them down.
Then, place the baking sheet in the freezer for 5 minutes to set them.
These were a lot of fun to make and were pretty tasty too. I stole a few of them after I knew her classmates were covered.
To make these super cute, I added a Christmas tag to the bag and sent them on their way.
I would definitely suggest making these and would be perfect for a holiday party. You could put them in a big bowl and they’d be a hit.
What do you leave out for Santa on Christmas Eve? Or what’s your favorite holiday dessert?
This week was my first time ever sending in a preschool snack with Mila. It was an exciting mom moment for me! Of course, I made sure it was a nut free mix that everyone would enjoy. Then we came up with the Fall Scarecrow Snack Mix.
Here’s everything I used to make this nut free Scarecrow Snack Mix:
Pretzels
Chex Cereal
Caramel Corn
m&m’s
Candy Corn
Candy Pumpkins
Rollos
The best part of this mix is it’s super easy to put together. All you have to do is find a big bowl and pour everything in.
Unfortunately, my big bowls weren’t big enough, so I had to keep making the mix over and over again. Good thing it’s easy and doesn’t take a lot of time to do it!
One thing I wish I would have gotten more of was the caramel corn. When I went to Target, they were almost sold out of the ‘monster mix.’ The monster mix just have chocolate drizzle and sprinkles. Some of the other caramel corn had pecans and other nuts. Obviously, I didn’t want to send any type of nuts to a preschool classroom in case of allergies.
Mila loved this mix, but she was definitely picking out all of the chocolate and Chex cereal!
I loved making this Fall Scarecrow Mix for Mila’s preschool party… and keeping the extras at home for us to share too. Here’s the little Tik Tok video I made to show how I made it all. Even though it’s pretty self explanatory, I loved how it all came together.
The end result is beautiful too!
What is your favorite snack or food item to share at classroom parties? I’d love some Christmas suggestions.
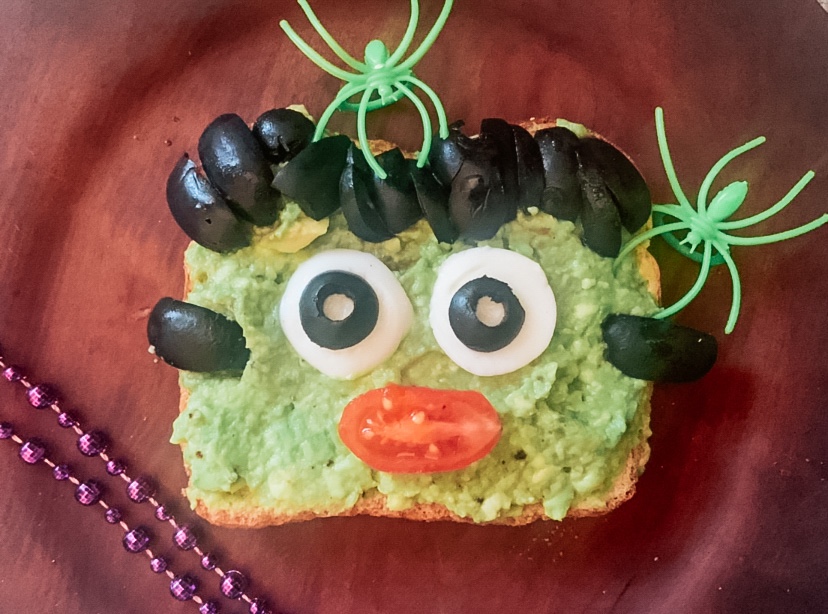
After school during October is the perfect time for spooky snacks. Since we love avocado toast at home we made a fun creation: Frankenstein Avocado Toast.
Not only is it healthy for your boo, it tastes great too.
Mila absolutely loves avocados. Like all I have to do is cut one up and she’ll eat them plain. I love that she loves them, but I like making food fun for her. This spooky snack was a perfect solution.
It’s ALIVE! Or just ready to eat. Here’s what you’ll need to make this creation:
Avocado
Toast
Black olives
Hard boiled egg
Cherry tomato
Salt and pepper
First, toast your bread. Simple right?
While it’s toasting, cut and mash avocado in a bowl. I usually add salt and pepper to mine. Mila likes hers plain.
Then, it’s time to cut the black olives. Cut two circles for the eyes, then strips for the hair and the bolts in the side of Frankenstein’s neck. I did different sizes to make it textured… or because I don’t have the best knife skills.
Next, cut two slices of a hard boiled egg and a cherry tomato in half.
After all this prep work is done, it’s time to assemble.
I really think this turned out so cute. Mila loved it and did little voices with it before she ate it. Frankenstein Avocado Toast is a perfect after school spooky snack your child will love.
What Halloween character would you want to try and make? I’m always up for a challenge! Let me know in the comments.
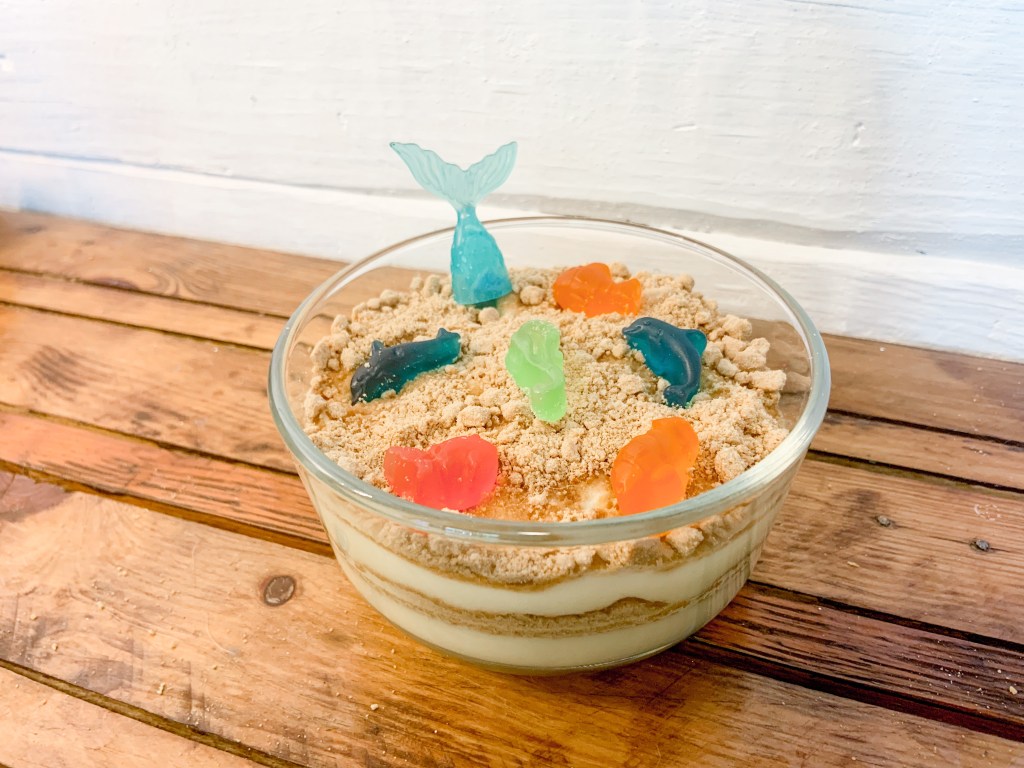
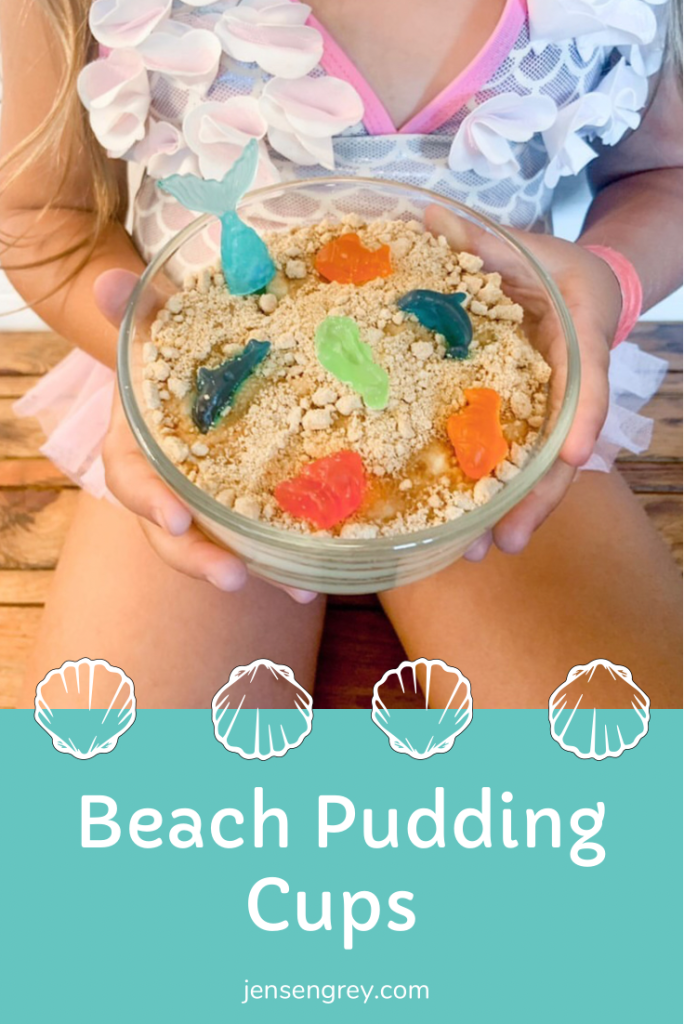
It’s no secret, Mila and I love the beach. With her Mermaid Activity Box last week, I had her make a snack that matched: Beach Pudding Cups.
Honestly, I love that Mila loves the beach. She’s been to so many different beaches during her three years and each time she’s been obsessed. When we’re not there, she’s always asking to go back.
Anytime I can bring beach life to Ohio, I do my best to do so. I think this is why this snack was a hit with Mila.
Here’s what you’ll need to make this beachy snack:
Instant Vanilla Pudding
Graham Crackers
Gummy Fish or Sea Animals
First, make the instant pudding as directed in the box. I think all you need is milk with the pudding powder. It’s (the instant pudding) really simple if you’ve never made it.
Then, make graham cracker crumbs. I just blended in my blender!
Now it’s time to put it all together.
Get a clear bowl or cup and do a pudding layer first. I just eyeballed all the layers and didn’t do a specific amount.
Next, add a layer of graham crackers.
Repeat these steps until you get to the top. You want your final layer to be the graham crackers.
To finish it off, add fish and sea animal gummies. I also added a mermaid tail on top too. Next time I make this, I’ll mix blue food coloring to cool whip to make water too.
I think these Beach Pudding Cups are so cute for at home or even at the beach. Since I used our small Tupperware containers, it’d be perfect to put the top on and serve for a beach picnic.
Mila’s favorite part were the gummy creatures on top! She ate them all before she got to the ‘beach.’
This would also be a perfect after school snack since it’s so easy to make and out together. It made me feel like such a creative mom to do this with her.
She wanted to help layer the ingredients and did good too. So kids can essentially make their own after school snack!
What’s your favorite way to bring the beach home? Snacks, activities, or looking at old vacation pictures? Let me know in the comments.
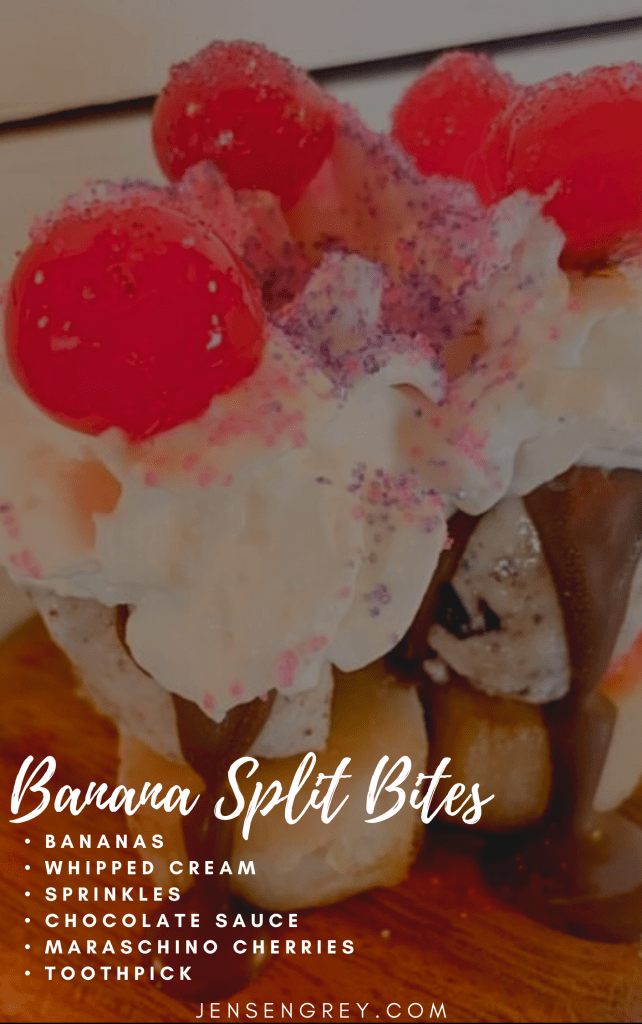
It’s National Banana Split Day! Mila and I put a spin on this summer treat and made it bite sized. This recipe is perfect for toddlers or adults who want the taste of a banana split, but don’t want to commit to a regular sized one. I promise, these Banana Split Bites pack all the things you love about a banana split in one bite!
Before I go on… did you know banana splits originated from Ohio? Ernest R. Hazard invented the banana split in Wilmington, Ohio in efforts to attract college students to his restaurant. I think he was on to something!
Anyways, here’s what you need for this tasty treat:
Bananas
Whipped Cream
Sprinkles
Chocolate Sauce
Maraschino Cherries
Toothpicks
Any other ice cream toppings!
To start off, just cut your banana in little circles. I ended up freezing mine before assembling too because I love the taste of frozen bananas. Then, spoon ice cream on the banana. Add ice cream toppings and secure everything with a toothpick.
It really is that easy!
Mila and I used whipped cream, sprinkles, chocolate sauce, and maraschino cherries. It would be fun to do classic toppings on different bites too!
This treat would have been awesome for our Ice Cream Bonanza. We did an ice cream topping charcuterie board. It would be so cute to do a Banana Split Bites bar where people can assemble what they wanted themselves. I think that’s a perfect fourth birthday idea for Mila…
We hope that you like our little bite-sized desserts! Let us know how you like it if you make them. Let me know in the comments your favorite banana split toppings.
These are just the different fruits we used. You can use any that you like best!
First, cut all of your fruit into smaller pieces. I sliced the strawberries and kiwi, halved grapes, used pineapple chunks, and whole blueberries for ours.
Then, cut your watermelon into slices. Then you can make different shapes if your toddler would like. We used star cookie cutters for Mila’s.
After you figure out the shape of your watermelon pizza, spread fruit dip all over it.
You could also use whipped cream too!
Next, take the fruit and cover your watermelon. We ordered ours like the rainbow on Mila’s star and an inverted rainbow on my watermelon slice.
I absolutely love how these turned out!
It was such a tasty snack, but I bet they’d be a huge hit at family get-togethers or parties. I can even see it being an interactive station.
A melon-ion possibilities.
Yes. I absolutely had to throw a watermelon pun in the post somewhere. All of you would be disappointed if I didn’t after the Shark Week post! Which was just JAWesome.
No matter what you make these for, you won’t be disappointed with how they taste. And your toddler will love helping out with their snacks.
Let me know in the comments if you’ve ever made watermelon pizza.
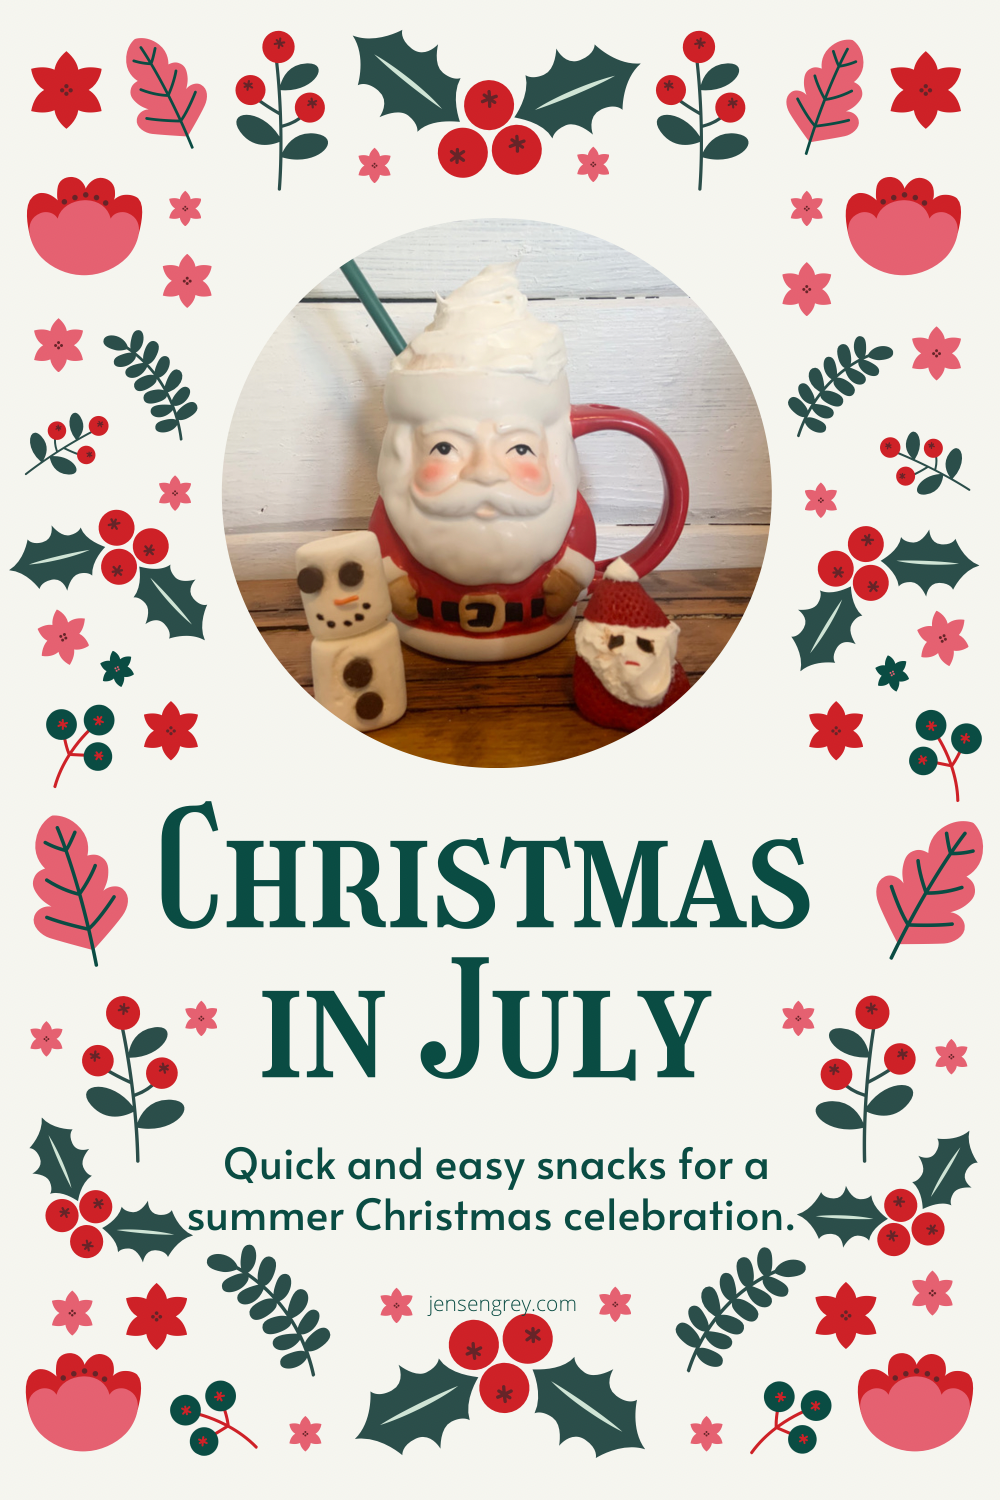
Christmas is officially SIX MONTHS away! I can’t believe 2021 is halfway over.
To celebrate the occasion, Mila and I made some Christmas inspired treats. Then, we cleared out some of her older things to give to others. ‘Tis the season of giving.
The three snacks we made were Strawberry Santa’s, marshmallow ‘Olaf’s,’ and frozen hot chocolate.
Each are pretty easy to make. They all include one of Mila’s favorite things: sugar.
For the Strawberry Santa’s here what you’ll need:
Strawberry’s
Whipped cream
Sprinkles
Food coloring
To make this little guy, all you need to do is cut a strawberry in half. Then, add whipped cream to the middle to make Santa’s face and beard and to the top to make the fluff on the top.
A face only Mrs. Claus can love.
I made his eyes with food coloring… I’ll admit, he looks like a creeper. But let’s just say Santa has some shades on. For his mouth, I added a red sprinkle.
Out of the three, this was my personal favorite. Yeah, I know I’m on a strawberry kick this summer.
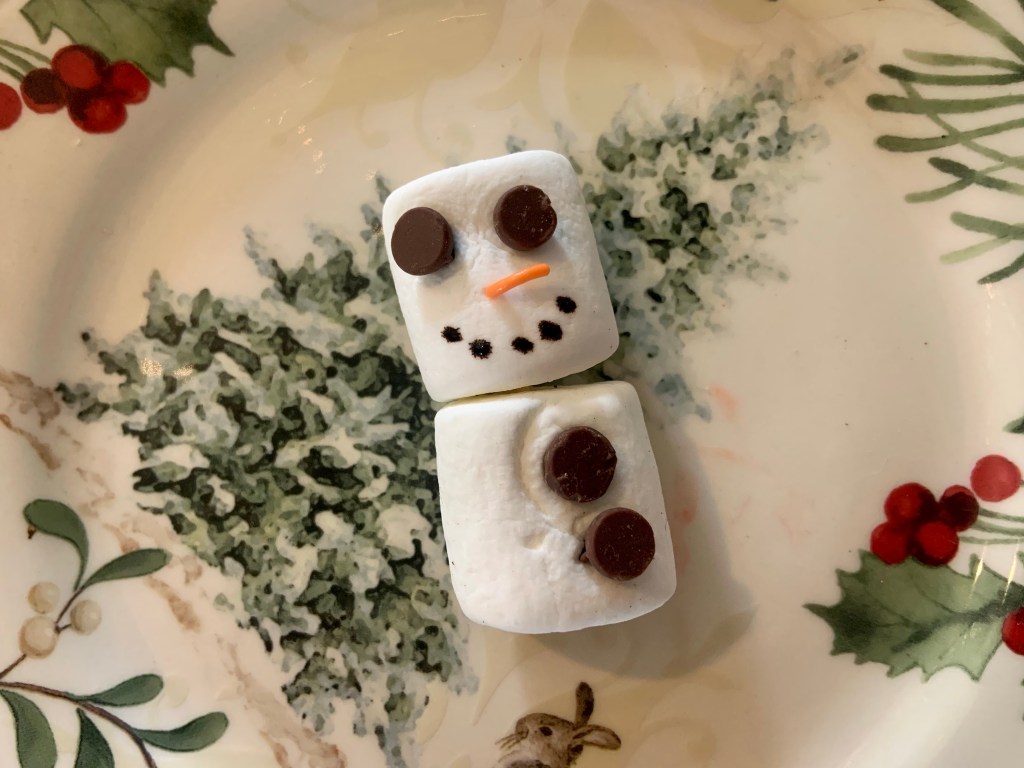
Mila’s favorite was the Marshmallow Snowmen. she obviously named them Olaf’s.
All you’ll need for these are;
Marshmallows (2 per snowman)
Chocolate chips
Sprinkles
Toothpicks
Food coloring.
Honestly, these are just as easy to assemble.
I stuck the toothpick through both marshmallows to keep the snowman upright. Then, I pushed the chocolate chips in as eyes and buttons. Finally, an orange sprinkle made the perfect nose.
For his smile… I just painted on food coloring because that would have been too many chocolate chips.
I think I also wanted to showcase that I actually know how to paint on a circle to a face.
I think this was Mila’s favorite treat. Mostly because she loves Olaf and the nose made her giggle.
Last but not least, the frozen hot chocolate was so easy to make.
All I did was take a hot chocolate packet, milk, and ice to my blender and mixed it up. It turned o it really good. Then I put it in the Santa mug and topped it off with whipped cream.
After our little snack, we took the time to go through Mila’s old clothes, toys, and baby accessories. I think the sugar rush definitely helped Mila get through it.
It was nice to clear up some closet space for Mila and giveaway a few toys.
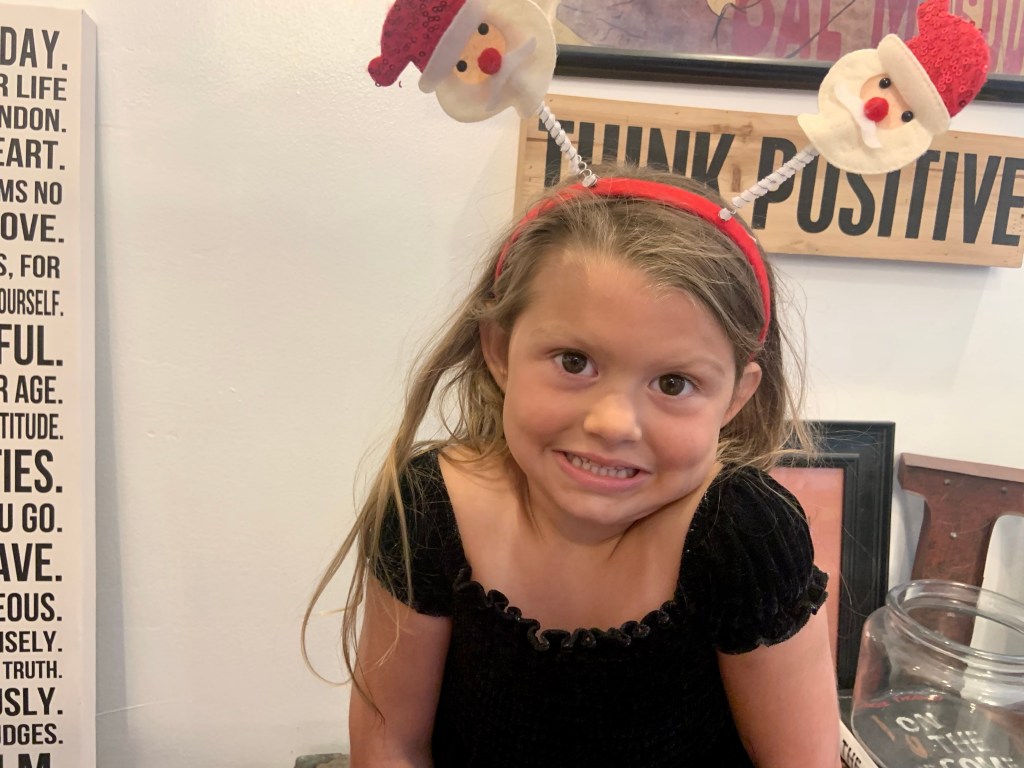
I told Mila she was Santa’s little helper. Then reminded her he’s always watching so to keep being a good girl!
Now she won’t take off her Santa headband! We’ve been reading Christmas books and watching Christmas movies too. I guess she’s already excited.
Mila and I had so much celebrating Christmas in July!
It’s always nice to make something special for Mila. AND I love teaching her early on that giving is important.
Ww have a little work to do for when Santa’s not watching, but it’s a start.
If you’re looking for more ways to celebrate Christmas in July or want to have a little party to celebrate, check out how these moms do it:
After a weekend full of fireworks, bonfires, and food, I had to share my latest creation. This time I skipped the strawberries and used bananas instead!
Of course, it’s s’mores related.
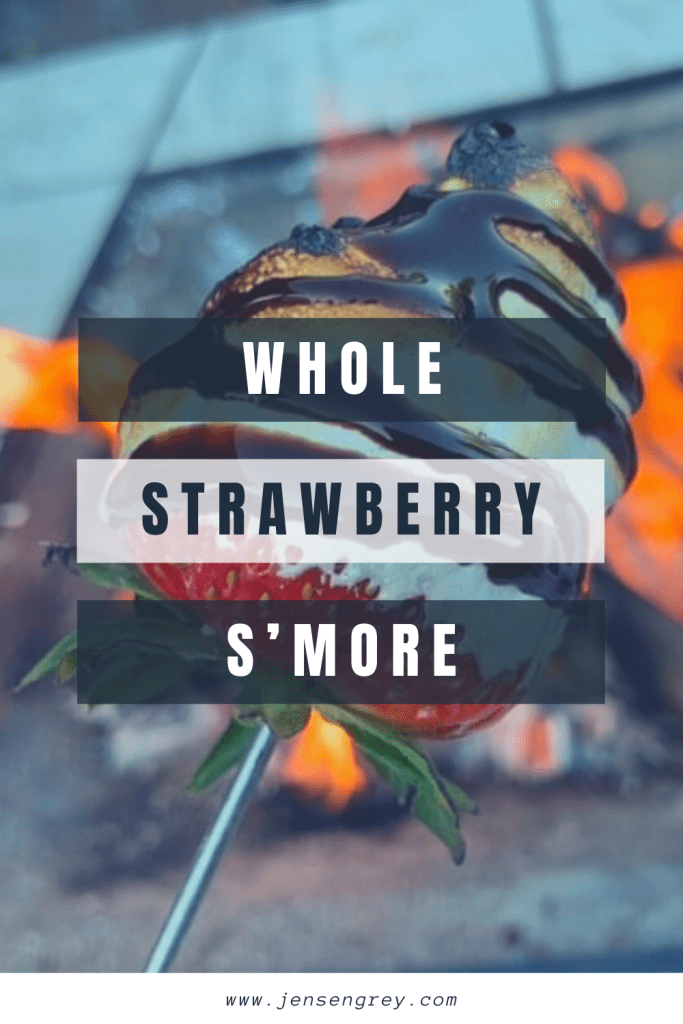
Since everyone loved the Whole Strawberry S’more, I knew the S’mores Banana Boats would be a hit.
So, let’s talk about the obvious, the strawberry s’more looked a lot cuter than this.
It’s not easy taking pictures of bananas.
What you can tell from this picture is how ooey gooey this campfire favorite is. Once you have one bite, you’ll go back for more!
This campfire treat is perfect for those who don’t want to sit and hold a stick. Just have some tin foil handy, wrap it up, and throw it in the fire.
Here’s all you’ll need…
Bananas
Chocolate
Marshmallows
Foil
Tongs
One thing I’d suggest is to buy mini marshmallows. I thought I had some, but instead had the huge, flat ones. Don’t fret if you don’t have minis. You can easily tear them apart.
To start off, take your banana and slice it longwise down the middle.
You can stuff the chocolate and marshmallows in there tightly. I ended up taking some of the banana out to make some room.
This lessened the mess!
Then, I wrapped it in aluminum foil and placed it in the fire.
I’m not sure if the exact amount of time I had it in the fire because I kept checking it. It was probably around eight minutes.
Pretty much, you just want to make sure the chocolate gets melted and the marshmallow gets a little gooey. It probably would’ve taken less time if I hadn’t kept checking in on it!
Once it’s done, let the foil cool down, grab a spoon, and enjoy.
Like I said, it’s not the cutest thing to take a picture of, but this S’mores Banana Boat is absolutely delicious.
The next time you’re around the fire, try it out. You won’t be disappointed.
What’s your favorite campfire treat?
Before you go, check out what others moms across the Internet bring for their families to snack on while camping.
All you need to do is dip your strawberry in the marshmallow fluff. This is a little more difficult than I thought. The best way was to deeply dip the strawberry and twist. You can adjust how much marshmallow fluff gets on there!
Then, roast it like a marshmallow.
Seeing a strawberry roasting looked hilarious to me. It felt like I was roasting the biggest marshmallow ever!
Roast to your preferred marshmallow done-ness. I like mine slightly burnt.
The next part is MESSY… well it was for me.
Drizzle chocolate sauce over top the strawberry marshmallow combo. It might have been easier to dip it, but I just drizzled over a plate.
Now you’re ready to eat it!
Although I didn’t take a picture of it, I added crushed graham crackers to this whole strawberry s’more. It gave it the crunch that I love about s’mores.
Here’s a bonus strawberry s’mores idea.
Since I was just making random s’mores, I tried slicing strawberries and adding them to a regular s’more.
It’s a real game changer!
I loved both strawberry twisted s’mores, but loved the chocolate bar taste on this a little more.
Either way you make it, I’m telling you, add strawberries to your s’more agenda. It adds such a fresh bite to a sweet, summer treat.
Do you add any extras to your s’mores? Let me know in the comments.