It’s the first day of spring! To celebrate, we created a piece to showcase all season long. The best part is that kids of any ages can join in on this fun.
For the last year, I’ve been decorating Mila’s room to match the current season or holiday. Instead of buying new things all the time, we’ve been making decor! It makes it so much more personalized and Mila is always super proud of her work.
This Hoppy Easter project was a ton of fun to make. We decided to recreate our family as bunnies on a small canvas, but the opportunities of this project are endless. Last year we made a project with the same concept, but with a year difference they look completely different.
Here’s what you’ll need:
Although we used canvas, you could definitely use paper or cardboard too. We use cardboard for so many crafts and activities. It’s a great way to reuse from leftover boxes.
To set up, lay something down you wouldn’t mind getting paint on. Then lay your canvas on top of that. Again, we use cardboard to catch all the left over paint. If you keep reusing the same cardboard, it looks so cool at the end of a season or year.
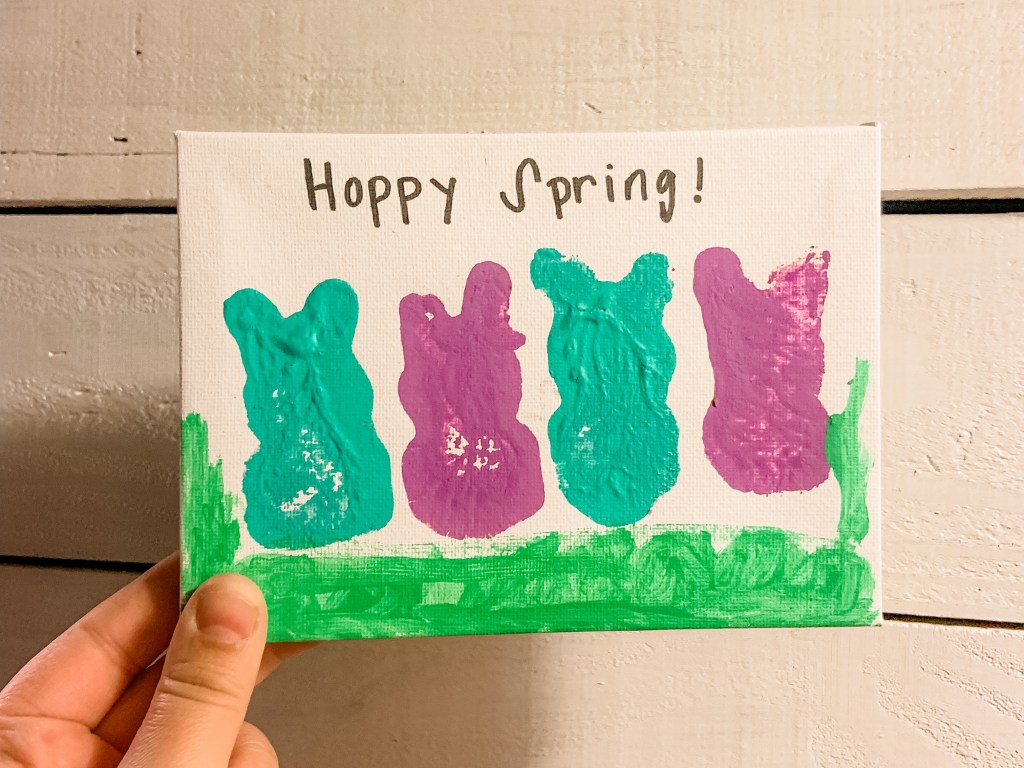
The most perfect size paint tray for these Peeps Bunnies are the tops of butter containers. They bunnies fit just right. Pick a color with your little for the bunnies. We decided to do just two colors: purple and blue. The purple represent the girls in our family and the blue the boys. You could also do the person’s favorite color per bunny or whatever colors are in your spring decor.
Next, have them use the Peeps Bunnies as a stamp. These aren’t too hard for little to grasp and use. I would definitely keep a wipe nearby in case they do get paint on their hand.

Although we didn’t add details to our bunnies, you could add faces which would make them even more cute. We did add grass though at the bottom and ‘Hoppy Spring’ at the top. Here are a few other sayings your sign could have too:
- Every bunny is welcome here.
- Hoppy Easter
- Hanging with my Peeps
- Some bunny loves you.
- Don’t worry, be hoppy!
I love how are Hoppy Spring sign turned out and can’t wait to share all our crafts and activities we have planned all season long.
If you end up making this sign, please tag me on socials (Facebook, Instagram, Tik Tok) or comment a picture in the comments. I love seeing everyone’s interpretations. It makes me so happy seeing that we could help inspire you!
Most of all, make sure to treasure all those memories you get to make with your family. That’s the best thing we can do.
Here’s some other fun Easter activities to try with your kiddo this year:
- Easter Painting
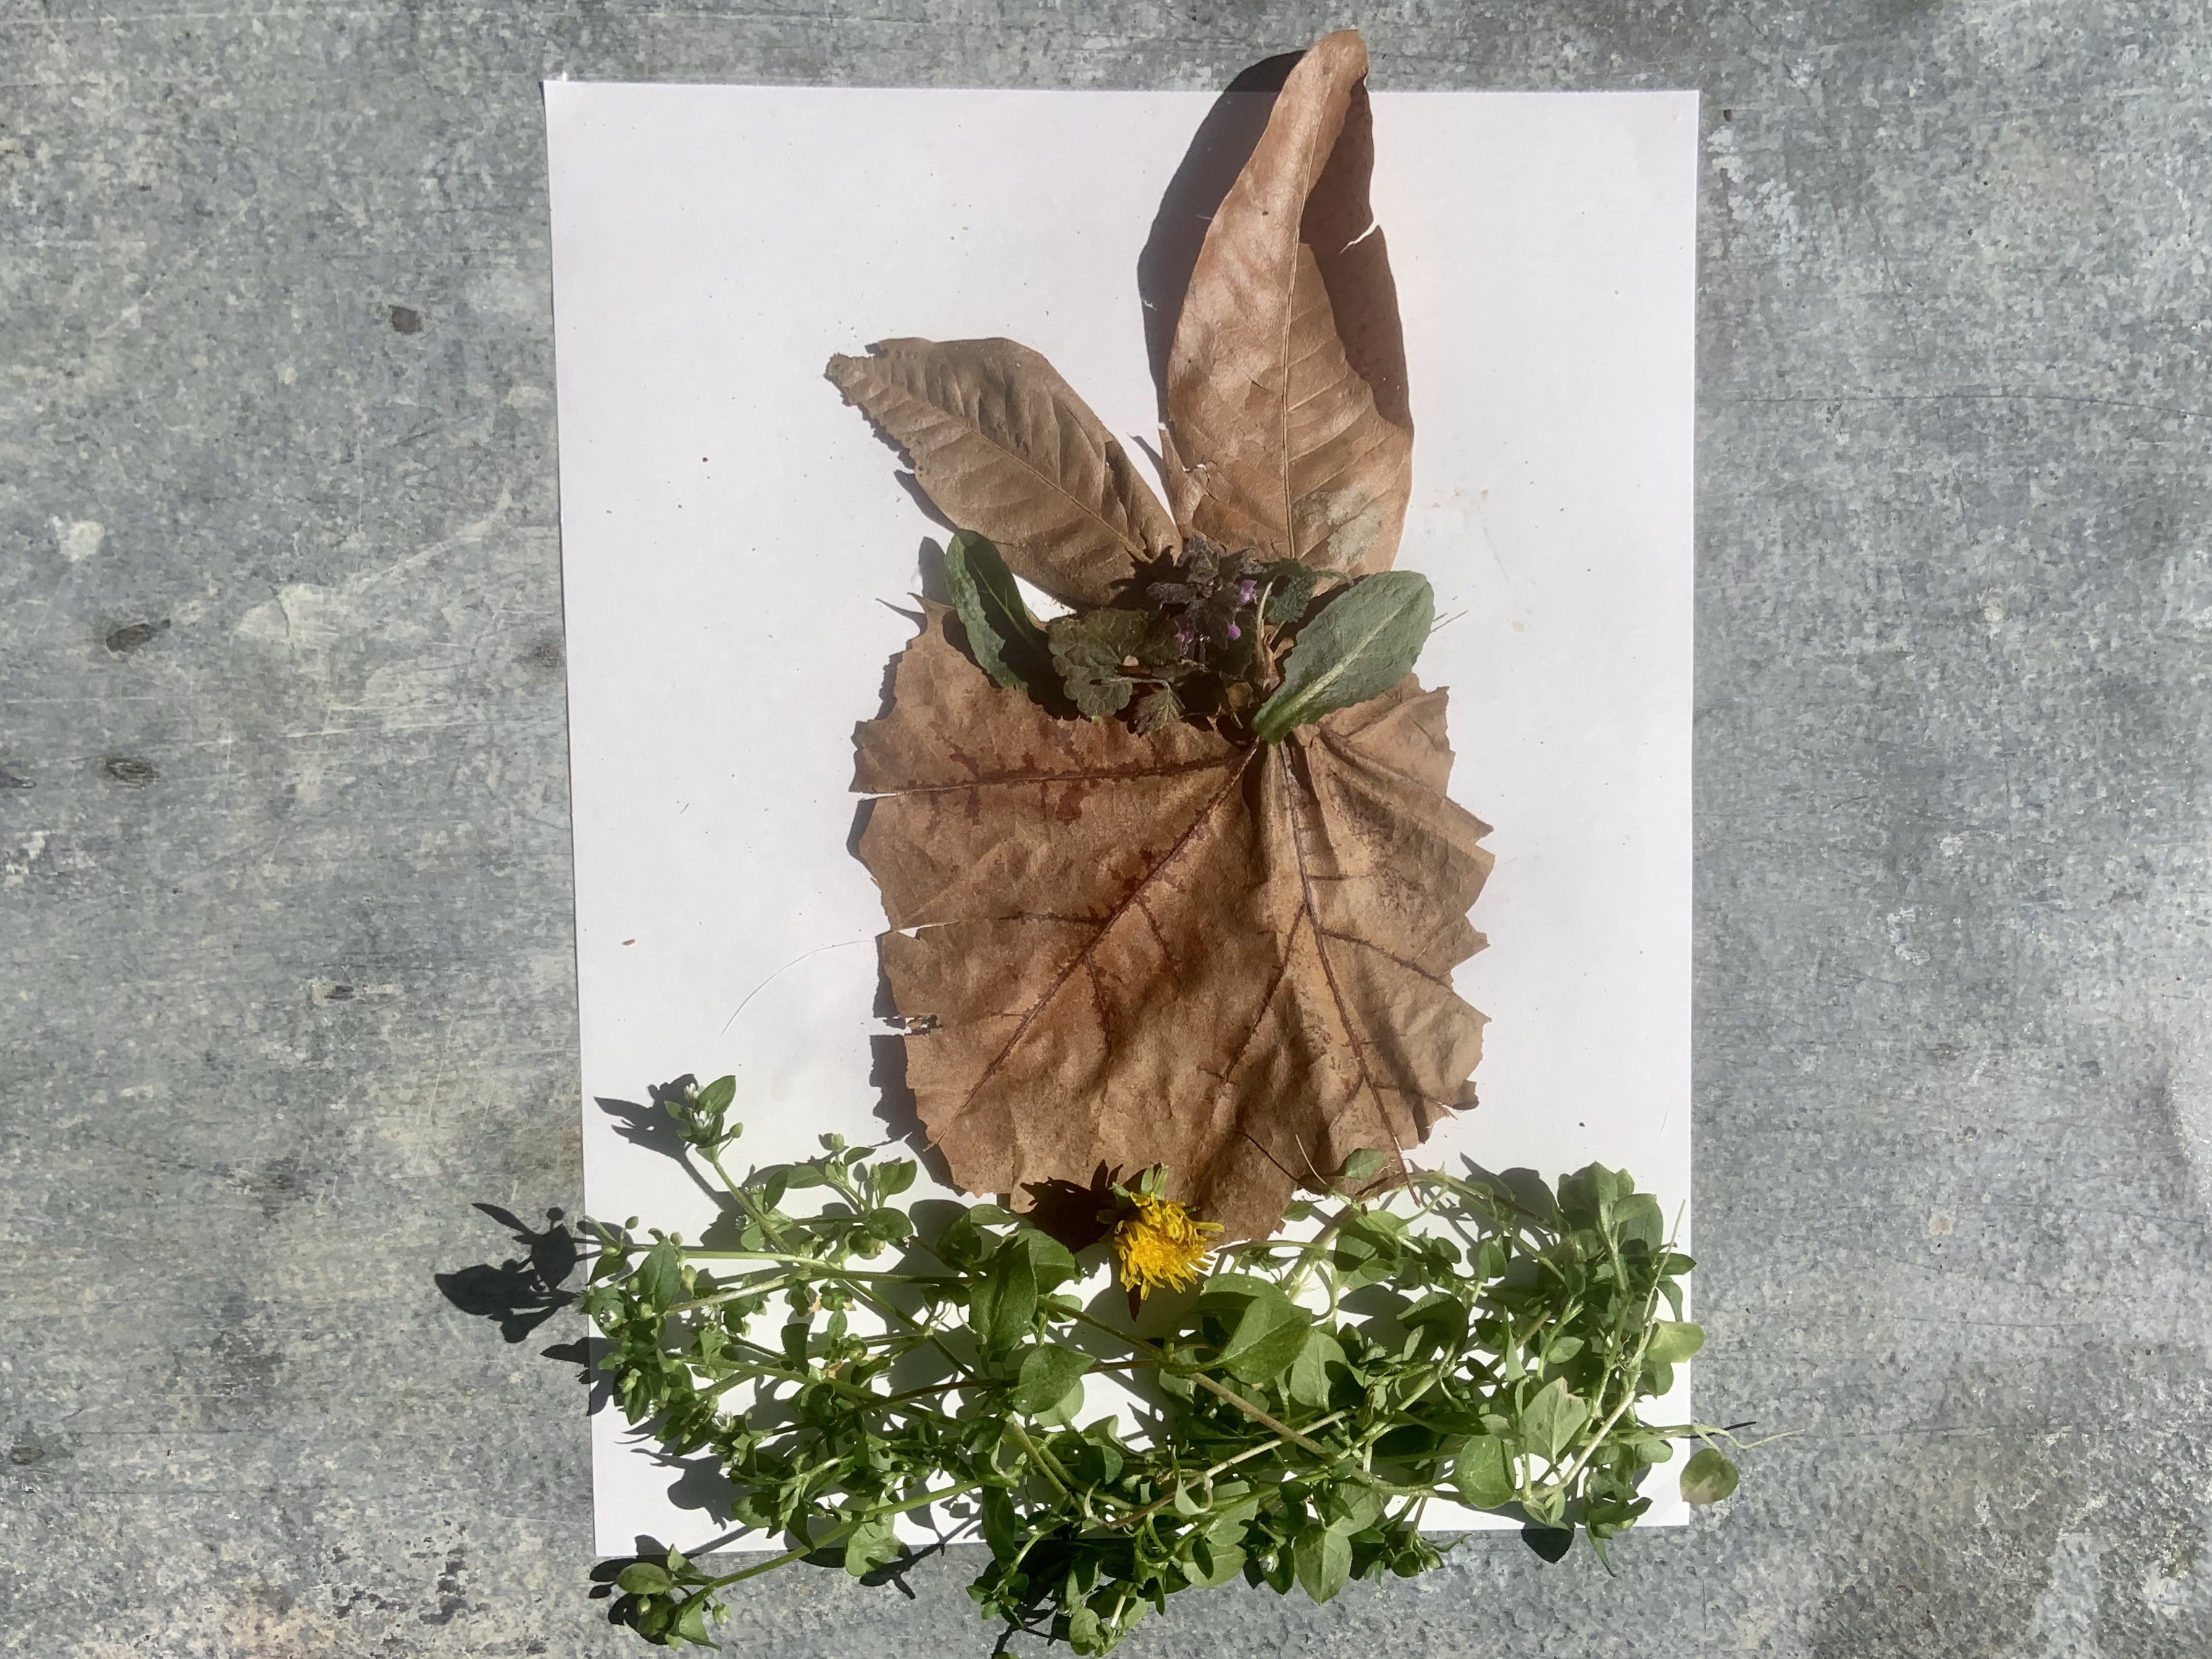
- Easter Bunny Nature Craft
- Easter Watercolor Cards
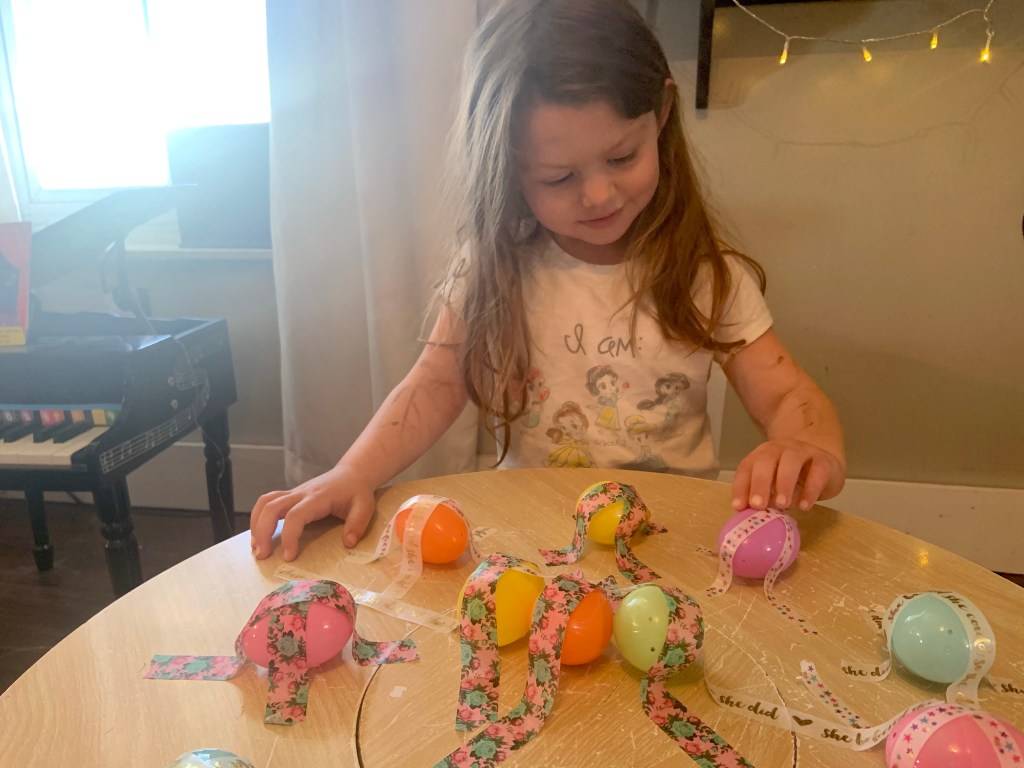
- Easter Egg Sort
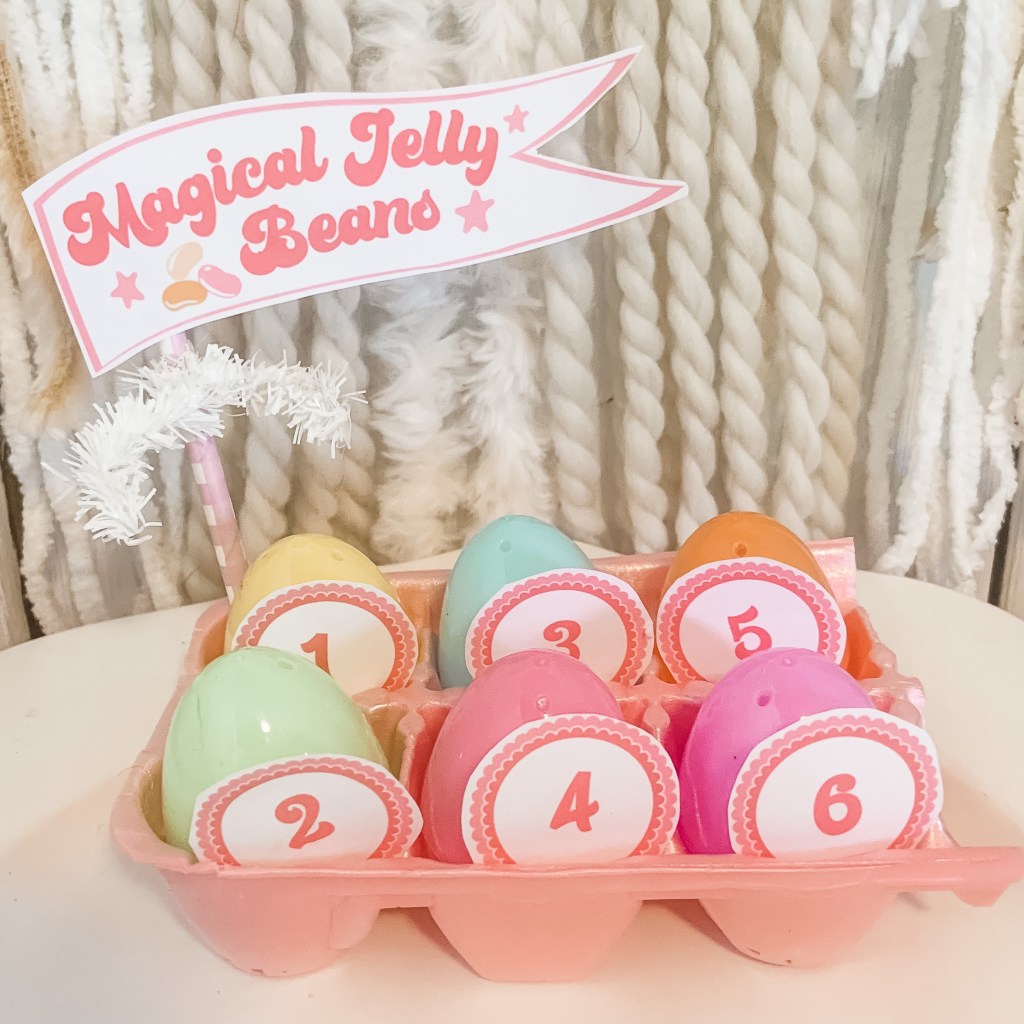
- Mystery Jelly Bean Game