Teacher Appreciation Week is a week-long celebration of teachers in the United States. It is held in the first full week of May, and is a time to thank teachers for their hard work and dedication to their students.
The week was first celebrated in 1984 by the National PTA, and is now celebrated in schools and communities across the country. There are many ways to show your appreciation for teachers during Teacher Appreciation Week, such as:
- Writing a thank-you note
- Sending a gift card or flowers
- Making a donation to a teacher’s favorite charity
- Volunteering in the classroom
- Simply saying “thank you”
Teachers are an important part of our society, and they deserve our appreciation every day. Teacher Appreciation Week is a special time to show our gratitude for all that they do.
I am so thankful for Mila’s preschool teachers. They have taught her so much content and how to be a good human. She truly loves and cares for them, as do I! It’s so important to use to give back to them to show them how much we care.
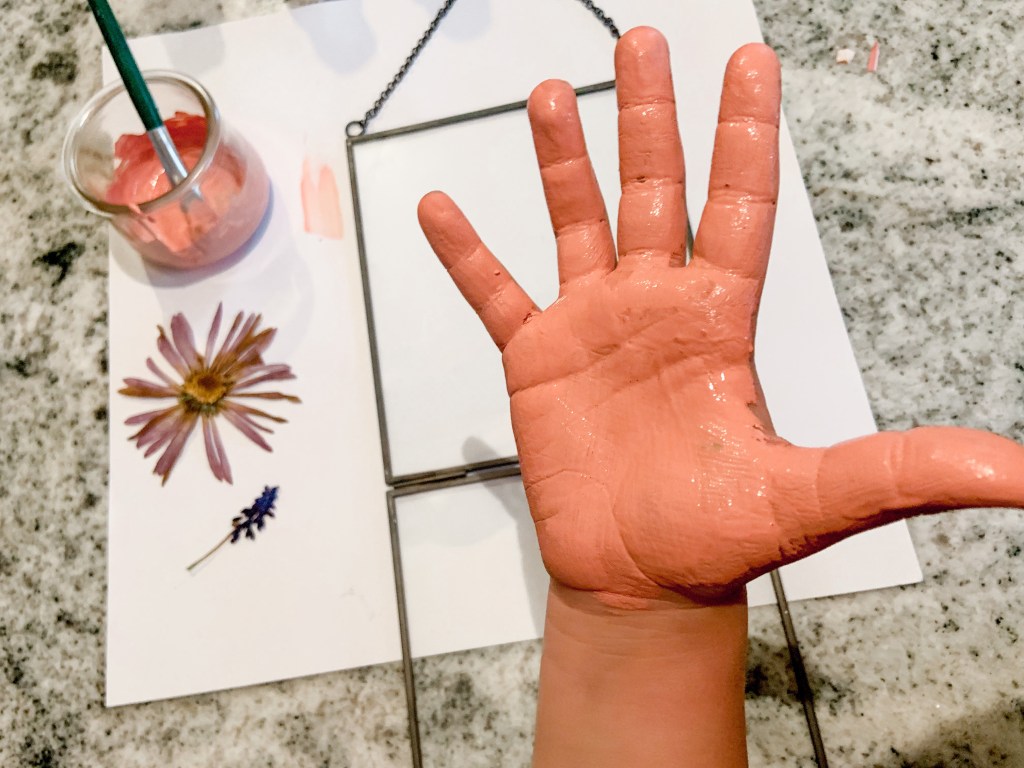
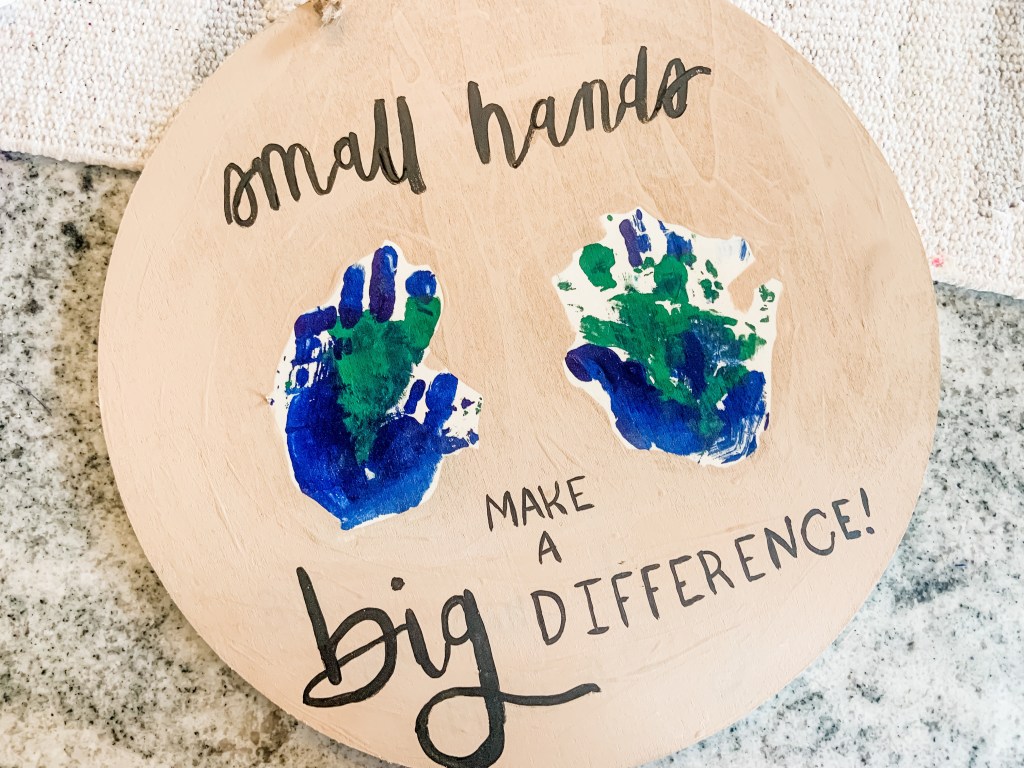
In the past, we’ve made some fun gifts that you can DIY:


Obviously we love to give plants as a gift since we love them so much, but food and personal care items are also a hit too!
I think we’ll be doing something with mint this year since I have an abundance of it! Plus who doesn’t need mint?
Here are some other ways you can show your appreciation for teachers during Teacher Appreciation Week:
- Bring in breakfast or lunch for your teacher.
- Have your child make them a card or draw a picture.
- Write a letter to your local newspaper or school board expressing your appreciation for teachers.
- Attend a school board meeting and speak in support of teachers.
Teachers are essential to our society, and they deserve our support. No matter what you do, show them how much we appreciate them during Teacher Appreciation Week.
Please let me know in the comments your favorite way to show teacher appreciation or links to a gift you’ve done before.