
Happy National Crayon Day, friends! To celebrate the day, Mila and I made these adorable DIY Melted Crayon Artwork eggs.
This was a fun and different way to utilize our broken crayons.
Mila and I like to color a lot and sometimes we can left with small ones that can’t color anymore. We’ve melted them to make other crayons, but we wanted to be more creative this time.
I’ve been so inspired by all the Easter content lately that I thought it’d be adorable to make Easter eggs.
Here’s what you’ll need to make yours…
- Crayons
- Grater
- Iron
- Wax Paper
- Thick Paper
This activity is really simple, but there’s definitely a decent amount of prep and clean up for parents.
First, collect your broken crayons that are not useable. Then it’s time to start grating them.
Mila picked out a ton of different colors. Beware of this! They can all mix and melt together. She didn’t seem to mind so it all worked out for us!
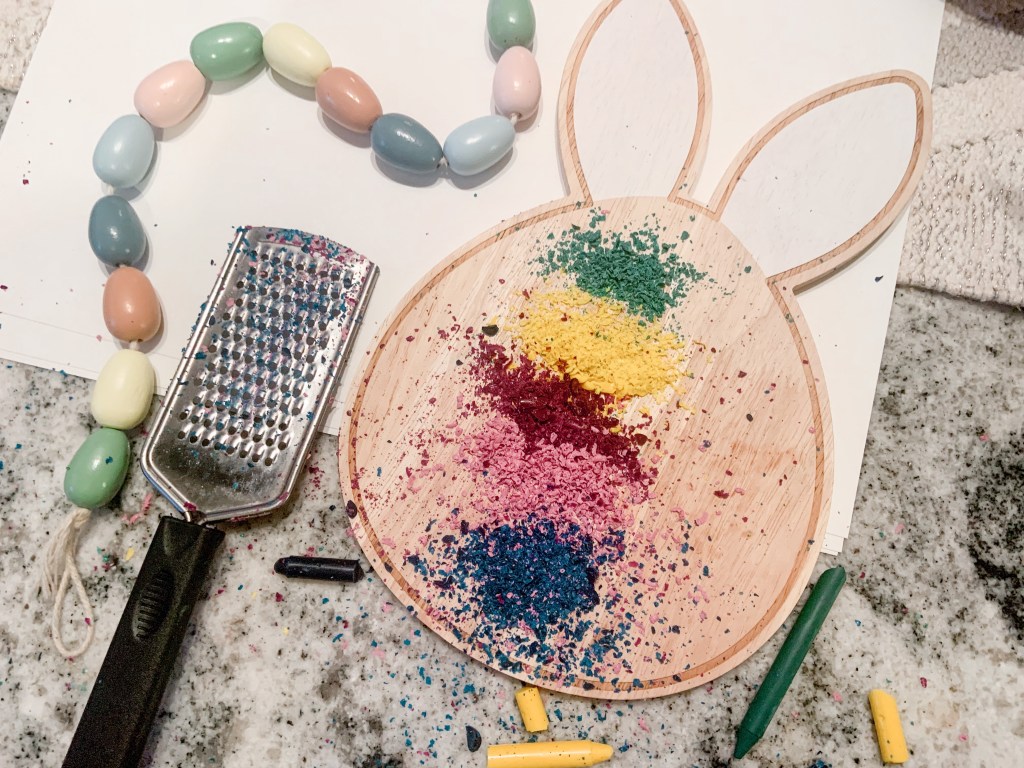
Once everything’s grated, it’s time to design your Easter eggs. I’m sure older kids would be able to create different designs. You could even use washi tape to keep everything separated.
Mila had a fun time putting the crayon shreds on the paper and had even more fun watching the next part.
When the design is complete, lay wax paper over it. Then with a heated iron, lightly press on it to melt the crayons. Mila was not expecting it to melt so we got to talk about why and about color mixing too!
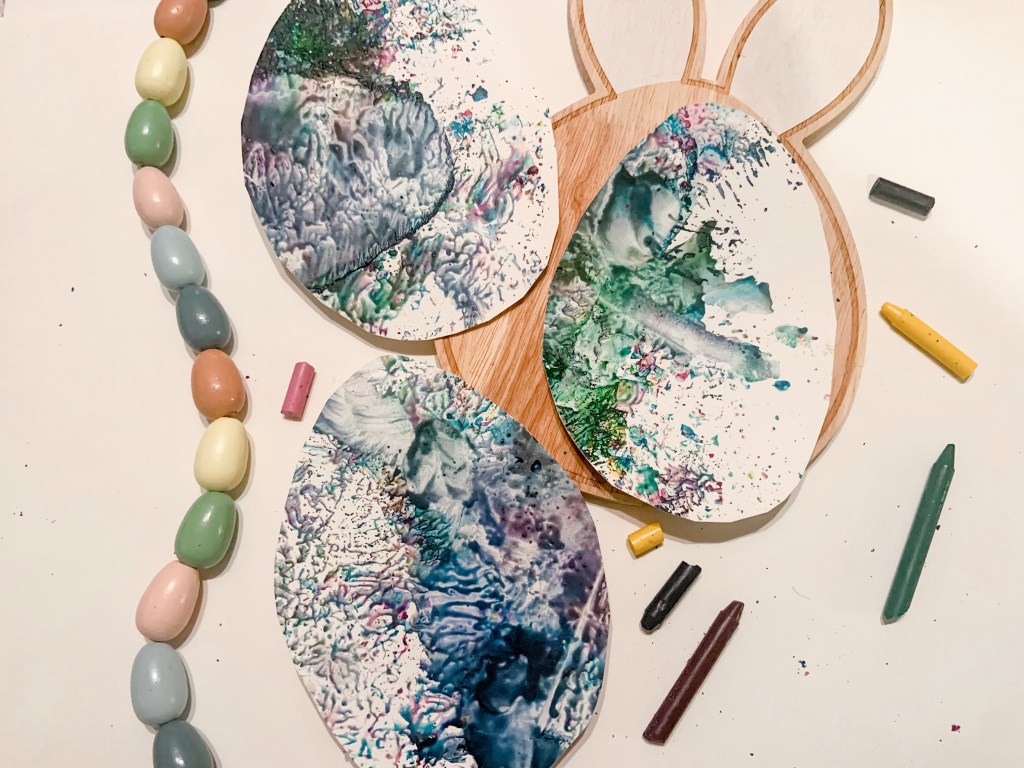
After it melted, we let the crayon melting dry and then cut out the eggs shape.
We will make these eggs into a cute garland with different textures of yarn… and maybe some glitter too. Glitter is always the answer in our house!
This is an inexpensive way to decorate for Easter while doing a fun craft and science experiment with littles.
Check out other ways Mila and I have utilized and upcycled old crayons:
Let me know in the comments what you do with old crayons. I’d love to hear what our other options could be!


This is so pretty and easy to make, too!
LikeLike
This is such a fun art project. My kids would love it.
LikeLike
I like how this turned out, and it seems like it would be fun making the crayons into shavings!
LikeLike
This sounds like a fun project for many ages. I like the colors you chose and how this project came out. Great way to use up old crayons as well!
LikeLike
Wow! This DIY artwork is unique and so satisfying. The best part is that the requirements for this DIY are easy to find. I’ll be gathering the family for our next bonding artwork.
LikeLike
This looks so pretty and fun to do with my daughter.
LikeLike