DIY Fingerprint Flower Jar

Mother’s Day is almost here and we’re busy making DIY’s for all the special moms in our lives. If you’re looking for an easy one, this DIY Fingerprint Flower Jar is just right for you.

We love making presents for our loved ones. It makes gift giving more personal and shows how hard we worked on it too. Mila is always so proud when she sees something she made up in someone’s house. She’ll get a huge smile.

Since she loves to pick flowers and put them in vases, I thought this would be a perfect gift for the loved ones in our family!

There’s not a bunch of supplies you need for this DIY gift. We had everything already at home and were able to reuse an old olive jar!

  • Jar
  • Paint
  • Modge podge

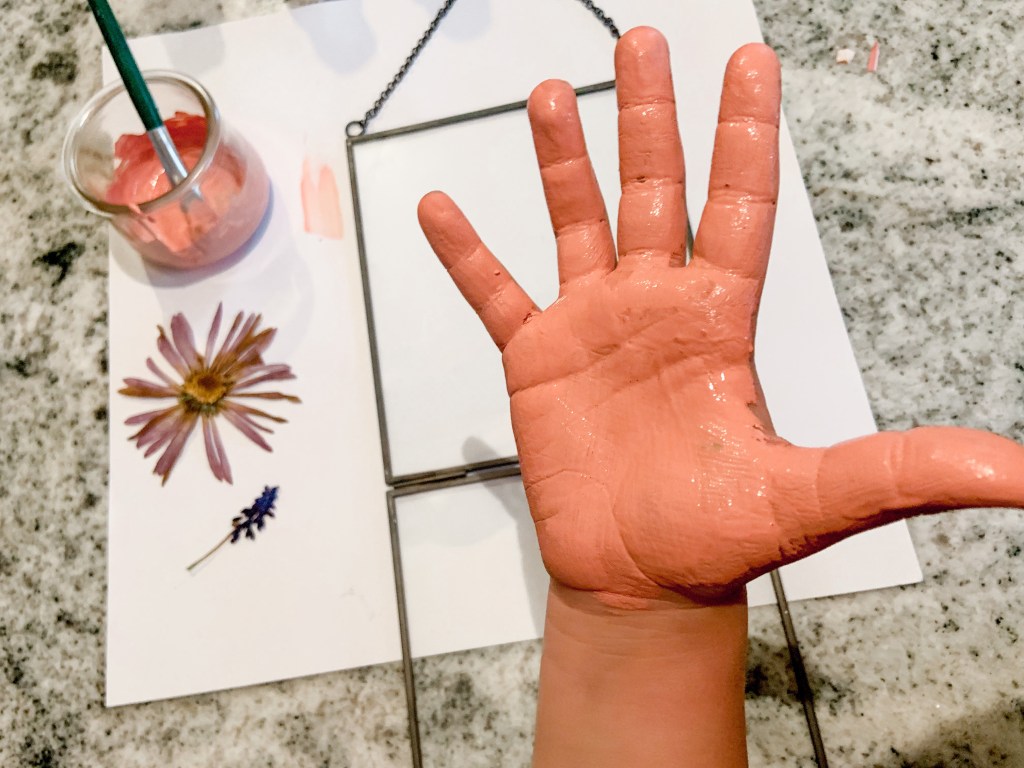
All you need to do is get an area prepped for paint. Then I showed Mila what I meant by finger painting flowers on a jar. I just did it on the brown paper that I prepped the area in. This way she could see she was allowed to use her fingers as a paint brush.

Then I let her go!

She did a few alone, but then she felt better when I held it up and twisted it for her. I don’t think she wanted to smudge the flowers she already had done!

Once they’re finished making flowers, coat the jar in modge podge. I just did a thin layer so the flowers don’t go off in the future. This step isn’t required, but if you want that added protection, I’d suggest it!

To finish it up, you could add letter beads like I did or a yarn bow too.

We filled ours up with flowers, but you could add your loved ones favorite candy or even a tea light candle too. Either way, this jar is something special and easy a mom in your life will really love!


If you’re looking for more Mother’s Day DIY’s, check out these ones Mila and I have done. Let me know which one is your favorite in the comments.

Advertisement

DIY Floral Handprint Art

If you’re looking for a memorable and easy craft for Mother’s Day, you’ll love this DIY Floral Handprint Art.

Not only was it simple to make, my four year old helped me through it all.

If you haven’t noticed by my last few posts on social media, we’re in a hand art phase. I think it’s a mix of wanting to preserve how little she is and they’re easy to do!

I’ve had this floating frame in my house for about a year. In my head I pictured it with pressed flowers all around. Then, the past few days I thought it’d be a perfect Mother’s Day gift to myself.

So, with Mila’s help and flowers from Josh, we created something beautiful.

For this DIY Floral Handprint Art, you’ll need:

*You can find this frame here.*

First, clean off your frame. I like to do this so I don’t noticed smudges after everything is finished. Plus, it’s nice to work with a clear area.

Then, paint your child’s hand. Mila picked pink, of course and I thought it looked beautiful. When it’s painted, firmly press your child’s hand on the inside pane of glass. If there’s a few missing space, you can repaint their hand and redo the process!

Next, let your child put the pressed flowers where they’d like.

When they have their final spot, clasp the second glass pane to keep the handprint and flowers safe.

On the outside, I decided to paint the word love and the year on the corner. “Love” was purely decorative, but the date is something I do on all of our projects!

Then you’re all finished.

I truly think this DIY Floral Handprint Art would be a lovely piece for moms, grandmas, and every other mother figure in your child’s life.


What’s your tips on pressing or drying flowers? I’d love to hear different ways… especially with Mila’s love of flower picking.

DIY Hand Shaped Flower Bouquet

If you’re looking for a fun Mother’s Day DIY, this Hand Shaped Flower Bouquet is easy to make and will last a lifetime. The moms in your life will love them!

Plus, I was able to reuse products around the house to make it Earth friendly too!

I love when Mila makes me things. Maybe a little too much. I don’t think I’ve ever thrown any artwork or drawing she’s made me. She’s so proud of herself for it too.

For Mother’s Day, it’s always fun to see what kids come up with. Mila loves gifting flowers. When I saw this on Pinterest, I knew I had to recreate it with Mila! She loved how they turned out and it’ll be perfect to add to the bouquet as she grows.

As I stated above, I reused everything for this. Here’s all I used:

  • Scrapbook Paper
  • Stapler
  • Paper Straws
  • Hot Glue

These were super simple to make.

I traced Mila’s hand on thick paper to make a stencil. Then cut it out to trace it on scrapbook paper. Although I only traced four for the picture, we’ll be making more for different family members.

You can make how many you’d like and with different types of scrapbook paper.

Then, cut the hands out. Next, I stapled the two sides together with the print side facing out.

When they’re cut and stapled, spiral the hands so they flutter out. You can make them as curly as you want!

After the flower was made, I hot the paper straws inside to make it look like a stem.

To display, I put them in a glass jar. They look really beautiful. I love that I’ll have a little piece of her at four forever. It’s a lovely Mother’s Day gift I’ll always love.


What is your favorite DIY Mother’s Day gift you’ve ever made or received?

DIY Gardening Grow Kit

If you’re looking to surprise a gardener in your life with a little gift, this DIY Gardening Grow Kit will be a hit!

Mila and I LOVE to garden. We try to grow vegetables every year and eat what we produce. It’s always a fun way for her to learn about the growing cycle and show her how much work it takes to make our food. She’s always very into growing flowers and making arrangements.

Let’s just say, we always are surrounded by plants and gardening supplies!

Since this time of the year is so close to Mother’s Day and end of the year, this is a great gift to give and easy to assemble too. You can find all these items at any local store.

Here’s what we used:

I love being able to put all the items into the watering can. It makes for an easy gift bag. You could also add ribbon or a printable with it too.

Even though I added flower seed packets, you could easily do veggies or even DIY seed bombs in there too. If you’d rather skip seeds in general, putting a plant inside of the watering can would be a cute idea too!

For soil, I would suggest either buying a whole potting soil bag or putting enough for a pot in a ziplock bag. You can easily stuff in it the bottom of the watering can.

This DIY Gardening Grow Kit will be perfect for the mothers, teachers, or any gardeners in your life!


What’s your favorite outdoor plants to grow: flower or veggies?