DIY Cardboard Christmas Tree Craftivity

Happy December, everyone!

Let’s celebrate this month with some fun cardboard crafts that every one can make with their kids at home. By repurposing cardboard and using supplies at home, you can have Christmas fun without breaking the bank.

But first, it’s been forever since I’ve posted on here. I’ve been busy growing my other socials and I’ve neglected actually writing our activities and adventures. My goal is to get back into writing and sharing on here as I did before. If you’ve been missing out or want to see more of our every day things, make sure to follow me on Facebook, Instagram, Pinterest, and YouTube — we’re on all the things now, lol.

Anyways, let’s get back to the DIY Cardboard Christmas Tree.

This was really easy to make and took minimal prep. It made for a cute and easy decoration that Mila loved to make. Here’s what you need for this activity:

To prep for this activity, all i did was cut my cardboard in the pieces I needed. I did three triangular pieces for the actual tree, a star for the topper, and a rectangle for the trunk. Then, I just painted the tree white and the star golden. You could easily not paint it or paint it whatever color. Do what’s best for you!

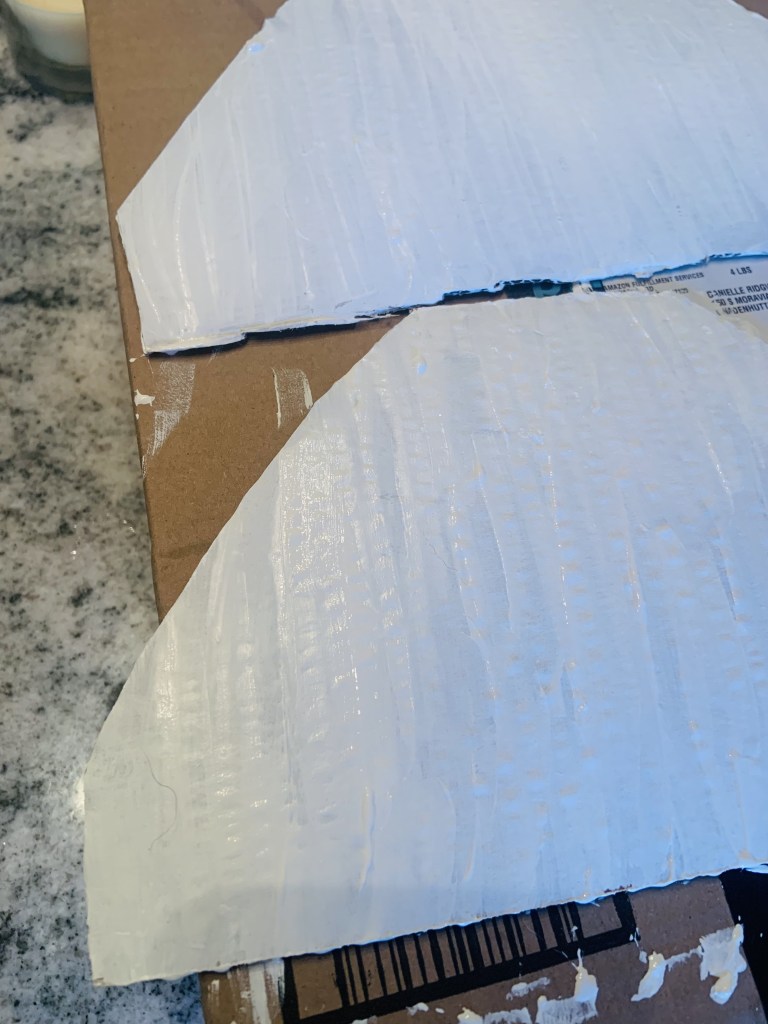
Once you have all the pieces cut and the paint is dried, just hot glue the pieces together to make it look like a tree.

Then, have your child use Dauber Dawgs, markers, or stickers to decorate the tree.

I absolutely love the rainbow look Mila made. Her room is decorated for Christmas this year in a rainbow themed; so this craftivity fits right in.

For a closer look in how we made this, check out this video.

Even though this activity is simple, Mila loved being able to create this cardboard tree. She loves to decorate so it made it fun watching her figure out what colors to use and the pattern they were in. Not only was it fun, she got to work on so many skills too!

I think we’ll definitely do this craftivity again in the future and see how her style changes as she gets older. I love making these types of memories and preserving them too.


I’m so thankful for Cameron Frank Products. They gifted Mila and me the Dauber Dawgs which are perfect for crafts and educational activities. It would make a perfect Christmas gift for kids who love to craft. Their boxes even come with activity sheets, which was a huge hit with Mila. You can find the one we had through this link OR others too.


What fun crafts and activities are you doing this holiday season? Let me know in the comments.

Advertisement

DIY GIANT Daisy Wall Hanging

If you’re looking to make a big statement with your spring decor this year, you’re not going to want to miss this DIY GIANT Daisy Wall Hanging. With material you can find in your home, you’ll have a piece of decor that demands to be seen.

My favorite part about spring is all the flowers. Since the pandemic started, Mila and I really got into growing plants. They’re spread throughout our entire house. Honestly, they just bring so much life into our home. Plus, they’re perfect for her to learn about the science behind them and responsibility. It’s a win-win.

So, when Mila ditched her space themed birthday and wanted to do flowers and plants, I wasn’t so surprised. I just knew we had to make something special.

You can easily make this DIY with items you can find around the house. Here’s what you’ll need:

  • Cardboard
  • Scissors
  • Cotton Balls
  • Yellow Yarn
  • Hot Glue (a lot of it)

When I say you need a lot of hot glue, I mean that I probably used 15 sticks. This daisy is big and needs a lot of glue to make it stick!

But first… you need to cut out a circle for the middle and then the petals around it. I used six petals, but you can do what you think looks good for your DIY daisy.

I used a plate to trace the circle and one of the feathers from my headboard. You could free hand a petal or find something that’s a similar size and shape around your house. Then just cut everything out.

Next, hot glue yellow yarn on the circle. I just did a spiral pattern.

After that, got glue the petals to the back of the circle. I put about them about an inch in. This made the petals secure.

Once the hot glue is dry on the structure, it’s time for the cotton balls. This takes a while, but once you find a rhythm it starts to click. I tried to do patterns with them too. You’ll use a lot of hot glue here!

To secure the back, I made another petal and hot glued it on. Then I hot glued a string to be able to hang the flower.

Even though this DIY GIANT Daisy Wall Hanging took a little while to make, I love how it turned out. It’ll be perfect for a picture backdrop for her party! After I’ll have it in my home too.


What’s your favorite flower? As you can imagine mine are daisies!

DIY Mini Cardboard Memory Book

With the year coming to an end, it’s a fun time to look back on our favorite memories. To keep and showcase them, we made a DIY Mini Cardboard Memory Book. Ours is perfectly pink and full of all the pictures we loved from the last twelve months.

The plus side, this easy craft is fun to make and you can personalize it however you’d like.

Here’s what you’ll need to capture your memories of the year:

  • Scrap Cardboard Pieces
  • Glue
  • Tape
  • Stickers
  • Pipe cleaners
  • Paint
  • Pictures
  • Scissors

Honestly, this took me a little while to make, but I’m glad I did it. A little hard work goes a long way!

First, I cut out seven, small cardboard squares to make the pages. You could easily make these bigger, I just want to use this book for another project I’m sharing this week. Then I made little holes on one side of them. I couldn’t find my hole puncher, but I made them with scissors.

After, I painted a little area on the squares pink and let them dry.

While it was drying, Mila and I picked out one picture from each month, besides two months… you’ll see why. Then, I just printed them on stock paper I had at my house. When they were all printed, I just cut the pictures out.

Once that was done, I pulled out MIla and I’s favorite stickers, some glitter markers, and got to work!

Like any type of scrapbooking or picture books, it just takes time. I had a lot of fun looking back at all our favorite memories from the year. With every page, I made sure to write the month out and add relevant stickers. I think they all captured the feeling and emotions of every month. Mila had fun helping me with the stickers as well.

On the back cover page, I had her write down her name with little hearts. Just so I always have her writing. She draws hearts on everything to show love. Just something I always want to remember.

Just to share our pages incase you need some inspo, here’s ours and why we chose them for the month.

January and February

In January, MIla did a fun glitter shoot and they’re one of my favorite pictures of her! She seriously looks magical. Then in February, we made one of my favorite DIYs: I love you frame. It’s one of the pictures from that day and always makes me smile.

March and April

Last March held Easter. I laughed so hard when Mila took off after getting one ‘good’ picture with the Easter Bunny. The running shot is hilarious and I had to add it. April is our big birthday month. Jensen’s is on the fifth and Mila’s the fourteenth. We picked a picture from the day she turned three.

May and June

One month that we look forward to every year is May. We get to go on vacation AND school is usually out too. That means summer! This picture is of her in Myrtle Beach in her yellow polka dot bikini. In June, we went to our local waterpark so many times. I had to capture one of those moments.

July and August

In July, Mila and her friends won the Fourth of July talent show in our town. It was a big moment for them (and us moms). I’ll never forget that day and will always tell Mila the story of what she did after… I’ll make sure to share one day on here. At the end of August, we got Toby! Mila chose this picture since she loves her puppies so much!

September and October

September was a huge change for the both of us. Mila started preschool and has been learning so many new things. Believe me, she tells me all about it. It was also the start of me posting a picture every day of Mila’s outfits. Since we’re obsessed with Halloween for all of October, Mila requested that I added all of this year’s costumes.

November and December

Of course we had to celebrate the holiday season with these last two pages. We still love her turkey headband from Thanksgiving and that Santa picture showcased how December felt all month long.

Back Cover Page

Like I said above, I had Mila add this page. I think it’s a sweet touch to wrap the entire year and how she’s growing up. Makes my heart smile.


I really feel like this will be a yearly tradition from now on. It’s such a cute and quick way to reflect on all the years. Plus, when you see my next NYE activity, you’ll think it’s even more perfect for the mini version. Stay tuned to see.


What are some ways you like to reflect on the year during New Years? Or do you have any NYE traditions you’d like to share? Let me know in the comments.