Toddler Activity: Tea Party and Manners

Who said tea parties HAD to be fancy? In this house, we have pajama tea parties sprinkled with lessons on manners.

Mila has recently entered the pretend play stage. She and I play with certain toys and do different voices all the time. Since she has a few tea sets, she’s been asking to have a tea party.

Well… minus the tea. Turns out, she’s not the biggest fan of tea, but she loves chocolate milk.

When I told her we’d be having a tea party for brunch, she went and grabbed her tea supplies and a few friends too. I grabbed everything else.

Here’s what we used to have a successful tea party:
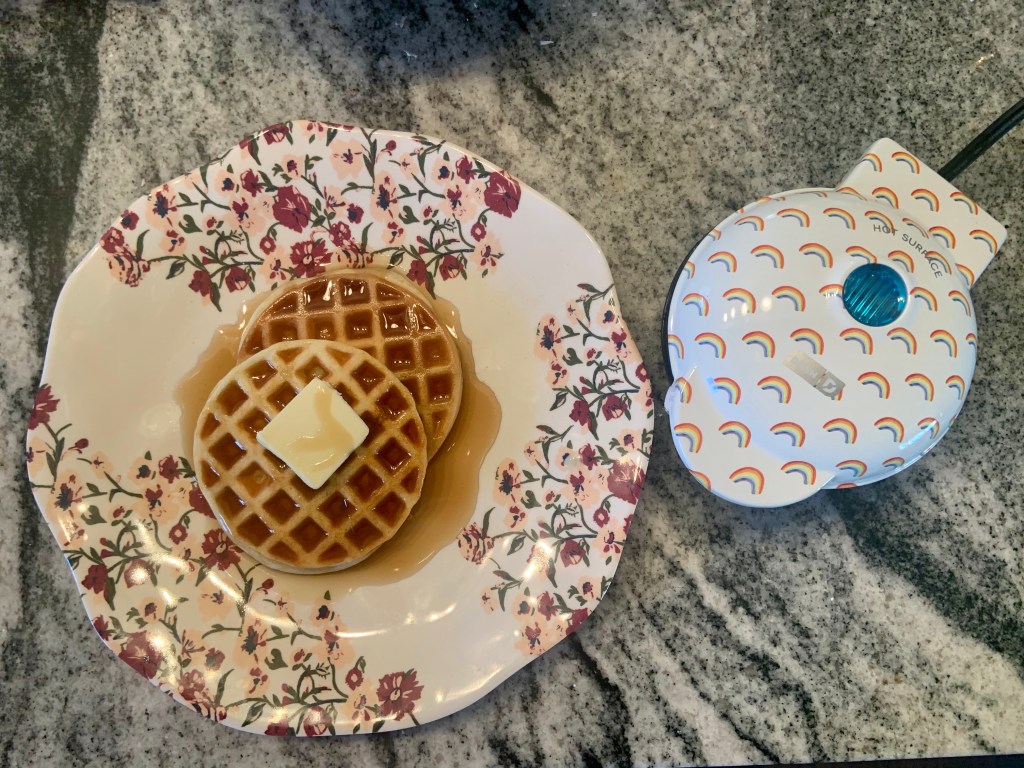
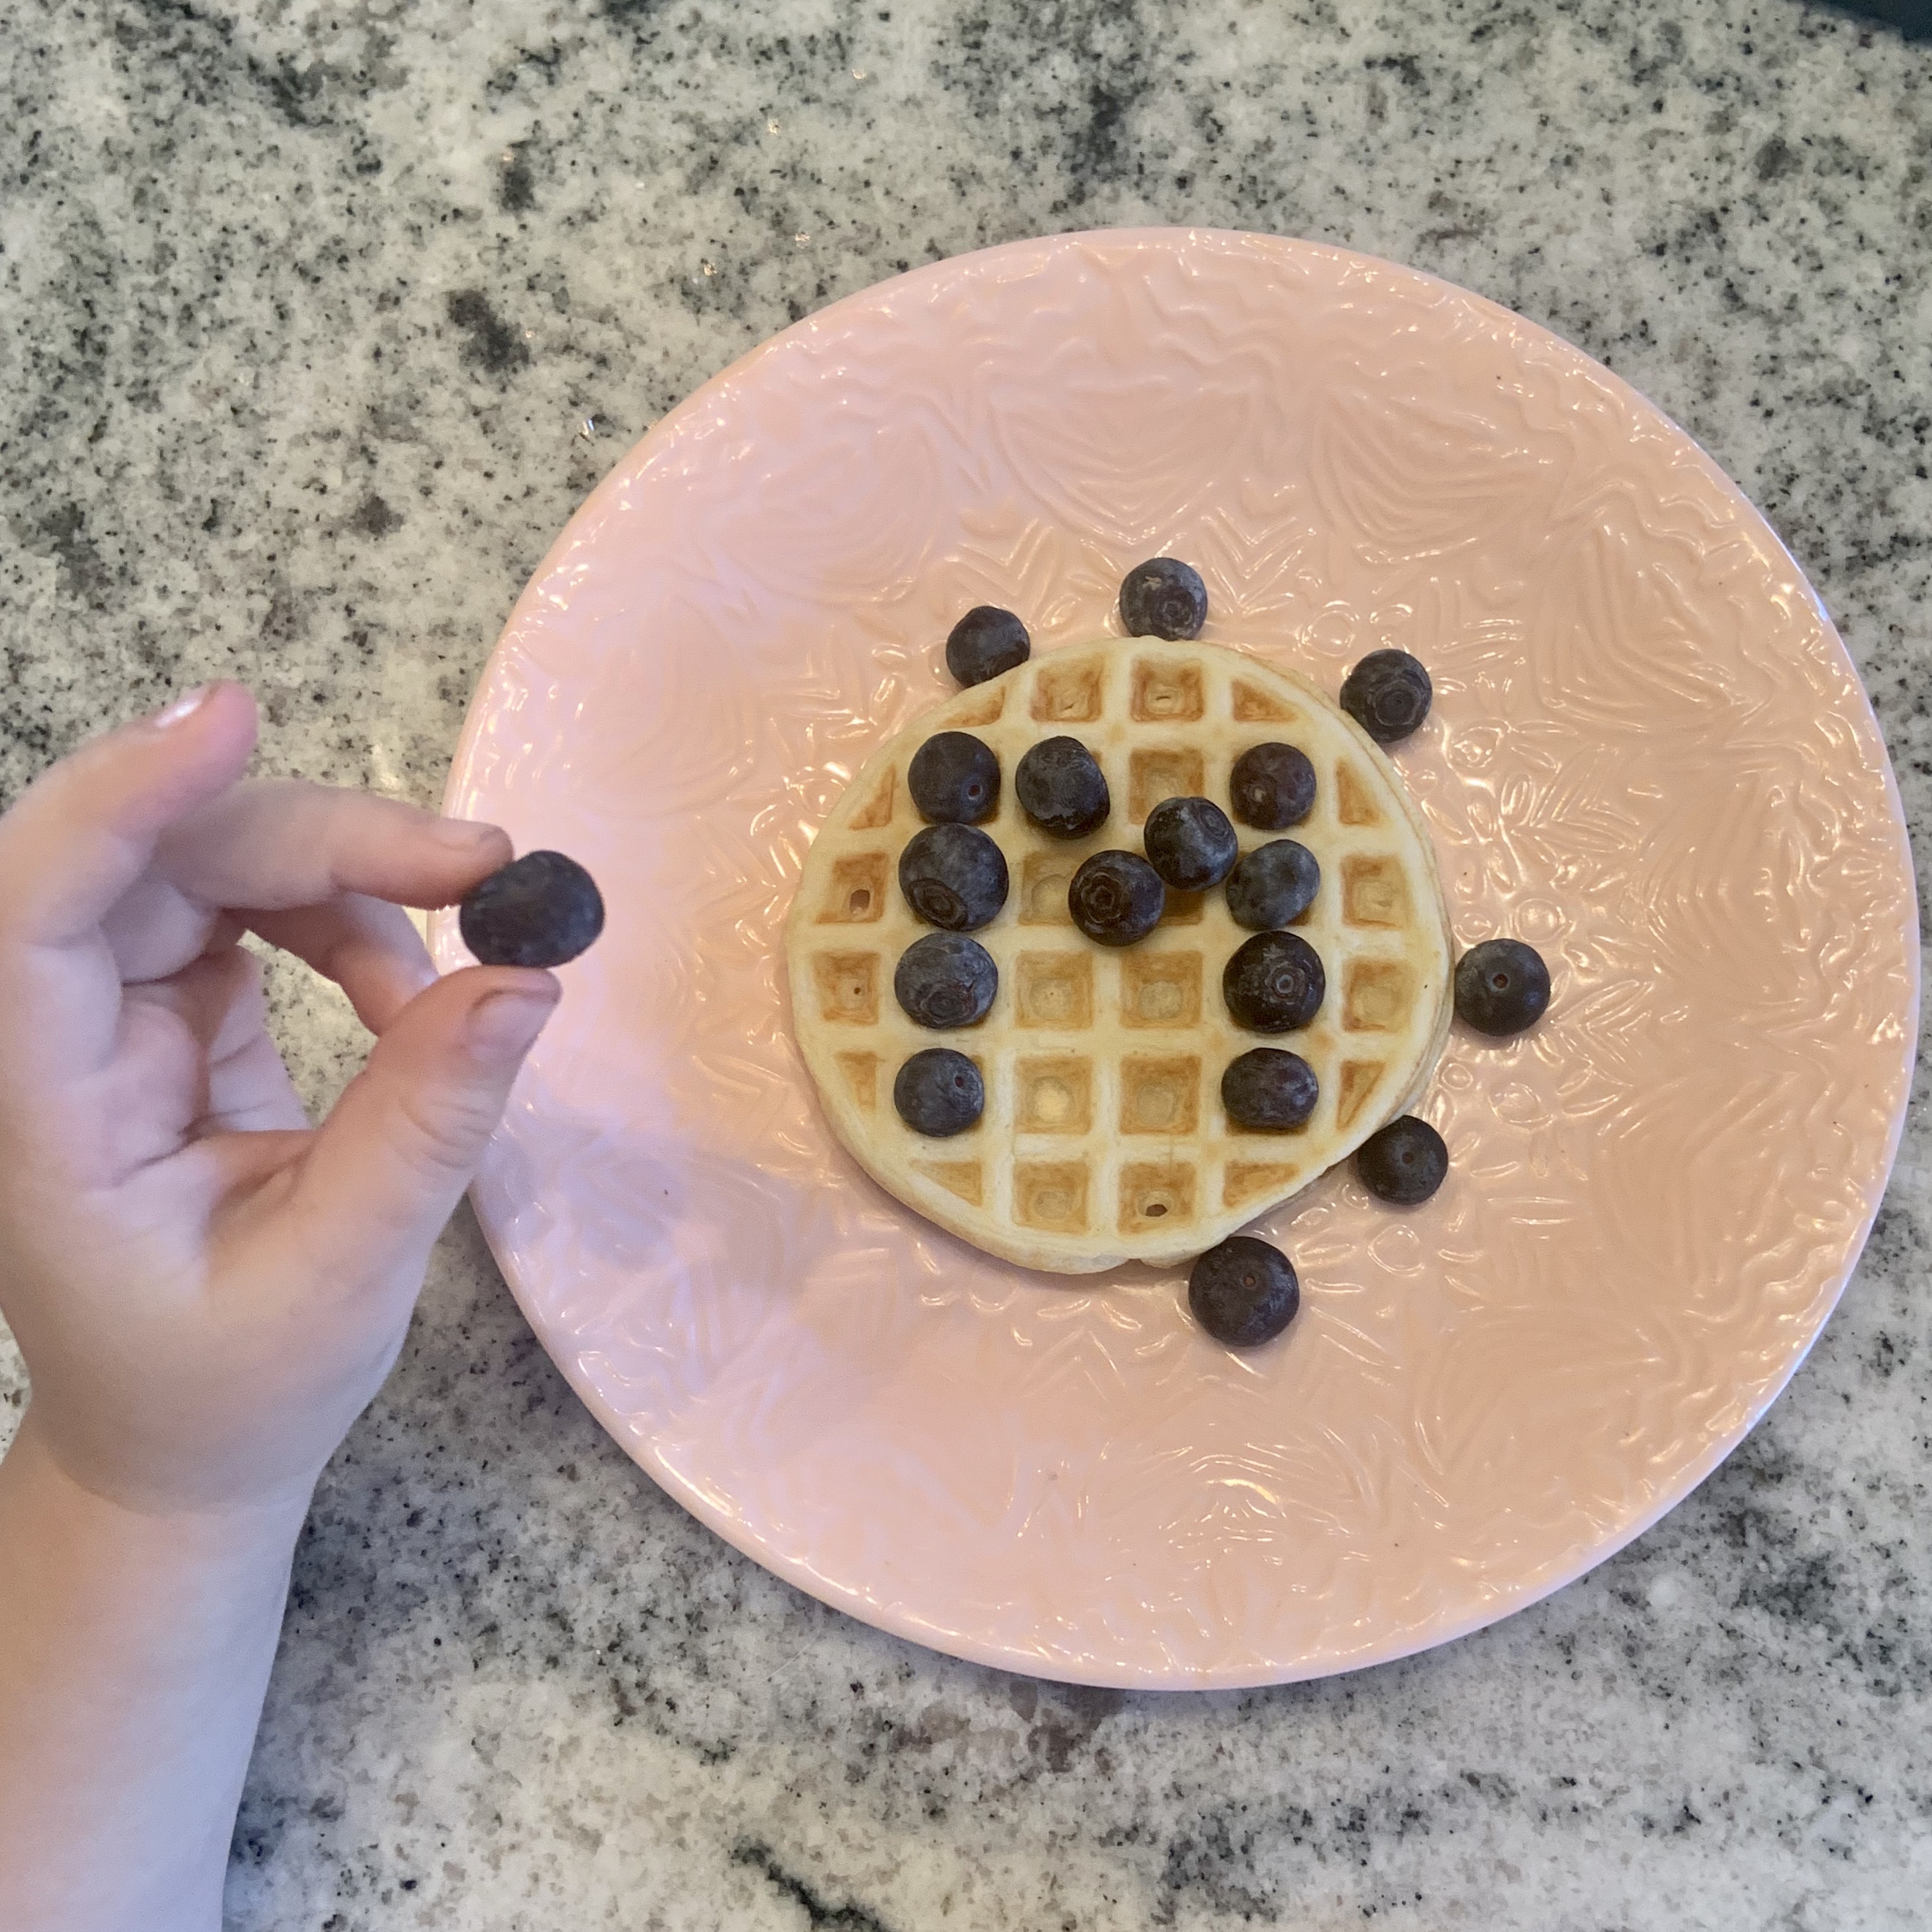
  • Brunch food
  • Tea cups with chocolate milk (oh the irony)
  • Kindness Rules!
  • Stuffed animals
  • Play tea pots
  • A BIG imagination

For our sandwiches, I used a heart cookie cutter to make them a little festive. Mila took noticed and loved that. She also loved the macaroons and veggie straws. Everything she ate, she had her pinky out

We did a grazing board because for some reason Mila will eat more this way.

She had the option to dress up in dresses, but she insisted it be a pajama tea party. How could I refuse?

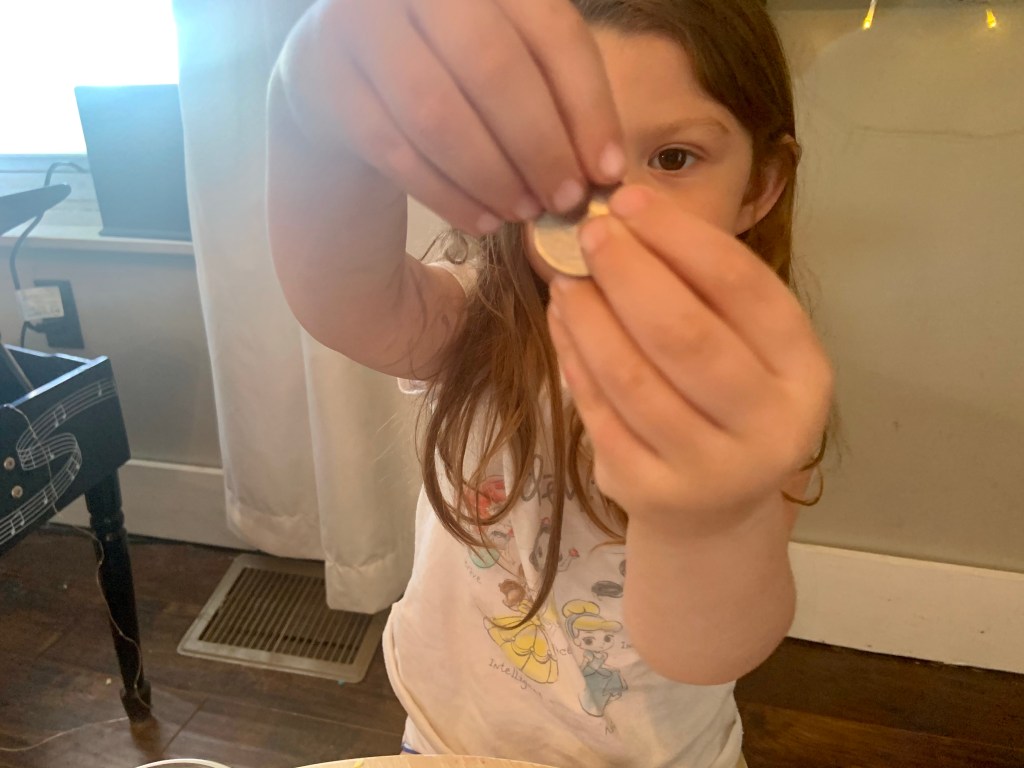
Our little party started with Mila making everyone ‘tea.’ With a tasting promptly after.

She ate and fed her friends. I was informed of what was in all the different tea pots she used too.

Her tiger, baby, and blue Mickey Mouse were the guests of the century. They say quietly mostly, but they did help teach Mila a lot about manners.

A tea party felt like a perfect time to talk to Mila more about manners and being kind. We have these talks fairly often, but it was a great opportunity to demonstrate table manners.

First, we read Kindness Rules! We love Hello!Lucy and their set of books. Their My Mom is Magical is one of Mila’s favorites. We read it completely through and stopped on the pages that talked about eating nice and neat.

They used a wolf and the main character as examples. The wolf ate messy, but the elephant was full of manners.

To demonstrate messy and nice eating, Mila’s animal friends happily volunteered.

Her tiger ate messy without using utensils. Mickey Mouse used every manner and ate without making a mess.

I asked her to tell me the difference between the twos eating styles. She laughed wildly at the tiger, but ended up saying Mickey’s style was how she wanted to eat.

She continued eating, using her manners and making sure to remember how to eat neatly.

We took the time to talk about kindness words. I quizzed her on when to say please, excuse me, thank you, and so on. Kindness Rules! gave her a nice refresh and visuals on how it can be mean when we don’t use manners or are not kind to one another.

Overall, we had a fantastic tea party brunch. It wasn’t extravagant, but it was memorable in so many ways.

Does your toddler like tea parties? If not, what’s their favorite way to pretend play?

Also, I’m taking suggestions on different teas Mila would like. Let me know in the comments.

While you’re at it, please, check out these bloggers take on tea parties too:

Toddler Activity: Identifying Parts of Flowers

If your toddler is anything like Mila, they love flowers. Spring is the perfect time to not only go and pick flowers, but to learn and identify parts of flowers too!

After learning about the water cycle, it was an easy transition to learning about flowers. While reading the Little Raindrop Book, Mila noticed that flowers and plants were a part of a raindrops journey. Since I have a ton of plants, she connected how our houseplants get thirsty and that they needed water to live.

So, we reread the book, talked about what makes a flower, a flower, and made a fun craft too.

To do this activity with your child, you only need a few supplies.

Before beginning this activity, there’s a little prep to do.

First, cut out pieces to make a stem, flower, leaves, sun, and dirt. I did basic shapes, but you can be as creative as you want. For the flower, I left it white so Mila could paint and personalize it.

Then, cut squares for your child to actually label the flower. There should be six squares. Label them with these: sun, flower, stem, leaves, dirt, and roots.

There are a few ways to introduce this activity to your child. Mila interacts with flowers and plants everyday at our home and through the book I mentioned. Your child might enjoy going outside and actually seeing flowers before doing this.

After you talk to your child about flowers, it’s time to set up the activity.

I first had Mila paint her flower with watercolors. Since we’ve been in a creative mood, she loved this part!

After that was finished. I had Mila tell me what she remembered about flowers.

To get to the main part of the activity, I asked her a few leading questions. The first was where do flowers live. She instantly said dirt, so on our paper we laid down where dirt would be. Then I asked her what part of the flowers lived under the dirt. Roots! This is a difficult question and I think she only knew this through my plant propagations.

We glued down half of the ‘dirt’ and then drew roots underneath the other half. This makes this project interactive.

With the dirt and roots set, it’s a little easier for them to figure out what comes next.

Mila ended up putting the stem, leaves, and flowers on by herself. She helped me glue the pieces of paper and placed them where she wanted them to go. For the sun, I asked her what gives the plant life. the sun and water. She placed the sun in the top corner and said that was in the sky.

We used the little pompoms to talk about seeds. Since seeds are in the middle of the flower, we put them there. Although we didn’t talk about seeds, I did extend her learning and told her seeds go in the ground. Then I told her they sprout roots and flowers from that one little seed. She seemed pretty amazed by that.

After it was all laid out, I made her go through all the parts to label them.

As she stated what part of the plant was what, I glued down the appropriate label so she could see the words by them.

Overall, it was a fun activity that she’s really proud of. She’s showed everyone who’s came over.

Make sure to check out these seven spring books that can help you talk to your toddler about flowers and spring. They all have beautiful illustrations and I know toddlers and young children will LOVE them.

If you tried this activity, let me know in the comments. I’d love for you to tag me on Instagram at @greyskies.rainbowhighs so I can see everyone’s creations!

Before you go, check out how these other mom incorporated flowers with their kids:

Toddler Activity: Stormy Clouds Experiment

Rain rain, go away, come back another day! Or if you insist on staying, it’s a perfect time to introduce the water cycle to toddlers.

Mila LOVE experimenting. I try to tailor to her learning style as much as I can. She would prefer doing an experiment every day, but that’s not always possible. Thankfully, teaching her about rain and the water cycle gives us an amazing opportunity to get dirty and make what she calls Stormy Clouds.

This experiment is fun for both toddlers and adults. It not only talks about the rain cycle, but you can incorporate color recognition, the Scientific Method, and motor skills too; so much learning packed in one rainy day activity.

Here’s what you’ll need to make stormy clouds:

I’m going to first start off by saying this activity can get messy. Whenever there is food coloring, it somehow gets everywhere. I’d recommend placing a plate, mat, or some sort of paper under your big jar. Of course, food coloring will clean up, but it’s nice to just take some precautions.

Once you get an area where you’ll experiment set up, fill a big clear jar with water. The jar I used had a lip on it. I filled it up to the bottom of the lip so it gave me some room to put the shaving cream.

Next, mix your food coloring with water in little jars and bowls. Your child will be either scooping the colored water with a spoon or using a pipette. I used very small Tupperware containers for this step. For the water/food color combination, I used 8-10 drops of food coloring and eyeballed the water. I wasn’t too scientific about the measurements!

Then, add shaving cream to look like a cloud on top of the BIG jar of water. I did this step after the food coloring because Mila would not have had enough patience to wait for all of the colors.

After you’re set with the cloud, have your toddlers start spooning or dripping the dyed water over the could.

It takes a little bit for the water to penetrate through the cloud, but once it does, it’ll look like rain drops are coming out of it. Mila enjoyed using purple the best since it was easier to see. Although, it was fun to do a huge mix of colors.

Throughout the experiment, we talked about how clouds make the rain and then it goes down to Earth. I’m not a huge science buff, so I turned to Little Raindrop, which is a cute book that talks age appropriately about the water cycle! It has adorable pictures and tells the story about a single raindrop. Mila got this when she was one and it was too advanced for her. At almost three, it’s perfect!

Even if your child is not interested in learning about the water cycle or even into rain, the activity is fun to just make a mess and play with colors. I showed a group of adults this activity and they enjoyed it too. It really is fun watching the shaving cream turn different colors.

Next time it’s raining or anytime you want a hands on activity to do with your child, this Stormy Clouds Experiment is perfect!

If you liked or tried this activity, let me know in the comments!

Check out these rainy day activities from other moms!

Toddler Activity: Egg Rescue

If you’re stuck with abundant amount of plastic eggs from Easter, let your toddlers play with them! This Egg Rescue is fun for active toddlers who like to work with their hands.

Mila loved ripping through and tearing all the tape off the eggs. It was fun to watch her too!

Here’s what you’ll need:

  • Plastic Easter Eggs
  • Washi Tape
  • Candy, little prizes, or change.

This activity takes a little time to set up. It’s worth it because they get really into it.

Fill Easter eggs with whatever stuffing you’d like. Think of leftover eggs from Easter Egg hunts!

Then, tape them on to whatever table.

Next, have your toddler rip the tape completely off. I made Mila tear off every single piece of tape before she could open the egg. It made her be precise in how she did it.

When they have all their tape off, it’s time for the surprise. Mila had no idea they were filled and was so excited! I let her open the eggs all by herself too.

This activity has so many important motor skills that they use. I also had Mila tell me the color of the egg she was opening to get some color recognition in.

Although I think I spent more time prepping, it really was a lot of fun to watch. She even taped down some of the eggs to keep practicing.

The star of the show was the quarter though!

Mila was genuinely excited that the egg gave it to her. Plus, she got to use her piggy bank which is ALWAYS a treat.

Overall, this is such a fun activity. I think it’d be awesome to do if it was a rainy Easter or in the days following. Since they’re mostly plastic eggs, reusing them for other activities and saving them for next year is great for our world!

I hope you liked this activity and if you try it out, let me know in the comments.

Toddler Activity: DIY Letter Crayons

Today is Crayon Day! Did you know there was a day specifically for crayons? Me neither, but I love how these DIY Letter Crayons turned out. I think it’s so fun celebrating different days with Mila, but the activities along with it are even more fun.

Another thing I didn’t know before Mila and I did this activity was that anyone can purchase a ton of unwrapped crayons. It makes this DIY a lot easier!

Here’s what you’ll need if you want to create some of your own:

This can obviously be done without purchasing the unwrapped crayons. You can use broken ones at home or a smaller amount from a store. Just make sure that the wrapping is taken off. That’s most important.

Before you start cutting crayons for the mold, preheat your oven to 250°.

Then, start breaking up crayons to place in the mold. I’m pretty sure this was Mila’s favorite part of the whole DIY. It takes quite a bit of crayons to fill the mold up. One word of advice from me is even if it seems like a lot of crayon in the mold, they melt way down.

Figure out which colors you’d like to put together before hand too. I added a lot of white in between colors to prevent the crayons from getting mixed. Plus, the marble look is cute too.

Anyways, place the mold on a baking sheet then in the oven for about ten minutes or until they’re completely melted.

After they’re melted, let them completely cool before removing them.

That last step is super important. A few of our crayons broke during the removal process. To fix it, I just popped them back in the oven for a little while.

Overall, I think they turned out perfectly! We made sure to do “Mila’s letters” and Jensen’s too. She helped pick out the colors for both. It was the perfect opportunity to talk about letters and colors as well. I love how random activities can hold so much learning opportunities.

One mistake I made through the crayon making process was putting white on the corners. When we make more, I’ll keep away from that. It just made drawing a little harder for Mila and she didn’t understand why she couldn’t see what she was drawing.

Besides that, Mila noticed and loved how one crayon could have so many different colors. I can’t wait to see her future creations!

If you try this DIY out, let me know in the comments. Also, if you’ve done it before, tell me your tips in getting anything out of molds! I feel like it’s all up to patience, but I get too excited.

Before you go, check out what these other moms did to celebrate Crayon Day:

Toddler Activity: Waffle Day Letters

If you hadn’t guessed it already, today is Waffle Day. To celebrate, Mila and I of course ate, you guessed it, waffles! She also did a fun activity that we thought you’d love too!

Mila is obsessed with numbers, which is wonderful. She can count to fourteen all by herself. But… letters… they’re not her thing yet. The only ones she likes are m, i, l, a. I’m sure you get why. To help her get excited about them, we got to play with out food again.

For this activity, we got to combine making brunch, learning letters, and eating. Yum!

Here’s all you’ll need:

You might be wondering… why waffles and why letters? The squares in waffles make GREAT place holders. Plus, it’s fun too.

To start this activity, make your preferred waffle recipe and cook one wafffle.

While this is cooking, get a small bowl of blueberries or chocolate chips ready. Then, make sure to have out a whiteboard and marker or a piece of paper and pencil.

Once the waffle is done, let it cool down a little bit and then place it in front of your child. Draw a letter on your white board or paper. Then instruct them to write the letter with the blueberries or chocolate chips on the waffle. They might need a little help at first!

While you’re cooking, you can keep writing different letters for them to try. Make sure to say the letters out loud and connect them to something they know. I started with Mila’s ‘letters.’

Just keep in mind, your little one might eat their tools!

This was such a fun activity that can be anytime you’re enjoying waffles. It teaches them their letters and challenges them how to create letters too! Plus, they’ll be using their fine motor skills too! Just an overall educational and interesting activity.

If you liked this activity, let me know in the comments! Have you ever used food to learn?

While you’re at it, check out the fun other bloggers had with Waffle Day!

Toddler Activity: Easter Bunny Nature Craft

Spring is finally here and we’re gearing up for Easter!

One way to celebrate was making a Easter Bunny Nature Craft. We were able to get outside and create, which is our favorite.

Everything we used, we found in our back yard, besides the paper and glue.

For our craft, I told Mila she was going to make a bunny out of leaves and flowers. Since she had a traumatic experience with the Easter Bunny this year, I wanted to help her see he wasn’t all that bad.

She loved finding leaves for the bunny’s ears and then a flower for his tail. It was a great hunt. I think it’d be awesome to have a scavenger hunt for all the components too.

Since the trees in Ohio still haven’t produced new leaves, a lot of what she found was old.

After we set it all out, I had her tell me what she wanted to use for the bunny’s body parts. She decided about its body, tails, and ears.

Then, I asked her if she thought we should make the bunny a crown. She did!

Once we added grass for the bunny to stay in, mila thought it was complete. As she played, I glued everything down.

It turned out so cute and it was fun watching Mila pick out different things around the yard. She was so creative in making the bunny too.

I can definitely see us doing something similar again! It’d be really challenging with having her find Easter eggs filled with supplies too. Maybe I’ll have a lamination machine by the next time we do an activity with nature. A girl can dream right?

As always, let me know in the comments if you tried to make an Easter Bunny Nature Craft! I know your child will love getting outside and creating too.

The Unwritten Milestone

To say I wasn’t prepared for Mila’s new and unwritten milestone would be a complete understatement. Not only did it come out of no where, it completely took me off guard.

Usually, Wednesdays are to tell you all about their weird things Mila does. It’s one of the things I look forward to sharing most about. They make me laugh to think about and I know other parents can connect to them too. I’m pretty sure all our kids are somewhat weird.

Anyways, I couldn’t even call what she did yesterday weird. It was more like… touching, heartwarming, and inspiring.

She absolutely made my heart grow with one little sentence.

Here’s what happened.

As I was leaving to go back to work after lunch, Mila did her normal goodbye routine. She has to give whoever a hug and kiss, at least two times. Then tells them she loves them and to have a good day. Just when you’re about to walk out the door, she’ll yell, “I need a hug and kiss!” Then run up to you.

Well, this lunch period was a little different. She ended up walking me out of the house, instead of watching me go. When I bent down to give her a hug and kiss, she said something new. Something no one prepared me about: the unwritten milestone.

You’re the best, Mom.

She has never, ever said that before; especially when I’m about to leave her for a few hours.

As she said it to me, she gave me a big squeeze. Then, she flashed her smile and walked back to the door. She waved and told me to have a good day.

In that big moment, I had to take a deep breath and get back to real life.

On the inside, I melted. I swear if it was any other time, I probably would have cried. With all the leaving her lately, I wonder how she thinks of me. That statement let me know everything I was doing was right.

It might sound silly to cherish this one unwritten rule, but no one told me what that one little saying would feel like when they said it.

There’s a high chance I’m not the best mom in the entire world, but I’m the best mom to MIla and that feels pretty good. One day she’ll learn the power in her words and how I’ll always think she’s the best girl.

For now, I’m celebrating this victory in motherhood and the unwritten milestone.

Toddler Activity: Snipped Paper Shamrock Collage

With St. Patrick’s Day right around the corner, I thought it’d be fun to work on Mila’s scissor skills and do some more process art. This Shamrock Collage is a fun way to teach them about a ton of different things, while they’re having fun.

Mila is so interested in scissors. Whenever I use mine, she asks for her and tries to cut different things. Although she’s still into using both hands to cut, I challenge her to try and use one hand.

If you didn’t know, toddlers Mila’s age shouldn’t really be cutting paper. They should practice on play-doh or something similar, which Mila does. But, I like seeing how she’s progressed. When she practices on paper, I try to cut strips for her so she can do short cuts.

Anyways, let’s get back to this project. Here’s all the supplies you’ll need:

  • Scrap paper
  • Scissors
  • Market
  • White paper

I’m going to go on about scissor skills (sorry!). If you want to age this activity up, use the green paper as a template. This is too old for Mila’s age and for most toddler-aged kids.

Anyways, I found extra scrapbook paper in the playroom. We don’t use a ton of green for crafts, so I actually had a good bit of it. To make the shamrock, I followed this pin. I cut long strips for her to make small cuts too.

She practiced holding the scissors and the paper.

Eventually, I ended up holding the paper for her to help out. She got a little bit frustrated with it, but she cut a good amount.

I ended up getting out play-doh and those scissors so she could continue cutting. Then I cut some extra squares and triangles so she had enough to do the collage. We sort of sham-rock team work. Okay, that was a lame joke, but it was festive.

Next, I placed the cut pieces in a bowl and covered all the white area of the clover in glue. Then, I instructed her to make a collage.

Specifically, I told her to cover all the white with green pieces.

She had a blast picking out the best pieces to put on her shamrock. We found some Irish music to listen to and it all came together pretty quickly.

One thing I would suggest is have a wet washcloth with you.

I think Mila’s going through something about sticky things. Every time her hand accidentally touched the glue, she immediately needed it wiped off. That took some time to do, but we had so much fun.

When she was done placing the paper, she wanted to draw around the sides. I think she just loves using markers.

Honestly, I loved the way it turned out.

It’s so festive and I feel like it’s a project that I can do with her through the years. For now, it’s hanging up on my fridge, waiting for the leprechauns to see!

Let me know what you think about this activity and if you try it out, I’d love to see what you and your little came up with.

Always Blow the Bubbles.

In a month, Mila will be three.

Three whole years of learning about and loving her. I’m going to admit, two has been my favorite. It’s a gift that I only have a month more to cherish.

If I could go back to a year ago and talk to myself about parenting, I’d tell myself one thing.

Always blow the bubbles.

When she has her bubble bottle outstretched to you, take that ten minutes and blow them. Even when you’re swamped with work and need to clean, blow the bubbles.

This is the purest time in their lives. The world around them is magical.

With all the worries adults have going on, bubbles are the only thing on a toddler’s mind. That and seeing their favorite smile in the world.

Bubbles are, of course, metaphoric.

They can be singing, or playing, or running, or listening, or dancing. Whatever it may be, when your child asks, try and blow the bubbles.

The years go so fast and in the moments you drop everything, time stands still.

Their laugh is all you can hear. And their smile… well, there hasn’t been a sweeter sight. They’re engrossed in the moment as much as you. All it took was focusing on this second.

Work, a dirty house, and other adults will always be around, but they won’t be little forever.

There will come a time where they don’t want you to blow bubbles. They’ll just do it themselves. The freedom you crave now will come and those toddler cuddles and desires will fade away.

Two and these toddler years are hard, but they go away so soon.

For us, two ends in a month.

If three-year-old Mila’s mom came to talk to me today, I bet she’d tell me the same advice…

Always blow the bubbles.

What advice would you give to toddler moms?