You have the strength.

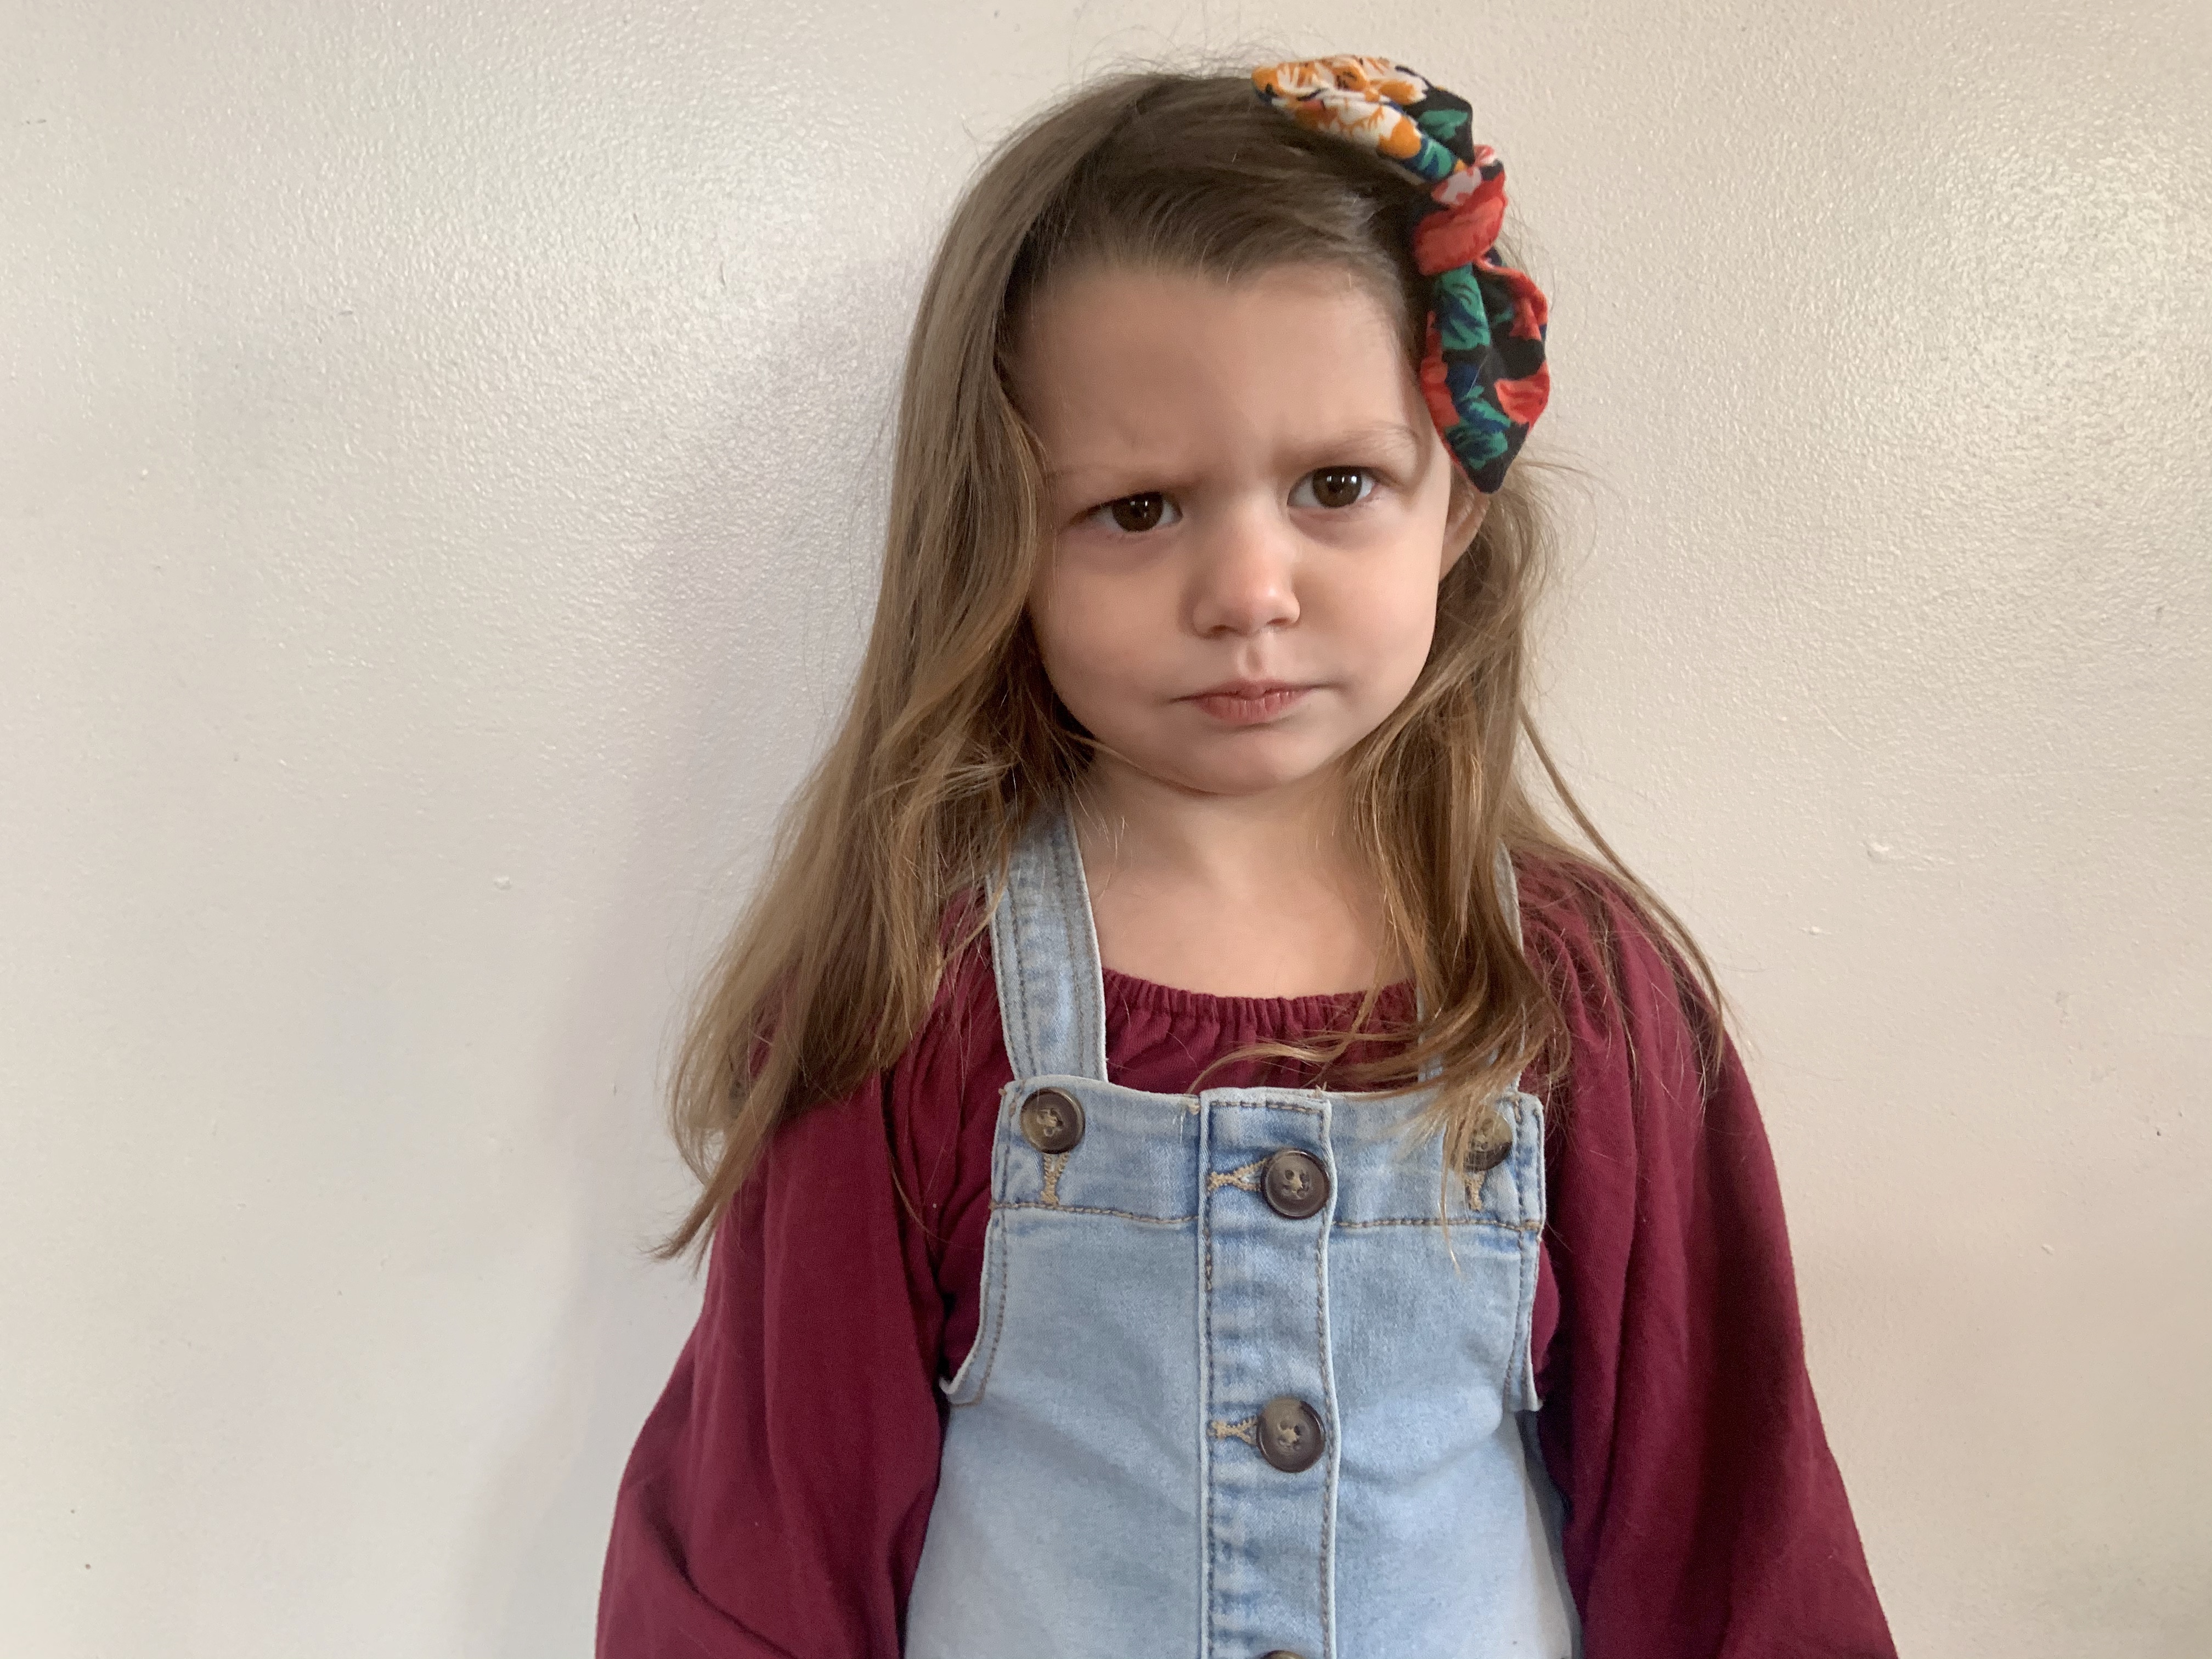
Whenever I’m feeling down, I remember I have the most important cheerleader looking up at me. 

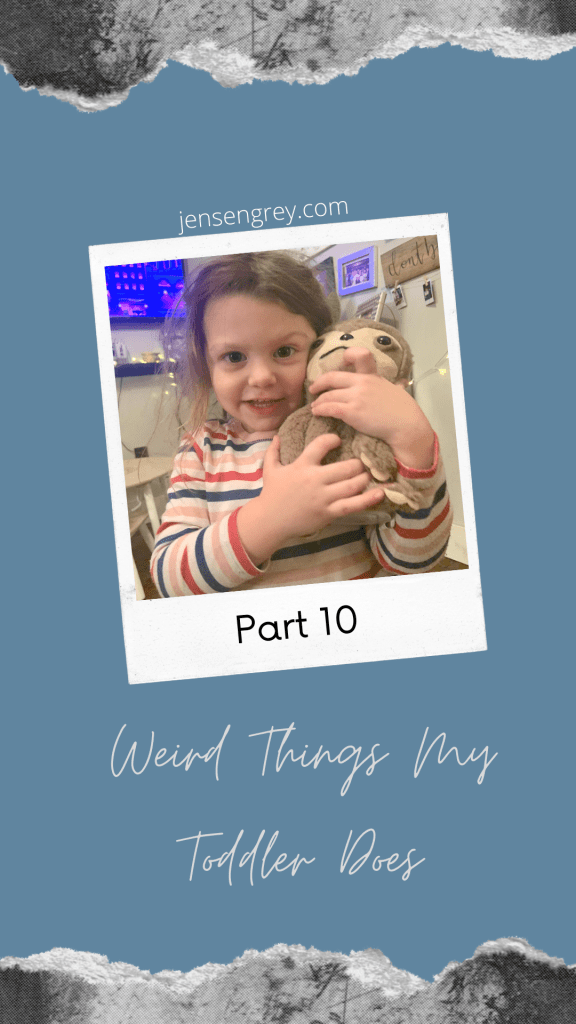
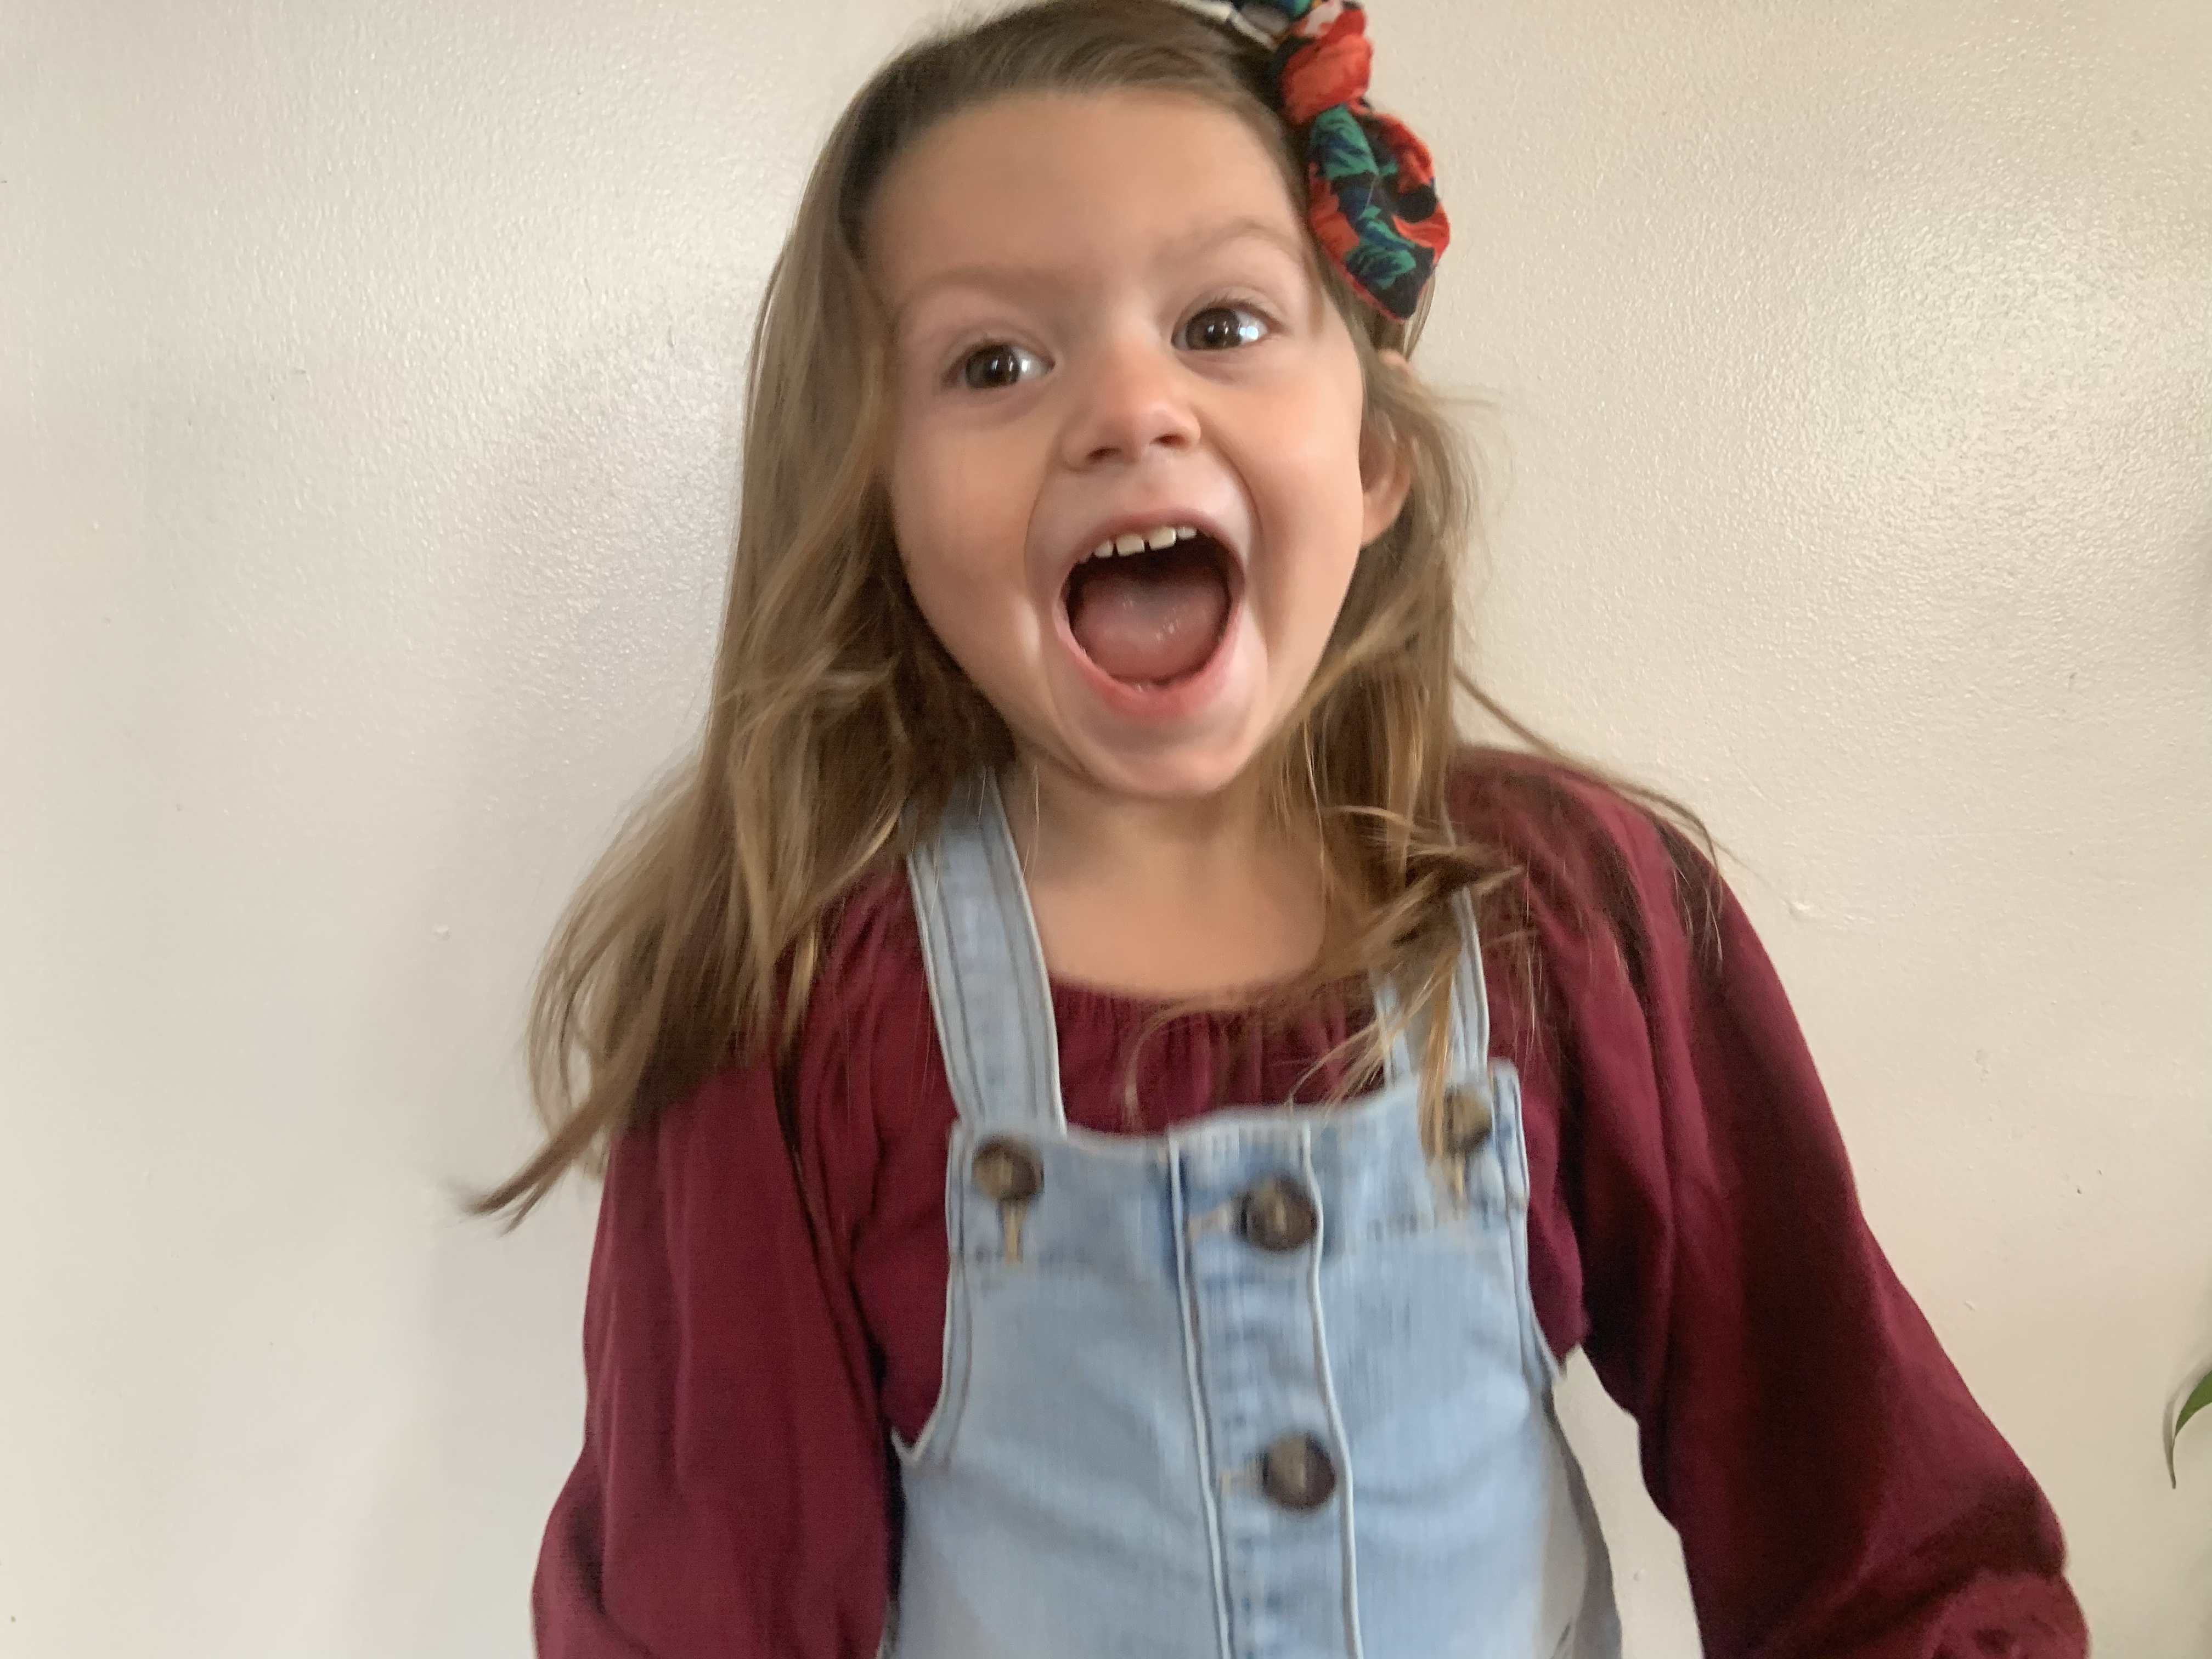
She reminds me that I have the strength, especially when she hits this power pose.

Even on the days, I can’t imagine getting through, I know she’s watching. She reminds me that with love and determination, I can accomplish anything. 

Now I know motherhood, and parenthood, in general, is hard. It’s even harder when the last year has been all out of whack. We’ve been through a pandemic, crazy election, and overall change in every aspect of life. 

Somehow, we’re still doing it. Every day we come back better than ever. Before we know it, this hellacious time will be over. 

Today, I’m going to be your cheerleader and verbally scream online, you have the strength. 

If twenty-two grown men can go play a football game and are considered strong, you have the strength to do anything you set your mind on. 

When your kids (human, animal, or plant) are demanding all your attention, you have the strength to keep doing it. 

You have the strength of all the energy you put out in the world because all that good comes back.

No matter how long we have left with this pandemic and lockdown, you have the strength to do your best with it all. 

You have the strength to decide what’s best for you.

During your time at work, school, or home with your children, you have the strength to crush all your goals. Whatever goal you have, big or small, I know you’ll hit it.

You have the strength to be the badass woman (or man) you’ve always been. 

On the days where you don’t feel strong enough to keep going, I know you will find the strength to keep moving forward. 

You have the strength of the stubborn toddler you raised.

If you haven’t raised a toddler… I’m still cheering on that strength to you because the energy that’s in a toddler could move mountains. Everyone deserves that.

You have the strength.

Toddler Activity: Celery HeARTwork

Process art is one of my and Mila’s favorite ways to be creative. This week we discovered that celery makes the cutest, little hearts.

Isn’t that just amazing or is it just for me since I’m the worst at drawing heart?

Anyways, this celery heARTwork activity is so easy to set up and your child can be as creative as they want. It was also great for us to mix in with snack time.

It takes playing with your food to a different level.

This is all you need for this activity:

  • Canvas or something to paint on (craft paper makes amazing wrapping paper!)
  • Paint
  • Celery
  • Something to put paint on (I used recycled milk jug lids.)

That’s seriously it! We obviously used different shades of pink and red. You can use whatever colors your child picks.

All they have to do is use their celery sticks like a paint brush. Dip the celery into the paint. Then press it down on the canvas.

At first, Mila wanted to move the celery like a brush. I showed her how to use it like a stamp to clear that confusion. She immediately recognized they were hearts.

Celery transfers the paint MUCH easier than potatoes. That means they don’t have to push down as hard.

Mila had so much fun playing with her food, while eating the same type.

When she would switch to snacking, I had a rule that all four celery paint sticks had to be in the upright position. That made me feel a little more comfortable when she kept switching back and forth!

No paint was consumed during this art project.

I love the way this process celery heARTwork turned out.

She just made the canvas and wrapping paper, but again, this can be used for anything you need hearts on!

The biggest thing to remember while kids do process art is there’s no end goal. This is their time to be as creative as they like.

I think the best part of process art is to see how your child grows with it. They get a better sense of composition, shapes, and colors the more they paint.

Their growth is truly the greatest gift.

As always, I hope if you do this activity, you let me know in the comments.

Toddler Activity: Super Bowl Artwork and Noise Makers

The Super Bowl is this weekend! If you’re a person who just watches for half time, here are two activities you can do with your kid’s before the game or during.

I incorporated two things Mila loves: art and music. For both of these activities, you probably have everything you need in your home.

When doing these, I would highly recommend a parent to help on a few steps.

Noise Makers Supplies:

  • Toilet paper rolls
  • Paint
  • Glue – Elmers and hot glue
  • Glitter
  • Ribbon
  • Rice

The first step is to paint both rolls.

I tried to stick with both teams colors, so Mila can shake when either team scores. She was able to help me paint them, but it was messy!

After the paints dried, you can add glitter to them. I did stripes around each side and Mila rolled the glitter on. To get it to stick, I did another coat of Elmers paint on top of the glitter. Then she wanted to add a sticker to both.

When the glue is dried, fold one side of the roll down. Then, put hot glue over top to seal it.

Add rice when the hot glue cools down and the fold and glue the other side too. I didn’t measure out the rice to a science. The rice probably filled half of it!

Then, we added ribbons on the end for extra decorations and to cover up the dried glue. It also double seals the ends so no rice flies out.

These are fun to shake and Mila loves dancing with them!

The next activity is so simple and we turned it into a little gift!

All you need is three things:

  • Brown paint
  • Canvas
  • Potato

To get the football effect with the potato, just carve the laces into it. I used a knife. That was one step definitely not suitable for young kids.

Then, all you have to do is dip the potato in the paint and use it like a stamp. I would suggest to really press down on it. If not, it doesn’t transfer the paint well.

I let Mila do her own design, but it’d be really cute to tape down a rectangle to make a frame. Then put your child’s picture inside of it.

We ended up taking pictures and made our own little frame with a clip. It turned out SO cute.

Other ideas for the potato/football stamp would be table cloths, banners, or place settings. Another idea could be to use the potato stamp for a fun way to keep score. There are so many possibilities.

We had so much fun making these and I can’t wait to see her play with the noise makers. My dad, her papa, is going to love this little gift as well.

I hope this gives you something to do if you get bored during football or are just really excited for the game.

As always, if you decide to try these out, let me know in the comments.

Weird Things My Toddler Does: Part Ten

We’re back with another week of Mila being weird. There was a lot that I could’ve wrote about, but this one makes me laugh the most.

Everyone meet Pizza the talking sloth!

The first stuffed animal Mila actually decides to name is one that talks back to her. Of all the names in the world, she somehow settled on Pizza.

If that name wasn’t weird enough, just wait.

This sloth repeats everything you say. It can get a little… much. Mila thinks it’s the coolest thing in the world though.

That is until they start arguing. In essence, she’s arguing with herself. It’s quite hilarious.

Their big argument is about who’s a boy and who’s a girl. Mila gets angry with Pizza says he’s a girl because you know, he’s just repeating her. Then when she says, ‘you’re a boy’ and pizza says it back to her… so much anger and annoyance.

Honestly, it’s hilarious to watch. I had to take a video for everyone.

So, yeah. It’s easy to say, my toddler is still weird.

What’s the weirdest thing your toddler has ever named something?

Philly Cheese Steak Cheesy Bread Recipe

Thinking about what to make for the big game this coming weekend? Or are you just a philly cheese steak fan? Either way, you’re going to want to make this.

This take on cheesy bread adds some meaty bites with some freshness with the bell peppers and onions.

It’s extra cheesy, which is my favorite part, and perfect to share.

Here’s all you’ll need:

  • French bread
  • Mayonnaise
  • Bell pepper (I used red and yellow because it’s what I had on hand)
  • Yellow onion
  • Mushrooms
  • Provolone cheese
  • Worcestershire sauce
  • Philly Gourmet Sliced Steaks (you can use whatever steak you want)
  • Salt and Pepper
  • Olive oil
  • Butter

Yes, to those who are wondering about my bread, those are Mila bite marks! She attacked it while I was getting everything ready. Life with a toddler is always fun. It’s also why I didn’t get a ton of preparation pictures.

This recipe is not hard. It took under thirty minutes to do in all… including wrestling the bread away from her.

First, cook your steaks and preheat your oven to 400 degrees.

I’ve used the Philly Gourmet brand a few times. It’s easy and gives me that classic vibe. I can imagine ribeye would work really well too!

For this, all I did was put the meat on the pan with some oil. I added salt and pepper and let it all cook through. If you’re using this brand, I used the entire box.

After that’s cooked, transfer is into a bowl. Then take your chopped peppers, onion, and mushroom to the pan. Add a little butter and cook.

While that’s on the pan, slice your bread. I lost the entire bottom half to Mila and and Max, but still had plenty.

Put mayonnaise on the bread, then a provolone layer. Next, add the cheesesteak on top and another layer of cheese.

After your veggies are done cooking, layer them on too.

Once everything is placed, stick it in the oven for 10-15 minutes, or until browned.

Take it out of the oven. When it cools off, cut it how you please and enjoy!

It’s seriously so tasty and cheesy! I can see it being a hit for a Super Bowl party or for a quick weekday dinner.

If you give it a try, let me know in the comments!

Valentine’s Day Gift: I Love You Instax Picture and Frame

If you want to show off the cutest series of photos at the office, in your home, or even as a gift, you should definitely try this out!

‘I love you.’

We have an Instax camera and love snapping pictures. Mila likes how the film instantly come out and their aesthetic pleases me.

I got an idea to make myself (sorry not sorry) a Valentine’s Day present that I can always remember Mila at this time. So, we had a little photo shoot.

Obviously, she loved getting dressed up and making her hair ‘pretty.’ She was all for it!

Then it was time to shoot.

Since I can’t have Mila’s voice always telling me she loves me while I work, I thought of the next best thing… sign language.

In one of Mila’s dance songs, they sign ‘I love you,’ but a little reminder didn’t hurt.

After I got those first three pictures, she wanted to take more. So, so obviously I took the opportunity to take a few pictures of her.

Anyways, I found a perfect, Instax picture frame on Amazon! It’s pretty sturdy. The only issue I had with it was I had to tape the pictures in to stay, but that wasn’t a big deal.

Once I put it all together, it turned out so beautiful.

If you have more than one child, this frame also has a six opening frame too.

I think this would be an amazing gift to parents, grandparents, or anyone your child loves. It didn’t take too long to do either.

Your child will love seeing their pictures instantly and will be happy to give this as a present.

I hope if you decide to make this Valentine’s Day gift, you’ll let me know in the comments below.

Friday Favs: Imagination Library

For future Friday’s, sorry for that f alliteration, I want to do something a little different. From here on out, I’ll be sharing some of my favorite picks.

These can include books, shows, podcasts, kids things, or whatever else I think of. Obviously, I’m going to try and make sure it’s useful for other people too. I’m not that self-obsessed.

This week, I’m going to talk about one of my favorite programs: Dolly Parton’s Imagination Library.

I’ll give you the run down of the program.

Dolly Parton created the Imagination Library because she wanted to make sure no child was illiterate. It’s a program where kids are gifted a book a month.

The Imagination Library is available to children who live in certain areas. If you’re local to me, your child definitely qualifies. To my non-local friends, you can check to see if you qualify here! It’s definitely worth seeing.

Mila has been receiving books for almost a year, maybe. They’re cute books and she enjoys getting mail.

We read all the time, so it’s nice to get fresh books. Plus, they’re always educational. For example, last month, it was a story about hibernation.

This months was perfect for the stage Mila is in now. It’s called, Goodnight, Numbers by Danica McKellar.

If you couldn’t guess from the title, this book is about numbers and counting. Mila had the toughest time saying four and five while counting. It was so frustrating.

But, when she read this book, she counted to ten like a pro!

The drawings are made to keep the kids interested in counting the entire time. Each page correlates with a number. The pictures have random things with the same amount on the page. So, it’s like a little scavenger hunt!

This really helped Mila. She pointed most of them out. The pattern of counting the same number a few times made her more confident too.

Another cute part of the story is it follows bedtime routines. So, when you’re reading it before bed, they know what might happen next.

More importantly, there’s diverse characters. Different types of families and races are centered around one number. I thought this was a great way to continue talking to Mila diversity AND how every family looks different.

This inclusive and educational book was such a hit. If you’re interested in the book, you can find it here on Amazon.

We love Dolly Parton’s Imagination Library and I hope you will too. Make sure to check if your family is eligible for these books. They’re such a great source and way to excite your little one to read.

Thanks for checking out this Friday Fav! Let me know if you are apart of Imagination Library in the comments.

Toddler Activity: DIY Heart Banner

With only a few days of January left, I thought it was a perfect time to start thinking about Valentine’s Day. Since Mila loves to paint, I incorporated that and my love for decorating in this project.

I also was inspired by this Instagram post to make Mila’s artwork into a banner!

This little banner looks simple, but took two days to make.

Older kids may be able to do the entire project by themselves. Younger children will need their parents help with scissors and a hole punch.

Here’s what you’ll need for this project:

  • Paint
  • Brushes
  • Paper (we used craft)
  • String
  • Scissors
  • Hole punch
  • Bubble wrap (optional)

We started off doing some process art with bubble wrap. Anytime we can add new ways to create, we do.

I had Mila paint Valentine’s Day colors (pink, purple, and red) on bubble wrap. Then we set our big pieces of craft paper on top. After it was on top, she rolled her rolling pin over it. I told her to do this to make sure the paper picked enough paint up.

We did this for four pieces of paper. She did different strokes of paint for each.

They all came out so individual and Mila enjoyed how different this looked compared to her usual paintings.

Next, we had to wait for everything to dry.

To be honest, this probably would have taken a few hours. I might have waited a couple days. Oops!

Mila is still too little to draw hearts or cut them out, so I did the next steps by myself. If she was a little older, she could have done these steps too!

I drew and cut out different sized hearts. The size variety is interesting to me, but you can do whatever.

If you have extra painted paper leftover, keep it! I have a cute Valentine’s Day card you can make with them!

Next, hole punch two holes on the top of the heart.

Your child can help you put the string through the holes if you’d like. Mila thought it was cool to help put it together this way. It took her a little whole though!

After they’re all on the string, hang it up where ever.

This simple project is fun to do with a toddler and even older kids. You can showcase their art and have festive decorations that are handmade and cute.

The plan the rest of the wall is to put hearts around the canvas she made with reasons why I love her in them.

I can’t wait to make this February special for Mila.

Let me know if you try this project out and what projects you’ll be doing this Valentine’s Day!

Weird Things My Toddler Does: Part Nine

Mila is back doing her weird things, like normal. This one really makes me laugh, especially since I have no idea where she got it.

Like most kids, Mila likes to eat snow. She’ll get a handful, says something, and then eats it.

Well, I was curious as to what exactly she was saying. Sometimes toddlers speak really fast. Mila does when she’s excited!

Anyways, I figured it out. She calls the snow she’s going to eat snow cookies.

It’s the cutest, but weirdest thing to call snow. But at least she’s not asking me when Santa is coming back anymore.

I still have zero idea where she heard the phrase snow cookies. She insists that’s what they’re called. Of course, that means everyone around her calls then that.

I guess toddlers and their made up words are just meant to be weird.

Grilled Caprese Chicken Recipe

This is going to sound silly, but I’m so intimidated by cooking chicken.

I have this fear it’s going to be REALLY raw and it gives me the creeps. So, when I do make it, I usually bake it for a few more minutes than what a recipe calls. Any recipe that says to put it on the grill or pan, I just skip it.

Until I came across this one.

This grilled caprese chicken made me feel like I was back in Italy.

Not only was I able to grill it on the stove top, it was so good and not raw. I think this is a culinary win on my part! You should try it too.

Here’s what you’ll need:

  • 4 chicken breasts
  • 2 teaspoons of Italian seasoning
  • 2 teaspoons of salt
  • 1 teaspoon of garlic powder
  • 1 teaspoon of onion powder
  • 1 teaspoon of black pepper
  • Olive oil
  • Fresh mozzarella
  • Tomatoes (I used roma, but you could use other kinds too)
  • Basil
  • Balsamic glaze
  • Parchment paper
  • Grill or griddle
  • Rolling pin

That list seems huge, but it all comes together and you probably already have a lot of the ingredients. This recipe is also a little more in depth than what I usually share, but it’s pretty easy to follow along.

First, turn on your grill or griddle to a medium heat. This way it’s warmed up after you’ve prepped.

The, beat your chicken. No really. Wrap your chicken in parchment paper and hit it with a rolling pin. You’re trying to make your chicken have an even thickness.

After it’s evened out, brush on olive oil.

Next, it’s time to season. You can either mix your seasonings together in a separate bowl (what I did) or put it on top of the chicken. I always add extra salt and pepper too. Place on the grill or griddle and let it cook for five minutes. Then flip it over for five more minutes.

Pro tip… I used a griddle. To get the grill effect, I placed a baking sheet over my chicken to keep the heat in.

While your chicken is cooking. Slice your tomatoes and mozzarella if it isn’t pre-sliced. This is also a great time to chop your basil too.

Once your chicken is finished cooking on the second side, flip it over again. Place two pieces of mozzarella on top of each chicken. Cover them back up and let the cheese melt for about two to three minutes.

After it’s melted, plate them and put the tomatoes, basil, and balsamic glaze over top.

Then enjoy!

For sides, I made broccoli and garlic-butter noodles. It tasted great and Mila even enjoyed a few bites of the chicken too. She was way more into the noodles though.

I hope you enjoy this recipe and if you give it a try, let me know in the comments!