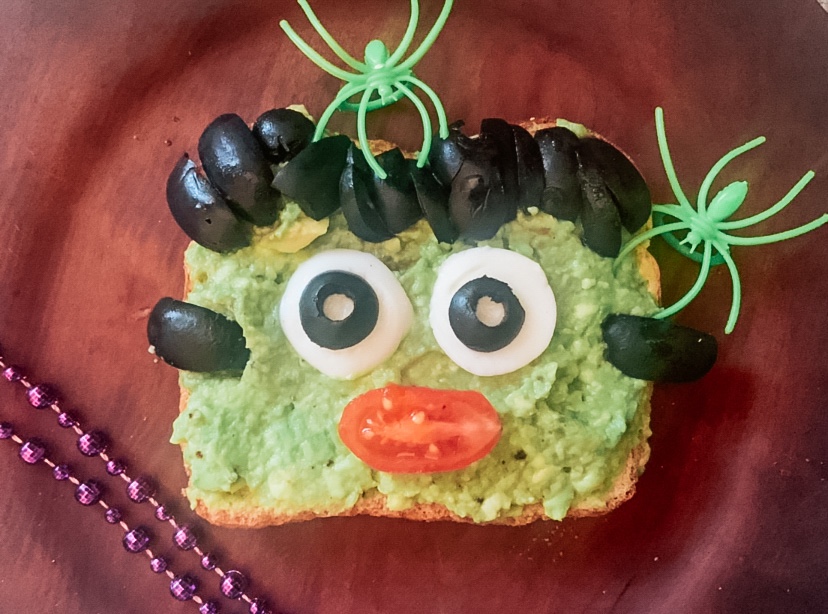
After school during October is the perfect time for spooky snacks. Since we love avocado toast at home we made a fun creation: Frankenstein Avocado Toast.
Not only is it healthy for your boo, it tastes great too.
Mila absolutely loves avocados. Like all I have to do is cut one up and she’ll eat them plain. I love that she loves them, but I like making food fun for her. This spooky snack was a perfect solution.
It’s ALIVE! Or just ready to eat. Here’s what you’ll need to make this creation:
Avocado
Toast
Black olives
Hard boiled egg
Cherry tomato
Salt and pepper
First, toast your bread. Simple right?
While it’s toasting, cut and mash avocado in a bowl. I usually add salt and pepper to mine. Mila likes hers plain.
Then, it’s time to cut the black olives. Cut two circles for the eyes, then strips for the hair and the bolts in the side of Frankenstein’s neck. I did different sizes to make it textured… or because I don’t have the best knife skills.
Next, cut two slices of a hard boiled egg and a cherry tomato in half.
After all this prep work is done, it’s time to assemble.
I really think this turned out so cute. Mila loved it and did little voices with it before she ate it. Frankenstein Avocado Toast is a perfect after school spooky snack your child will love.
What Halloween character would you want to try and make? I’m always up for a challenge! Let me know in the comments.
Pumpkin spice season is in full effect. Every basic witch has to start her day with something frightening good. This Pumpkin Spice Yogurt Bowl would leave all the witches AMUCK AMUCK AMUCK.
I think it looks really cute all put together too. A major plus in my book.
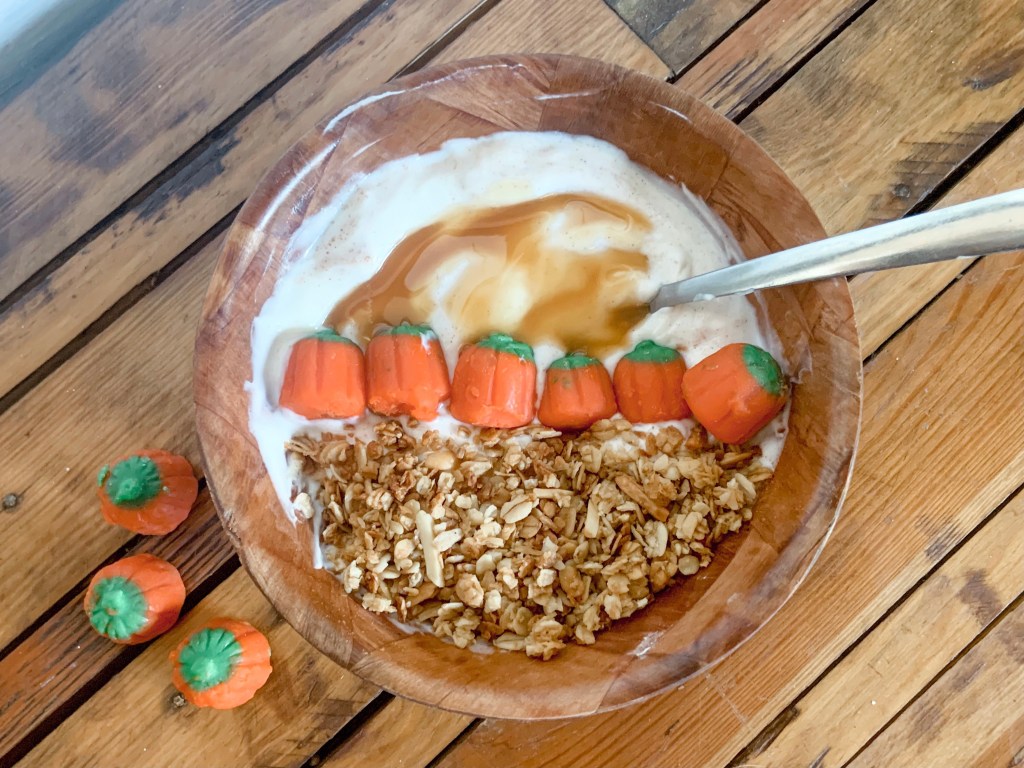
When assembling this Pumpkin Spice Yogurt Bowl, I tried to make it look like a PSL. Here’s the ingredients I used to make it look like that…
Yogurt (I use chobani vanilla)
Pumpkin spice
Granola
Pumpkin candies
Caramel drizzle
First, put the yogurt in a bowl and mix pumpkin spice in it. Like with most of my recipes, I eyeballed this one too. Depending on how much you like pumpkin spice depends on how much you’ll want to add.
For the coffee look alike, the yogurt looks like whipped cream on top.
Then, lay a nice layer of granola at the bottom part of the bowl. I think it’d be a good idea to mix pumpkin spice in here too.
I thought this mimicked the look of coffee.
Next, line up a few candy pumpkins between the granola and yogurt. I’m not a huge fan of these, but mixed with the yogurt and granola, I enjoyed it. Again, it also made the bowl super cute too.
To top it off, I added caramel drizzle. I love it on all my coffees and it made the yogurt a little sweeter too.
I actually loved how this turned out. It tasted yummy and was quick to make.
Yogurt bowls are quick and easy breakfasts for our typical busy mornings. I also love that you can premake them to easily grab too.
This Pumpkin Spice Yogurt Bowl makes me feel like a Halloqueen and I think you’ll love it too.
Do you like making yogurt bowls? What are your favorite things to add in?
Looking for other great Pumpkin Spice recipes? Check these out:
One of my favorite fall activities are watching scary movies under a ton of blankets on the couch with a fall charcuterie board. It makes for a perfect date night or just a fun night with Mila.
I mean, who doesn’t love a charcuterie board?
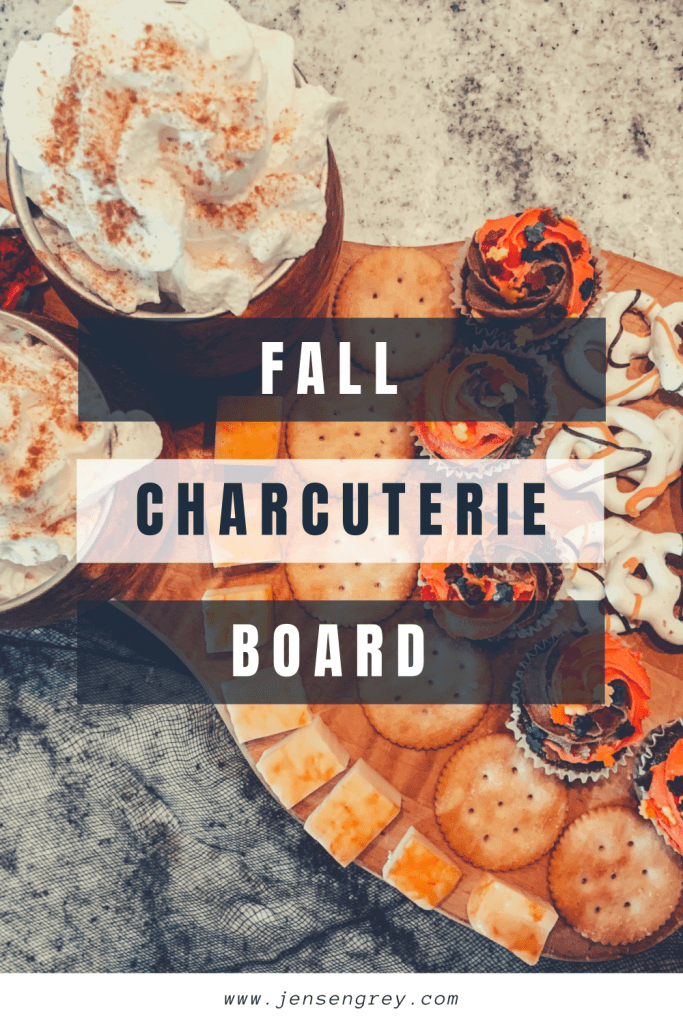
To amp up our normal grazing boards, I incorporated fall colors and tastes. It turned out so moody and tasted delicious too.
Here’s everything I added to this Fall Charcuterie Board:
Apple Cider
Munster cheese
Ritz Crackers
Mini cupcakes
Chocolate covered pretzels (that tasted like pumpkin spice)
Not pictured were raspberry jalapeño jam to put with the crackers and cheese. Jams are the best addition to charcuterie boards. I also usually try to add some type of meat like salami, but I didn’t have room to add it on here either.
To make it a little more festive, I added the white pumpkin and the extras from my DIY Fall Wreath.
Of course, I took a video to show you all the whole process.
I can’t wait to make a more Halloween inspired charcuterie board for Mila’s Halloween party. Stay tuned to check it out!
What’s your go to items for charcuterie boards? Let me know in the comments.
Today we’re celebrating October with Monster Rolls for a fun boo brunch. It’s not really a DIY recipe, but a way to make food festive for Halloween. Either way, you’ll love it.
Even though I’m SHOCKED it’s October, I’m so excited to bring you fun activities, crafts, and treats all month long. I absolutely love Halloween and everything that goes along with it. Let’s just say, Mila and I have a lot planned for you.
These Monster Rolls are really simple, which are perfect for fall mornings.
First, cook the cinnamon rolls as directed. Since everyone has their own different recipes or favorite brands, I’ll just leave this up to you!
Next, divide icing in different bowls. Add food coloring and mix. Mila absolutely loved helping with this step. As always, you can make it educational by talking about colors and it’s a great way to work on motor skills.
Then, set out the eye sprinkles and sugar to decorate.
Once the cinnamon rolls are done, I suggest dipping them into icing instead of spreading. It’s less messy and just is was easier in my opinion. Mila also helped with this step too!
After they’re all iced, it’s time to be creative.
I promise you eye sprinkles are a MUST for spooky season. They make any food or treat extra special for halloween. Mila loves them too and I think all kids would think they’re fun too. The ones I bought actually taste pretty good too.
Anyways, I just put the eyes in a little bowl and let her use the sugar dispenser. I let her know we were making monsters and she just went for it!
They were so fun to make… and eat too! I loved how quick they were to bake and that it gave Mila some creative time in the morning. We’ll be making these again this month because we both enjoyed them so much.
What did you think of our Monster Rolls? Do you have any Halloween classic breakfast foods, snacks, or treats that you make every year?
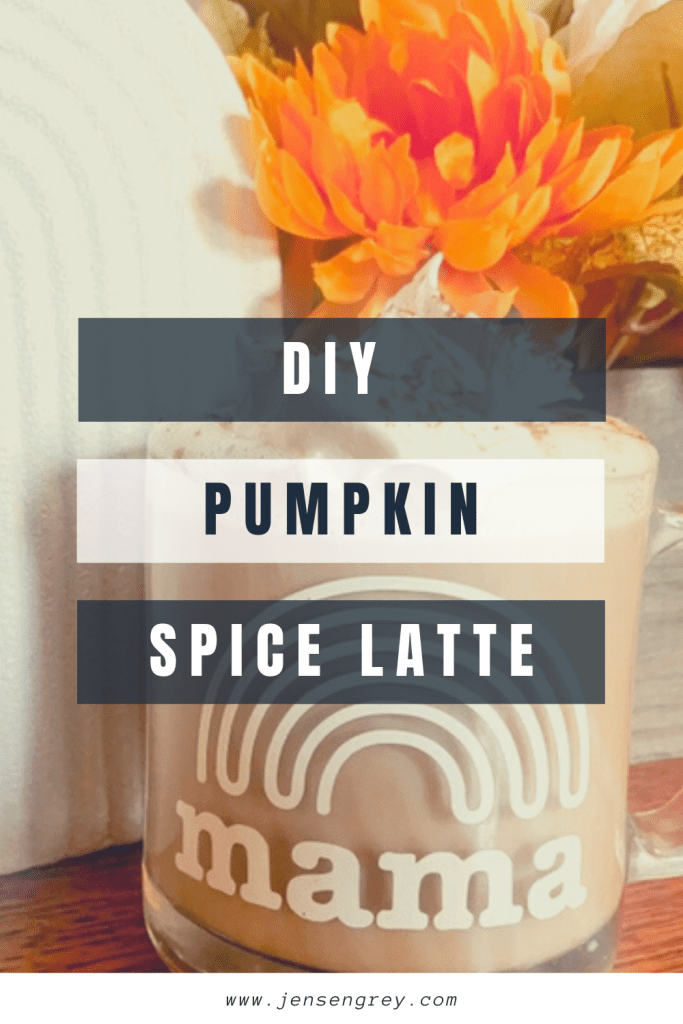
One of my favorite parts about fall is a good Pumpkin Spice Latte. Not only does it warm me up, it tastes delicious too. Since we don’t live super close to a Starbucks, I love making my own DIY Pumpkin Spice Latte.
In this blog post, I’ve decided to show you all my two go to options. One’s more a weekend at home recipe and the other is a quick morning recipe.
Both taste amazing!
The first recipe is the one I make on slow mornings. It makes the house smell amazing and really sets the tone for the rest of the day.
For this Pumpkin Spice Latte DIY, you’ll need to warm the pumpkin puree, milk, pumpkin spice mix, sugar, and salt in a pot. Keep stirring these ingredients together until they’re simmering. While this is happening, you can make your coffee or espresso.
Then, add the coffee into the pumpkin spice mix and mix both of them together until frothed. You can also use a blender to speed up this process.
After, pour into your favorite mug, add whipped cream and pumpkin spice, and then enjoy your tasty drink.
If you think that was simple. You’ll love this even more.
Our mornings are BUSY. Getting myself, Mila, and the dogs ready for the day gets chaotic. I feel like we’re constantly running around. When I finally get to school, I need a pick me up. So, before the craziness, I make sure to make this easy drink to get me through the day.
All you need for a quick DIY Pumpkin Spice Latte is Javy Coffee and Pumpkin Spice Latte Creamer (I use Starbucks!).
Javy Coffee is SO easy to use. It’s coffee concentrate where you fill your cup up with milk or water, then one to two teaspoons of Jacy too! It can made both hot and cold. I change it up depending on my mood (and how it feels outside). Afterwards, add your creamer and take it to go!
Both of these recipes are perfect for parents on calm and busy mornings.
Do you ever try copy cat recipes at home? If so, let me know which ones or the recipes in the comments below.
If you’re looking for a the best fall drink to enjoy doing spooky and outdoor activities, you have to try this Spiked Caramel Apple Cider. It can be enjoyed hot, cold, and all fall long!
The best part… there’s only three ingredients that you need!
Apple cider is one of my favorite fall flavors. Mila and I love to go to the pumpkin patch and warm up with a hot cup.
It’s a fall must!
When I’m at home, I make Mila her special cup with cinnamon and caramel topping. Then, I make my own little mommy version that’s even better.
I won’t keep you any longer, here’s all you need:
Apple Cider
Caramel Vodka
Cinnamon
Caramel Topping/Drizzle
For the cold version, it’s quite easy. You just need to mix up the ingredients in a cup. I just eyeball everything, but will usually do a shot (or two) of caramel vodka and then add the apple cider in. The cinnamon and caramel is all to taste!
This is also so good blended up as a slushee.
For the hot version, there’s a few more steps. I warm the apple cider in a crock pot with cinnamon sticks. Then, when it’s heated enough, I’ll add the caramel vodka in my cup (again, a shot or two) then fill the rest with the warm apple cider. To top it off, I add a caramel topping rim and enjoy!
As soon as you try it, you’re going to want it the entire season.
Let me know in the comments if you try this out OR your favorite fall drink.
Preschoolers can be picky eaters… especially when they’re not home. Believe me, Mila can be one of them! During these first few weeks, I’ve found these 5 tips to help a preschooler eat their lunch at school.
1. Pick out a lunchbox they love.
Before preschool started, Mila never had to pack a lunch to go anywhere… besides when we went to picnics. I wanted her to be excited about lunchtime and knew that getting a lunchbox she loved would help.
We made it a special day to go pick her lunchbox. I didn’t really limit her to what she could or could not choose, but I’m so happy with the one she got too!
She picked a kids portioned Bentgo Box. It’s her favorite colors: pink and purple. It’s perfect!
Before she even went to her first day, she was eating out of her lunchbox. This helped her know how to open and close the box, get used to the portion sizes, and the opportunity to ask me questions about it. Any time I can take the uncertainty of something away from her, the better!
Here’s a few lunchboxes that I thought were amazing options too:
One of my biggest fears with Mila eating lunch at school is that she just won’t eat anything.
While packing her lunch, I let her help me pick out everything. Just by being able to have a choice in her favorite foods, she gets excited for lunch the next day. I make sure to add dessert in addition to healthy options.
When I know my favorite food is going to be served, I get way more excited to eat. There’s no difference for kids either.
Some of Mila’s favorite foods are:
Strawberries
Pistachios
Salad
Jello
Any type of cookie or brownie (LOL)
3. Make food fun.
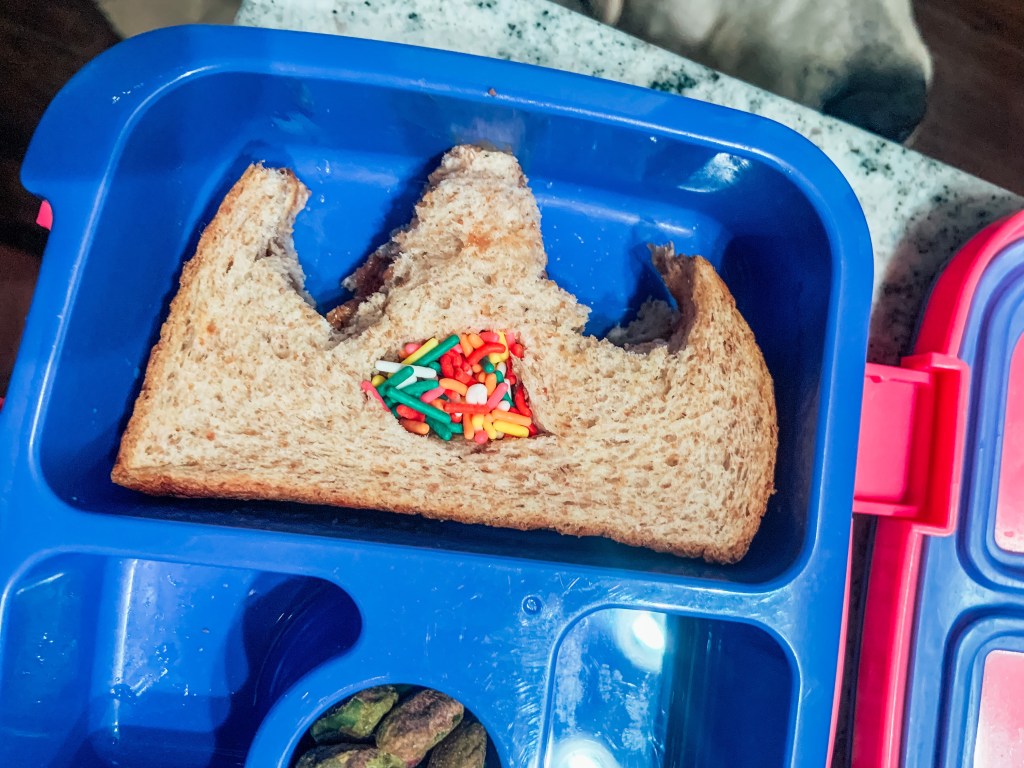
PB&J Crown.
No matter how many favorite foods you add in your child’s lunchbox, their food can seem more enticing when you make it fun!
If your child is a sandwich eater, cutting them in different shapes can encourage your child to eat. I’ve been trying to cut shapes out with a knife, but it’s a lot easier if you use a cookie or sandwich cutter. There’s a ton of different options on Amazon you can easily find.
Other items that you might like to get to make their food fun are cartoon toothpicks and reusable bags.
Cartoon toothpicks are adorable. There are some eye toothpicks, so it looks like your food is looking at you. There’s also different types of animals and objects that your child will have fun identifying and seeing every day.
We love reusable bags here! I’ve bought ones with different sayings and images on it that Mila enjoys using.
Another option to make food fun is to have a themed lunchbox… princesses, dinosaurs, space. The options are seriously endless. There are so many cute ideas that you can find on Pinterest or just on the internet in general. I cannot wait to show you some of the ideas I have for Halloween week!
If you’re interested in looking some of items I talked about, I linked them here.
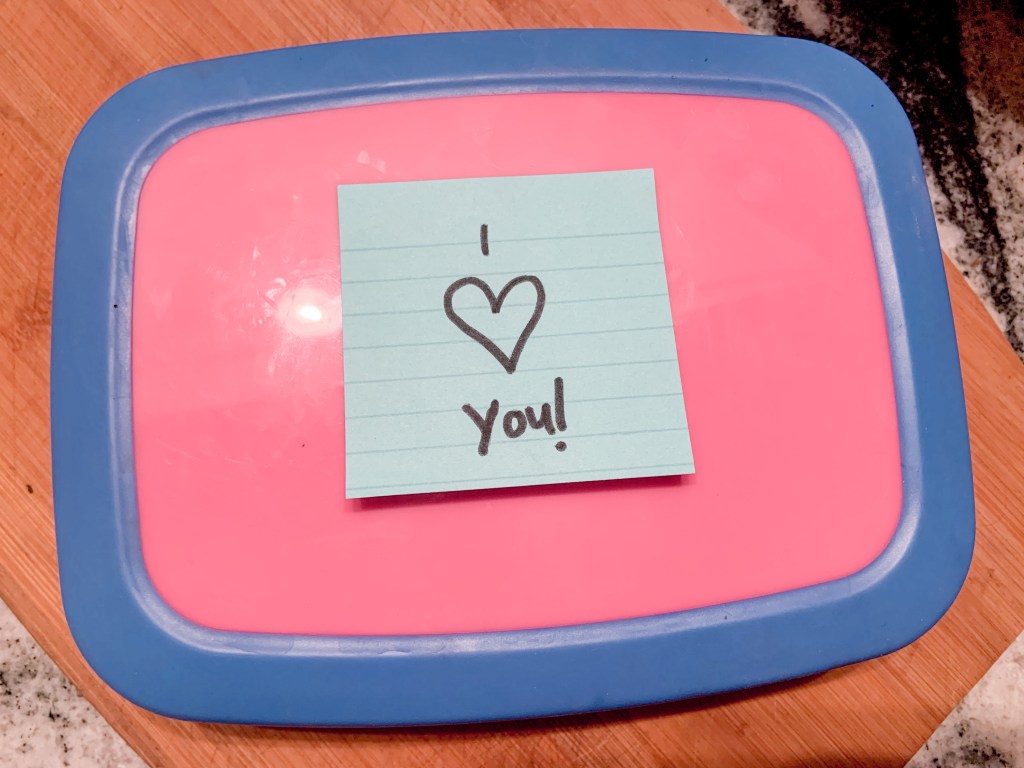
One way I like to stay close to Mila is to write her a little note for lunch time.
Obviously, she’s only three and cannot read yet. Instead of writing words, I draw her hearts. We’ve always talked about how hearts mean love, so she immediately recognizes that. I know it makes her smile to see some love from mom and it lets her know that I’m thinking about her as well!
Even though I just use a post it notes for Mila, there are a ton of options for ones that are prewritten. They have cute designs and motivational sayings on them! I have a feeling I’ll buy them when she gets a little older for busy mornings or nights.
I love this idea for kids who might be having a hard time transitioning into school as well. A little note from home can really turn a child’s day around.
5. Check to see what works.
Sometimes, you can try all the advice above… and your child still doesn’t eat their lunch. It can be frustrating and worrying.
Believe me, I know!
Here’s a little story… since preschool started, Mila has only had one day where she hasn’t ate her lunch. It was packed with her favorite things, but there was one item she wasn’t so sure about. It made her not want to eat the entire lunch! Honestly, it worried me, but it was a good reminder to listen and really take in what your child says.
The next day, I literally had her tell me what she wanted and then added food I knew she loved too.
Just as everything with parenting, we have to learn what works best for our kid. Check in with them and let your child lead the way. They know their body and how they are at school. Especially when they have guidance from great parents like you.
I hope some of these tips help your child eat at lunch time!
As parents, it’s hard not to be proud of your child’s courage to go to school and to blossom into their person they’re becoming. Lunches are one way parents can show that pride and help them succeed in their day.
In the comments, let me know if you have any other suggestions on how to help other parents with their child’s lunches.
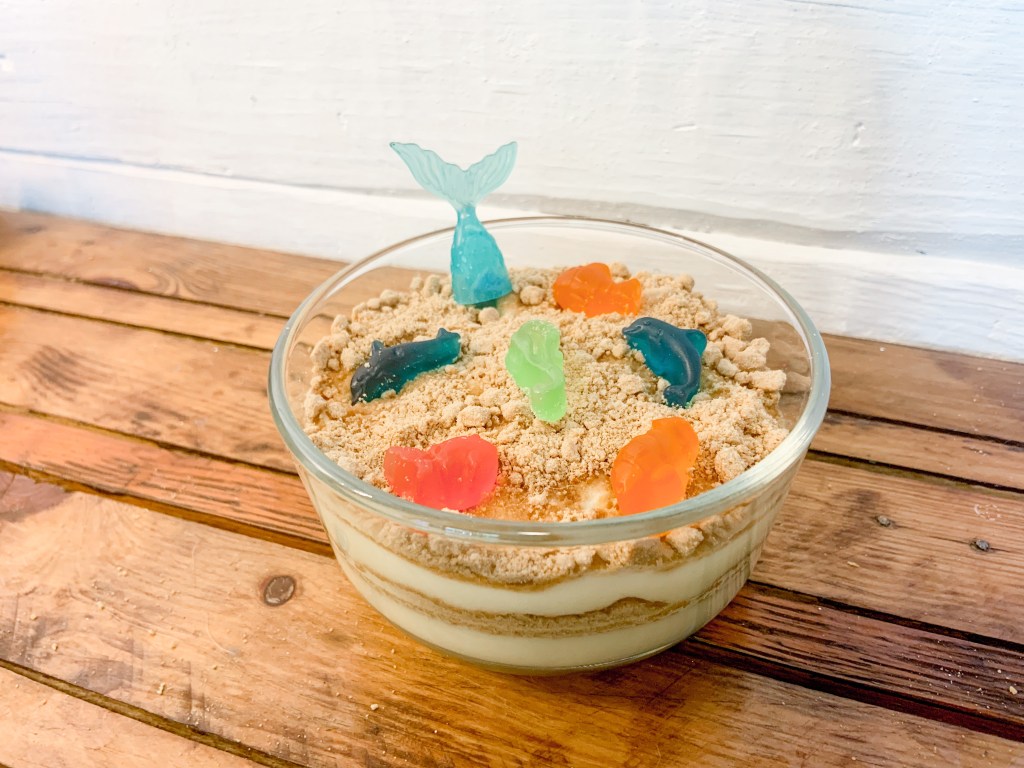
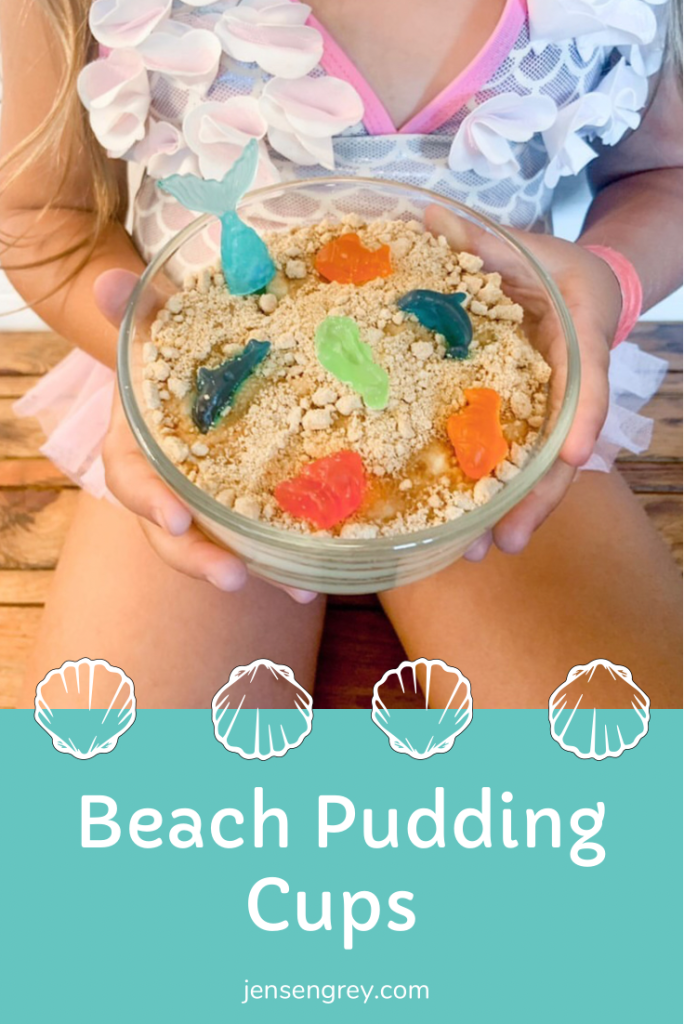
It’s no secret, Mila and I love the beach. With her Mermaid Activity Box last week, I had her make a snack that matched: Beach Pudding Cups.
Honestly, I love that Mila loves the beach. She’s been to so many different beaches during her three years and each time she’s been obsessed. When we’re not there, she’s always asking to go back.
Anytime I can bring beach life to Ohio, I do my best to do so. I think this is why this snack was a hit with Mila.
Here’s what you’ll need to make this beachy snack:
Instant Vanilla Pudding
Graham Crackers
Gummy Fish or Sea Animals
First, make the instant pudding as directed in the box. I think all you need is milk with the pudding powder. It’s (the instant pudding) really simple if you’ve never made it.
Then, make graham cracker crumbs. I just blended in my blender!
Now it’s time to put it all together.
Get a clear bowl or cup and do a pudding layer first. I just eyeballed all the layers and didn’t do a specific amount.
Next, add a layer of graham crackers.
Repeat these steps until you get to the top. You want your final layer to be the graham crackers.
To finish it off, add fish and sea animal gummies. I also added a mermaid tail on top too. Next time I make this, I’ll mix blue food coloring to cool whip to make water too.
I think these Beach Pudding Cups are so cute for at home or even at the beach. Since I used our small Tupperware containers, it’d be perfect to put the top on and serve for a beach picnic.
Mila’s favorite part were the gummy creatures on top! She ate them all before she got to the ‘beach.’
This would also be a perfect after school snack since it’s so easy to make and out together. It made me feel like such a creative mom to do this with her.
She wanted to help layer the ingredients and did good too. So kids can essentially make their own after school snack!
What’s your favorite way to bring the beach home? Snacks, activities, or looking at old vacation pictures? Let me know in the comments.
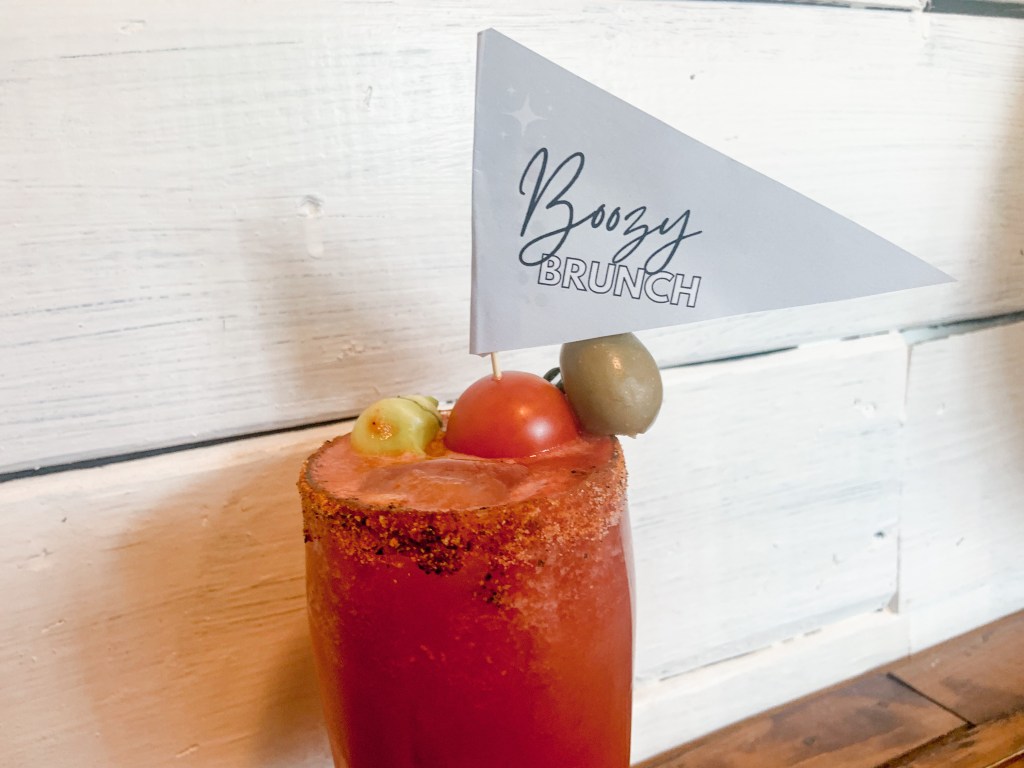
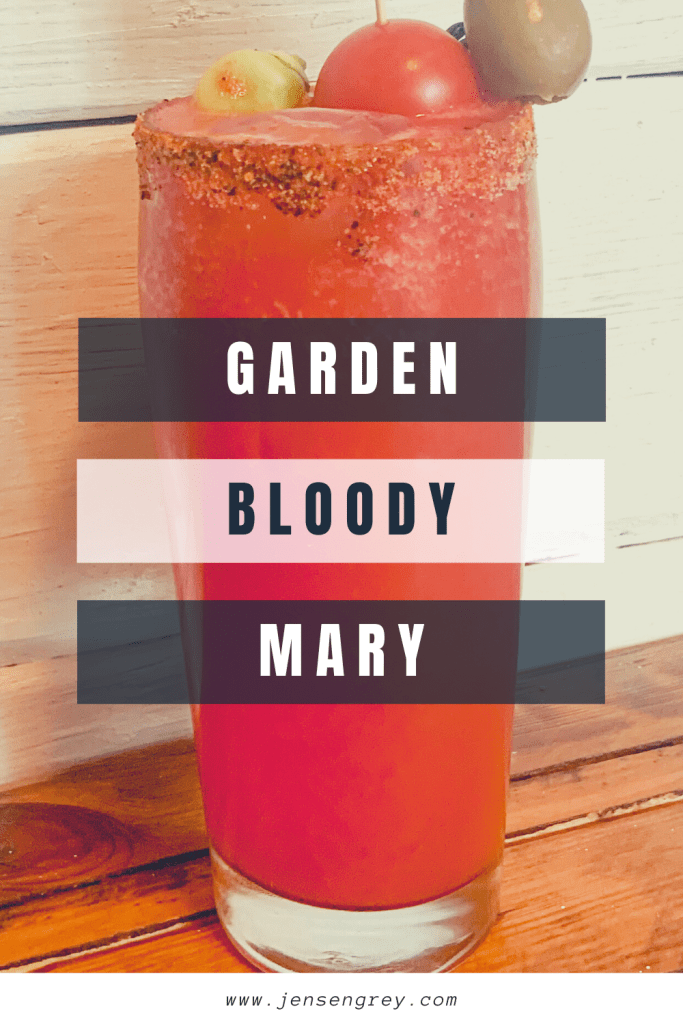
Sundays are perfect days for a little boozy brunch. This weekend I’m making a Garden Bloody Mary by using tomatoes from backyard!
It might sound a little daunting, but making your own tomato juice only takes on more step.
All you need for this drink is:
Tomatoes (1/2 pint of cherry tomatoes)
Olive Oil
8 Basil Leaves
Lemon Juice (half a lemon)
1/4 Cup of Water
2 Ounces of Vodka
Salt (to taste)
Pepper (to taste)
Pinch of Cayenne Pepper
Dash of Worcestershire Sauce
Dash of Hot Sauce
Drink Mix
First, halve tomatoes. Then, put in a baking dish and drizzle with police oil and salt. After, place on the top rack of the oven and broil on high for 10 minutes.
Let the tomatoes cook before the next step.
Next, add cooled tomatoes to a food processor as well as the rest of the ingredients. Blend to a runny consistency. If it’s too thick, add more water… or vodka.
While it’s blending, prepare your cup. I love adding seasoning to the rim of any Bloody Mary. For this particular Garden Bloody Mary, I used lemon to coat the top ring. Then I poured salt, pepper, celery salt, cumin, granulated garlic, smoke paprika, and powdered garlic in a small bowl.
Once it was all mixed, I rolled the lid of the cup in the mixture. Any places that I missed, I added more lemon juice.
Then, add ice to the cup.
After it’s blended, you can either strain or put the mixture over ice in the cup.
Garnish
To top it all off, I had to garnish will veggies from the garden and the CUTEST little pennant from The DIY Party Co.
I just grabbed another cherry tomato, hot pepper, and an olive (from my refrigerator) and skewed them on a toothpick. You can use any ingredients you love to garnish, this is just my favorite, besides bacon!
Then, I got another toothpick and tape to assemble the pennant. I stuck this toothpick in the tomato to keep it upright.
This recipe was so much fun to make and I know it’d be a hit at any brunch party.
The BEST part about it is, I know where almost all the main ingredients come from. It brings me so much pride to be able to make my food after growing it. There’s a few more recipes from our garden that I can’t wait to share with all of you.
Let me know if you try this recipe OR your favorite Garden Bloody Mary garnish. If you don’t drink, I’d love to hear your favorite brunch food.
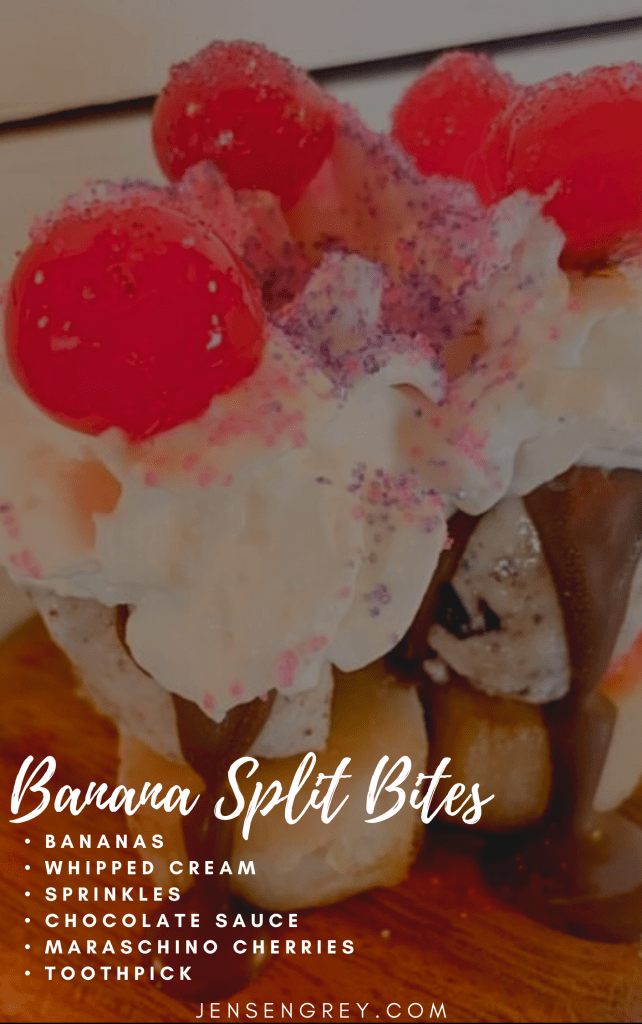
It’s National Banana Split Day! Mila and I put a spin on this summer treat and made it bite sized. This recipe is perfect for toddlers or adults who want the taste of a banana split, but don’t want to commit to a regular sized one. I promise, these Banana Split Bites pack all the things you love about a banana split in one bite!
Before I go on… did you know banana splits originated from Ohio? Ernest R. Hazard invented the banana split in Wilmington, Ohio in efforts to attract college students to his restaurant. I think he was on to something!
Anyways, here’s what you need for this tasty treat:
Bananas
Whipped Cream
Sprinkles
Chocolate Sauce
Maraschino Cherries
Toothpicks
Any other ice cream toppings!
To start off, just cut your banana in little circles. I ended up freezing mine before assembling too because I love the taste of frozen bananas. Then, spoon ice cream on the banana. Add ice cream toppings and secure everything with a toothpick.
It really is that easy!
Mila and I used whipped cream, sprinkles, chocolate sauce, and maraschino cherries. It would be fun to do classic toppings on different bites too!
This treat would have been awesome for our Ice Cream Bonanza. We did an ice cream topping charcuterie board. It would be so cute to do a Banana Split Bites bar where people can assemble what they wanted themselves. I think that’s a perfect fourth birthday idea for Mila…
We hope that you like our little bite-sized desserts! Let us know how you like it if you make them. Let me know in the comments your favorite banana split toppings.