If you’re looking for a fun way to get your kids outside and interested in bugs, make this DIY Bug Catcher.
The best part, I reused everything to make this!
Mila is slowly getting interested in bugs. She can tell you all about the butterflies life cycle and can identify different bugs too! Mostly, she’s excited about catching lightening bugs this year.
Even though I know she can, I don’t think she’ll want to use her hands. Cue another light bulb parenting moment…
We decided to make a DIY Bug Catcher so we can see lightening bugs and whatever else she catches. Like I said before, we got to reuse items to make it too!
Here’s all that it took to make this:
Parmesan Cheese Bottle
Stickers
Pipe Cleaner
Googly Eyes
Hot Glue
Tulle
First, take the label off and clean the Parmesan cheese container. I don’t think the bugs would mind the cheesy smell, but it needed washed out.
After, I hot glued tulle on the smaller hole side. This way the bugs can get fresh air!
I then put stickers that said, “Mila’s Bug Catcher” on it. When I was done with that, I let her put whatever stickers on there.
While she was decorating her bug catcher, I made the bug face top. I just used the colored googly eyes Mila told me to use and a pipe cleaner for the antennas. All I did was use a little hot glue and it worked perfectly.
Once you’re finished, twist the lid on and your DIY Bug Catcher is complete!
I’ll make sure to update with our bug catching adventures. Which bugs did you like catching as a kid? Let me know in the comments.
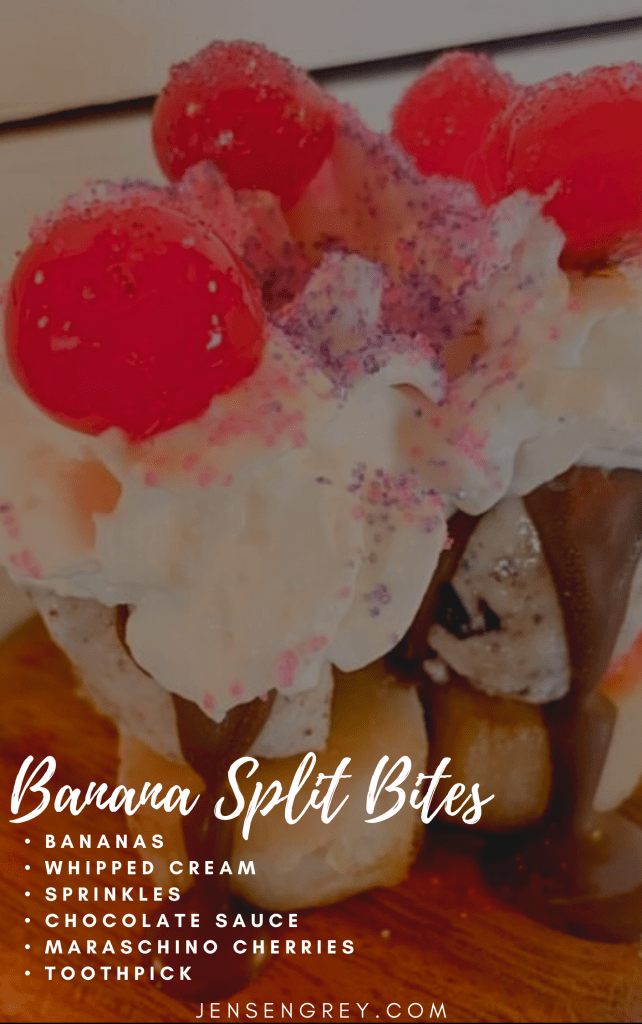
It’s National Banana Split Day! Mila and I put a spin on this summer treat and made it bite sized. This recipe is perfect for toddlers or adults who want the taste of a banana split, but don’t want to commit to a regular sized one. I promise, these Banana Split Bites pack all the things you love about a banana split in one bite!
Before I go on… did you know banana splits originated from Ohio? Ernest R. Hazard invented the banana split in Wilmington, Ohio in efforts to attract college students to his restaurant. I think he was on to something!
Anyways, here’s what you need for this tasty treat:
Bananas
Whipped Cream
Sprinkles
Chocolate Sauce
Maraschino Cherries
Toothpicks
Any other ice cream toppings!
To start off, just cut your banana in little circles. I ended up freezing mine before assembling too because I love the taste of frozen bananas. Then, spoon ice cream on the banana. Add ice cream toppings and secure everything with a toothpick.
It really is that easy!
Mila and I used whipped cream, sprinkles, chocolate sauce, and maraschino cherries. It would be fun to do classic toppings on different bites too!
This treat would have been awesome for our Ice Cream Bonanza. We did an ice cream topping charcuterie board. It would be so cute to do a Banana Split Bites bar where people can assemble what they wanted themselves. I think that’s a perfect fourth birthday idea for Mila…
We hope that you like our little bite-sized desserts! Let us know how you like it if you make them. Let me know in the comments your favorite banana split toppings.
If you’re looking for a fun, ocean animal themed animal craft that’s not a mermaid, you’ve came to the right spot. This Cupcake Liner Octopus is easy to do and turns out looking cute!
When I say easy, I mean that Mila made her octopus with little assistance by me. Yay for independence and growth.
I also like that even though we LOVE mermaids, we’ve done so many this year. It was nice to switch up the ocean themed activities with a different sea animals. Mila remembers them from our trip to Ripley’s Aquarium in Myrtle Beach, which helped a lot!
The best part of this activity, you can find everything at your local dollar store for less than $5! Here’s what you’ll need:
First, have your child pick out what colors they want the octopuses to be. In our pack of cupcake liners we had pastels: pink, yellow, blue, and green.
Mila picked pink for her (of course) and yellow for me.
Then, to help your toddler succeed in this craft, cut four, long strips of scrapbook paper and tissue paper. These will be the octopus’s legs.
Then, glue together a strip of tissue paper and a strip of scrapbook paper. The scrapbook paper should be on top of the tissue paper. I folded them in the middle to help my guide where they should meet.
Mila did help me with gluing, but she doesn’t have the scissor skills yet to cut long strips. She enjoyed cutting some small pieces off though.
While the legs are drying, take two of the same color cupcake liners and glue them together. This reinforces the octopus and makes it stronger if you want it to hang longterm.
Then, it’s time for the googly eyes. Mila matched the octopuses’ body color with their eyes. She’s been obsessed with googly eyes so I knew I needed to have a craft that had them in there. It was a success.
Just glue the eyes on to the cupcake liner. For this, I flattened the liner to make sure they stayed.
After that, I had her used a marker to draw a smiley face.
Now it’s time to put the legs and body together!
I assisted her with this a lot because it’s a little tricky for toddler.
Take one of the legs and put glue on the center of the scrapbook paper part. Then, place it in the inside of the cupcake liner. It should look like the octopus has two legs dangling down.
After, flip it upside down again, repeat the gluing, and rotate how you put the legs so it’s opposite. You want to make a little ‘x’ in the middle.
While the first two strips dry on the octopus, help with the other one or wait until it dries a little more. I found it dried better if it was flipped on the octopus’s head.
When it’s strong enough make another ‘x’ with the remaining legs.
The legs should look like a star when they’re laying down. It’s hard to explain, but simple to do.
If you’d like to hang then, just take a string and scrapbook paper and glue it on top of its head. I put the string under the paper to give it a little more strength.
Now you’re all done!
Mila was super proud of our Cupcake Liner Octopus and I think they both turned amazingly cute.
If you try this craft out, let me know in the comments. Also, if you know of a cute octopus book, I’d love for you to share it too. It’d be a great idea to pair this craft with a book for other toddlers.
After that, check out how these other moms incorporated mermaids and sea creatures in their day too!
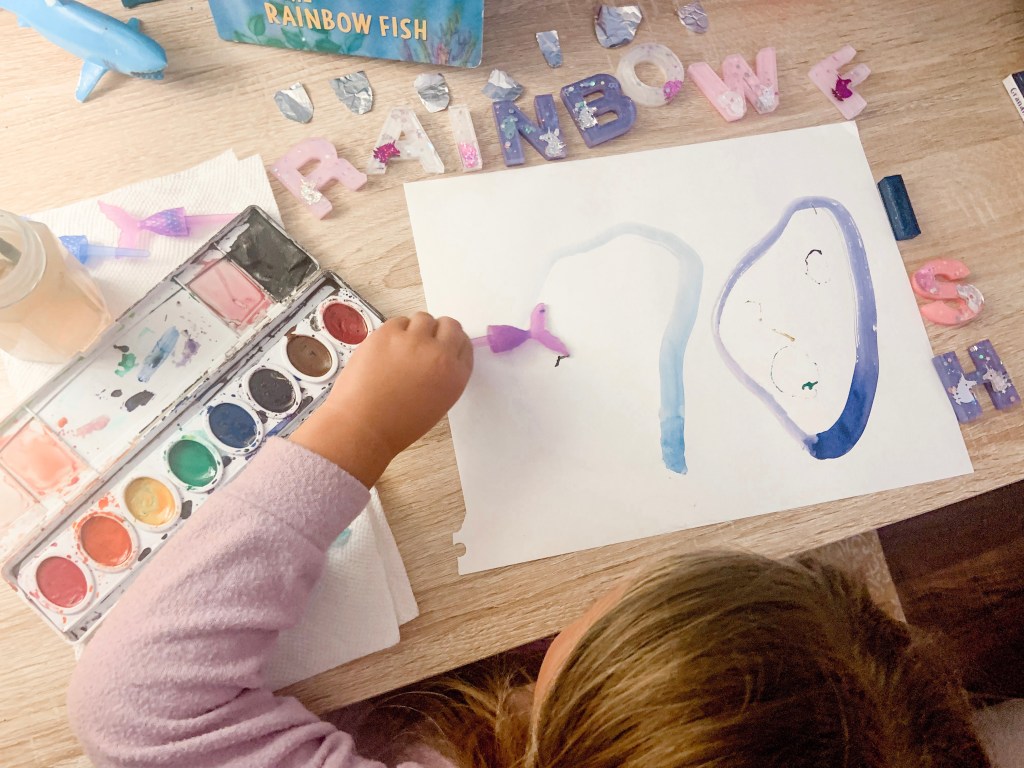
The Rainbow Fish by Marcus Pfister is a classic story about sharing. Since preschool is quickly approaching, I thought this story and lesson would be great for Mila to read and remember.
Sharing can be a tricky thing to learn, so a book with beautiful illustrations is a great place to start.
One of my favorite parts about this activity is you can make it however you want!
Before the activity, I prepped the basics of Mila’s fish.
Instead of a paper plate, I just used left over scrapbook paper to make the fish’s body, fins, and eyes. Then I cute out aluminum paper and taped it on the fins. I tried to mimic the book, but I think it turned out just fine!
At this time, I also premade the foil scales too!
To start out this activity, we first read The Rainbow Fish. While reading, I asked Mila a few different situational questions like…
Would you share your scales?
Do you think you have to share to have friends?
Would you be sad if someone didn’t share with you?
Do you know you’re just as beautiful inside as your are out?
Plus a few extra ones that I can’t think of at the moment. Yet, they all touched on these topics.
Another BIG thing we talked about with this book is consent. Mila stated she wouldn’t want to give away her scales or parts of her. When she said this, I thought… duh mom?!
We talked about how it’s okay not to share all of yourself or things with others. But it is nice to take turns with toys and listening ears.
Who knew she’d get so deep so fast.
Then, I had her use her watercolors to paint her own scales. She made me a beautiful pictures first.
After she was finished painting, we let the paint dry. It only took a little bit and you could speed it up with a hair dryer. Then make more paper scales.
To assemble rainbow fish, I taped the back of the scales and we talked about sharing and consenting again.
While she taped on her painted scales, I would ask her about positive ways she could share in preschool. Every time she thought of one, she could add a shiny scale to her rainbow fish.
I think she did excellent and was so proud of her fish after it was done!
When I reflect back on this book and activity, I’m really shocked with the questions she had. It also made me smile knowing she’ll be good to go with sharing and being a friend in preschool.
Let me know in the comments if you love The Rainbow Fish or what other books about sharing you’d recommend.
Then, if you love pairing books and activities, check out some of these ideas…
What’s more fun than water balloons? Throwing water balloons with tie dye in them at a perfectly white sheet.
Let’s just say, Mila custom made me Water Balloon Tie Dye Sheets to celebrate summer.
AND… I love them!
So, let me tell you this first. It was sort of a huge jump of faith to do this activity. Mila was introduced to water balloons this year and throwing them at other people… do you get where my brain went?
Unlike Mila, I didn’t wear a swimsuit for this activity. I hoped with all my might she wouldn’t just throw them at me.
She ended up not getting me with them, but if you do this activity, beware! Tie dye is so hard to get off other clothes if you can’t get to it right away. It also takes a few days to get off of skin too.
But it was totally worth it! This is my favorite art project of the summer that I get to use frequently!
When you brave it with your kids, here’s what you need:
There is some prep going into this activity. It’s a lot easier than the Balloon Pop Artwork we did for Mila’s birthday!
For some reason, Mila slept until 10 am one morning, which gave me a perfect amount of time to set up and prep for this. Usually I’m all for older kids helping with prep, but this one can get messy!
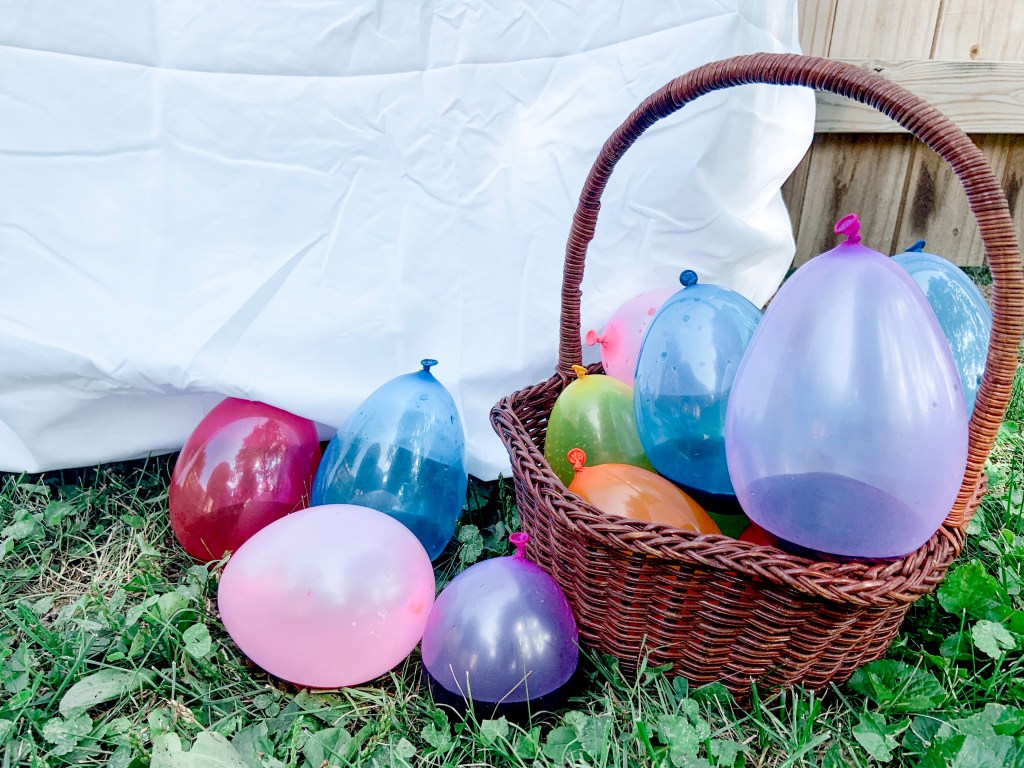
To start off, I mixed the tie dye together and let the solution saturate.
Then, I color coordinated the balloons to match the dye. This way Mila knew what to expect and could do more color recognition… because we’re always learning!
After I thought they were mixed enough, it was time to start.
I’m guessing there’s probably easier ways to do this, but this is how I did it. If you know of a better way, PLEASE let me know in the comments.
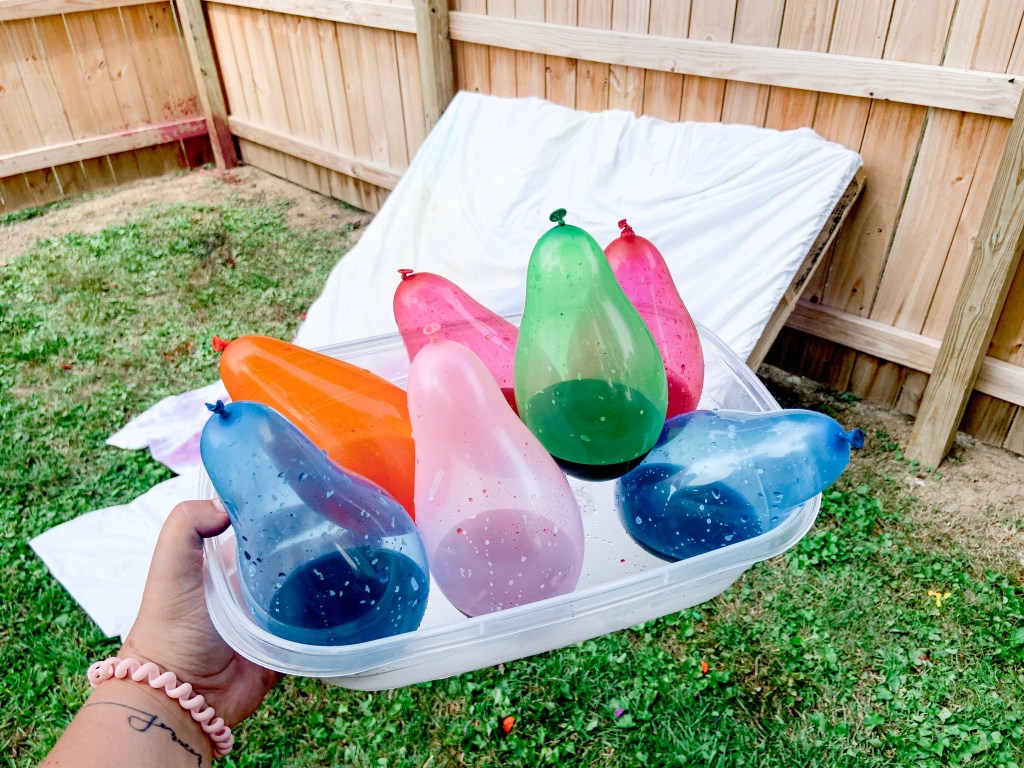
Anyways, I blew up the water balloon with air. Then, added the tie dye water to the balloon by sticking the tip of the bottle into the balloon. After, I added extra water into it.
See… messy.
I found it better to blow it up as much as it could and not fill it completely with water.
Not going to lie, this took a little while, but I had the time. If you’re planning to do this, just know they’ll want way more than you planned! We probably threw around 50 to 75. They all didn’t hit or pop on the sheet.
So, if you think you have enough, do ten more.
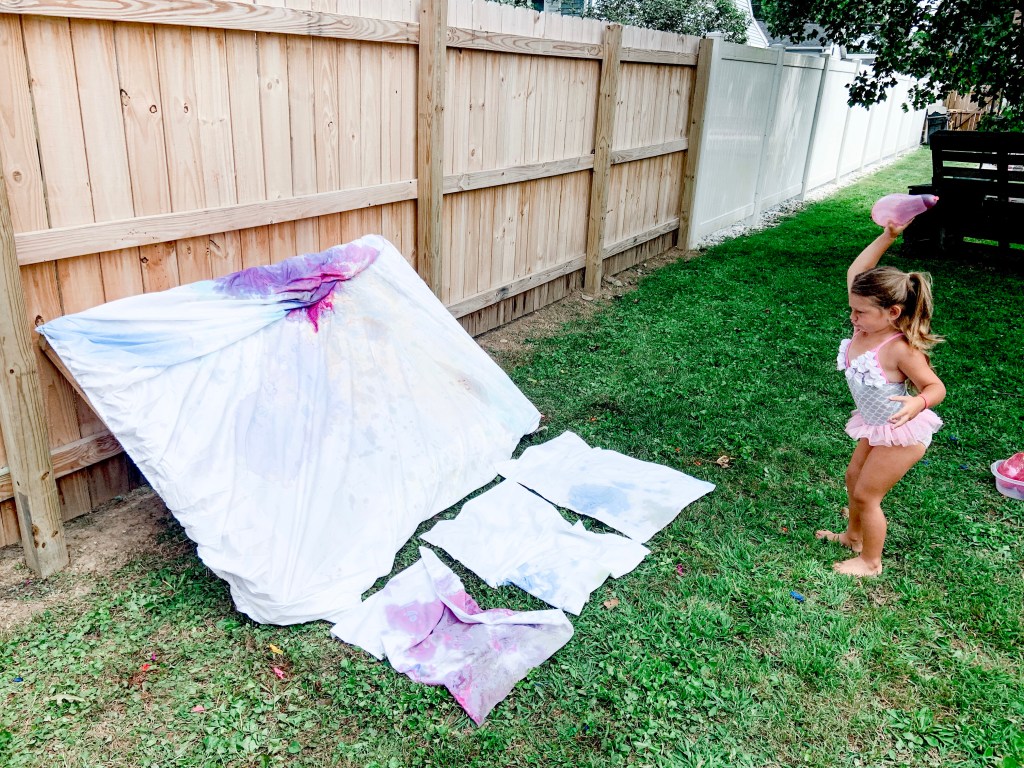
After the balloons were done, I set up the outside area. Since I have access to pallets, I used that to hold the big sheet. The pillow cases went to the ground to catch the splatter.
At first I had it more upright, but it worked better with a slant.
By the time Mila woke up, the area was ready to rock-n-roll. Let’s just say, she woke up pretty easy when she found out what we’d be doing!
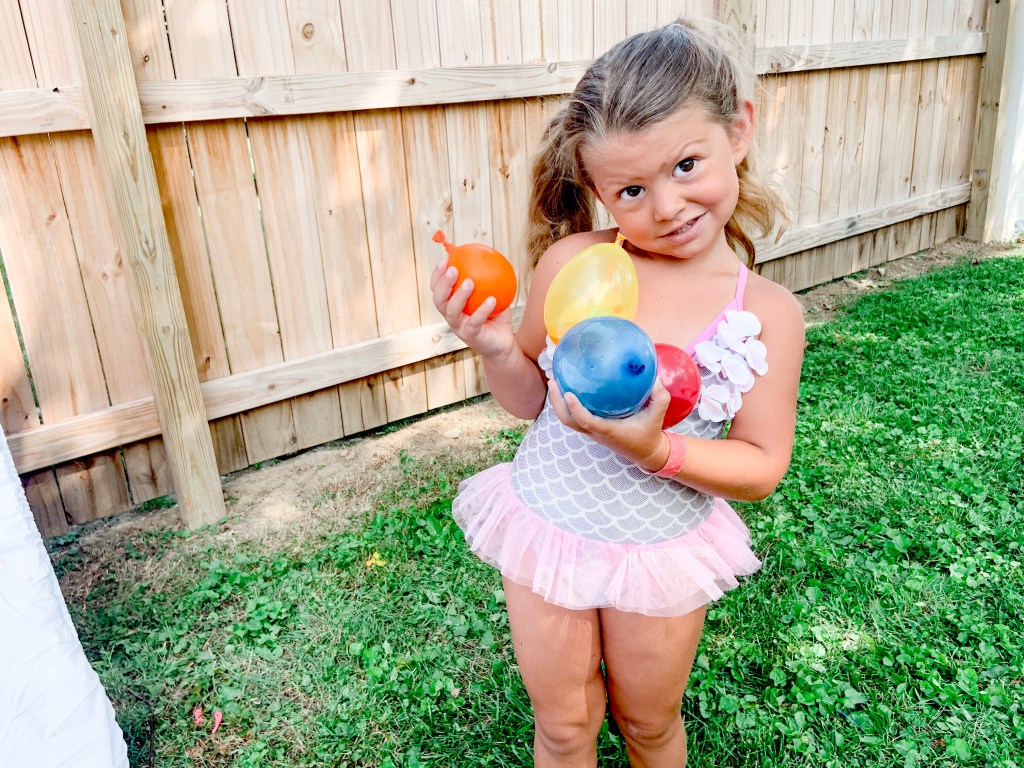
All I told her to do was get her swimsuit on and meet me outside.
Then she saw the balloons and sheets.
I told her the plan for the day and she took right to it. Again, I’m thankful she didn’t hit me with any because I wore normal clothes. Which I would not recommend.
We found out that the balloons were harder to pop than we originally thought. I’m guessing because of the air in them.
She found her rhythm though!
Look at that lefty power.
It took a lot less time to throw all the balloons than it did to pop them.
I actually made more midway through.
We had fun talking about the different colors and making predictions about their pop. Like I said, it took a little bit to figure out how to pop them. I think the sheets softened the blow.
It was fun watching Mila’s strength and persistence while throwing them.
One tip I’ll give is to turn the sheets and pillow cases half way through. That way both sides can get optimal color!
I am super impressed with how these turned out.
To finish off the tie dye, I folded the sheet and pillow cases up, put them in a plastic bag, and popped them in the refrigerator overnight. Then, wash and dry them. They’ll be ready to go after that.
Once I put them on the bed, I’ll update this post and share on Instagram and Facebook.
We’ll definitely be tie dying again with this kit! I’ve made a few shirts with it, but this way by far the most fun we’ve had with it.
Have you ever tie dyed anything? What’s your favorite way to do it? Comment to let us know.
I think ours is with water balloons!
After you comment, check out how these moms incorporate water play with their kids!
For this one, you have to do a little preplanning.
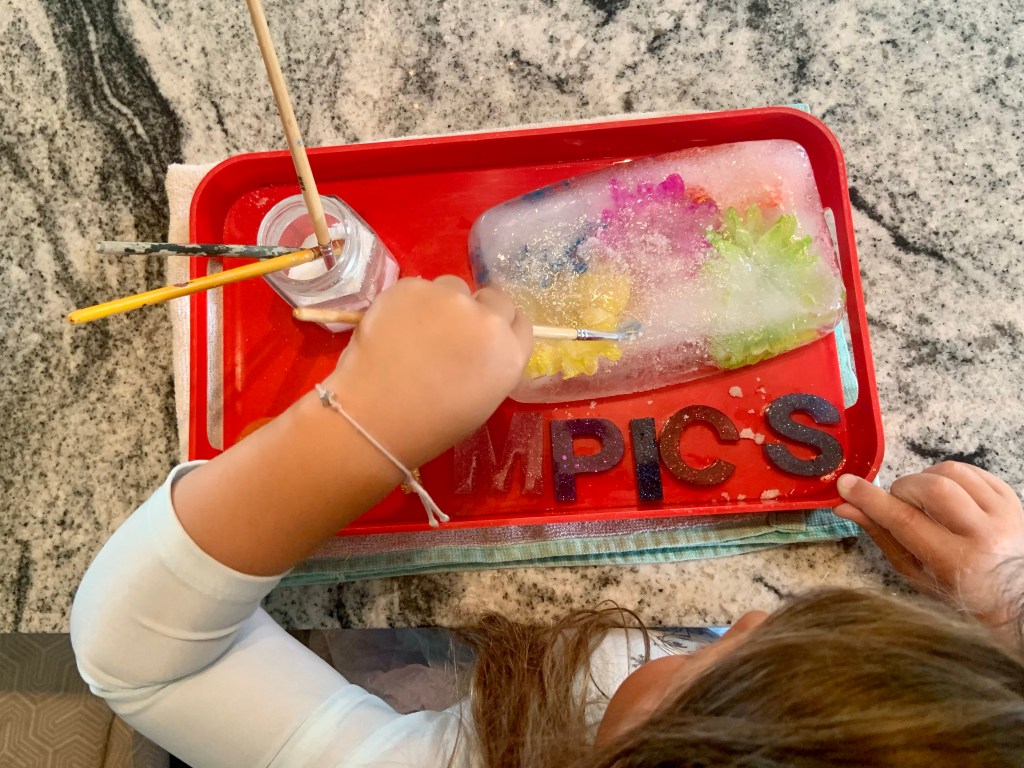
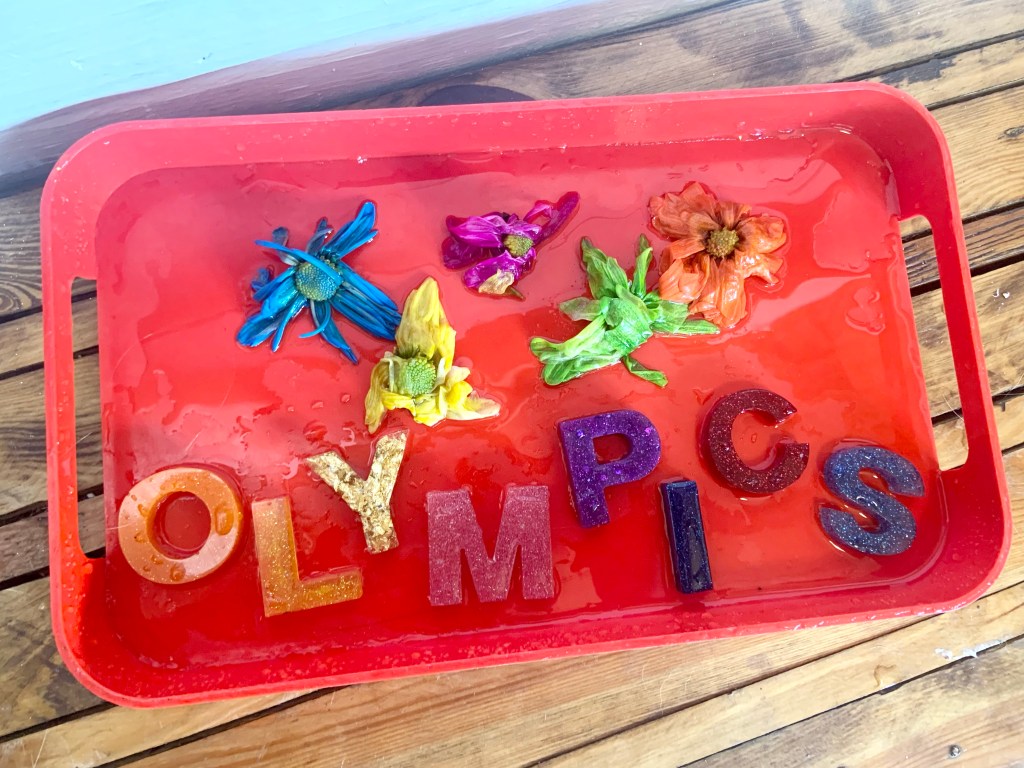
The night before you want to do this activity, it has to be frozen. I used an old Tupperware container and filled it with water. Then, I added colored flowers that matched the Olympic Rings to the container.
To keep the flowers in place, I filled the containers lid and put something heavy on it in the freezer.
It ended up looking like this…
Next, I poured a little bit of table salt into a jar and got some brushes out too. To help the melt, I also gave Mila a little cup of water.
Everything was set into a bin to collect the water.
All I instructed Mila to do was rescue the ‘rings’ and that the salt helped make it melt.
While she worked hard on melting all the ice, we talked more about the Olympics and I showed her how it was spelled. She’s recognizing letters that are in her name and the ones she sees frequently!
She worked really hard on figuring out the best way to make the ice melt.
Her favorite was to dump a ton a salt on the ice, then water. It was so neat watching her figure out why it was melting and what helped.
It really did take her a while for all the ice to melt. I was impressed with her persistence.
Once it was melted, she enjoyed played with the letters and the flowers in the water. Water is always a great sensory component!
During this play time, Mila let me know her favorite Olympic sport was swimming… of course. She thinks it’s amazing how fast they can get through the water! I’ve also showed her some gymnastics routines that she enjoyed.
We always love sensory play and toddler activities.
It gives toddlers time to have fun while learning and parents time to get some things done! This Olympic Ice Play was a hit with Mila and I think a ton of other kids will enjoy it too!
Do you watch the Olympic Games? What’s your favorite sport?
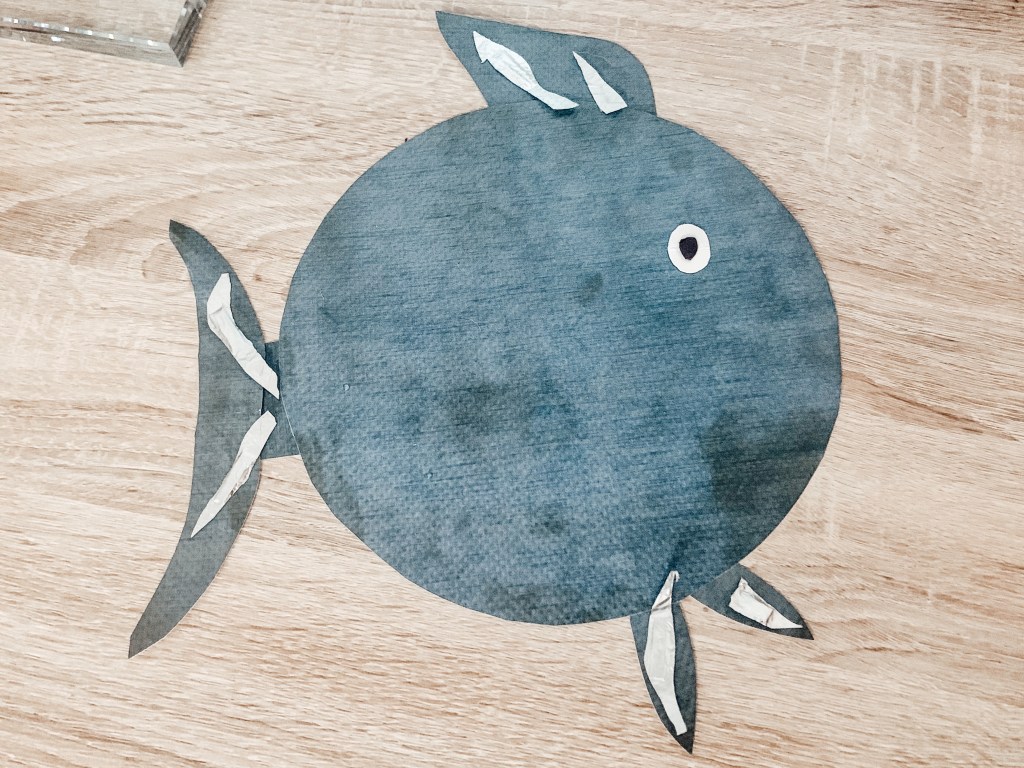
This might be the first year that I’ve ever participated in Shark Week. They’re one of my biggest fears… good thing I live in Ohio. But, I’m raising Mila to be fearless, so we did a toddler-friendly shark inspired craft!
The set up is reminiscent of our Frida Kahlo portrait we did earlier this year. Just shark inspired.
Since Mila isn’t the Steven Spielberg of using scissors, I prepped this activity. If your kids are older, they’ll have fun with this.
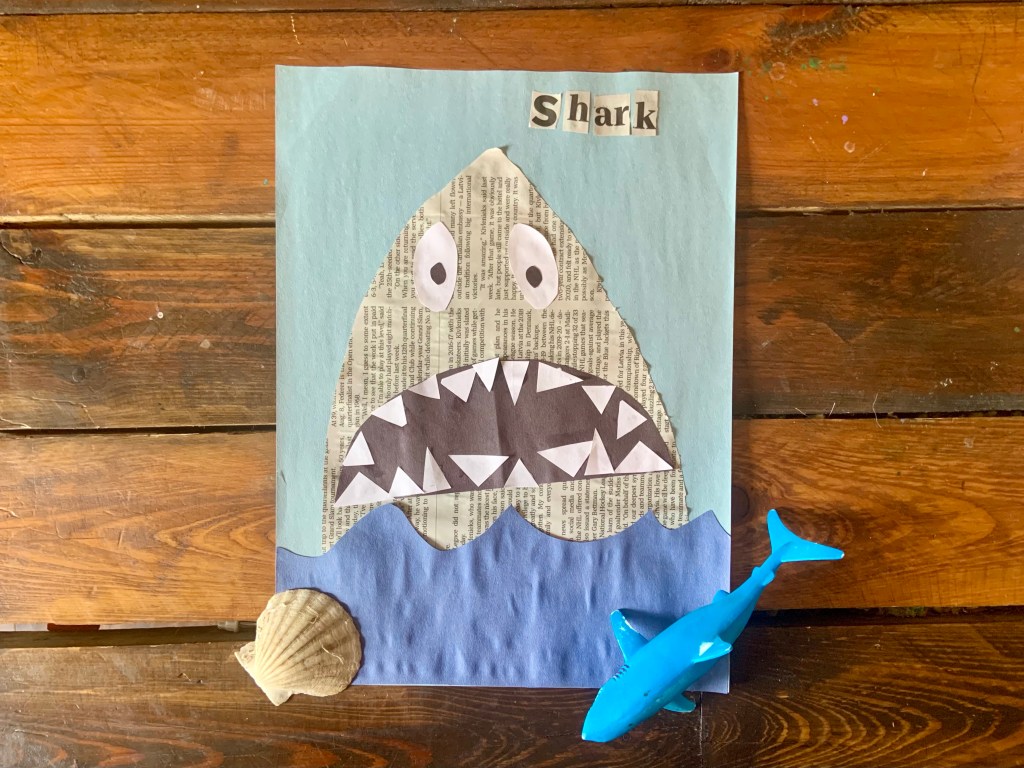
All I did was cut out different shapes of the shark and waves for her to put together.
Light blue for the background
Newspaper for the shark’s body
Black for the shark’s mouth and pupils
White for the eyes and teeth
Dark blue for the waves
Honestly, I just free-cut everything jaws because it was easier and I knew it wasn’t going to be ‘perfect.’ I’m so happy I did because the shark’s expression is amazing.
Once your done cutting the pieces out, have your child assemble their shark.
I let Mila place the shark’s parts however she wanted. She also had her toy shark for reference. The only thing I did tell her was that a shark’s mouth is FULL of teeth.
Take a bite out of this…
Shark’s will have 30,000 teeth over their lifespan. I told Mila that, but she doesn’t really know 30,000 is a huge number.
Back to the craft…
While Mila was working away, I found the letters to ‘shark’ in the newspaper to cut them out. There’s always an opportunity to learn letters, so we take them.
After the pieces are set, glue them down.
So, Mila’s shark is the only shark I probably would not be afraid of seeing in the water.
I mean, just look at him.
He’s not very ferocious and makes me laugh every time I look at him. I don’t know if it’s how big the eyes are or the mismatched teeth…
All I do know is Mila is extremely proud of her shark.
He’s currently hanging on our fridge. So every time I look in our kitchen, his bewildered face makes me smile.
Isn’t that fin–tastic?
We hope you liked our Shark Week paper craft! It’s always fun to see your child creating and learning at the same time.
What’s your favorite type of shark?
I’d you’re looking for other Shark Week activities, check these more ferocious ones out:
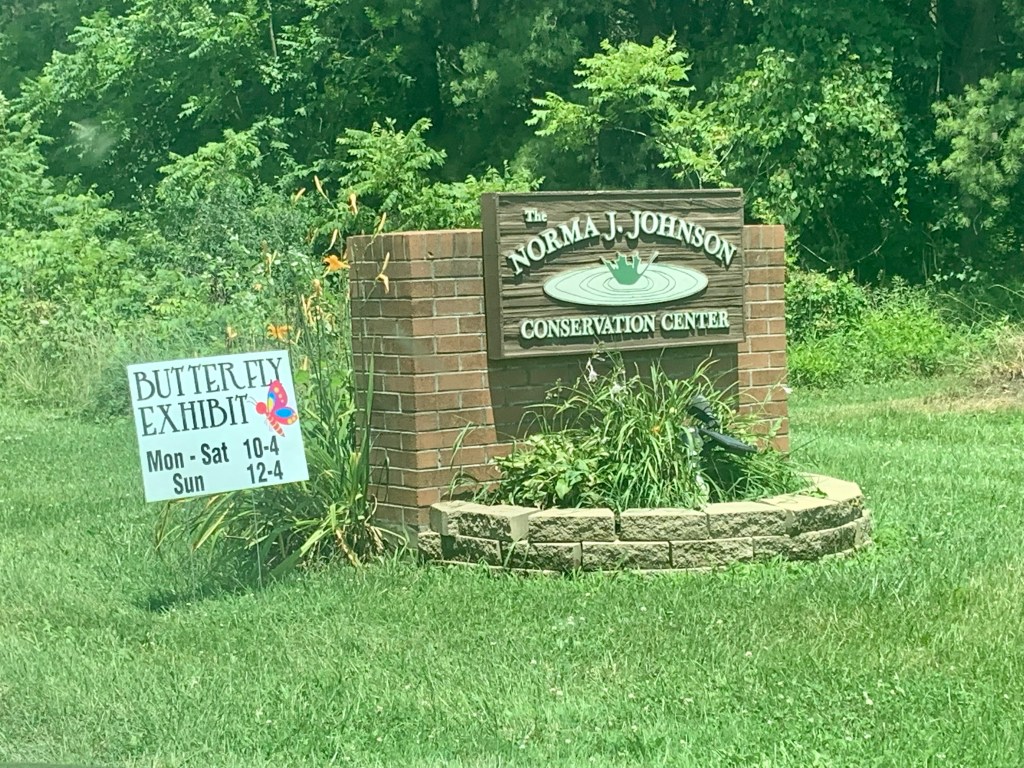
The exhibit only runs until July 18, but it’s worth the quick trip.
Their hours are from 10-4 on weekdays and Saturday and 12-4 on Sunday.
Mila and I actually didn’t plan on seeing the butterflies this week. It was quite the happy accident. On our way out to Sugarcreek, we saw signs adorned with butterflies.
After a quick thought, I asked Mila if she wanted to go and we were on our way.
The Norma Johnson Center (NJC) is between Dover and Sugarcreek. We’ve been there to hike, take pictures, and look at flowers. It’s a beautiful location that also offers educational programs for kids and adults. This was our first one, but we will certainly be back for more.
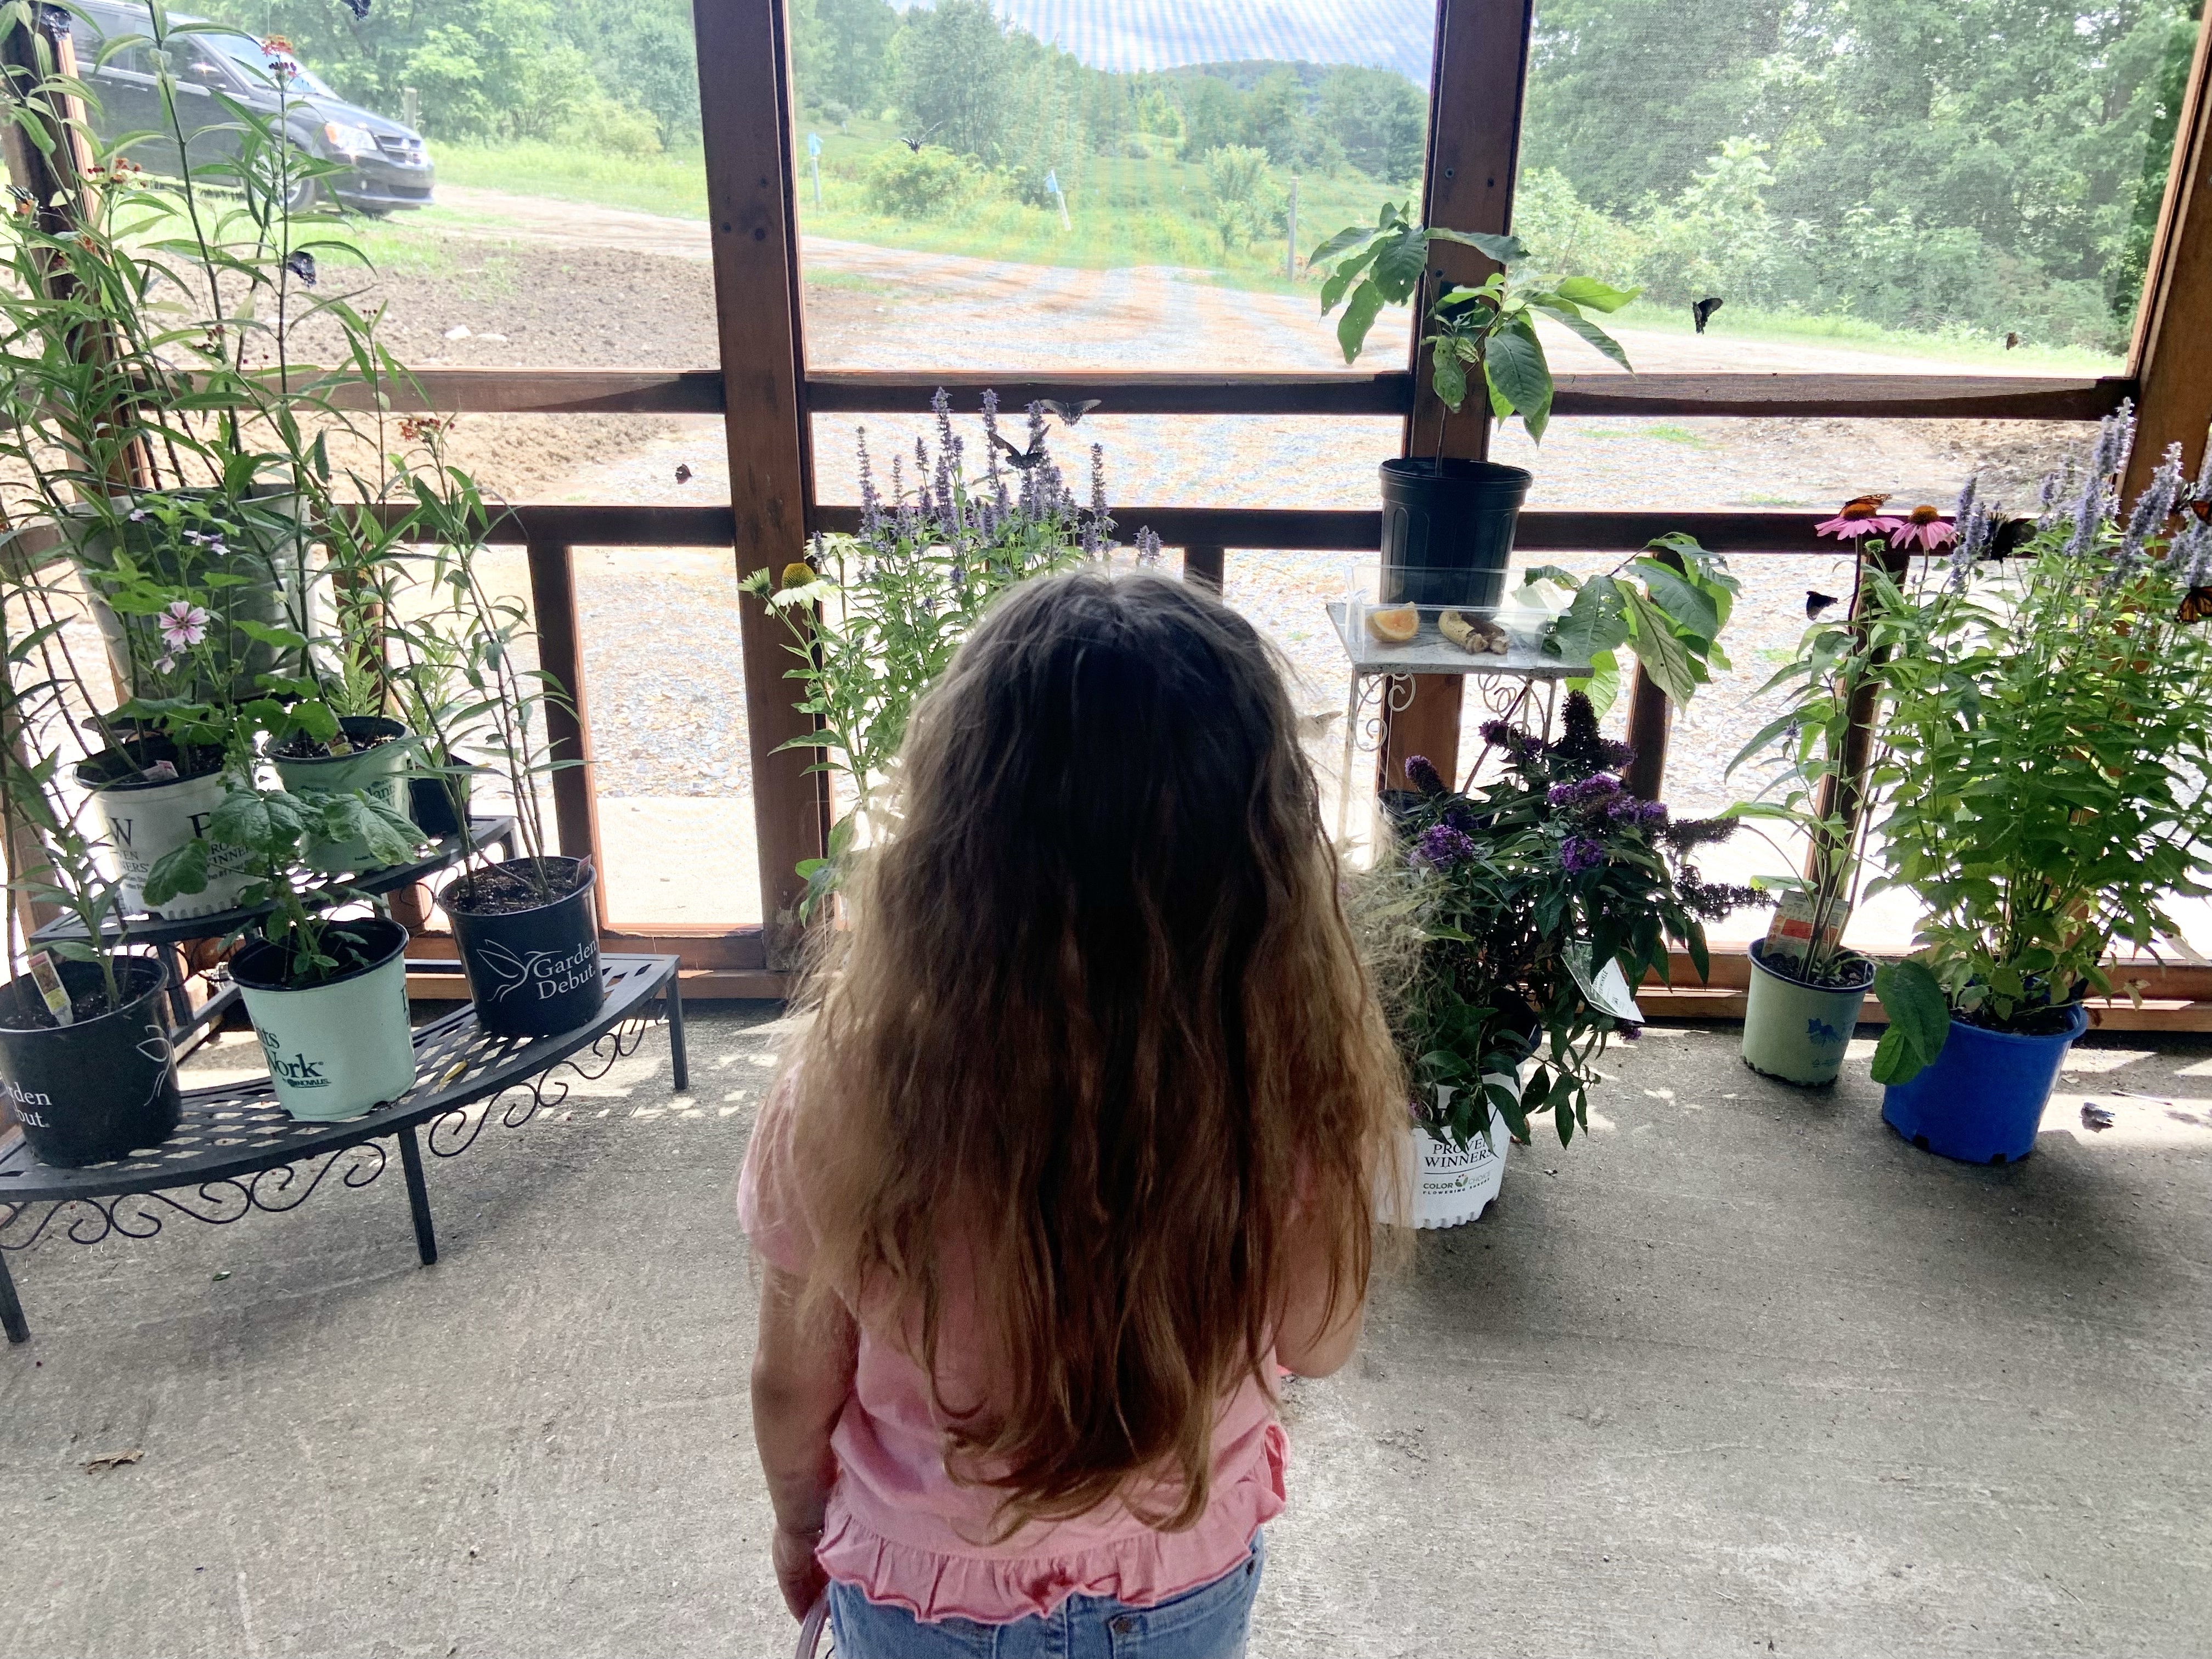
To get to the exhibit, all you have to do is park in the lot by the red barn. Then follow the signs up to the pavilion you saw when pulling in. I promise you can’t miss it.
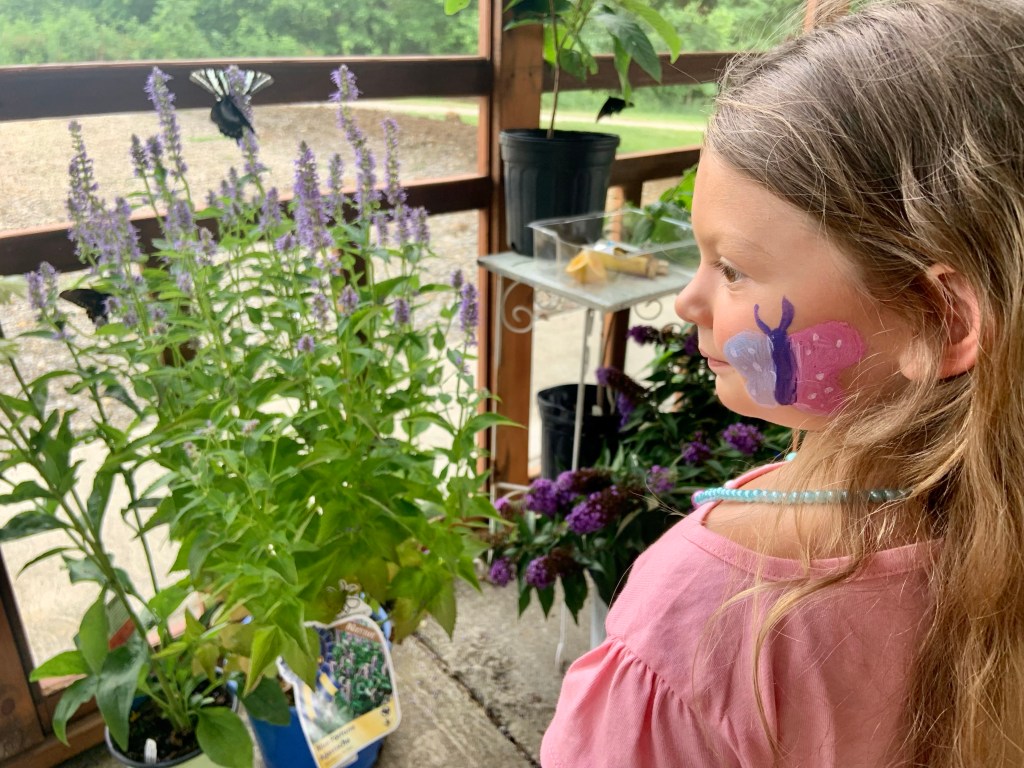
Mila was so excited to see the butterflies, she ran up the hill to get to them.
Under the pavilion, the NJC crew had butterfly crafts, face painting, and information. Plus, the main event: actual butterflies!
The butterflies were in a screened off section of the pavilion.
Inside, there was a lady who was extremely knowledgeable about butterflies. She was such a huge help in teaching kids the different parts of the butterflies and how to handle them.
We learned that we shouldn’t touch butterflies with our fingers, they eat with their proboscis (which is like a straw), and they love to eat rotten fruit, but prefer flowers more. Also, that Eric Clarke wrote that caterpillars made a cocoon, but it’s actually called a chrysalis!
Those were the main takeaways. There was so much more information.
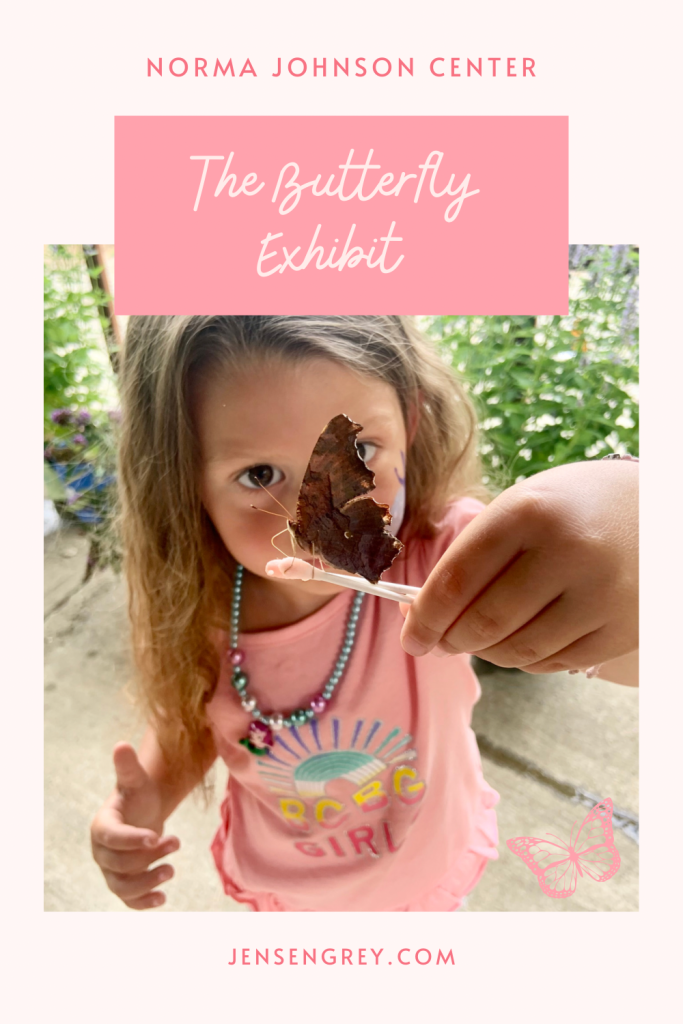
If you’re wondering why Mila has the q-tips, it’s a good question. Since you shouldn’t touch butterflies with your finger, q-tips are the best option to be interactive with butterflies.
They’re dipped in watermelon, which some butterflies like. You can get them on there so they drink the juice. Then they can either fly away or you can transfer them to a flower. You get to see the butterflies up close AND they get to stay safe.
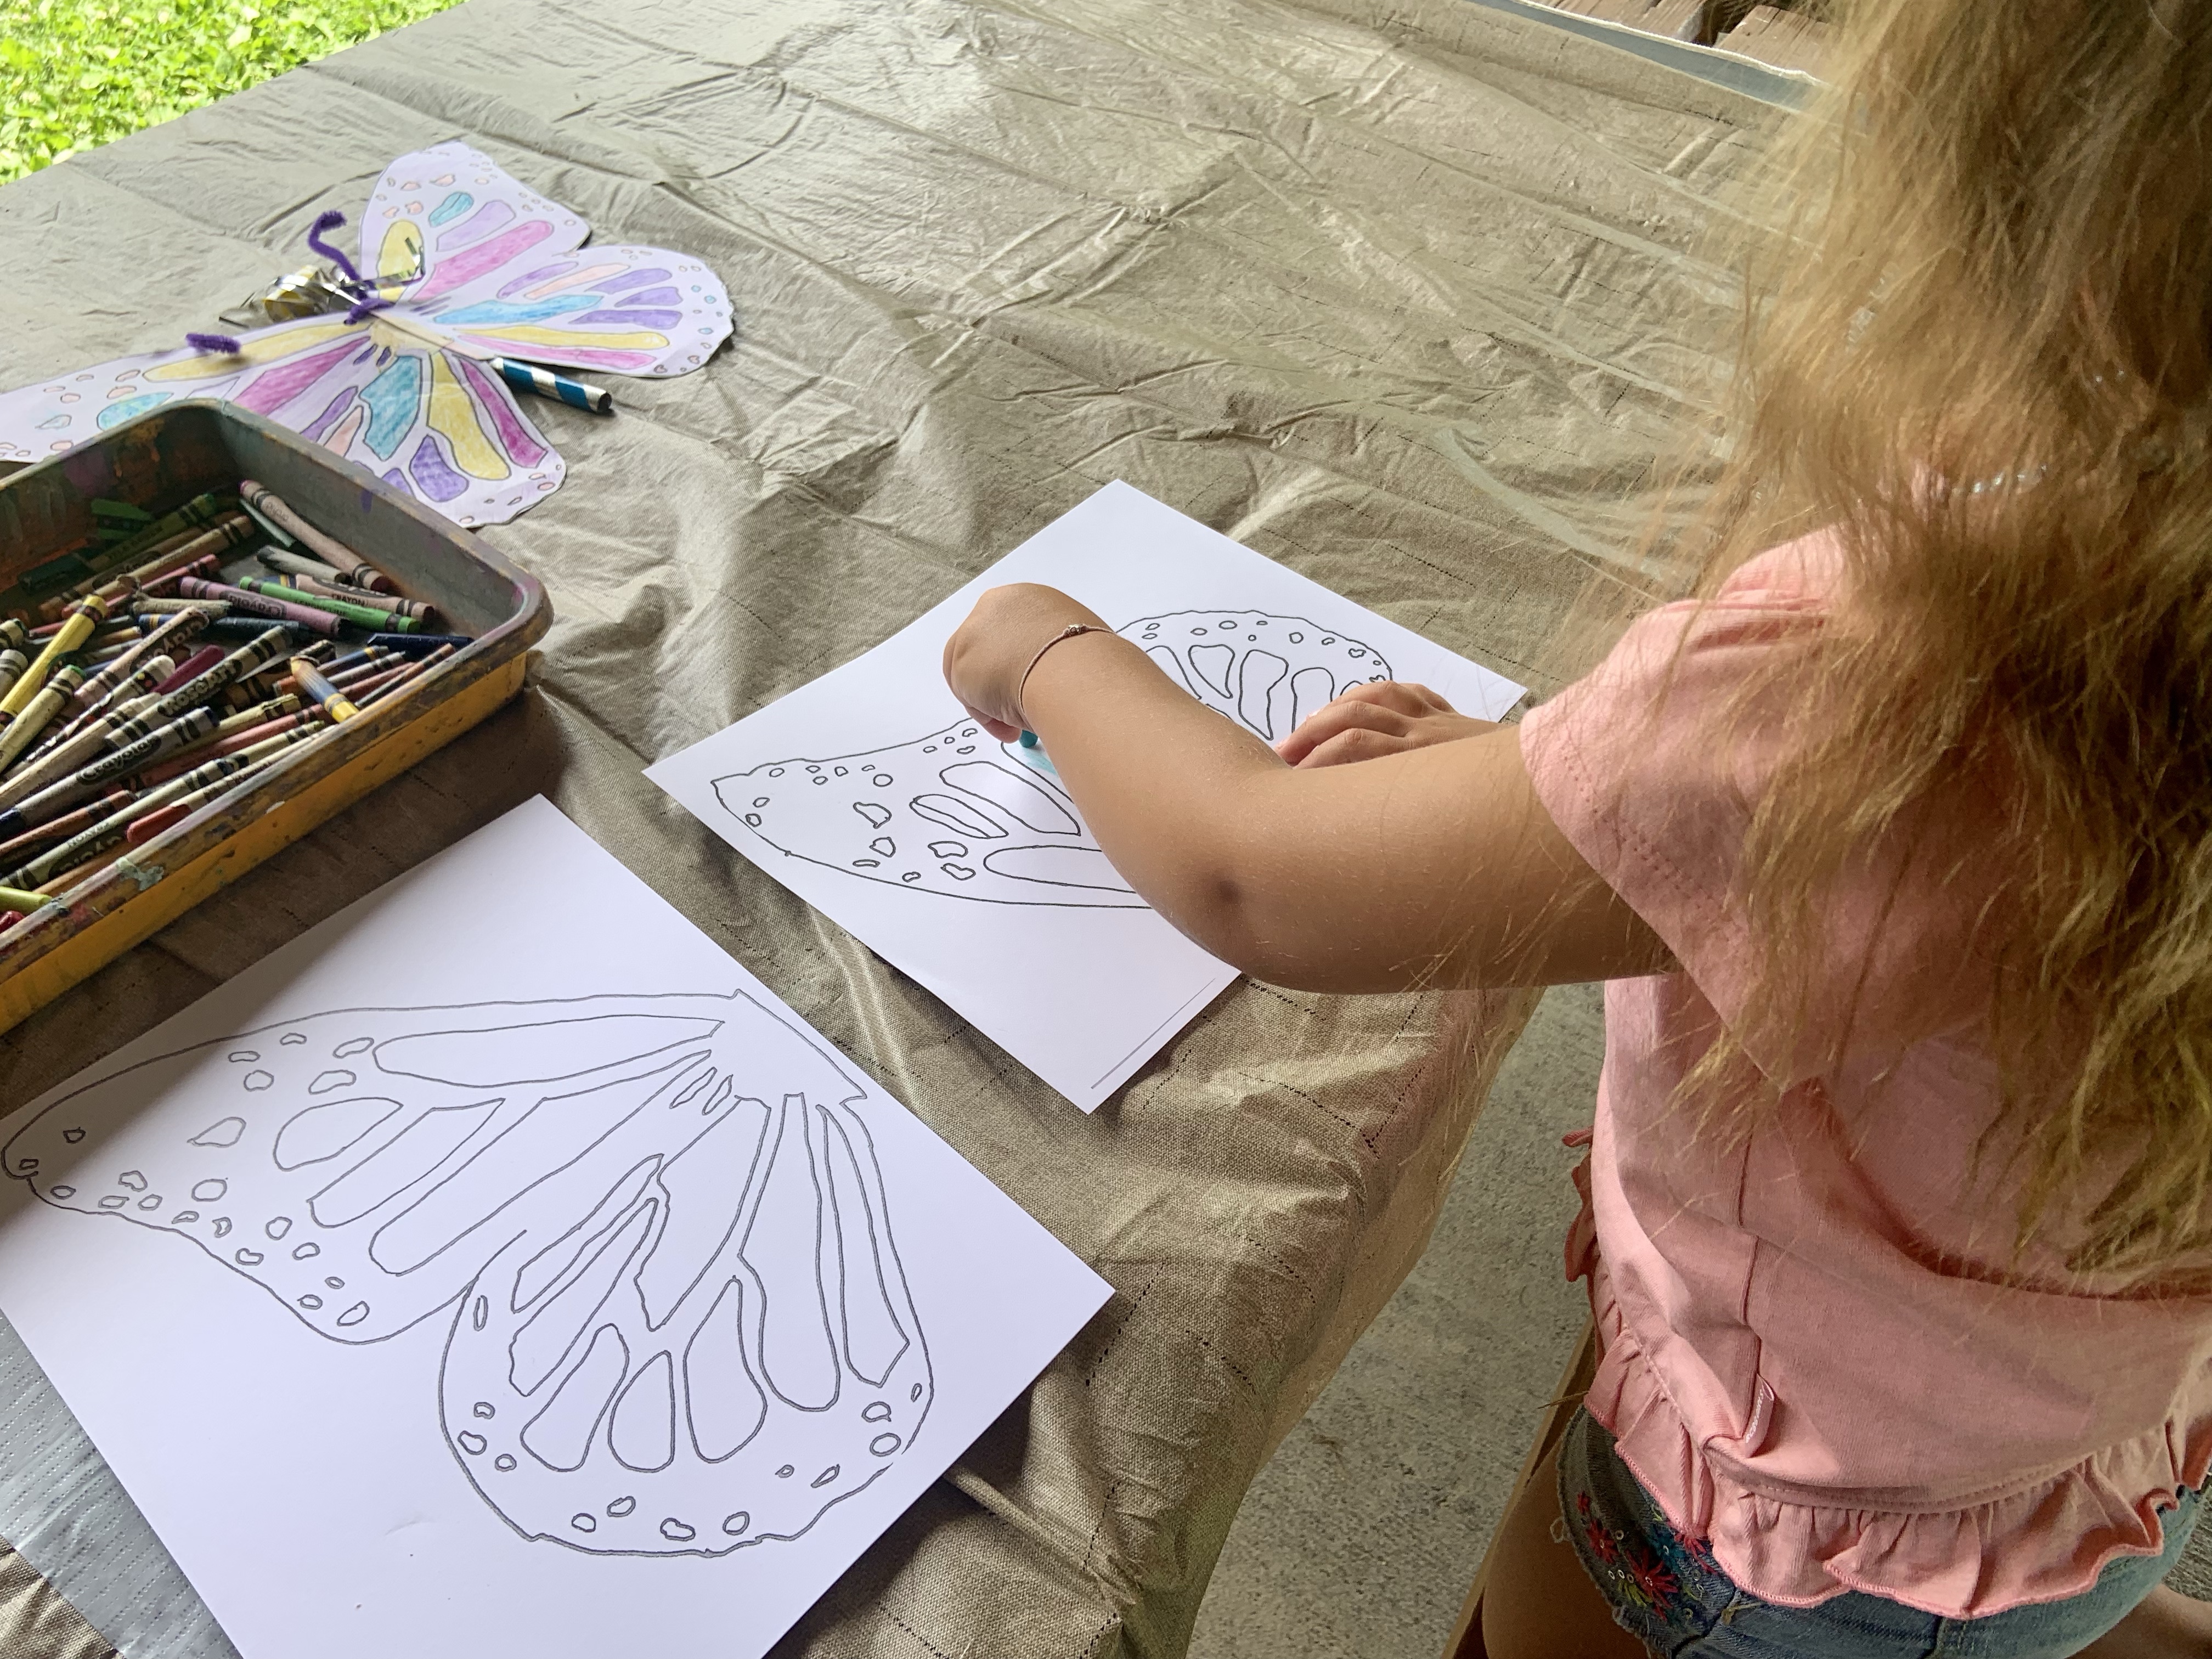
After we visited the butterflies, it was craft time!
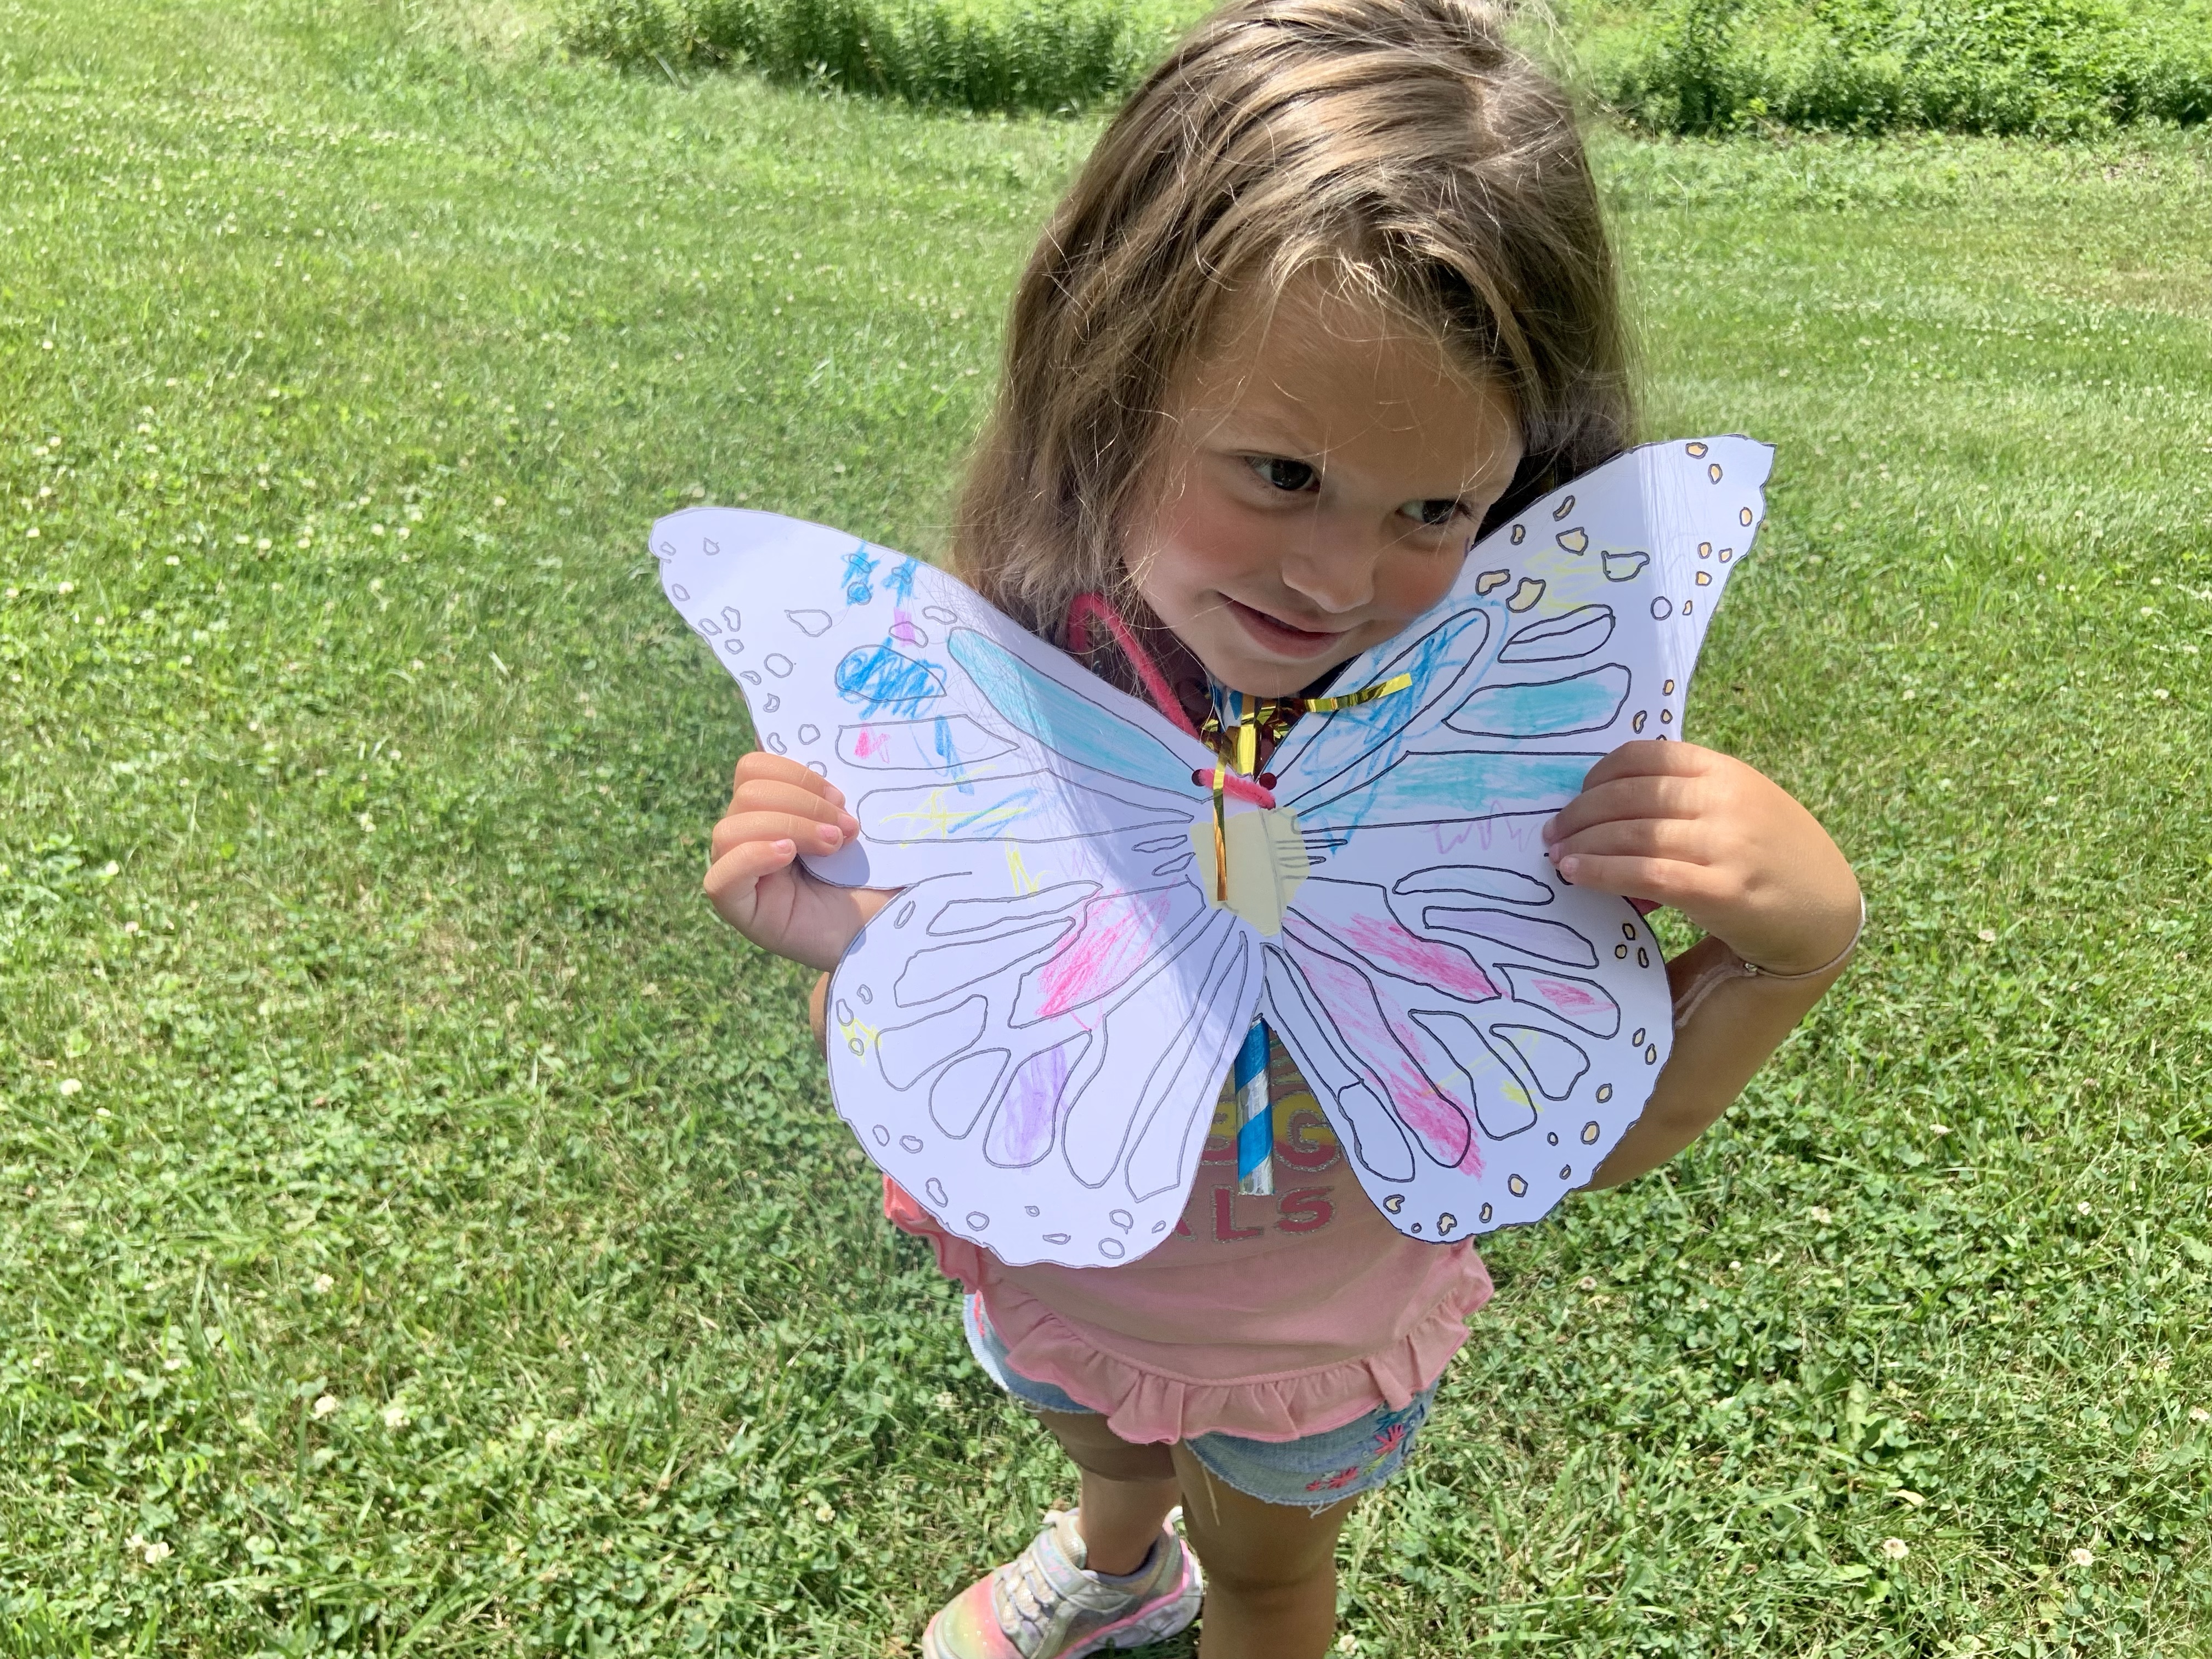
The NJC had a free paper butterfly craft. It consisted of coloring the wings, cutting them out, and assembling it together. Mila and I tackled this one together!
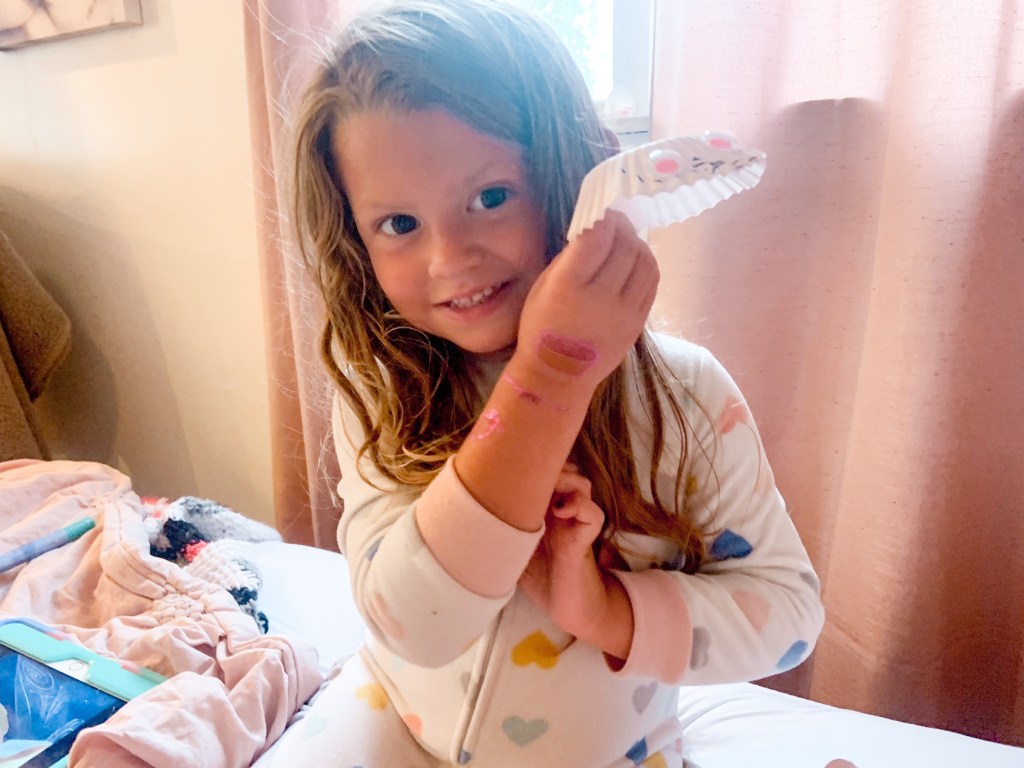
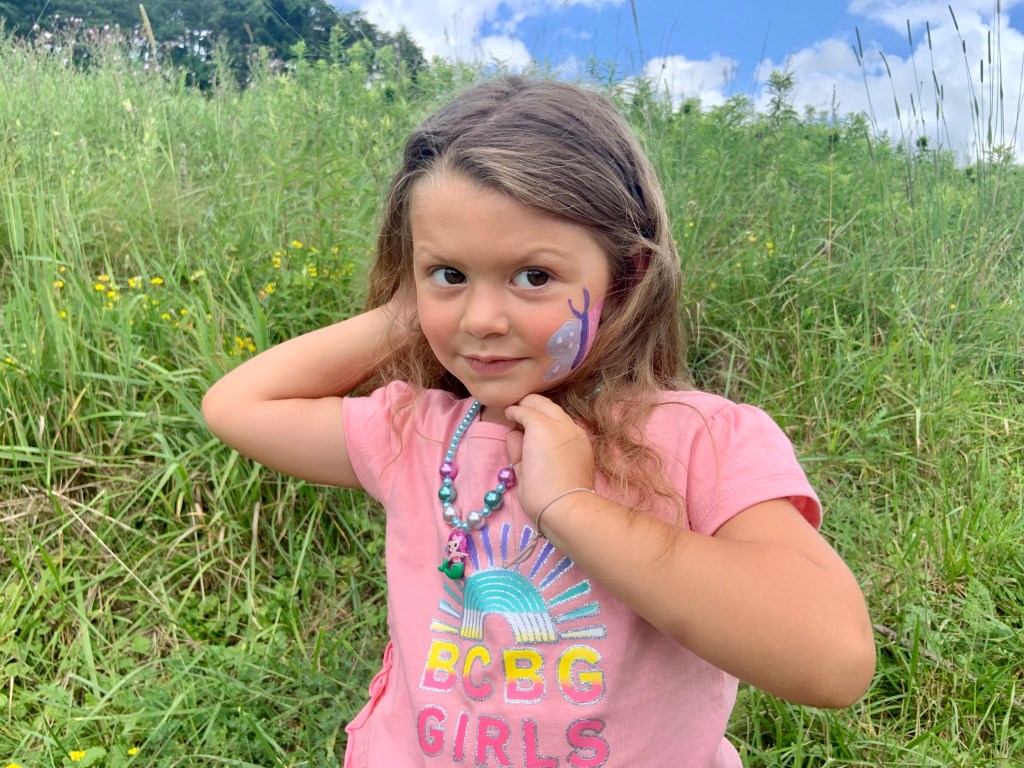
Then, she got to get her face painted, with a butterfly of course. She picked all her favorite colors: pink, blue, purple, and a silvery color. The butterfly was very unique.
It was her very first time getting her face painted! I think she was a little nervous, but overall stayed as still as she could.
Immediately after, she wanted to do a little photoshoot and ran on the hill.
I guess you could say she was happy with the finished product.
After face painting, she made some sand art.
They had crafts that costed up to $5 that were butterfly themed. She choose to do the sand, but they also had concrete garden stones kids (or adults!) could paint too.
Before we left, Mila said goodbye to everyone, especially the butterflies.
For those who live further away, I hope you have something similar close to you. It’s definitely worth checking into. Maybe you’ll find a new place to take your kids to play too!
Did you learn anything about butterflies through this post? Or what’s a fun fact you have about them?
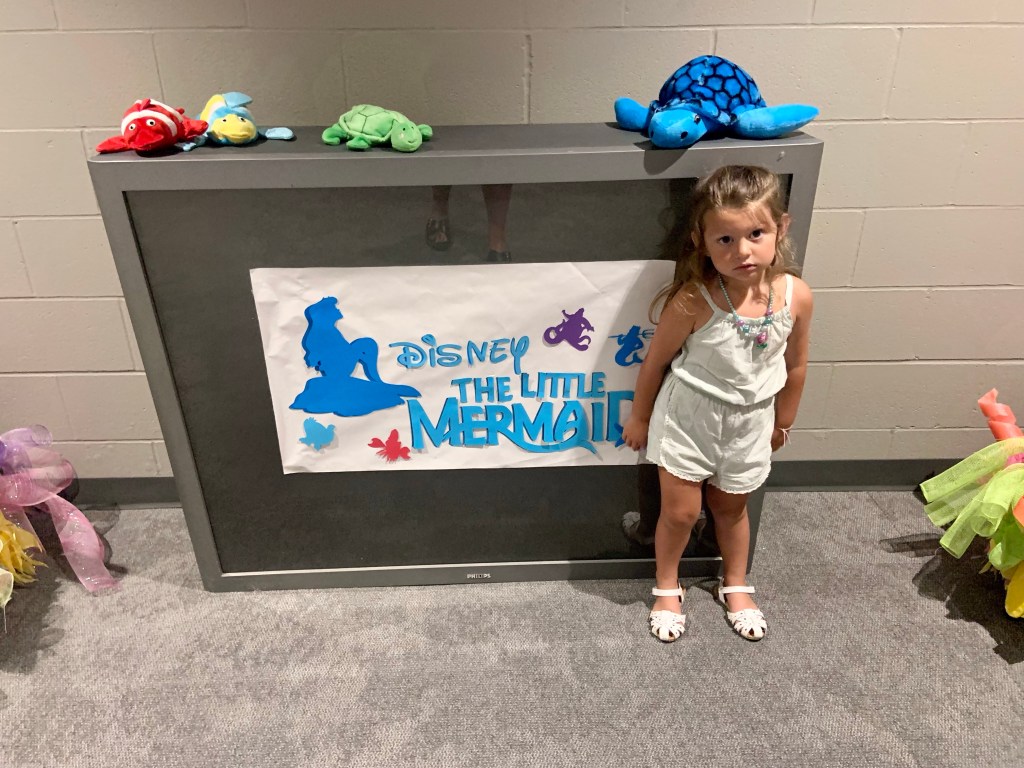
Okay… she was way more excited than this picture shows. This was after watching and she was tired!
The play took place at Dover High School‘s auditorium. It provided comfy seats, a decently sized stage, and an overall nice atmosphere.
I will say… Mila and I did get lost finding the restrooms though.. oops!
We met Mila’s dance friend, her sister, and mom there. The girls were SO excited to see Ariel. The potential of meeting here was in the air. All they had to do was watch one of their favorite stories unfold in front of their eyes.
Since it was there first play, we explained how they worked. The lights would dim when they play would start. We had to stay quiet while the lights were dim and they were on stage. Clap after the songs. No eating and drinking while we were watching.
The first time they saw Ariel was like magic. Every time she left the stage, they wondered where she went!
It was so cute seeing their excitement and hearing their little chatter. Thankfully the people in front of us didn’t mind toddler talk and their seats being touched.
Honestly, hearing all the kids in the theatre made it extra adorable.
The play would be in two parts with an intermission in between. I’d say the break was definitely needed with two three year olds.
Although I won’t give too much away about the play (you know the story), the intermission took place right after Ariel lost her voice. Hopefully if you go the next two nights, this can help you plan for your littles.
During intermission, the girls took some pictures, ate a snack, and got some of Ariels treasures!
Her treasures were some mermaid inspired merchandise. Mila got a necklace, ring, lipgloss, tattoo, and shell. They also had crowns, keychains, and so much more.
One really cool option was writing a note to a cast member. Mila and the girls chose to write their note to Ariel!
During the second part of the play, the girls were getting tired. Somehow knowing they were about to meet their favorite mermaids kept them awake.
Honestly, I was so impressed by the play. It’s the first local one I’ve been to in a couple years. The actors were amazing. I laughed so many times throughout the entire thing. Sebastian had me laughing out loud every time he was in stage! The music and singing amazed me too. On top of that, the props and costumes were on point too.
It was just such a great play.
As they play ended, the girls knew it was time to meet all of their favorite characters. It was so interesting watching Mila interact with different characters.
She ran up to King Triton and gave him a big hug. On our way home, she told me, “Ariel’s daddy is so cute!” No wonder why she ran up to him then! When she saw Sebastian, she had to go talk to him too.
I mean, just look at their costumes!
Then, she saw Ursula. Mila refused to even stand beside her. I absolutely loved her costume, makeup, and performance. It’s quite comical that Mila wanted nothing to do with her. She knows she’s ‘evil’ in the movie.
The girls met other cast members and took their pictures. Mila also did not want a picture with Flounder or Prince Eric. I found this perplexing because she loves watching them.
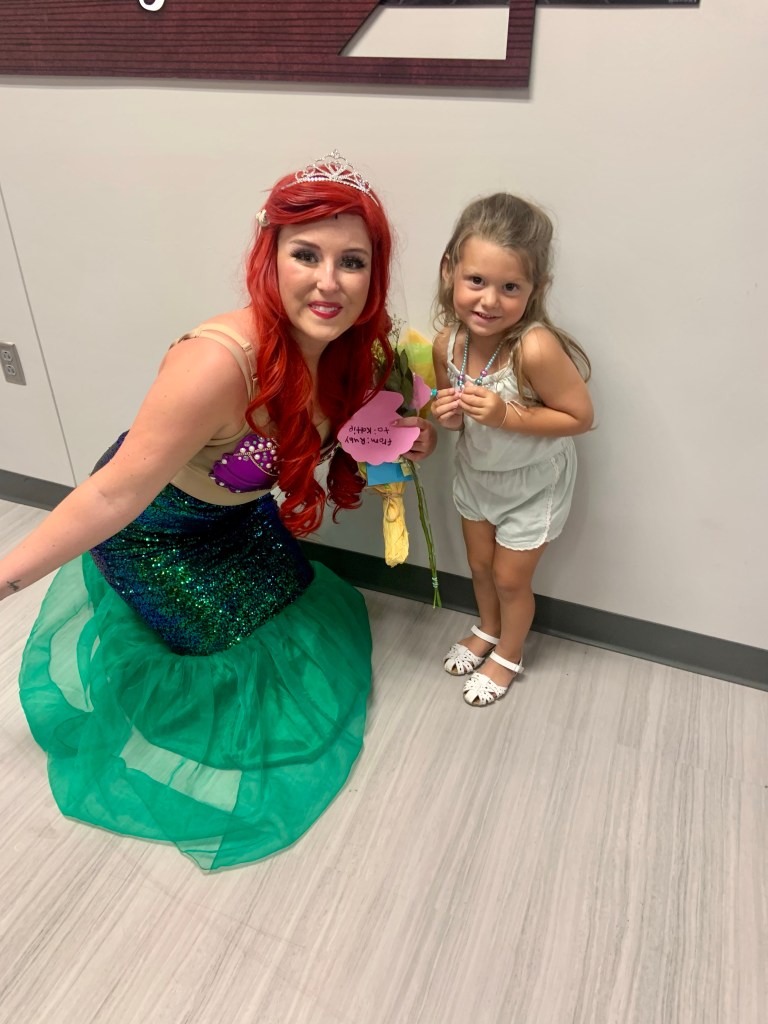
While we were meeting with other characters, Ariel snuck in the room.
Mila was so giddy and just happy to see her.
The actress was so patient and gave each child time to talk. I think that’s such an important thing to do when portraying a Disney princess. It’s a huge deal for kids and she understood that.
I wish I could tell her thank you again!
The night was absolutely beautiful. We got to spend it with great friends watching an amazing performance! The added bonus of meeting Mila’s favorite characters just made it sweeter.
Although the rest of The Little Mermaidperformances are sold out, you should still check out The Little Theatre of Tuscarawas County. They put on different shows throughout the year. I can only imagine they’re as great as this one!
I can’t wait to see what they put on next year for the kids. Mila and I will definitely go.
Maybe one day she’ll want to try theatre too. Who knows? No matter what she does, I’ll be there cheering her on.
Until then, Mila and I have plenty of mommy-daughter date nights ahead.
What was your or your child’s first play?
If you’d like to support The Little Theatre of Tuscarawas County, check out their website. They provide a ton of great ways to get involved with local arts.
Her first summer, we were constantly in the pool. She seemed to be at her happiest when we dance around and swam, so that’s what we did. It helped become familiar with the water and gave her a lot of pool confidence early on.
The next summer, I worried whether or not she would like it as much. But, she loved it and had no fear of getting in with her floaties.
Last summer, she mastered jumping in by herself (with her puddle jumper) and swimming to one of us. It felt like a victory! We spent so much time during our COVID summer swimming around.
When this summer came along, I wondered what she would want to try this year. I had no idea she’d be confident enough for no floaties.
I will say, my anxiety definitely stepped up. All the thoughts of what could go wrong flashed through my head. Yet, when I saw her excitement and determination to do it, I calmed down a little.
Since it’s been a process, I figured I’d share some tips that worked for us through it with other parents.
1. Set rules.
This was so big for my anxiety and Mila being pool safe. Not everyone’s rules will look the same, here’s ours.
You have to wear floaties if there’s other kids in the pool.
You don’t have to wear floaties if there’s an adult in the pool already.
If you’re practicing swimming without, you have to have an adult beside you.
When swimming between adults, let them know where you’re going.
Only jump in without floaties if someone’s there watching.
There has to be breaks.
These are the rules that work for us. My main focus is Mila’s safety. I want her to know she cannot swim without floaties by herself. She seems to be receptive with our rules too.
Although she does like to challenge us and push her limits.
2. Be confident and open.
Toddlers and kids can immediately tell what their parents are feeling. If you’re not confident and open to the situation, they’ll feel that.
At first, I was really anxious about it all. She was too! The more I let myself be okay with her swimming by herself, the more confident and stronger she became.
I think by having some sort of rules and guidelines for her, it calmed my anxiety too.
3. Get active with them.
Monkey see monkey do, right?
To put it out there, you can teach your child to swim confidently if you’re not in there with them.
While we’re in the pool, there’s someone showing Mila different ways to swim. Or they’re going under water with her. Just being active and involved goes a long way.
I also think the more she sees confident swimmers, the quicker she’s going to get there too.
4. Give them feedback.
At the beginning of this no floaty journey, I felt like I nit picked everything she was doing. Just because I wanted her to be safe.
Now, I’ve been able to give her constructive feedback.
The biggest one I’m always saying is to use big arms. She forgets halfway through to keep moving them. Once she’s reminded, she does it the next time. It’s all just a learning process!
Obviously, try not to bombard them with feedback. That can be discouraging, but there is a good balance to keep them safe and swimming.
As with anything, the most important thing is to have fun!
I encourage Mila to jump in and show me different tricks. That’s always a hit! When we’re in the pool, we have races and make waves too. We make sure to play games while she has her floaties on too. Some games we play are hide-and-seek and building forts.
The stronger she gets as a swimmer, the more games we’ll get to play. I know she’s really excited to be able to dive for diving sticks and toys.
I hope our experience with swimming and these tips can help you with your toddler or child too!
What are some of your tips and tricks that helped you or your child swim?