Another week, another activity box for Mila to explore. This week is a Mermaid Activity Box. Since summer is still here and she loves the beach, I thought it was a perfect time to do this theme. It’s fun, education, and a hit with Mila.
Although I over-themed it for mermaids, this could easily be altered to be more about sharks, fish, or any other ocean creature too.
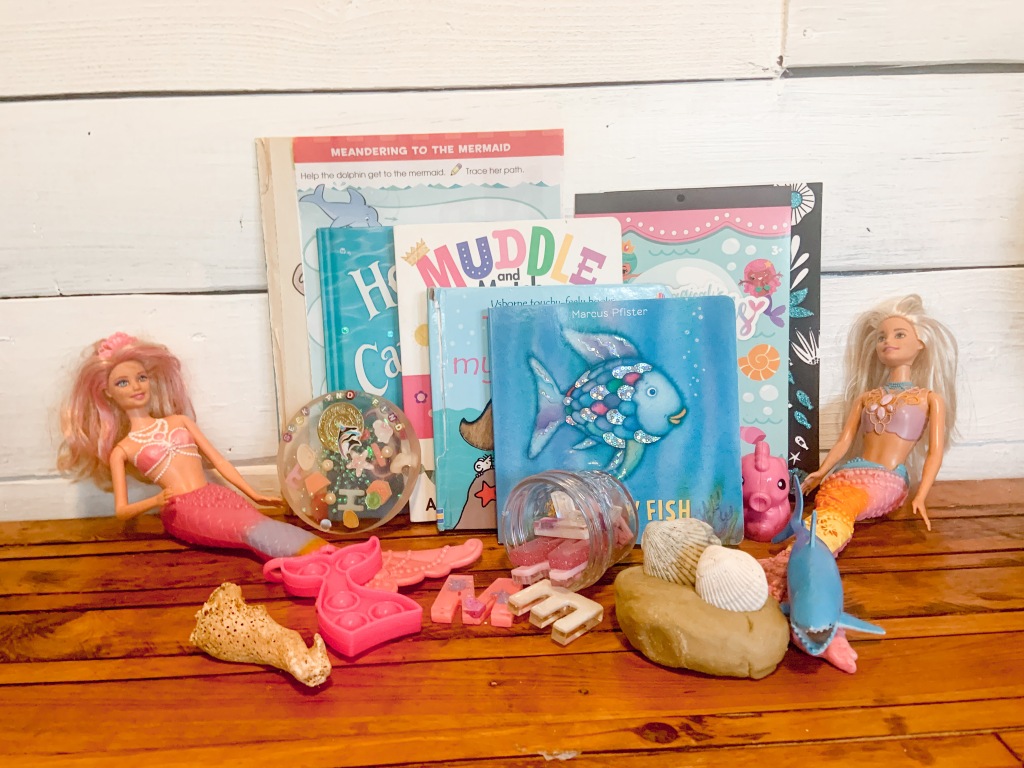
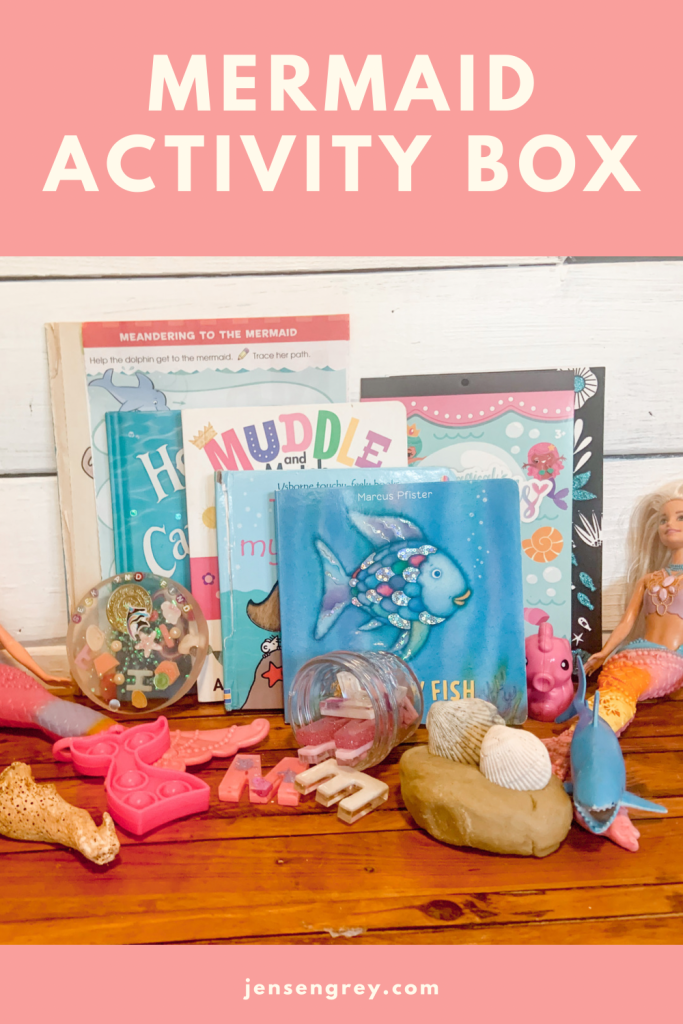
Like the Dinosaur Activity Box, the Mermaid Activity Box is filled with sensory items, toys, books, and educational activities for toddlers and preschoolers. All of this fits inside a book box from Target so it can easily travel from place to place.
These boxes are such an easy way to help promote learning for you little ones with multiple family members and friends.
Every time Mila sees me start to take items out of the box and put new ones in, she gets so excited to see what she’ll be working with. I think by just getting her to sit down with the sensory toys, books, and activity worksheets, it’ll help her prepare for preschool. it can be a huge adjustment to start learning how to sit down for crafts and activities the first time they go to preschool.
Anyways… here’s what’s all in the Mermaid Activity Box.
Mermaid Books
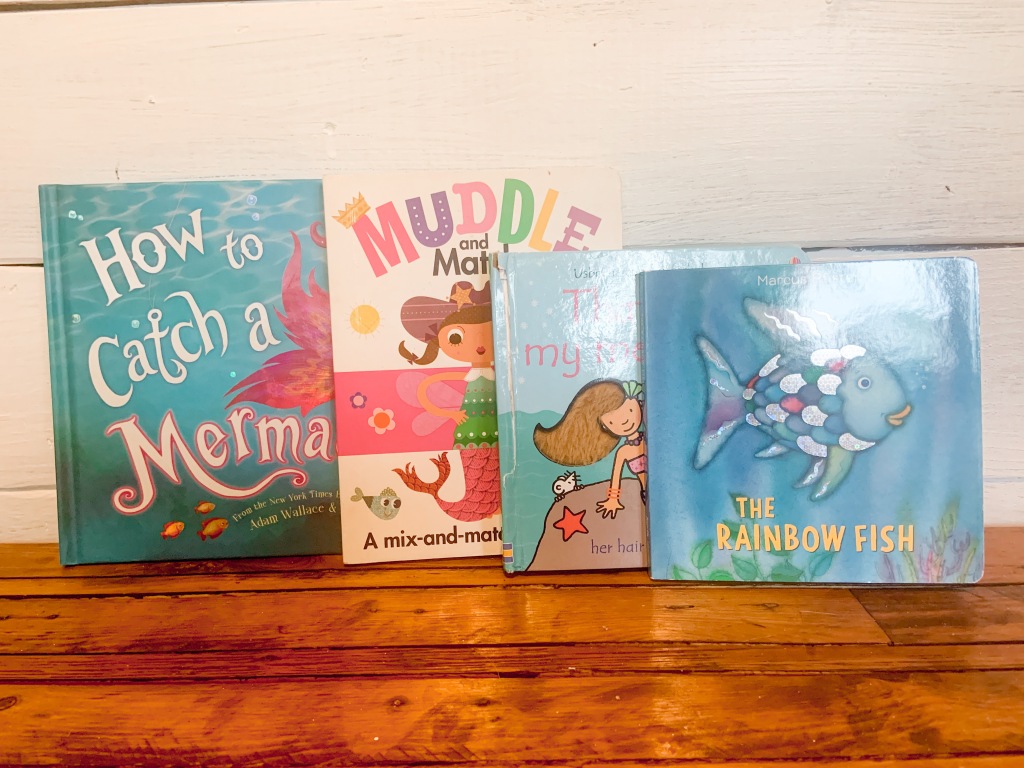
I’m a big supporter of Mila reading books every single day. Even if she’s making her own words up with the pictures. Books help kids understand concepts, worlds, and places they don’t have the opportunity or option to explore.
These four books are amazing. I’ve definitely showcased three of them on past posts before. They’re just that good!
In all of these books, we love the stories, but the illustrations are just gorgeous. I think they really capture the ocean vibes with all the blues. Mila’s favorite for a long time have been the That’s Not My… series. She loves finding the mouse and learning new words that describe what the books about.
Here’s our musts for the Mermaid Activity Box:
- How to Catch a Mermaid by Adam Wallace
- Muddle and Match: Imagine by Autumn Publishing
- That’s Not My Mermaid by Fiona Watt
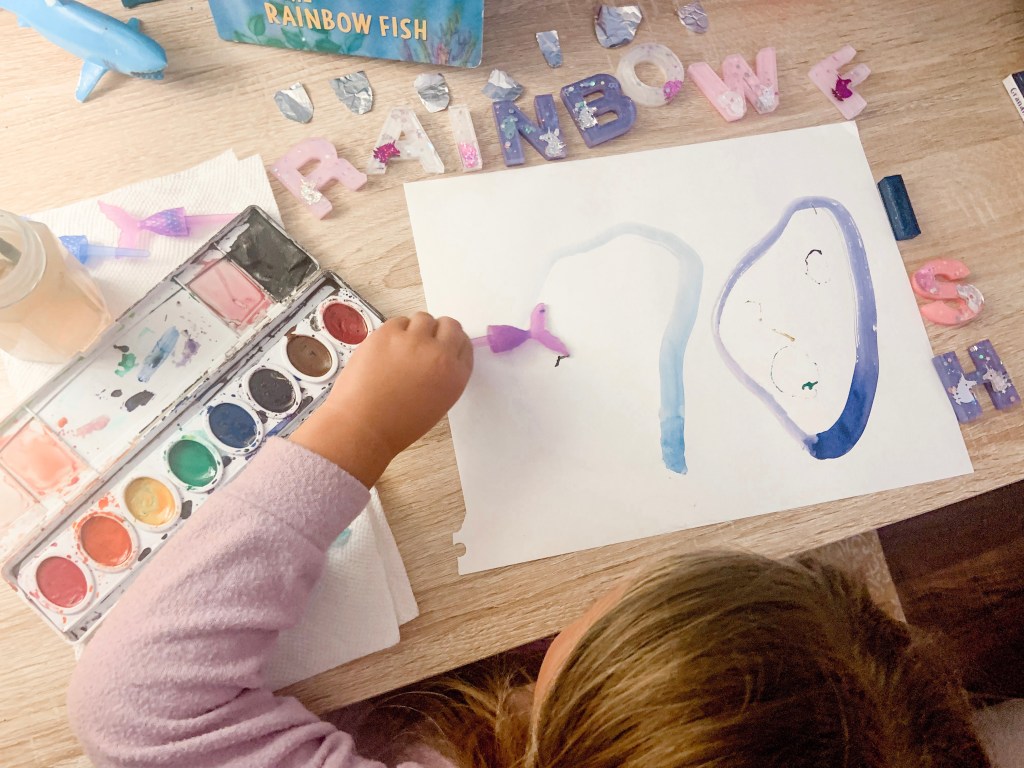
- Rainbow Fish by Marcus Pfister
I’m always on the look out for more books too. If you have fun ocean, sea, or mermaid inspired books you think we’d love, let me know in the comments.
Sensory Play Items
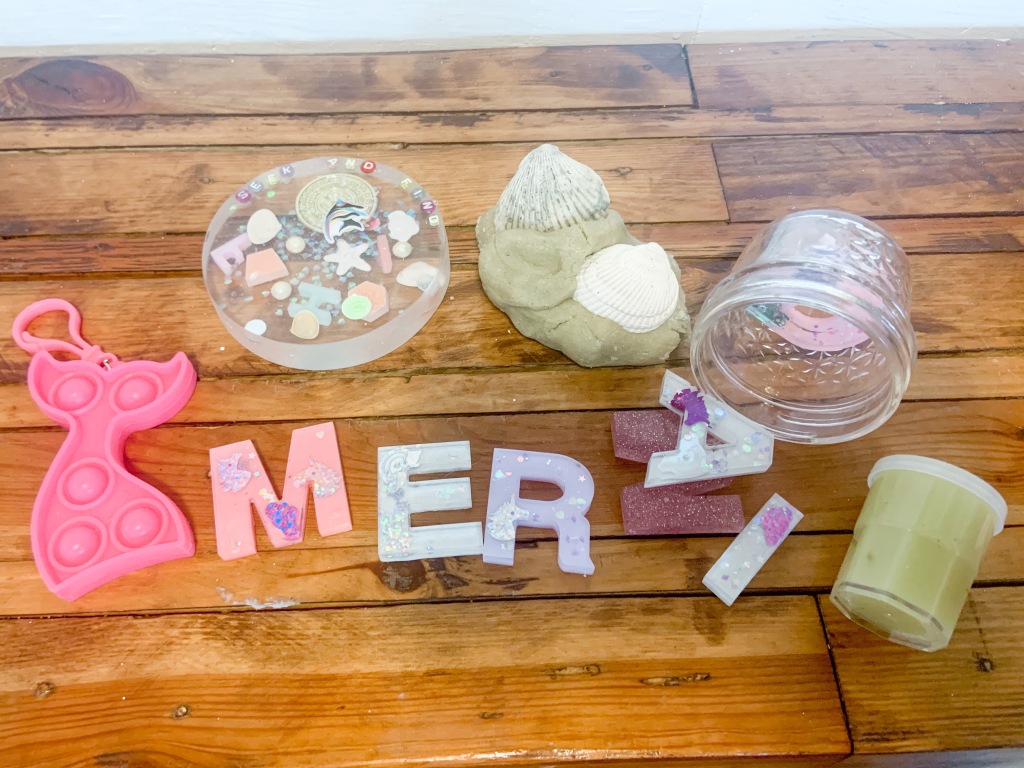
We love sensory play. There’s SO many options for kids to learn by feeling and exploring.
The beautiful resin letters are from Beags and Bubs. I shouted Danielle out last week for her letters and knew I had to showcase them for this activity box. She also created the seek and find activity too (the clear circle in the top left) and the sand play-doh. I would 100% recommend her to anyone. Her Instagram feed is beautiful and she can make custom letters that will be perfect for you child.
I also added her mermaid pop-it. Mila is just amazed by pop-its. Whenever she gets overwhelmed, i’ll give her one and it calms her. This one is adorable, but can easily be carried around too.
She also always loves slime and I gave her blue play-doh too. The seashells were included so she can make impressions in the play-doh. This will allow her to extend her play and be imaginative with the toys too.
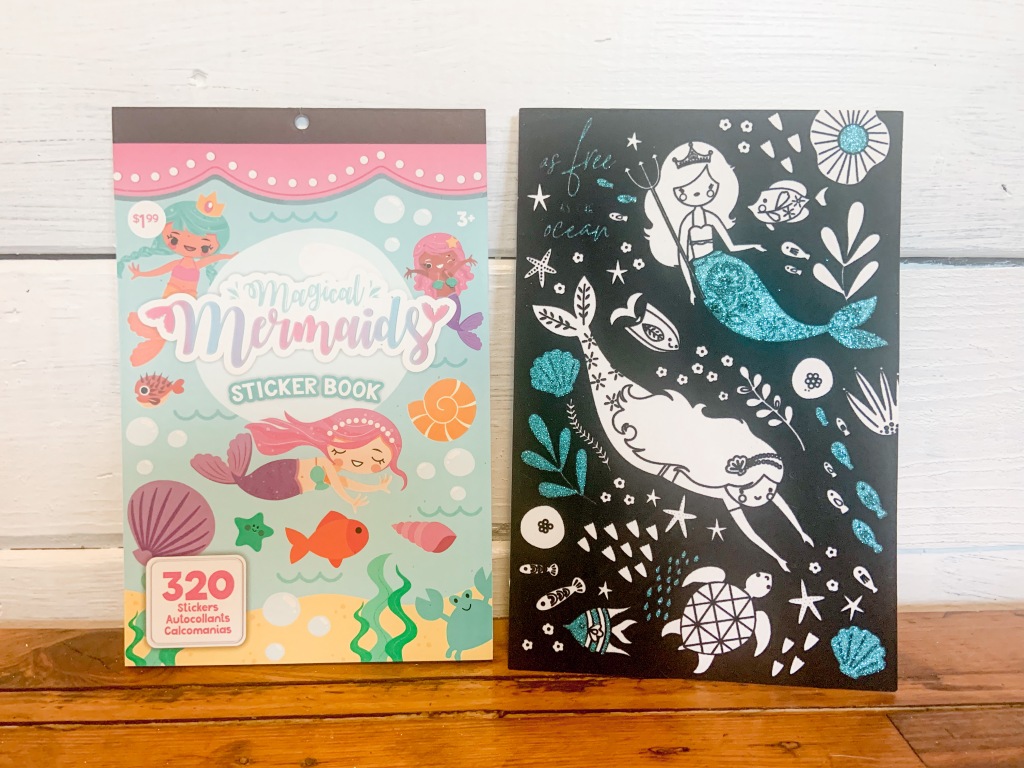
I have a ton of different sticker and coloring books for Mila. She loves them both. For her sticker books, I usually have another page or cardboard for her to put them on too.
The two pictured above were found at Joann’s for cheap! The marker page was actually 70% off. Mila likes the way the black feels and I love that it’ll help her stay in the lines. I also have other coloring pages from older coloring books that she loves to color in.
Like with the Dinosaur Activity Box, I flipped through Mila’s workbooks and found mermaid and ocean themed pages for her to use. Usually preschool workbooks will have a huge range of themes they use in their books, which is awesome for using different themes!
Again, I love preparing her for preschool by giving her these pages now. It helps let her know that learning can be fun!
There’s also a ton of printables on Pinterest you can find for activity pages too!
Mermaid Play Ideas and Ocean Crafts

The cute mermaid flag is from Celebration Stylist! They have so many cute printables.
Although they’re not added in this picture of the activity box, you can add so many other crafts and activities too. We’ve done so many ocean and mermaid themed sensory play and crafts that Mila has asked to do over and over again.
These crafts and sensory components can be put in bags or Tupperware containers to help organize them.
Wondering what crafts and sensory ideas you can do, check out this list:
- Mermaid Swim Party
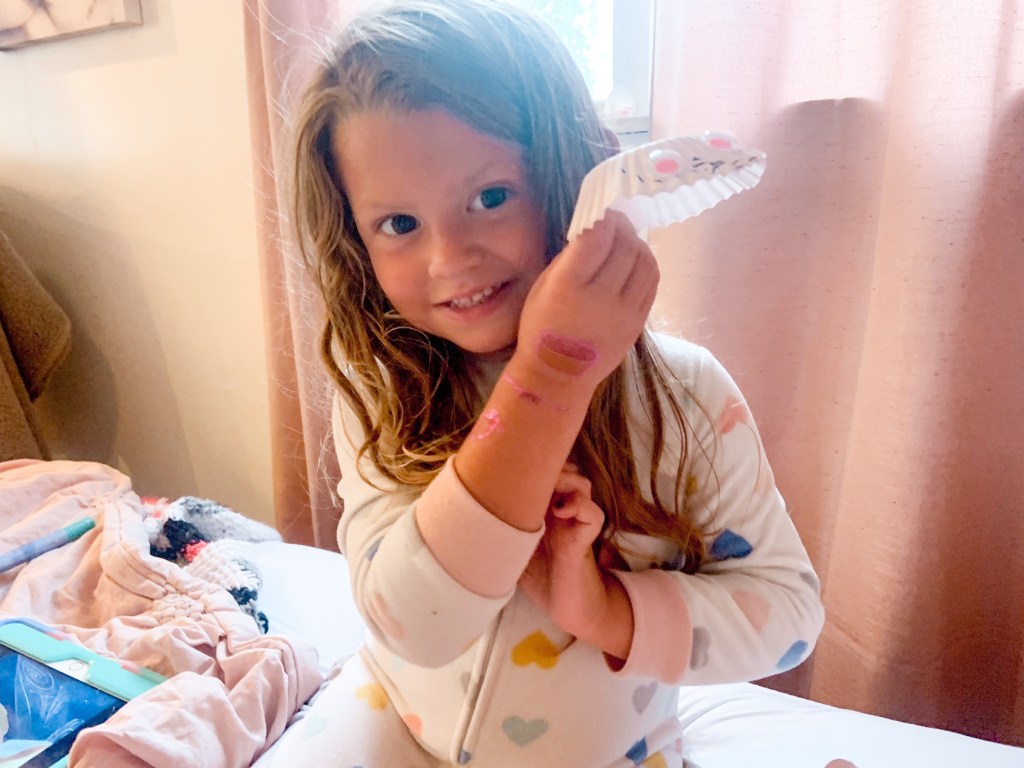
- Cupcake Liner Octopus
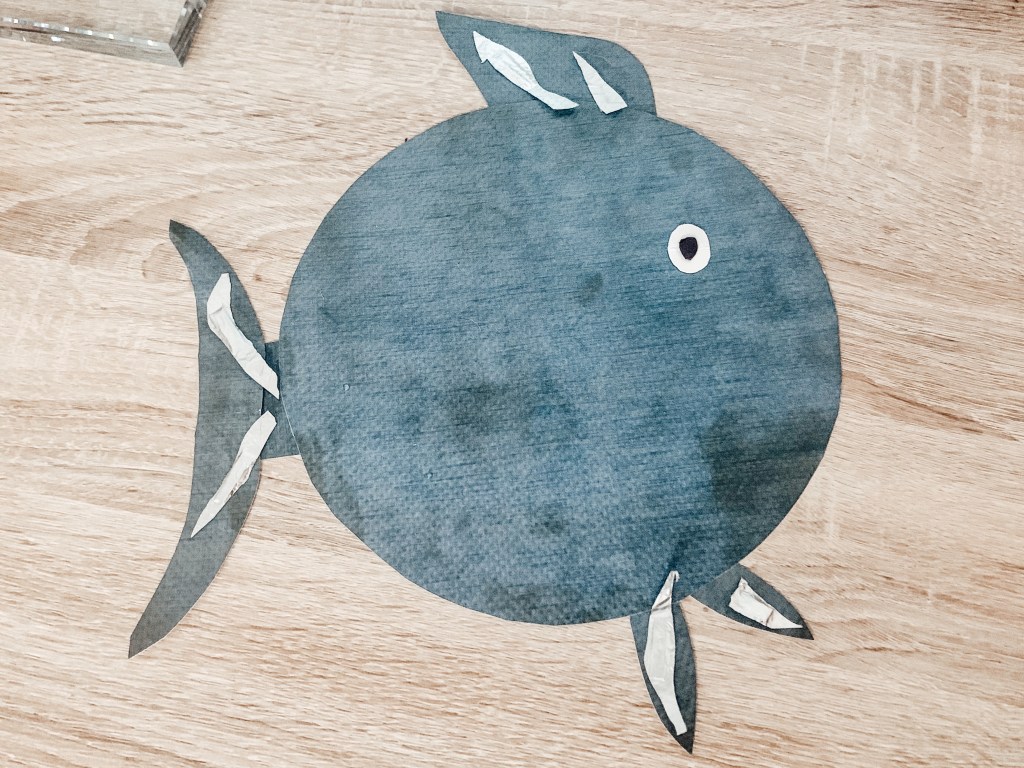
- Rainbow Fish Paper Craft
- Beach Sensory Play
- Ocean Pollution Clean Up
- Clothespin Mermaid Magnets
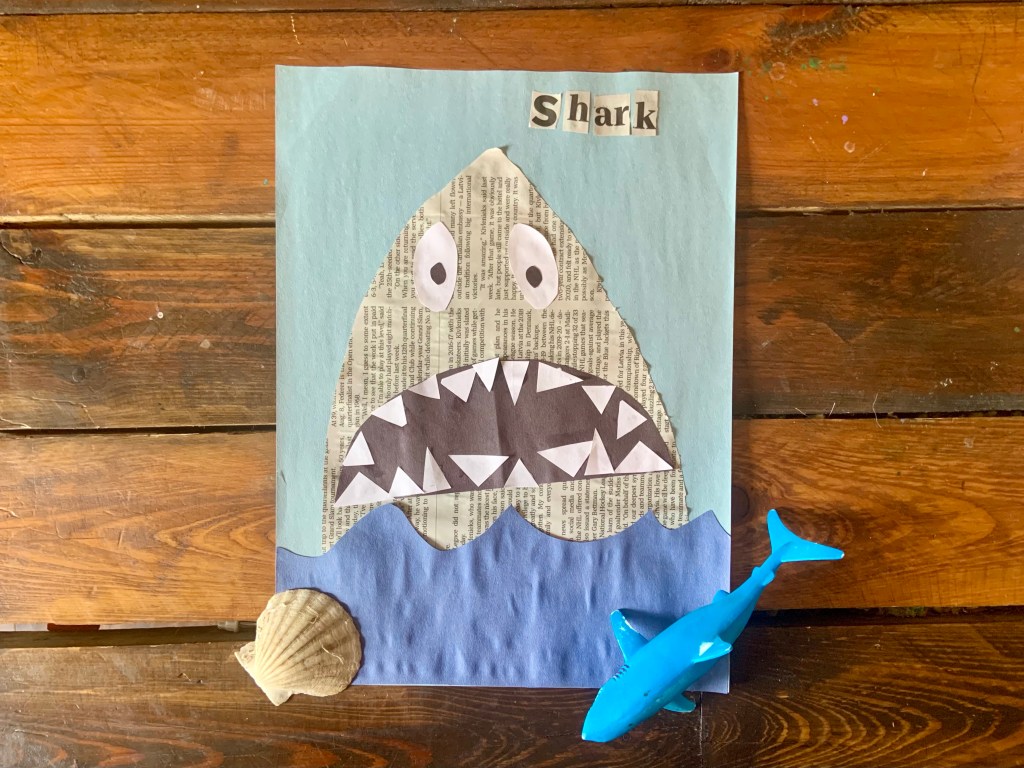
- Shark Paper Craft
- Upcycled Shark Craft
- Shark Sensory Bin
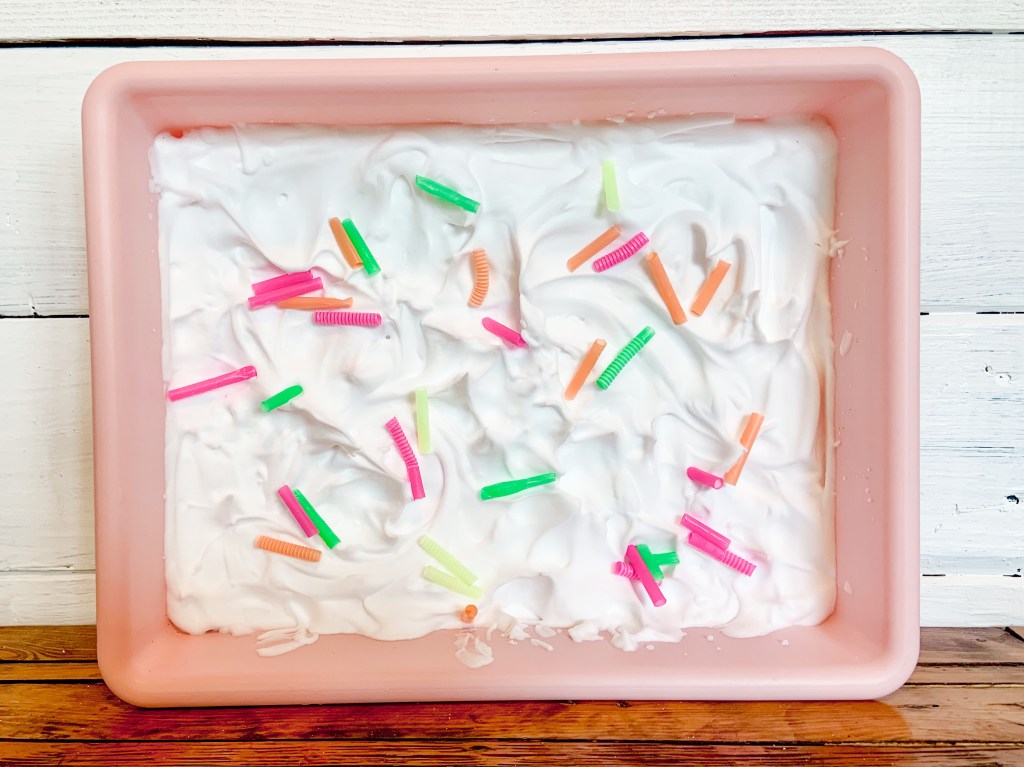
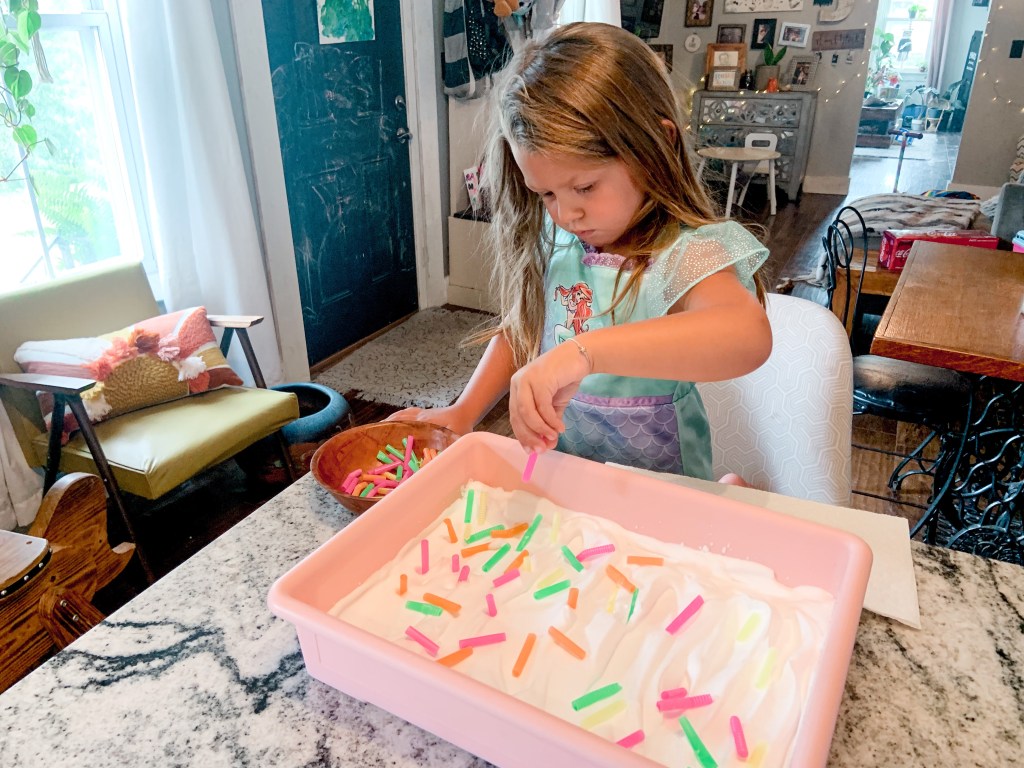
- Soap Foam Ocean Play
Overall, this activity bin is so much fun and perfect for summer. Mila loved the girly-ness of it, but I love how it can easily be adapted for sharks or ocean play in general.
I can’t wait to share next week’s theme!
Again, if you have any suggestions about a theme or have something you’d like to see, let me know in the comments.