If you’re stuck with abundant amount of plastic eggs from Easter, let your toddlers play with them! This Egg Rescue is fun for active toddlers who like to work with their hands.
Mila loved ripping through and tearing all the tape off the eggs. It was fun to watch her too!
Here’s what you’ll need:
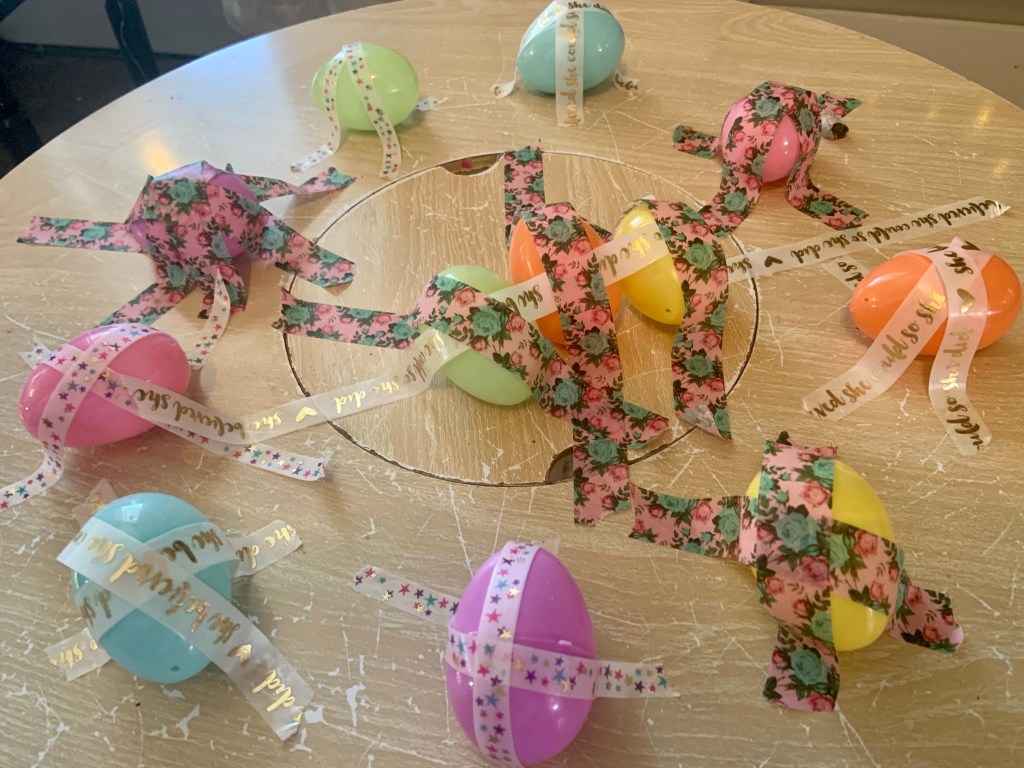
- Plastic Easter Eggs
- Washi Tape
- Candy, little prizes, or change.

This activity takes a little time to set up. It’s worth it because they get really into it.
Fill Easter eggs with whatever stuffing you’d like. Think of leftover eggs from Easter Egg hunts!
Then, tape them on to whatever table.
Next, have your toddler rip the tape completely off. I made Mila tear off every single piece of tape before she could open the egg. It made her be precise in how she did it.
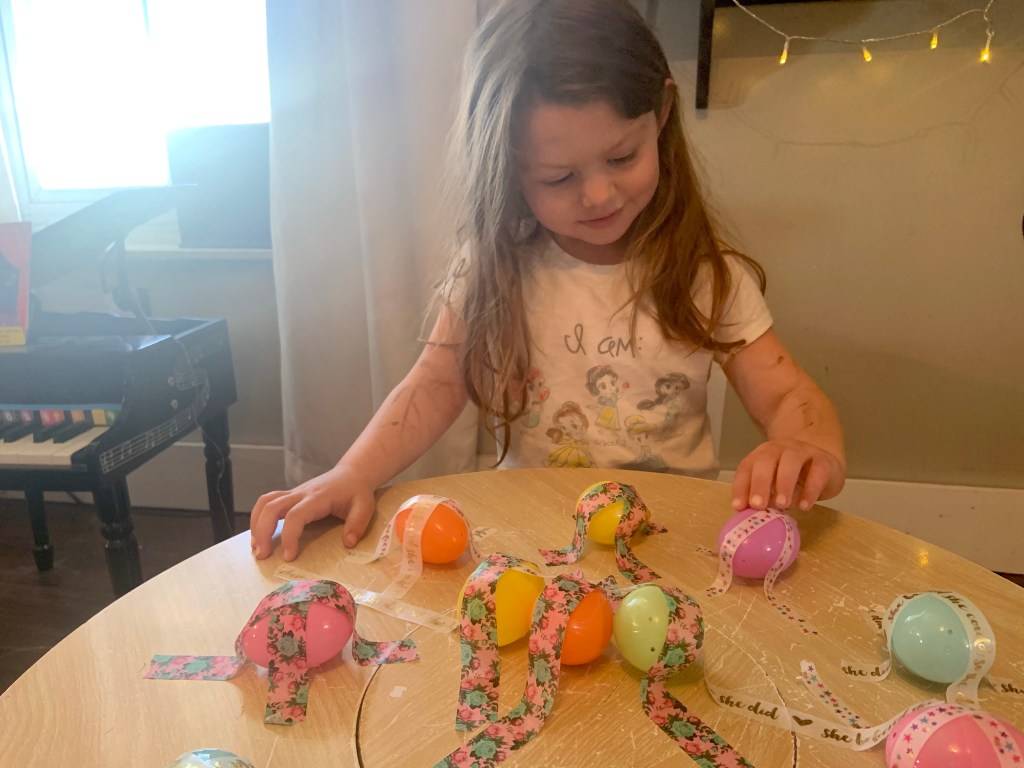
When they have all their tape off, it’s time for the surprise. Mila had no idea they were filled and was so excited! I let her open the eggs all by herself too.
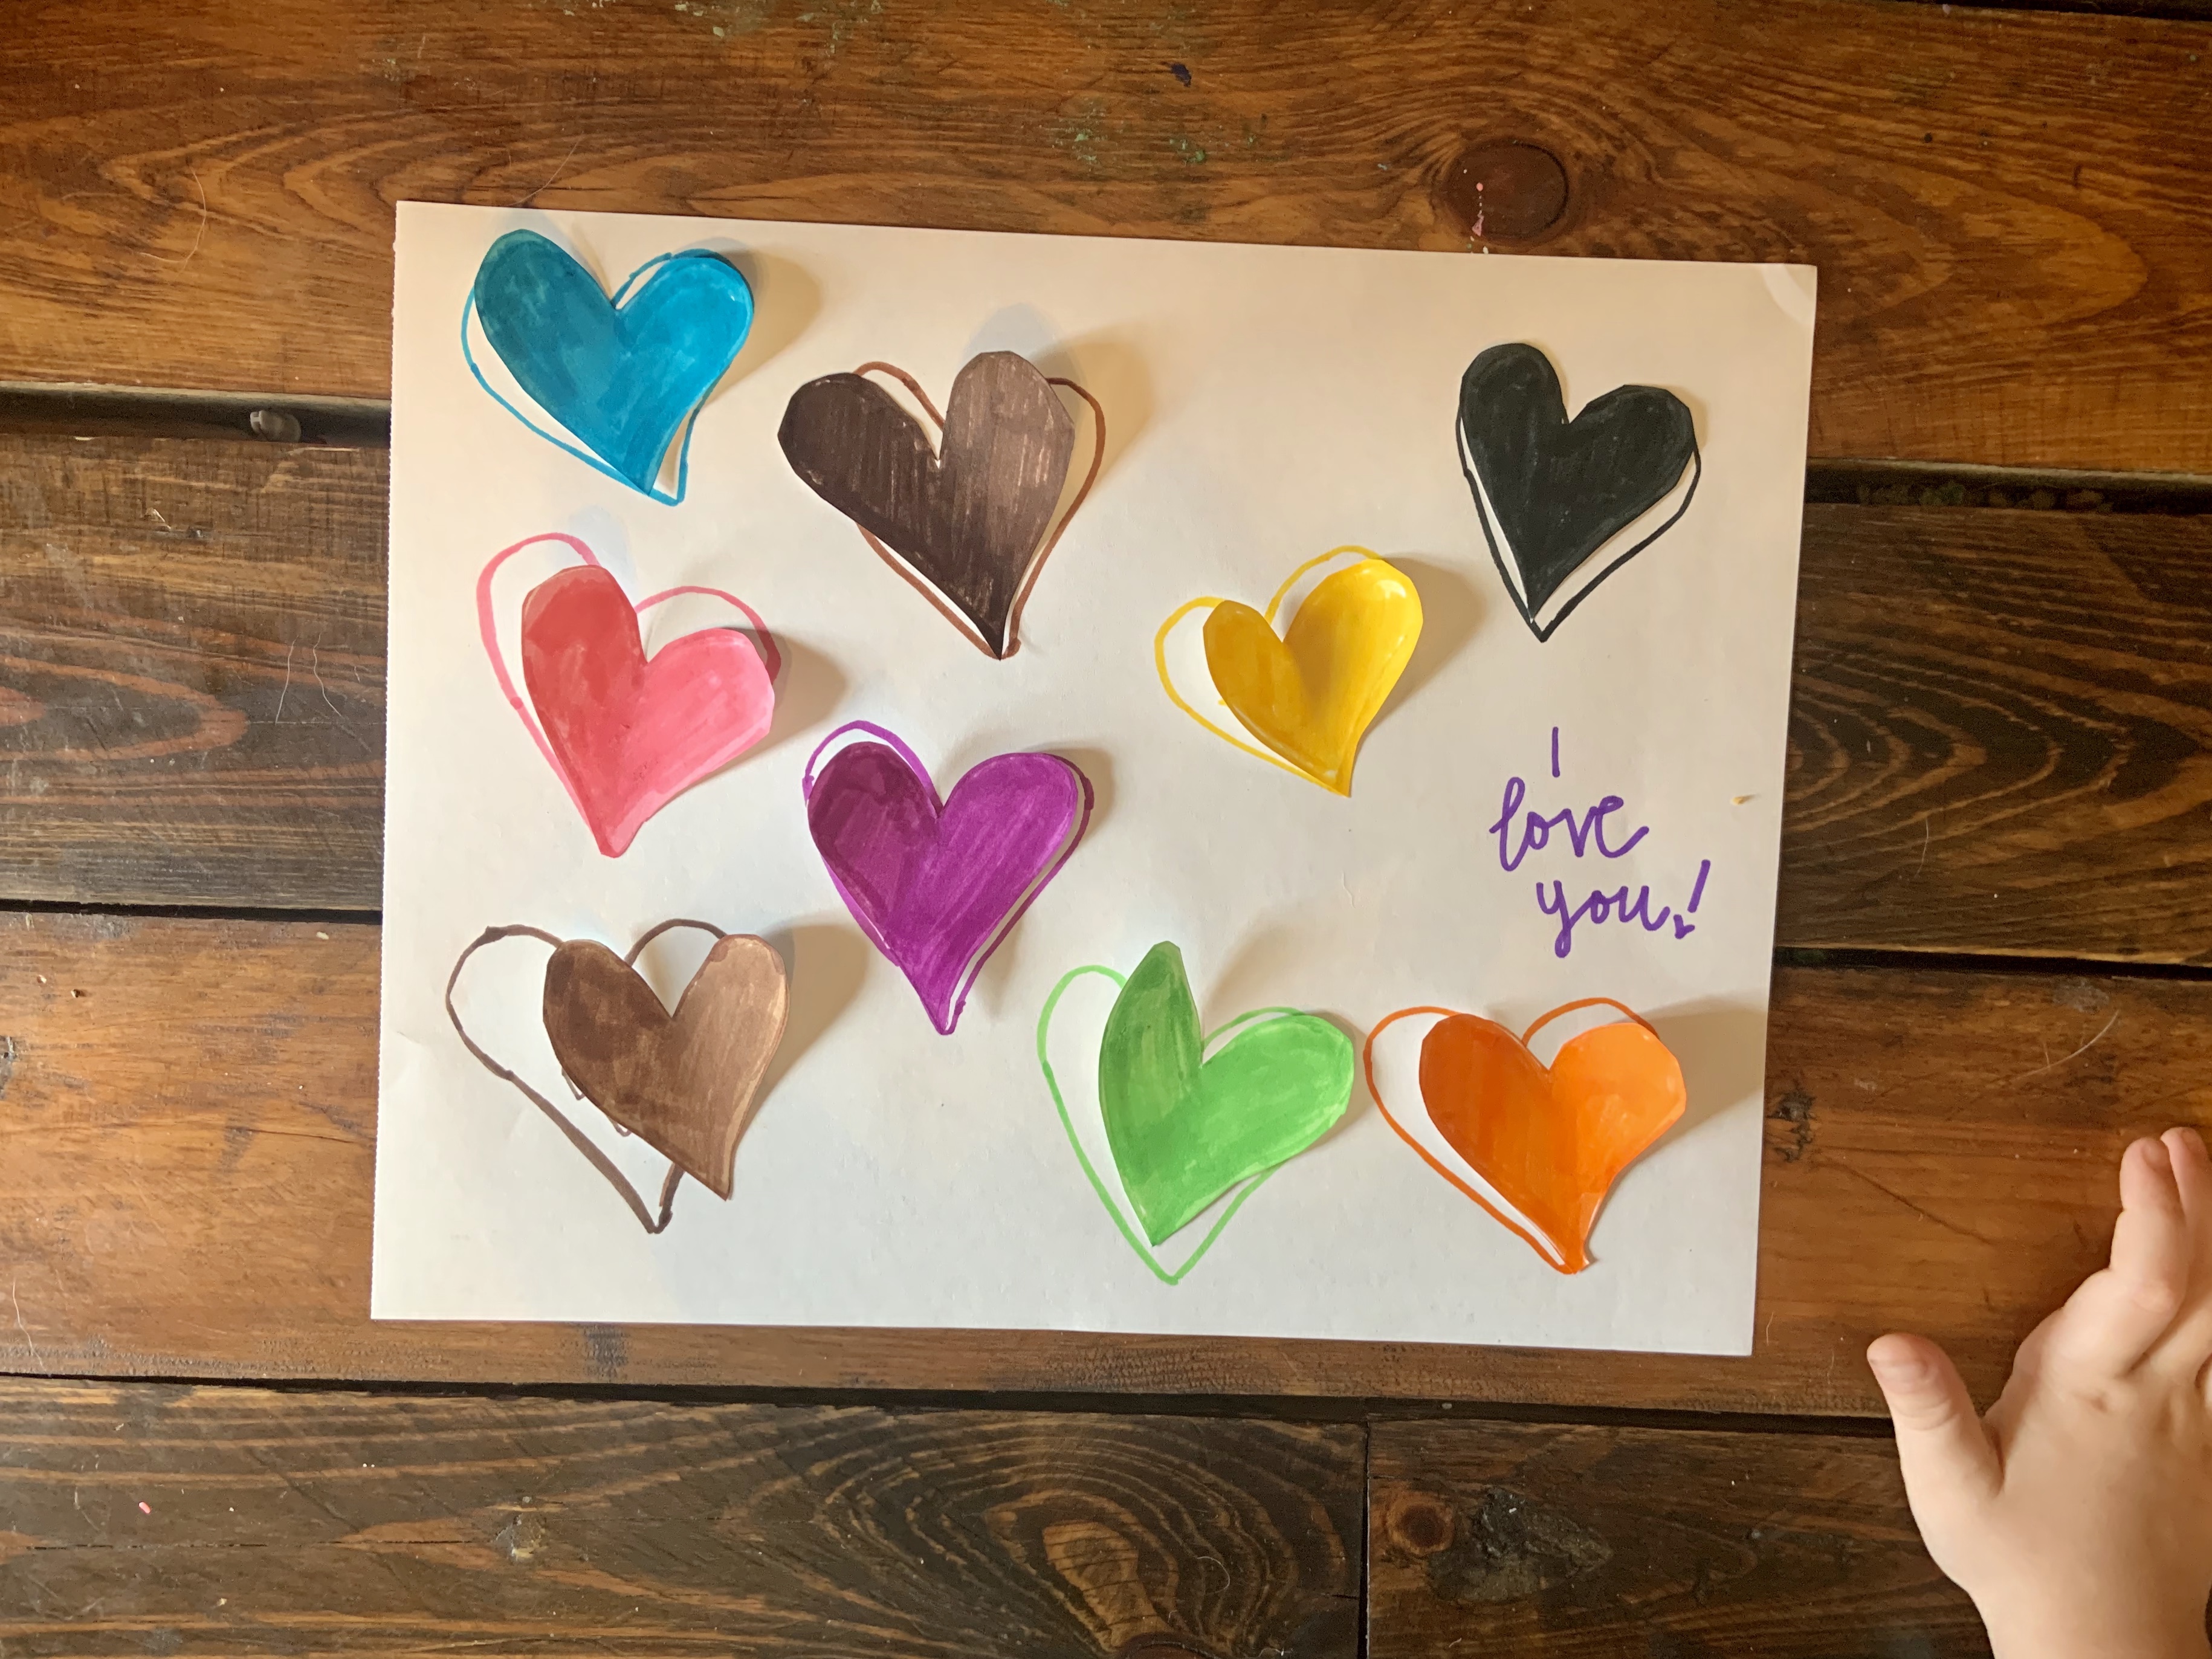
This activity has so many important motor skills that they use. I also had Mila tell me the color of the egg she was opening to get some color recognition in.
Although I think I spent more time prepping, it really was a lot of fun to watch. She even taped down some of the eggs to keep practicing.
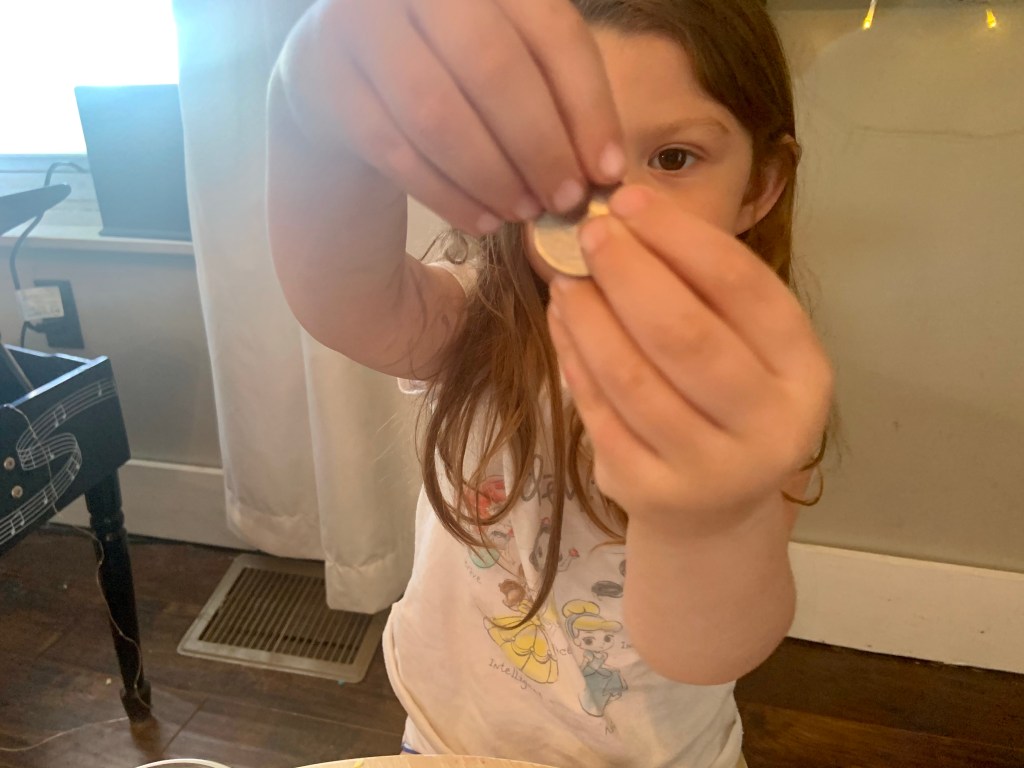
The star of the show was the quarter though!
Mila was genuinely excited that the egg gave it to her. Plus, she got to use her piggy bank which is ALWAYS a treat.
Overall, this is such a fun activity. I think it’d be awesome to do if it was a rainy Easter or in the days following. Since they’re mostly plastic eggs, reusing them for other activities and saving them for next year is great for our world!
I hope you liked this activity and if you try it out, let me know in the comments.