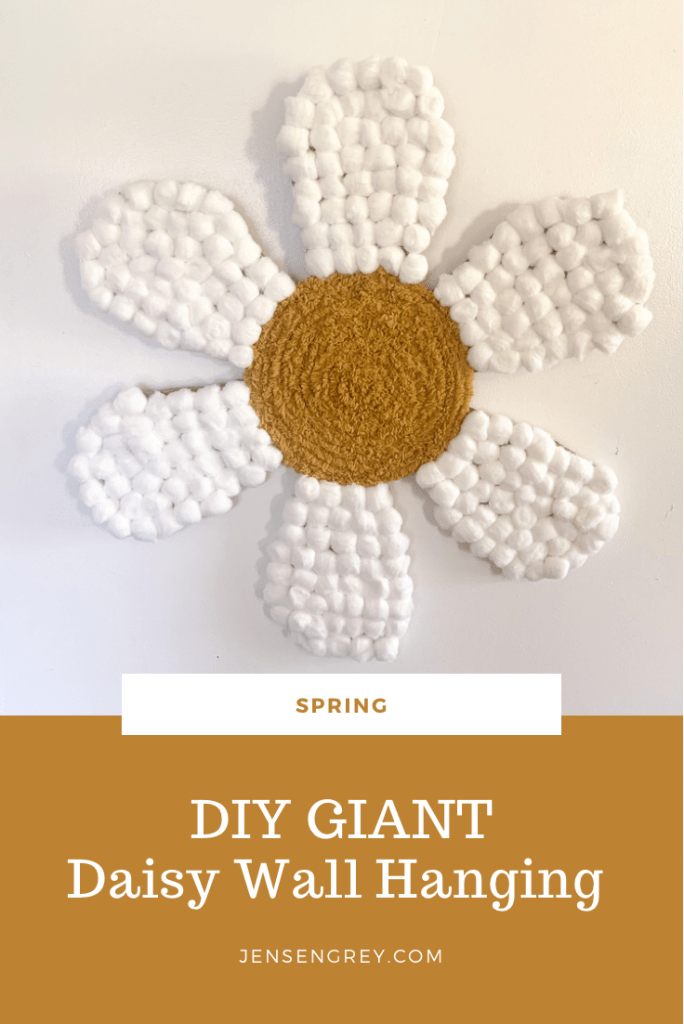
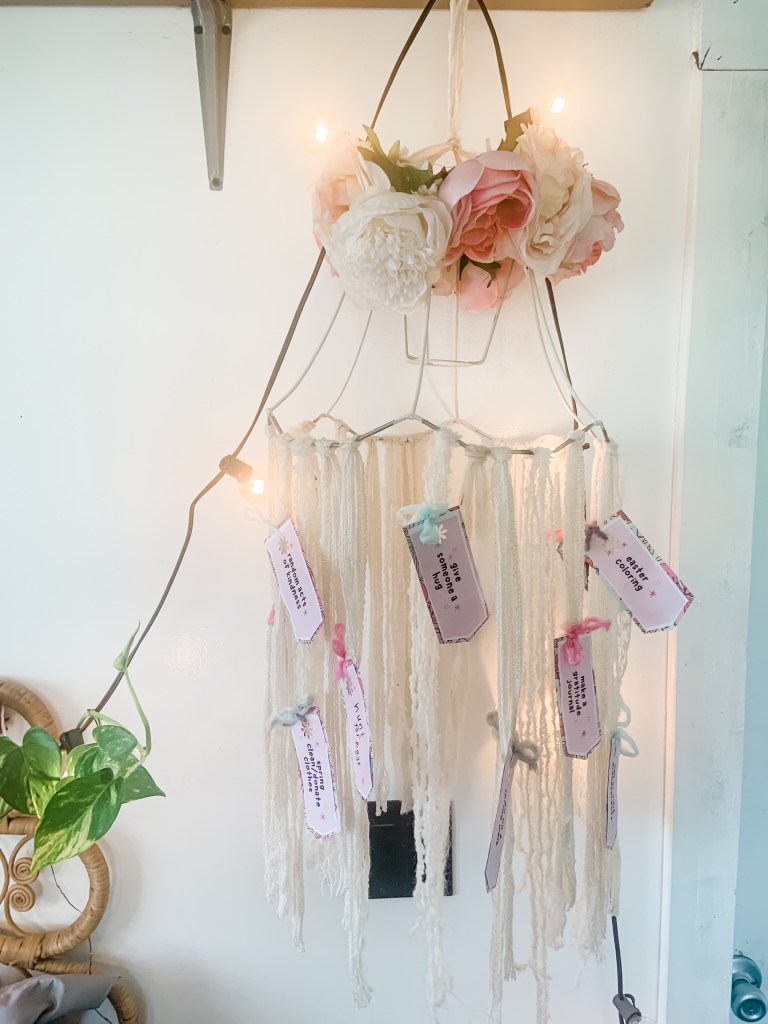
If you’re looking to make a big statement with your spring decor this year, you’re not going to want to miss this DIY GIANT Daisy Wall Hanging. With material you can find in your home, you’ll have a piece of decor that demands to be seen.

My favorite part about spring is all the flowers. Since the pandemic started, Mila and I really got into growing plants. They’re spread throughout our entire house. Honestly, they just bring so much life into our home. Plus, they’re perfect for her to learn about the science behind them and responsibility. It’s a win-win.
So, when Mila ditched her space themed birthday and wanted to do flowers and plants, I wasn’t so surprised. I just knew we had to make something special.
You can easily make this DIY with items you can find around the house. Here’s what you’ll need:
- Cardboard
- Scissors
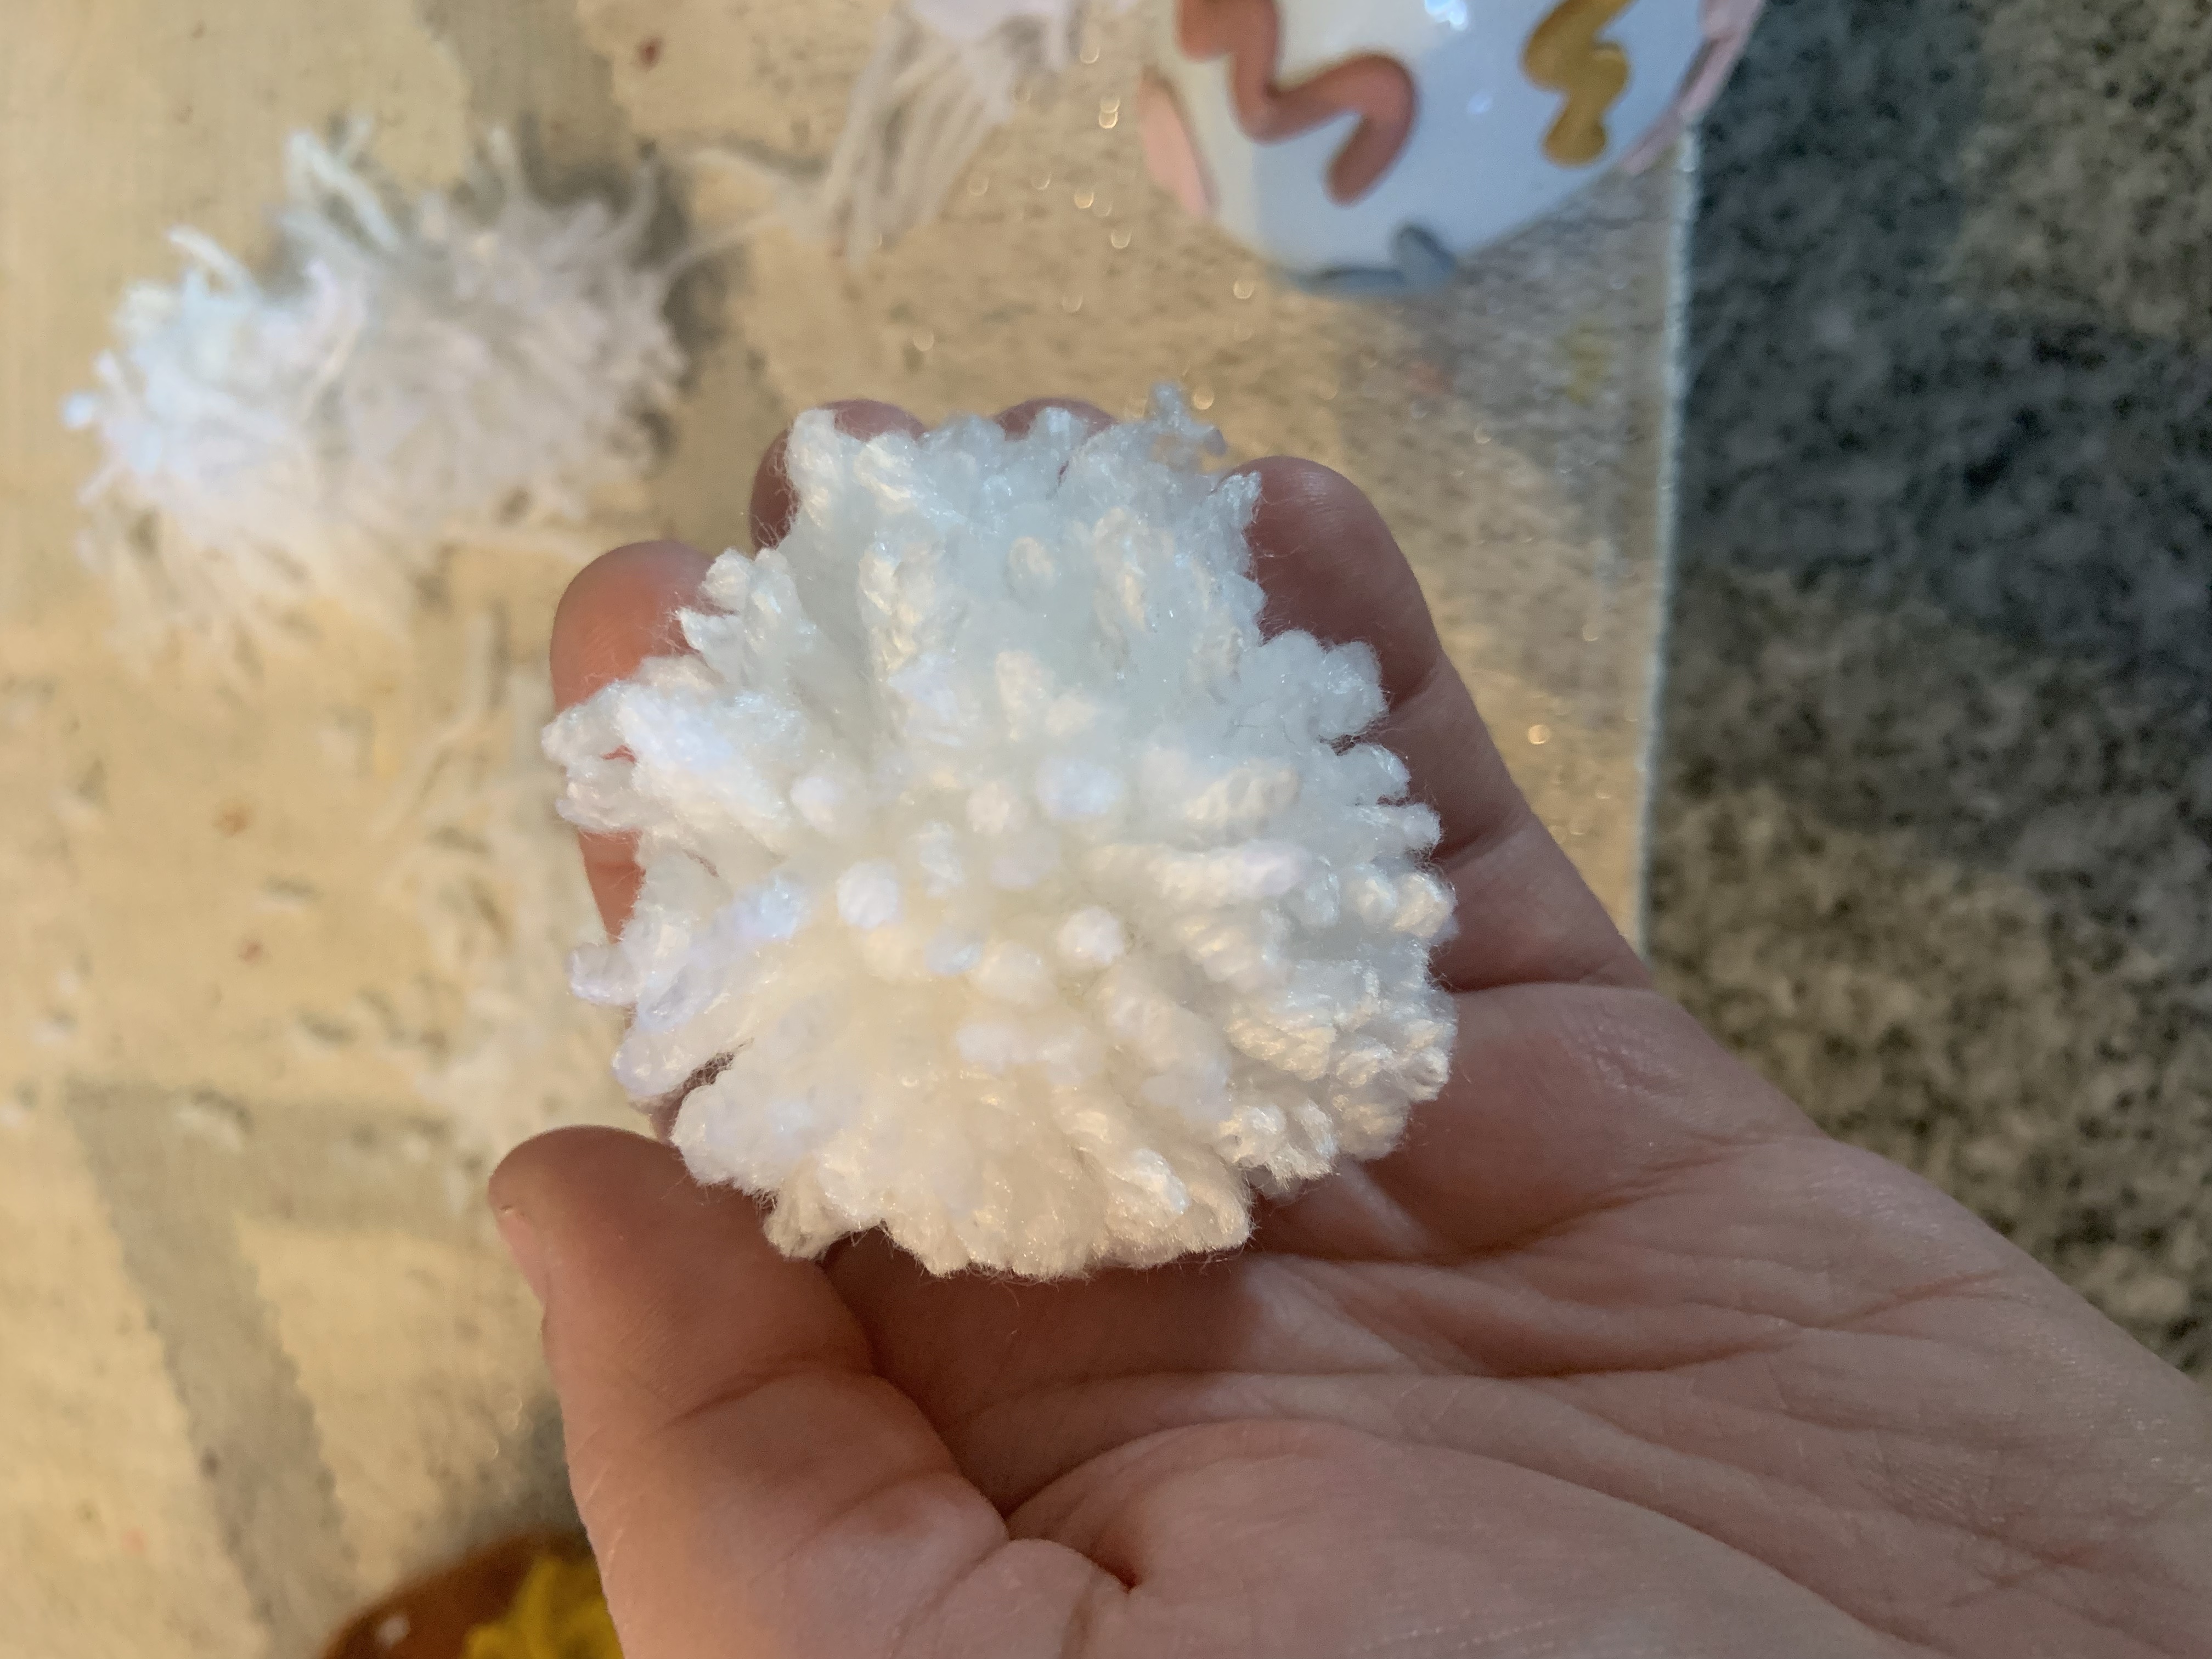
- Cotton Balls
- Yellow Yarn
- Hot Glue (a lot of it)
When I say you need a lot of hot glue, I mean that I probably used 15 sticks. This daisy is big and needs a lot of glue to make it stick!

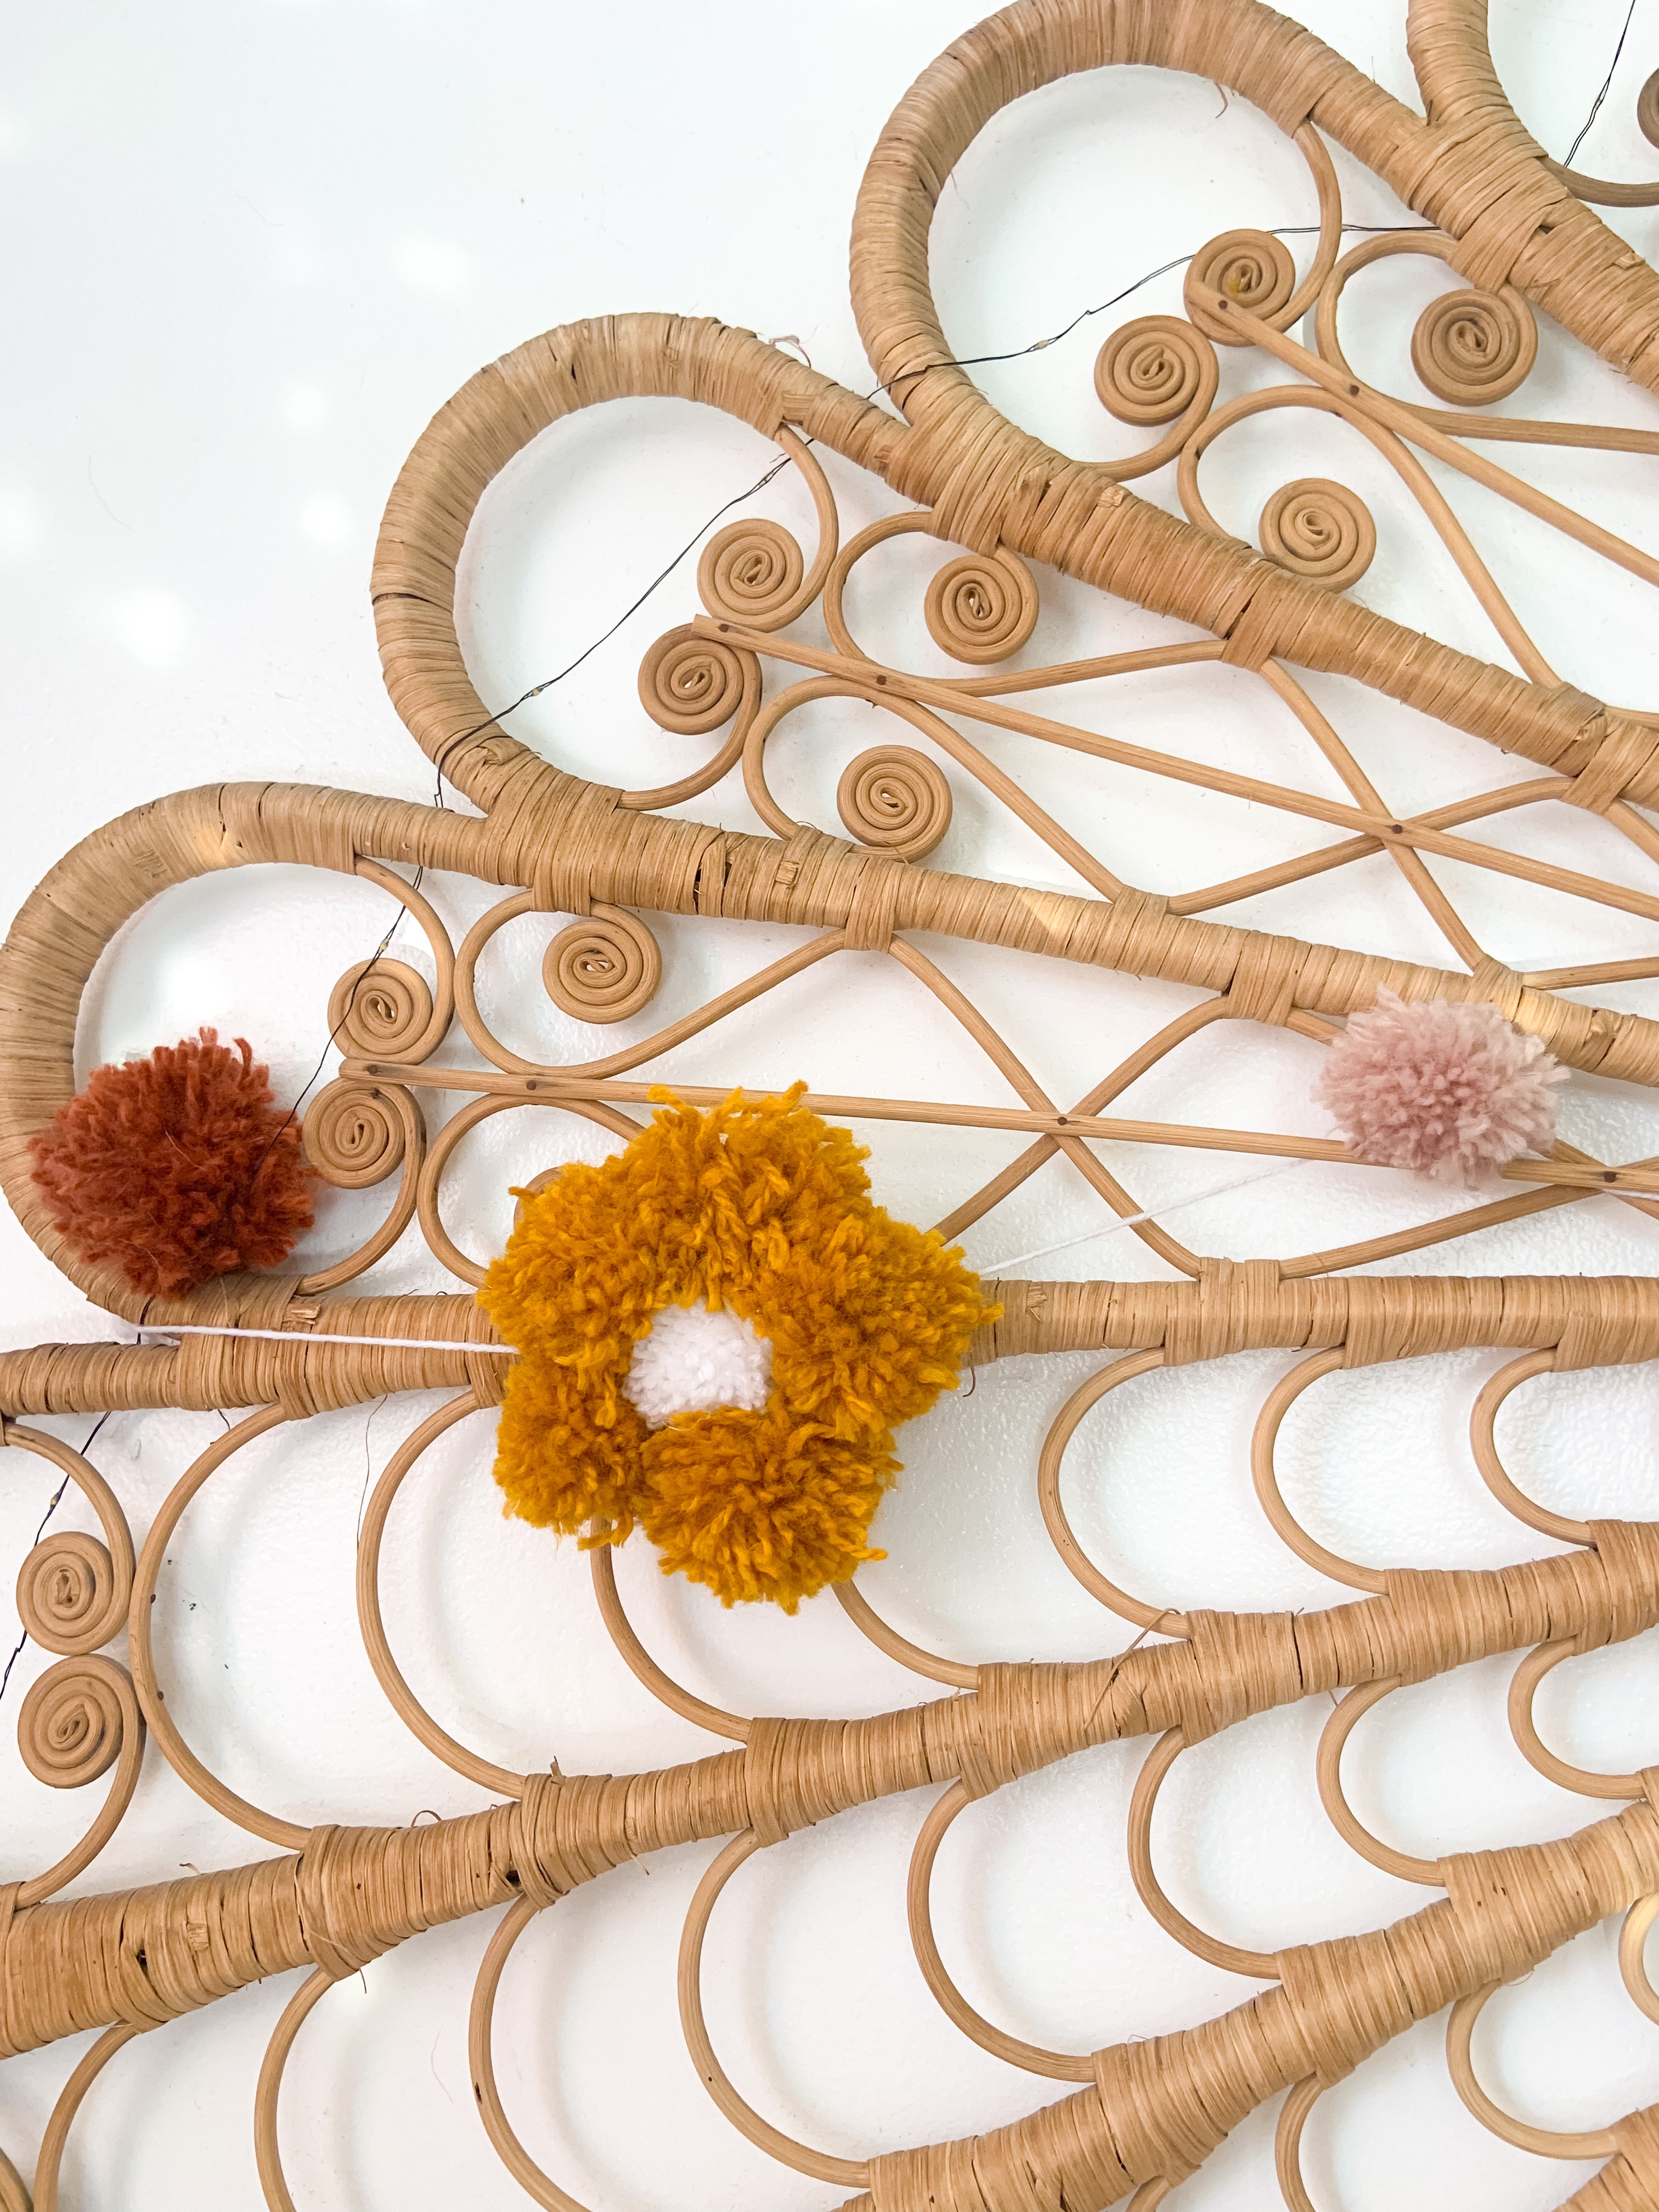
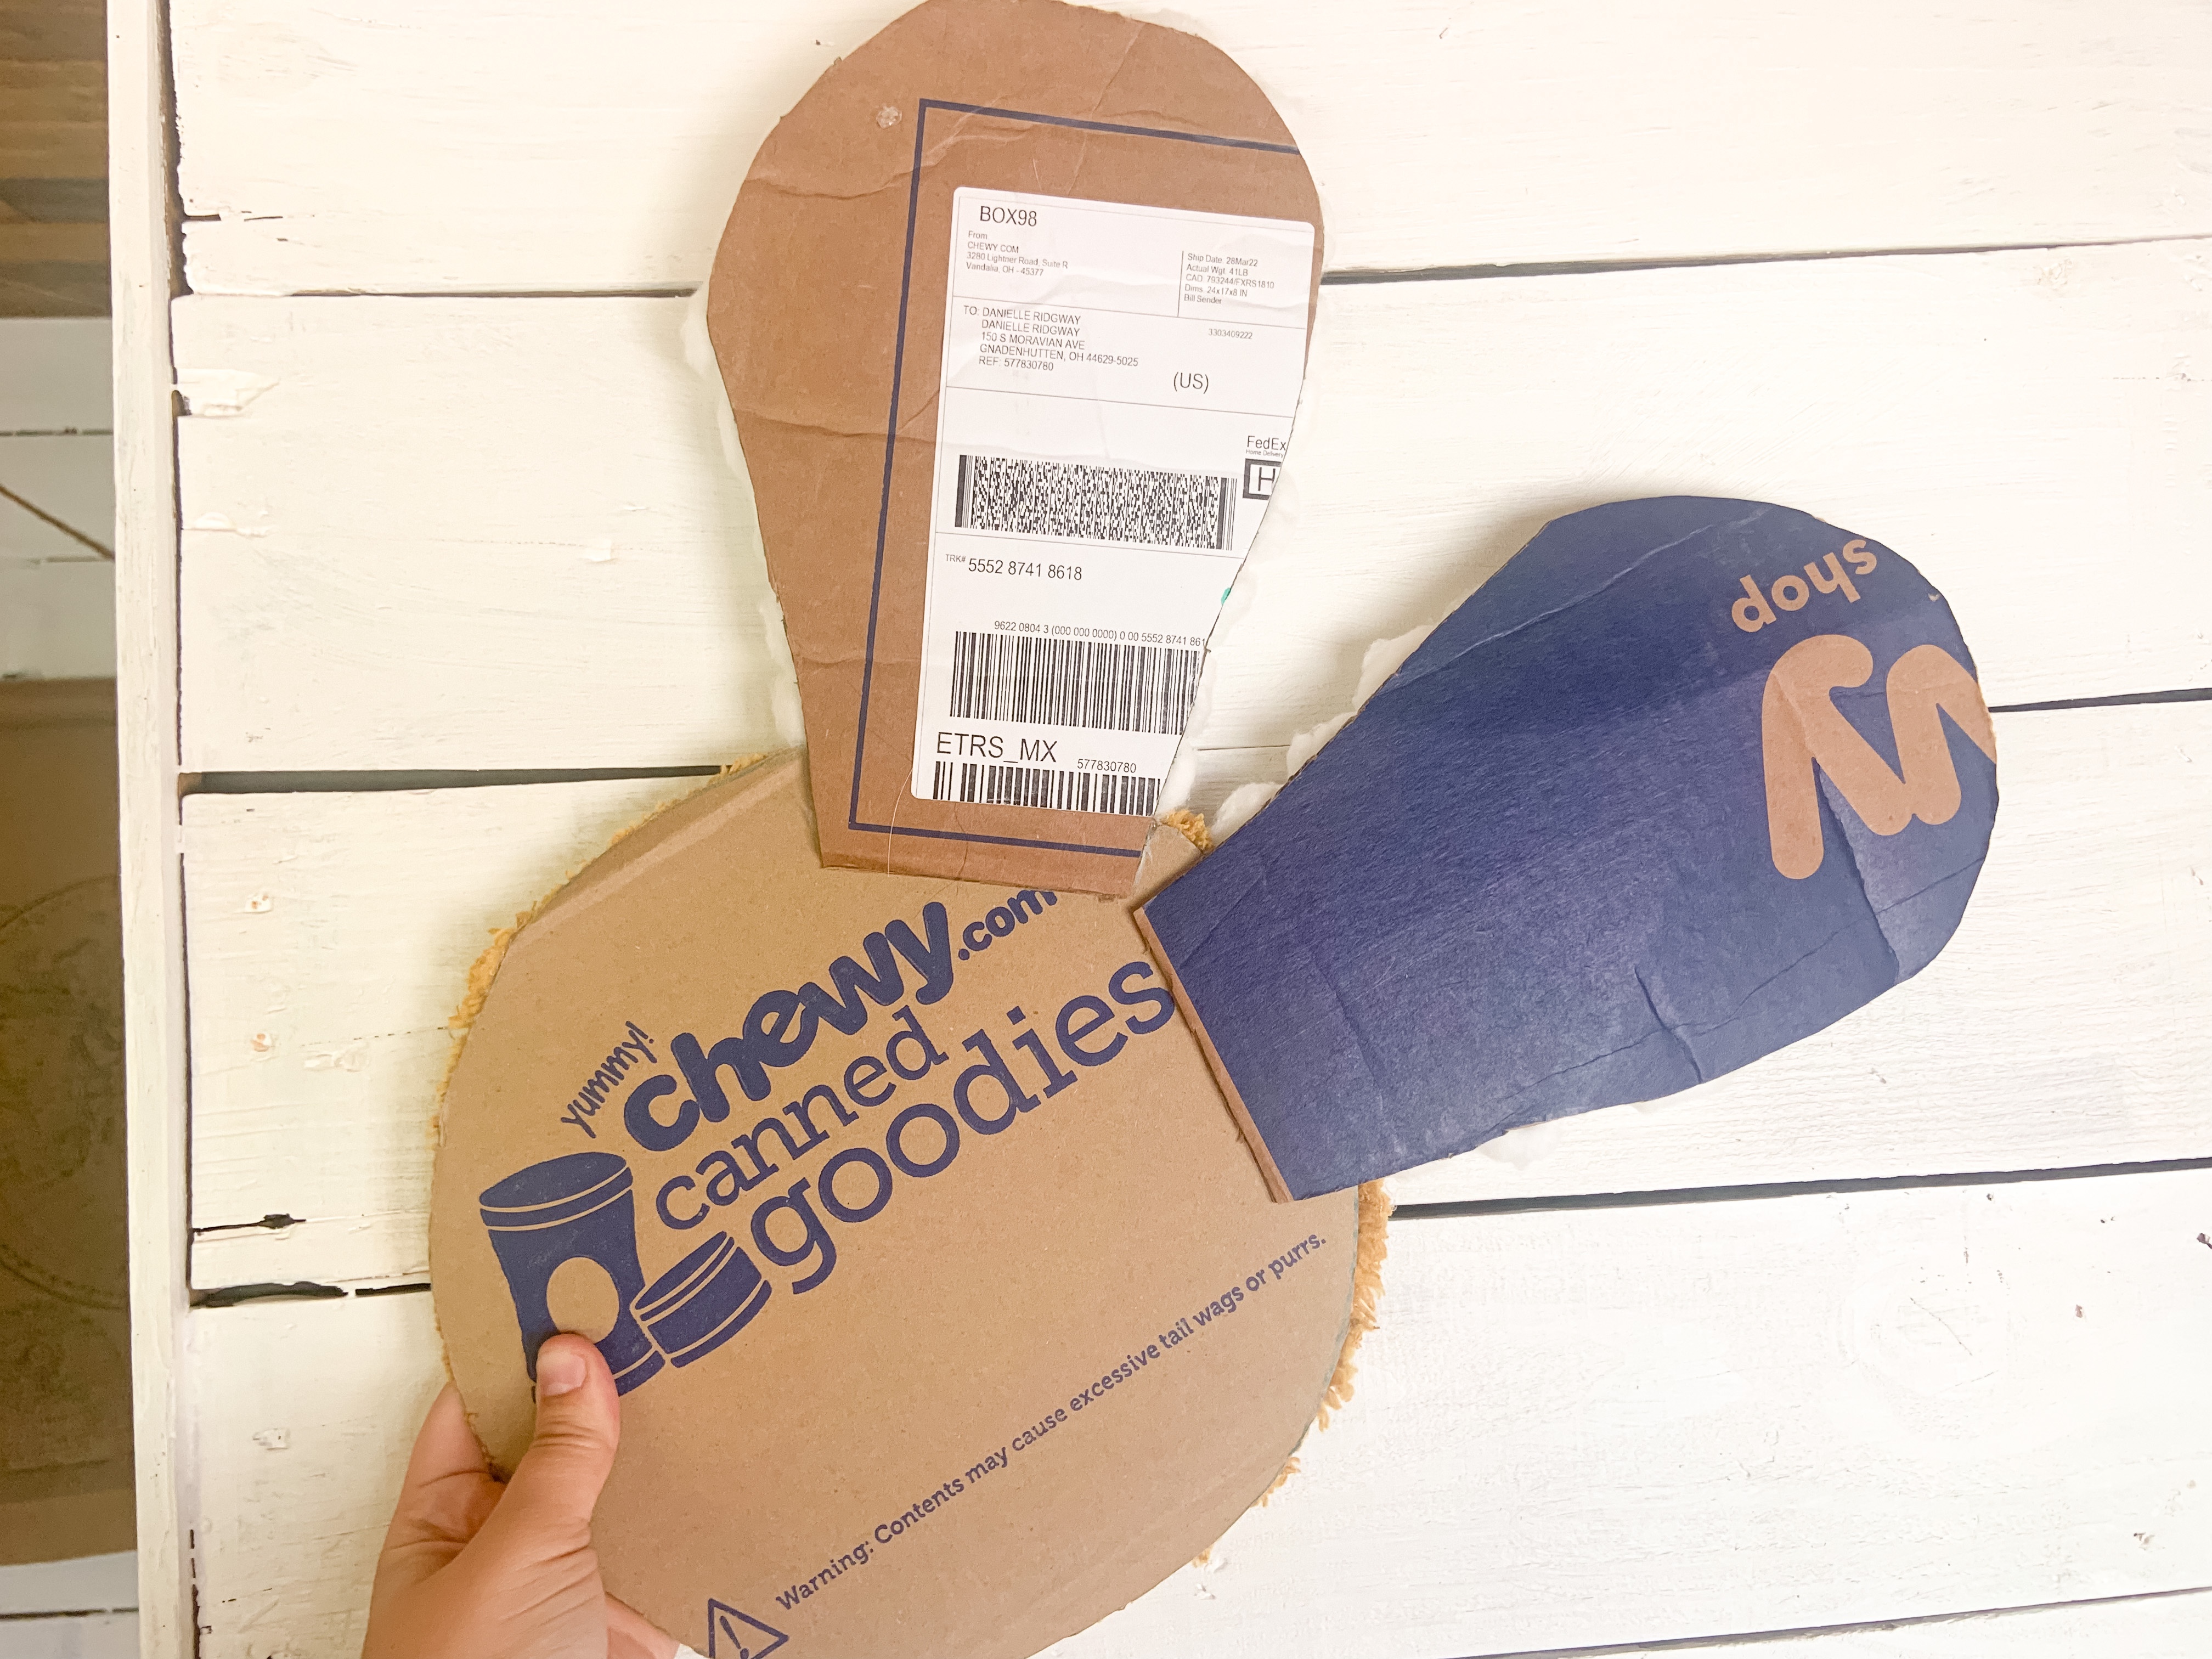
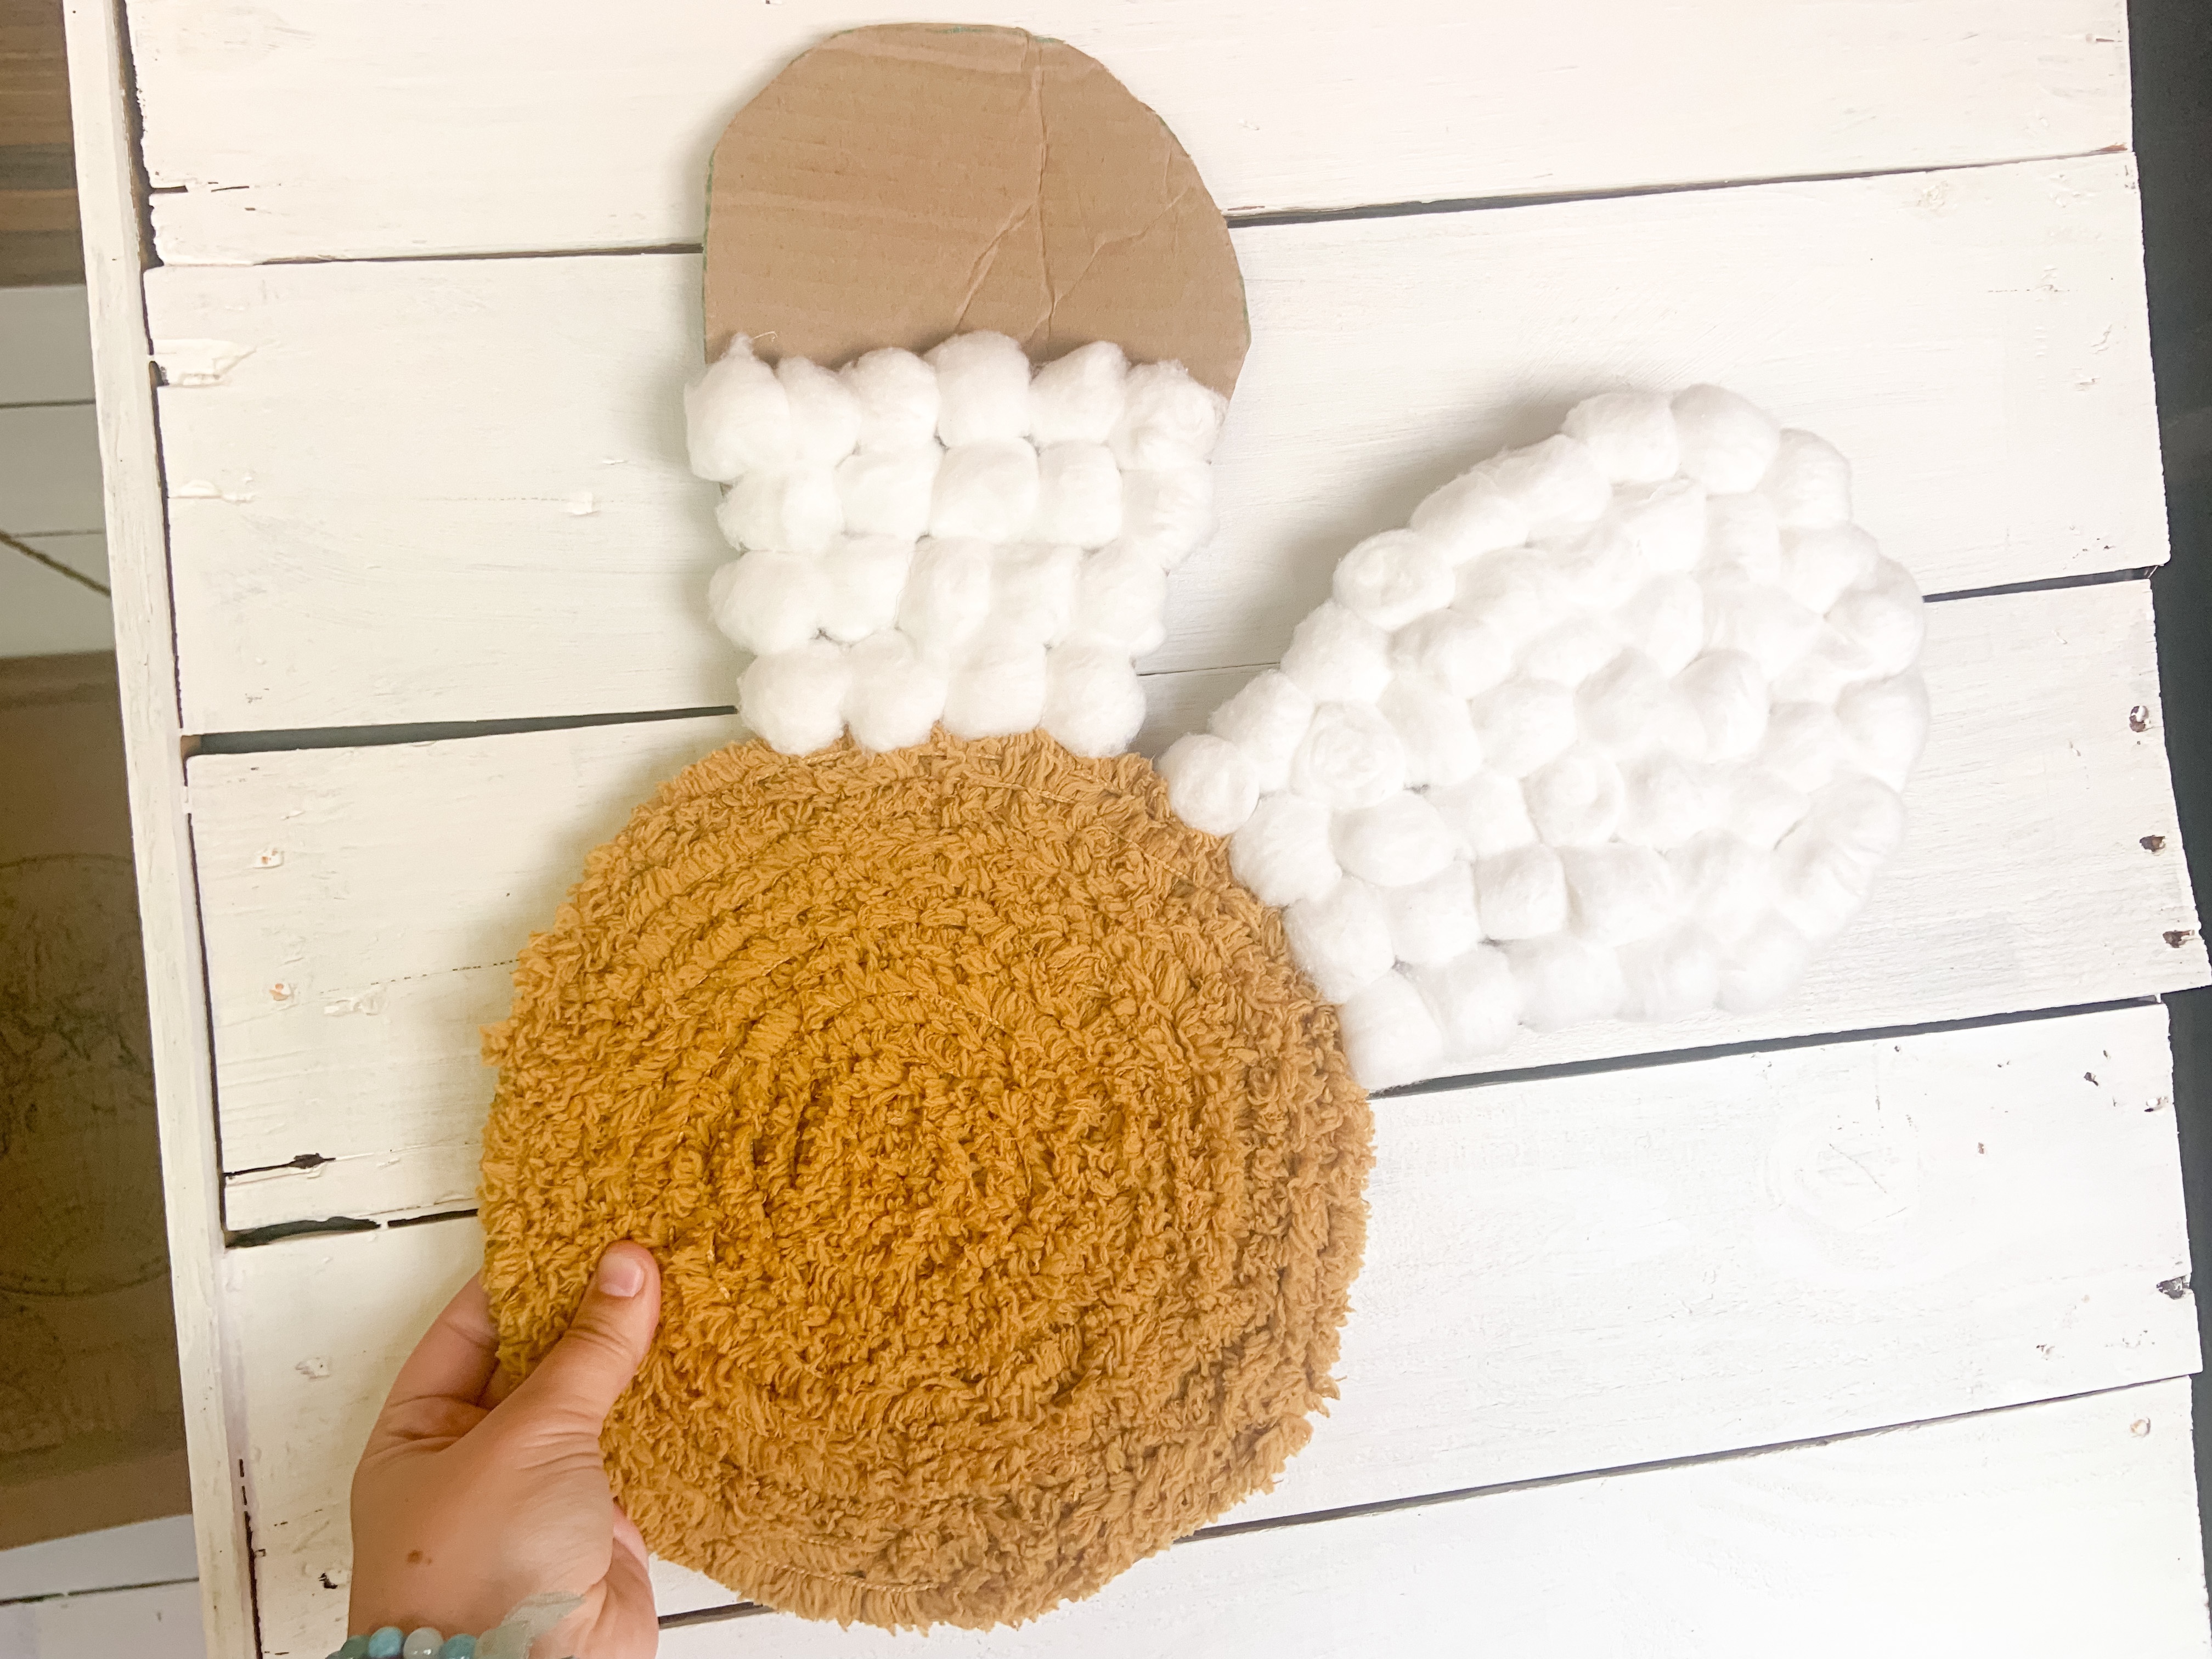
But first… you need to cut out a circle for the middle and then the petals around it. I used six petals, but you can do what you think looks good for your DIY daisy.
I used a plate to trace the circle and one of the feathers from my headboard. You could free hand a petal or find something that’s a similar size and shape around your house. Then just cut everything out.
Next, hot glue yellow yarn on the circle. I just did a spiral pattern.
After that, got glue the petals to the back of the circle. I put about them about an inch in. This made the petals secure.
Once the hot glue is dry on the structure, it’s time for the cotton balls. This takes a while, but once you find a rhythm it starts to click. I tried to do patterns with them too. You’ll use a lot of hot glue here!
To secure the back, I made another petal and hot glued it on. Then I hot glued a string to be able to hang the flower.
Even though this DIY GIANT Daisy Wall Hanging took a little while to make, I love how it turned out. It’ll be perfect for a picture backdrop for her party! After I’ll have it in my home too.
What’s your favorite flower? As you can imagine mine are daisies!