If you’re looking for a great way to reuse candle jars or any aluminum can, you’re going to love this Recycled Planter Pots! Not only are you reducing waste, you’re giving a plant life too.
Plus, they make beautiful gifts for Mother’s Day and end of the year gifts for teachers.
I have all these adorable candle jars from Moravian Trail Co all around my house. The designs on them are so cute, so I had to figure out ways to reuse them in my home.
Of course Mila and I are always thinking of plants, so they were perfect to transform!
If you don’t have these cute candle jars from there, but want to reuse aluminum cans, you can do the same steps and maybe have your kids design an outside label.
First, you need to make holes in the bottom of your container. I just used a knife which isn’t completely safe, but it did the job!
Then, I let Mila pick out one of our plants. You could do a houseplant to keep inside or a small flower. Having Mila take care of plants is such a great responsibility. It lets her see growth in her hard work!
Fill up your container halfway with soil. I mix a houseplant soil with perlite. Then add the plant in snuggly too. Fill the rest of the container with soil.
Give it a nice drink and it’s ready to go!
I added a fun straw and printable from The Letter Vee just to make it extra cute. Mila loved the way it turned out and I loved how it was nice to our environment!
As I said before, this would make a great gift for moms, friends, and teachers too.
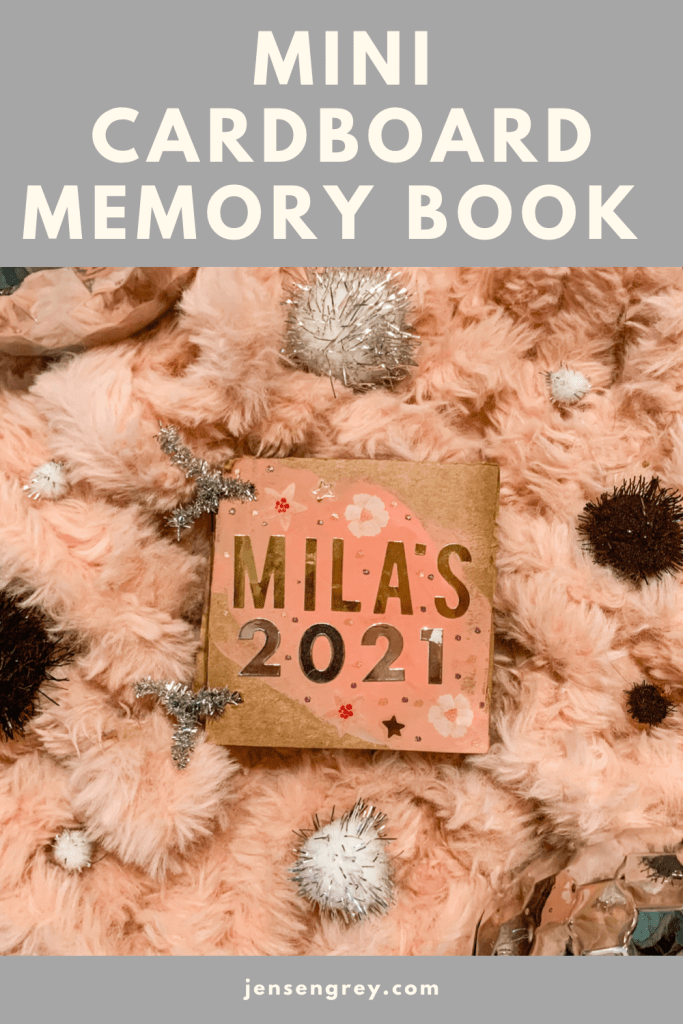
With the year coming to an end, it’s a fun time to look back on our favorite memories. To keep and showcase them, we made a DIY Mini Cardboard Memory Book. Ours is perfectly pink and full of all the pictures we loved from the last twelve months.
The plus side, this easy craft is fun to make and you can personalize it however you’d like.
Here’s what you’ll need to capture your memories of the year:
Scrap Cardboard Pieces
Glue
Tape
Stickers
Pipe cleaners
Paint
Pictures
Scissors
Honestly, this took me a little while to make, but I’m glad I did it. A little hard work goes a long way!
First, I cut out seven, small cardboard squares to make the pages. You could easily make these bigger, I just want to use this book for another project I’m sharing this week. Then I made little holes on one side of them. I couldn’t find my hole puncher, but I made them with scissors.
After, I painted a little area on the squares pink and let them dry.
While it was drying, Mila and I picked out one picture from each month, besides two months… you’ll see why. Then, I just printed them on stock paper I had at my house. When they were all printed, I just cut the pictures out.
Once that was done, I pulled out MIla and I’s favorite stickers, some glitter markers, and got to work!
Like any type of scrapbooking or picture books, it just takes time. I had a lot of fun looking back at all our favorite memories from the year. With every page, I made sure to write the month out and add relevant stickers. I think they all captured the feeling and emotions of every month. Mila had fun helping me with the stickers as well.
On the back cover page, I had her write down her name with little hearts. Just so I always have her writing. She draws hearts on everything to show love. Just something I always want to remember.
Just to share our pages incase you need some inspo, here’s ours and why we chose them for the month.
January and February
In January, MIla did a fun glitter shoot and they’re one of my favorite pictures of her! She seriously looks magical. Then in February, we made one of my favorite DIYs: I love you frame. It’s one of the pictures from that day and always makes me smile.
March and April
Last March held Easter. I laughed so hard when Mila took off after getting one ‘good’ picture with the Easter Bunny. The running shot is hilarious and I had to add it. April is our big birthday month. Jensen’s is on the fifth and Mila’s the fourteenth. We picked a picture from the day she turned three.
May and June
One month that we look forward to every year is May. We get to go on vacation AND school is usually out too. That means summer! This picture is of her in Myrtle Beach in her yellow polka dot bikini. In June, we went to our local waterpark so many times. I had to capture one of those moments.
July and August
In July, Mila and her friends won the Fourth of July talent show in our town. It was a big moment for them (and us moms). I’ll never forget that day and will always tell Mila the story of what she did after… I’ll make sure to share one day on here. At the end of August, we got Toby! Mila chose this picture since she loves her puppies so much!
September and October
September was a huge change for the both of us. Mila started preschool and has been learning so many new things. Believe me, she tells me all about it. It was also the start of me posting a picture every day of Mila’s outfits. Since we’re obsessed with Halloween for all of October, Mila requested that I added all of this year’s costumes.
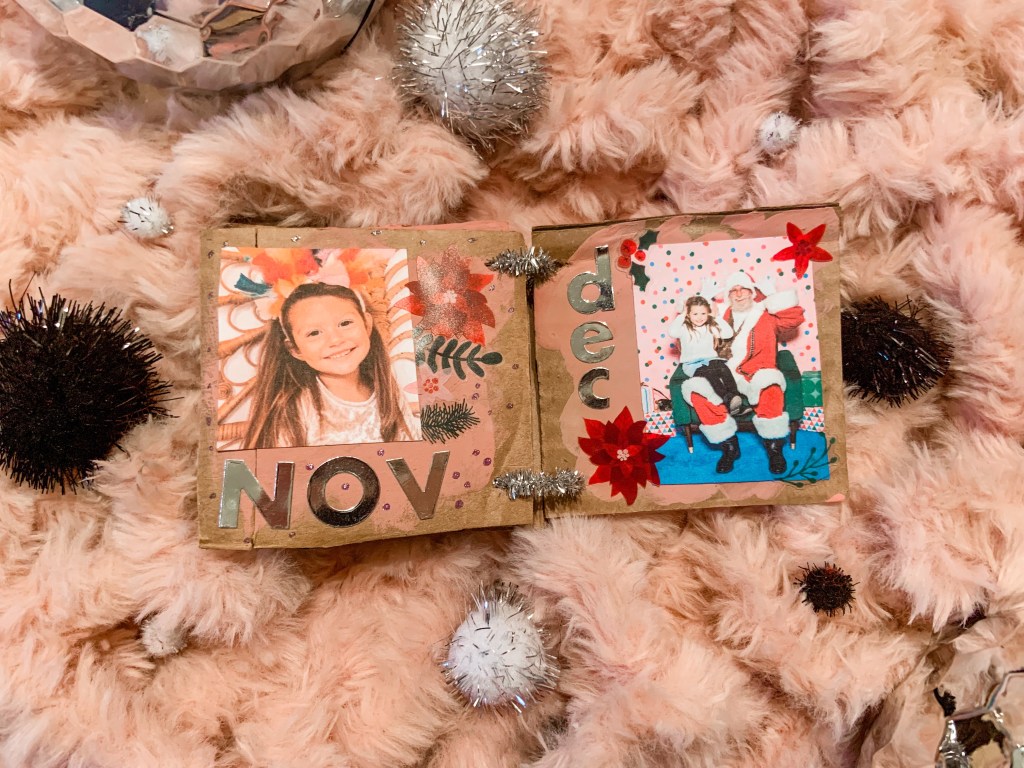
November and December
Of course we had to celebrate the holiday season with these last two pages. We still love her turkey headband from Thanksgiving and that Santa picture showcased how December felt all month long.
Back Cover Page
Like I said above, I had Mila add this page. I think it’s a sweet touch to wrap the entire year and how she’s growing up. Makes my heart smile.
I really feel like this will be a yearly tradition from now on. It’s such a cute and quick way to reflect on all the years. Plus, when you see my next NYE activity, you’ll think it’s even more perfect for the mini version. Stay tuned to see.
What are some ways you like to reflect on the year during New Years? Or do you have any NYE traditions you’d like to share? Let me know in the comments.
Yesterday, I planned on writing a recommendation post while Mila napped. Turned out, I must have needed one too. Her usual quick nap turned into her and I snoozing for three hours. I’m definitely not complaining about the extra sleep, but it pushed back some of my plans. Oh well.
Since Mila took her nap a little later and longer, she wanted to stay up. I figured instead of just watching a movie, we could do an Earth week inspired activity. There’s a few that I’ve saved on Pinterest, but during the lockdown, I found a subscription box that caught my attention.
The Kids Art Box is an activity box for kids of all ages. It can be modified for younger and older kids, which is perfect for siblings. March’s box, the one I have, came with four activities and a seed bomb visual recipe. The really cool thing about this box is everything you need comes in it, besides the visual recipe ingredients. This is a game changer. I have a lot of craft supplies at my house, but usually when I was to do a specific one, I have to go to the store. The Kids Art Box takes care of the trip to the store or tearing your house apart. It’s also all color coded. So, the instruction card comes with a colored dot and you can find all the supplies you need for that specific card with the same colored dot.
The mom who makes these, Melanie, does an amazing job of organizing the boxes, making sure everything’s in there, and explaining what needs to be done. Unfortunately, I didn’t snag a picture of everything wrapped up. Mila thinks everything need unwrapped immediately (thanks birthday week!). All activities are clever, creative, and conducive to learning. It’s definitely worth the price as well. The best option is $33 a month and you get everything you need. I think between having all the supplies and not having to search a while for activities, it’s so worth it. If you want to check out the boxes and want $10 off, press here.
Back to our story…
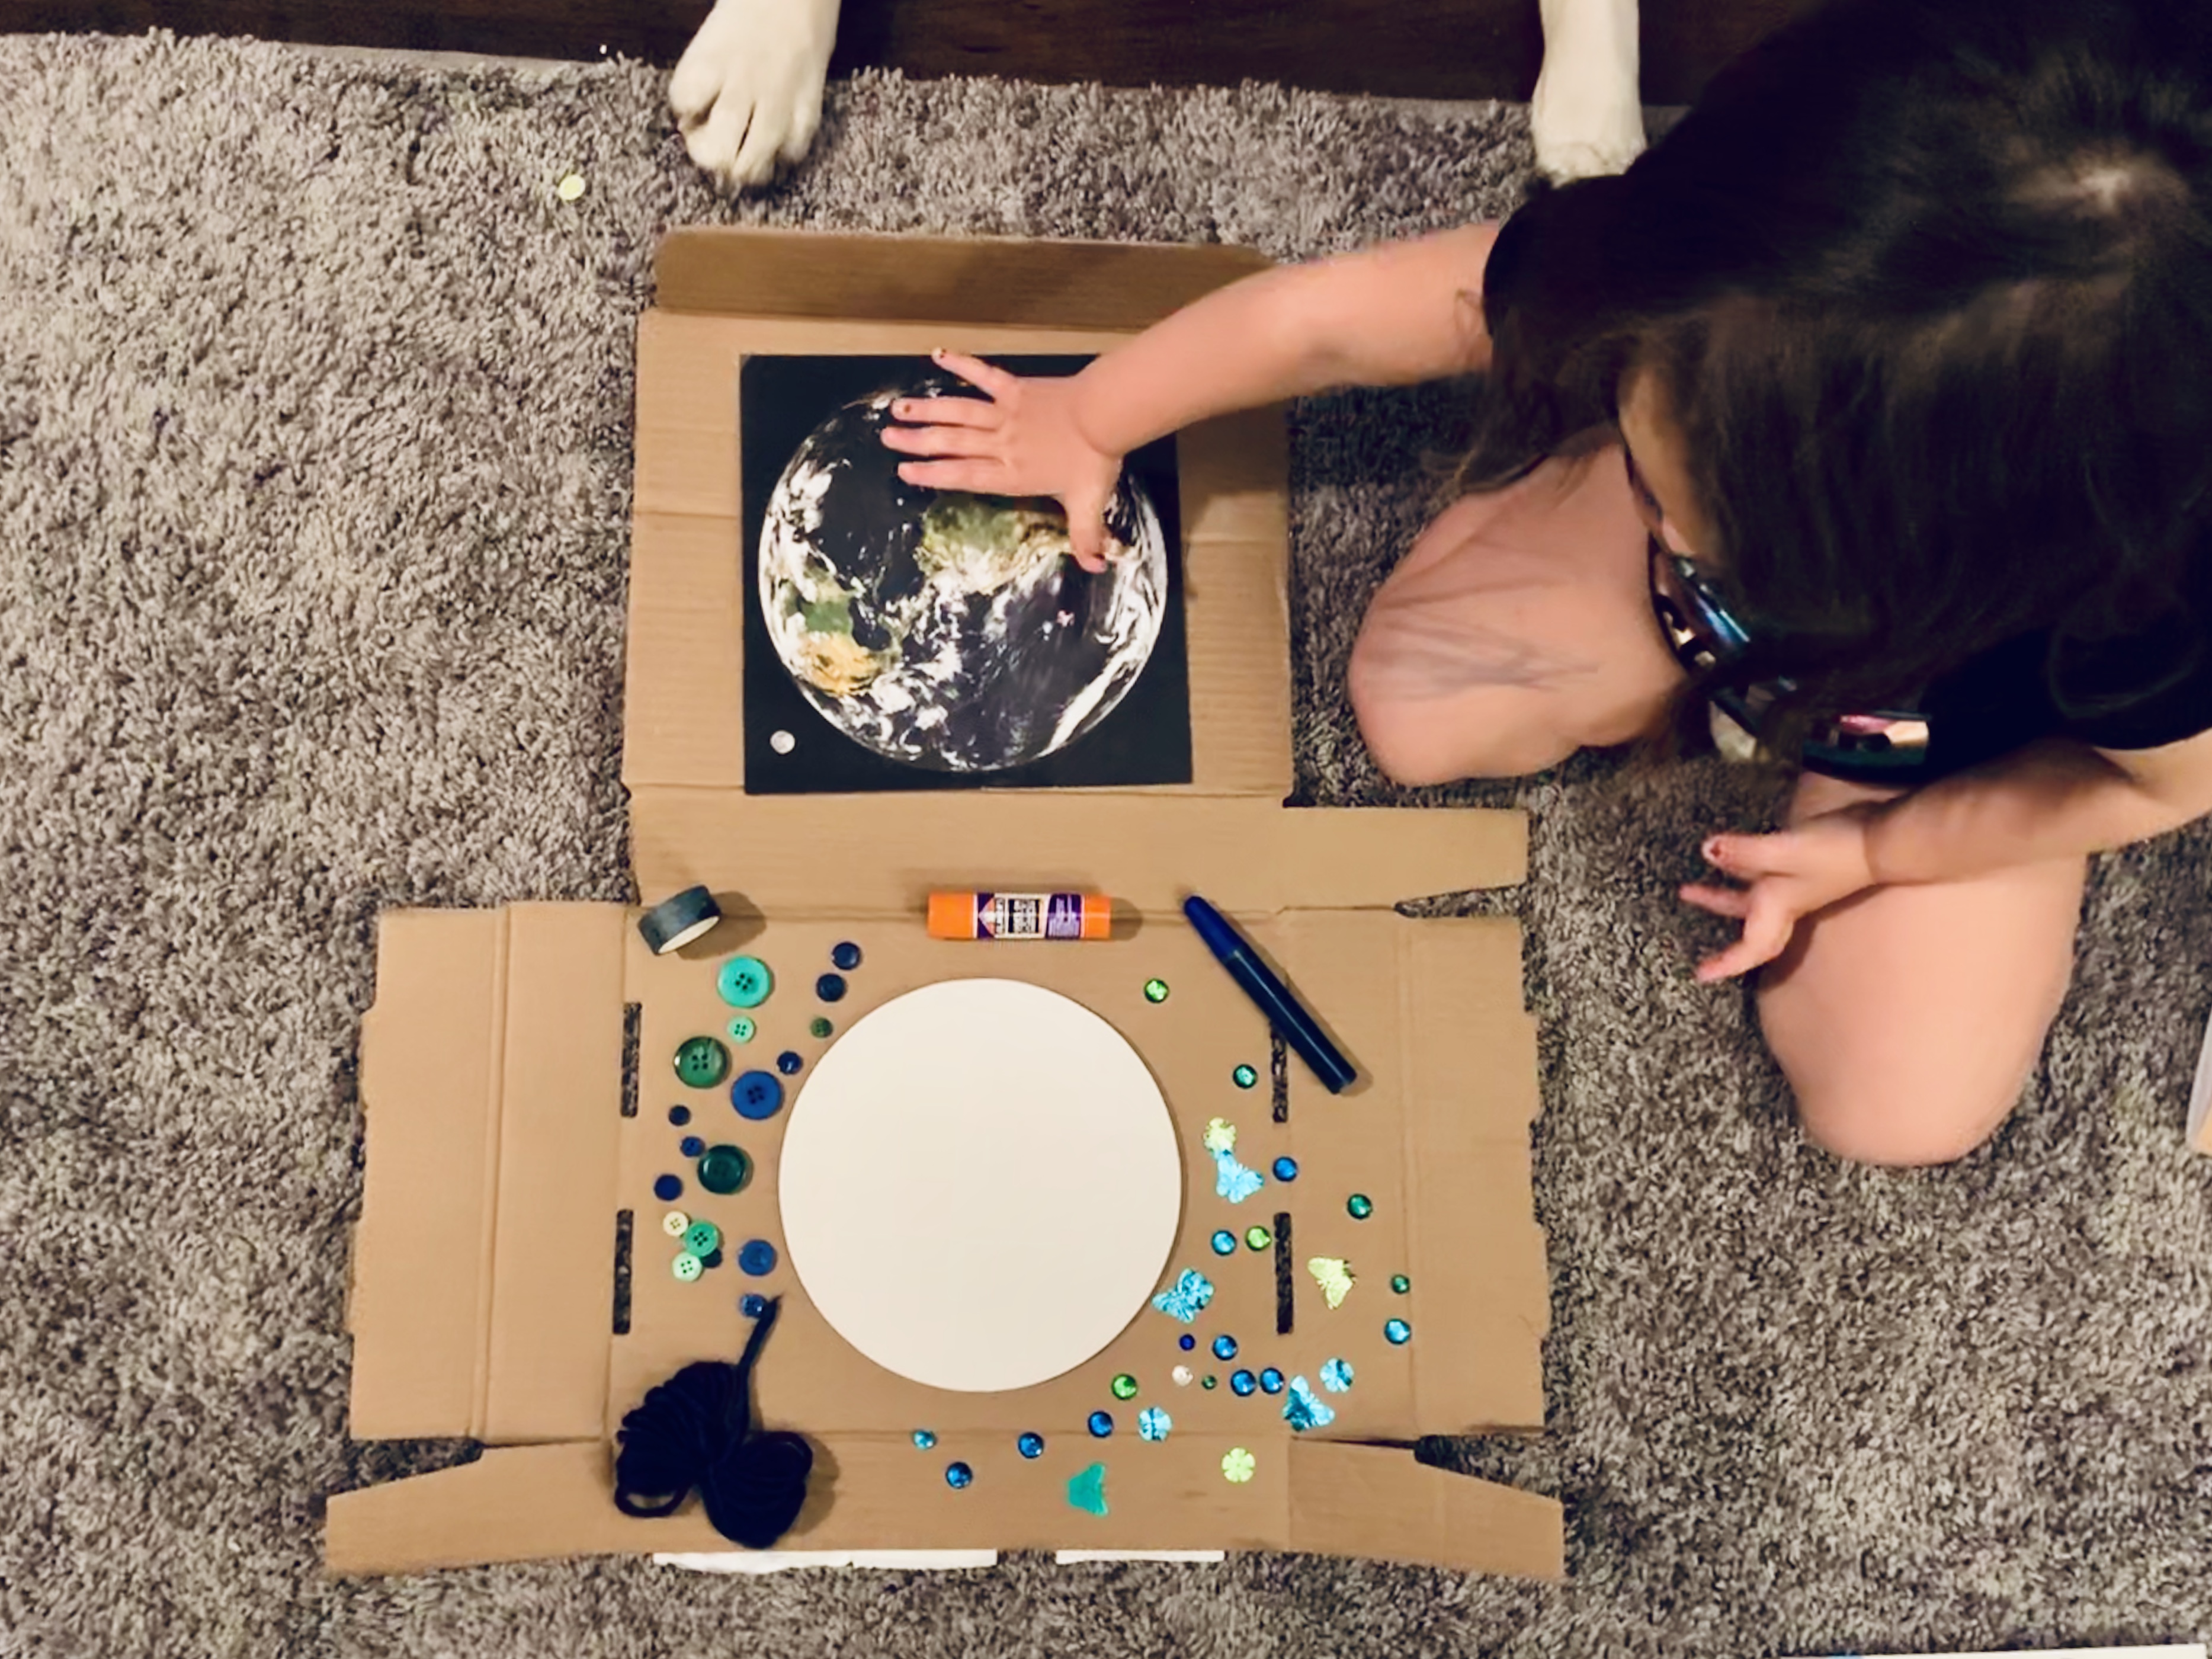
I grabbed the box and Mila had tore everything open. It wasn’t hard to figure out what went where, but she thought her way was better. When looking through everything, she kept noticing the picture of the Earth and she does this weird thing where when she sees it she tries to eat it. It’s from watching a movie, Pets 2. The next time we watch it, I’ll try to record and share; makes me laugh every time. Anyways, the activity I chose for her to do was the mixed media Earth collage.
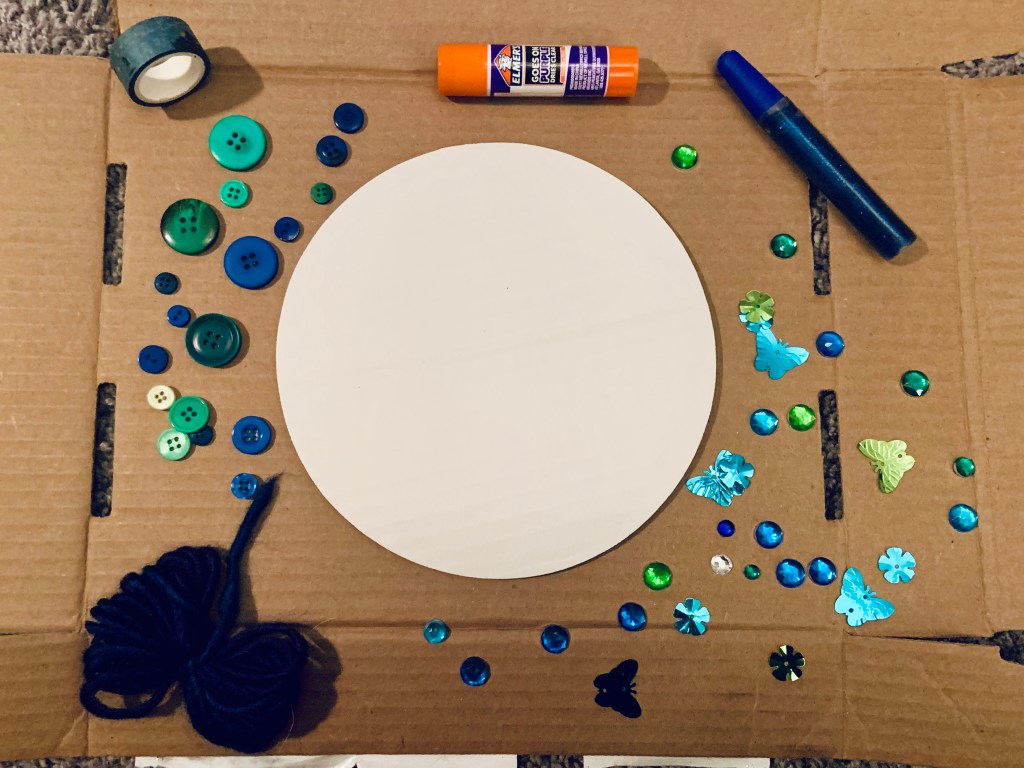
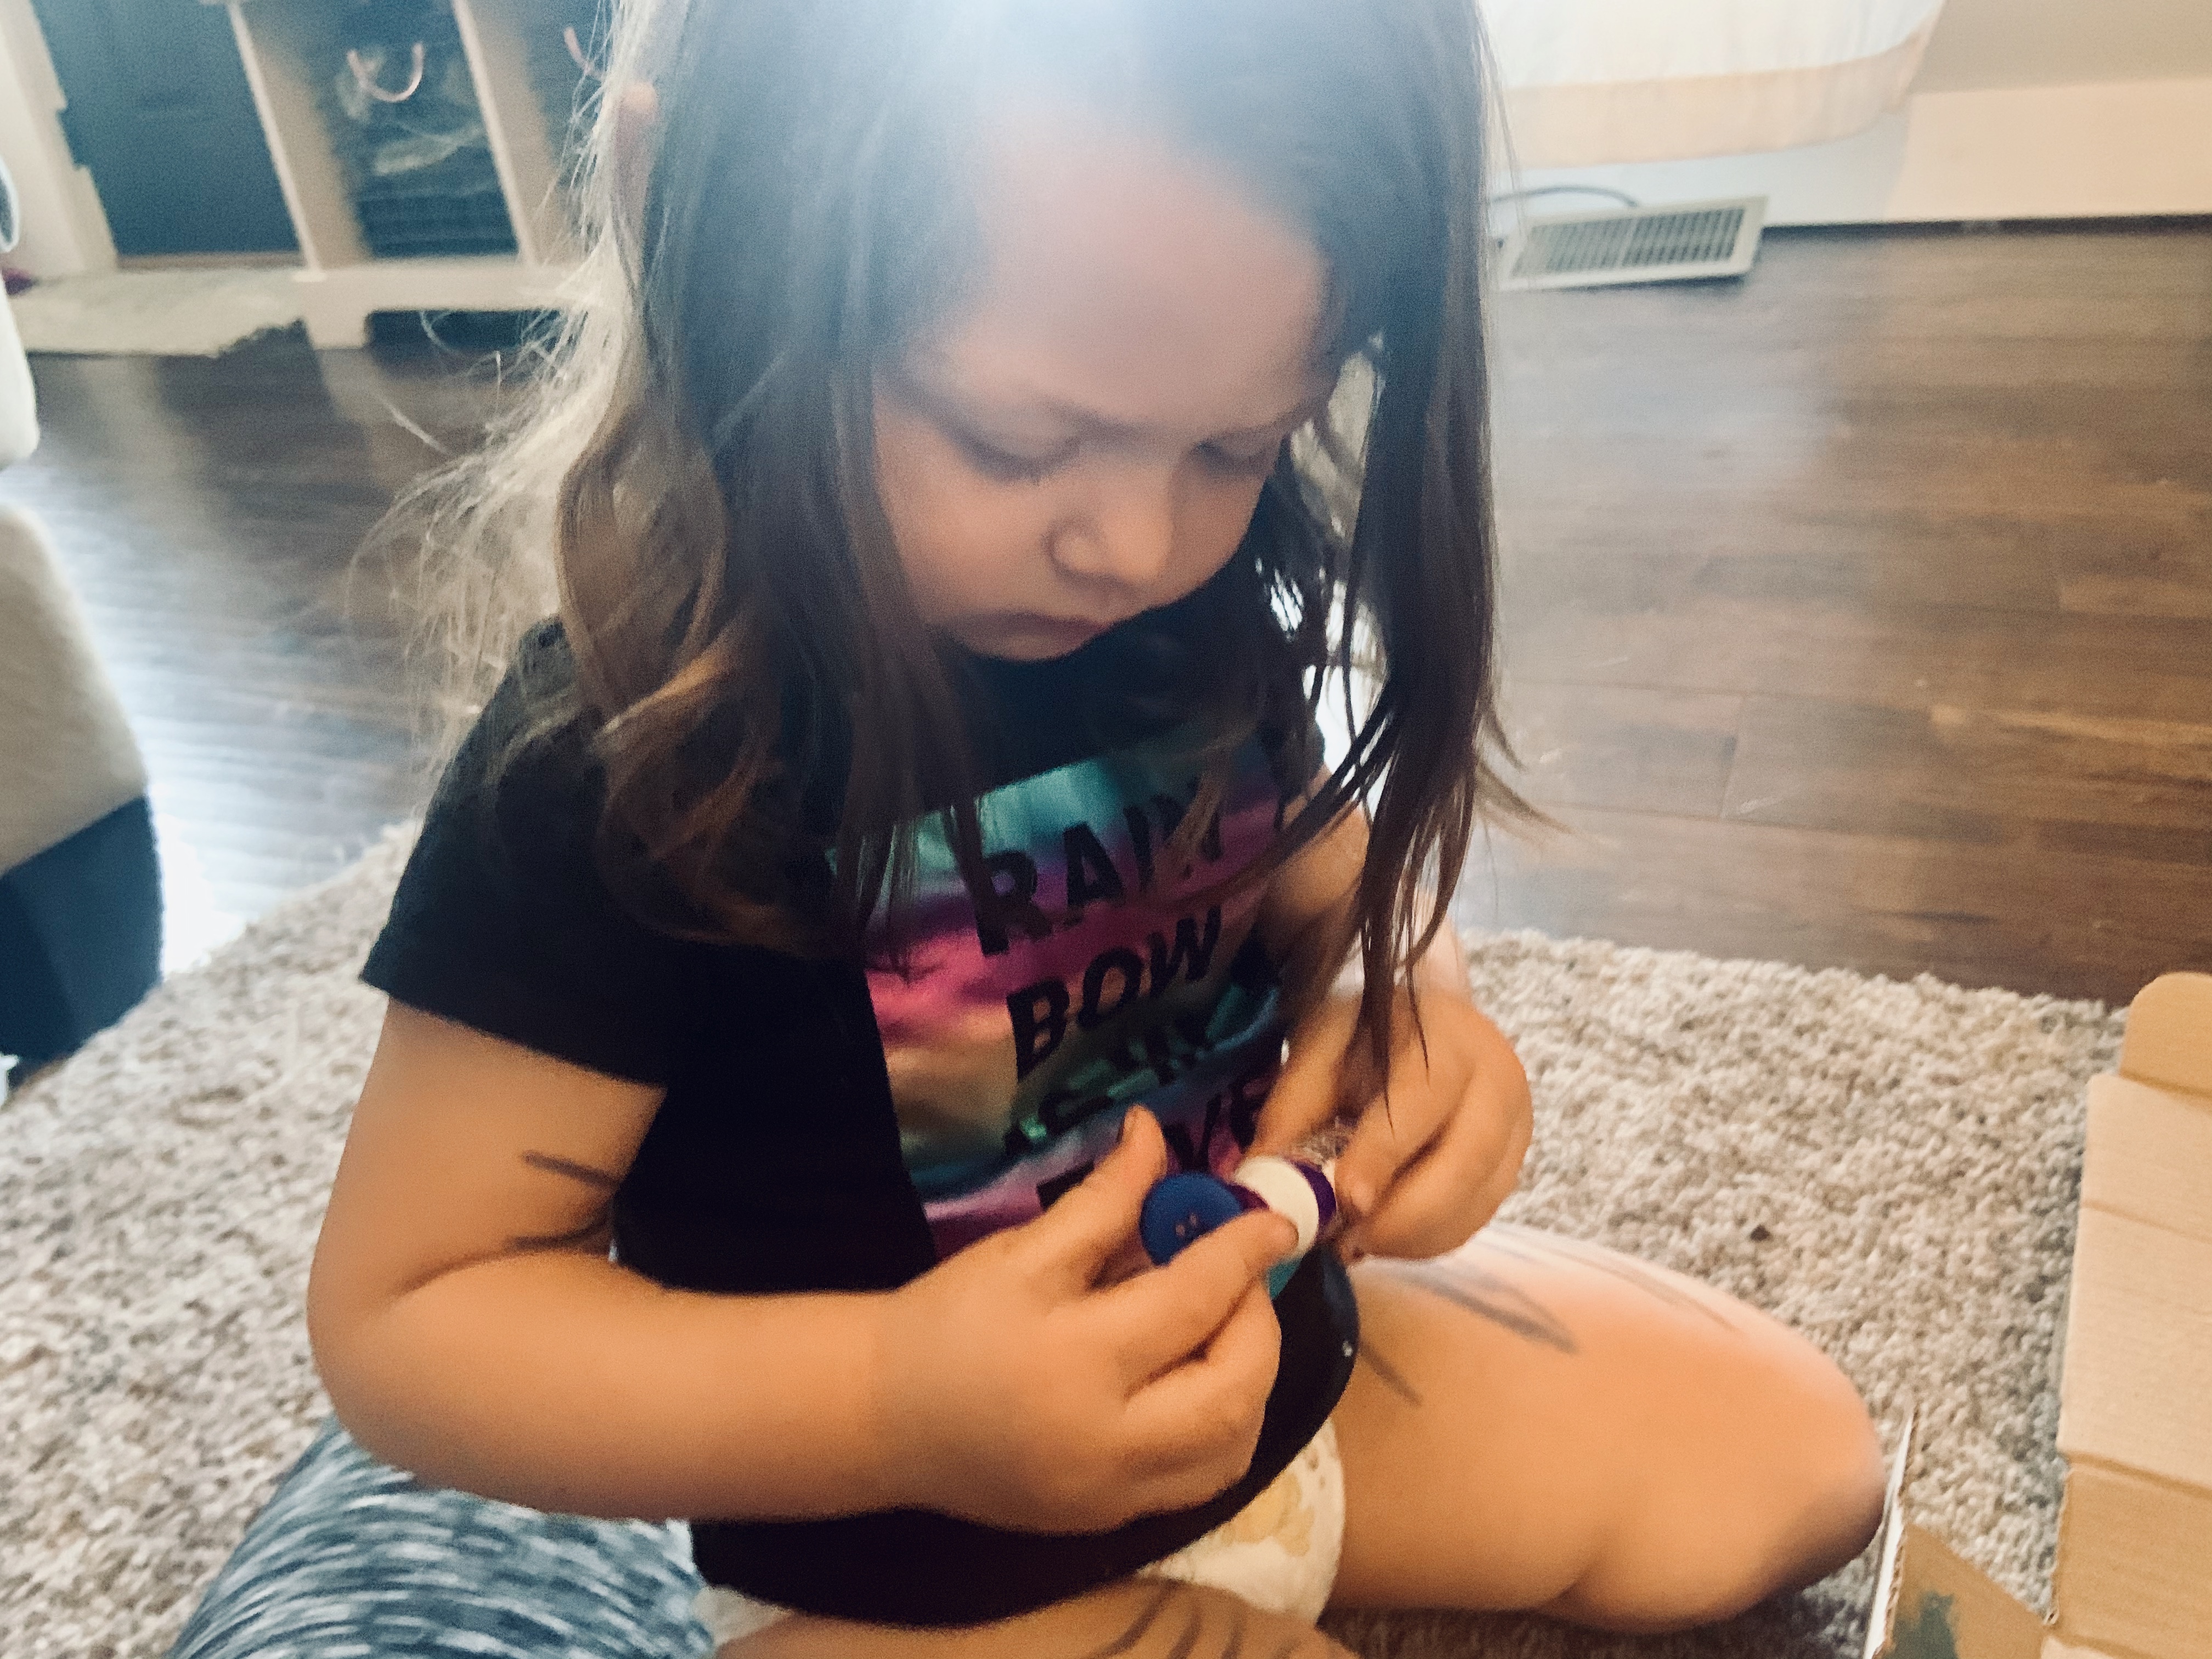
It came with: cardboard cut in a circle, blue and green paint, a packet of buttons, a packet of gems, a glue stick, string, washi tape, glitter glue, and a paint brush. A laminated picture of the world, along with directions, supply list, and information about the craft accompanied it as well.
Mila is obsessed with the buttons and gems! She kept saying ‘cute!’ I told her we were using green and blue because that’s the color of our earth. After the eating noises stopped, she pointed to the different colors and I told her she needed to paint the earth on her circle. She did typical painting routine and I think she nailed it. I asked her why it wasn’t all blue and green and she pointed to the clouds. At least I know she was referencing the picture.
By then, it was getting late and Mila started yawning. We cleaned everything up and let her earth dry over night.
When we woke up and after we watched Frozen of course, Mila insisted on seeing her earth. The paint dried up nicely and we started right on adding other media.
She’s never really experimented with glitter glue or a glue stick, but caught on after I showed her. She loved squeezing everything out and was insistent on glueing the buttons and gems down. When it got too sticky for her, she let me help her. We played around with the different media for about thirty minutes until I thought she couldn’t add anything else.
I really loved this activity and Mila did too. We talked about why we were adding blue and green and what they represented. She kept pointing to the the blue and saying beach or pool. I can definitely see us doing something similar in the upcoming years. She enjoyed it and I think it’d be interesting to see how she progressing in her understanding too.
Our little earth doesn’t have a home yet, the glitter glue is still drying… she ended up using the whole tube. She’s all girl and loves her glitter. I’m thinking of putting all our Earth Week crafts where I usually have garland. When Mila sees her art hanging, she always points to it and shows it off when people visit. It’ll be adorable to see all of her different interpretations.
I’m seriously so happy with this art box. When we do the next activity, I’ll make sure to show everything packaged together and lined up. I really want to do a “The Very Hungry Caterpillar” activity, just trying to find something for her age. If you have any ideas or suggestions, let me know!
Again, if you’d like to look up more information on this, click here. If you follow that link, you can get $10 off of your order!
What are some ways you celebrate or how do you teach your child about Earth Day?