It’s officially spooky season!
We love Halloween in our home and have so much fun with it every year. Last year, I made a Halloween preschool activity box for Mila and decided to make a new one this year! Filled with fun activities, this basket gives her busy tasks to do after school or while dinner is getting made. I love to have fun and engaging activities for Mila when she comes home, but sometimes, I can get busy. This basket will have the same activities in it all month long so she knows what to expect.
Let’s dive inside.

I got most of the items in person at Target, various dollar stores, and Joanns Fabrics. BUT, I searched online to find you all similar items incase you’d like to do this with your child. As with any links I have on here, I might get a small percentage with every purchase.
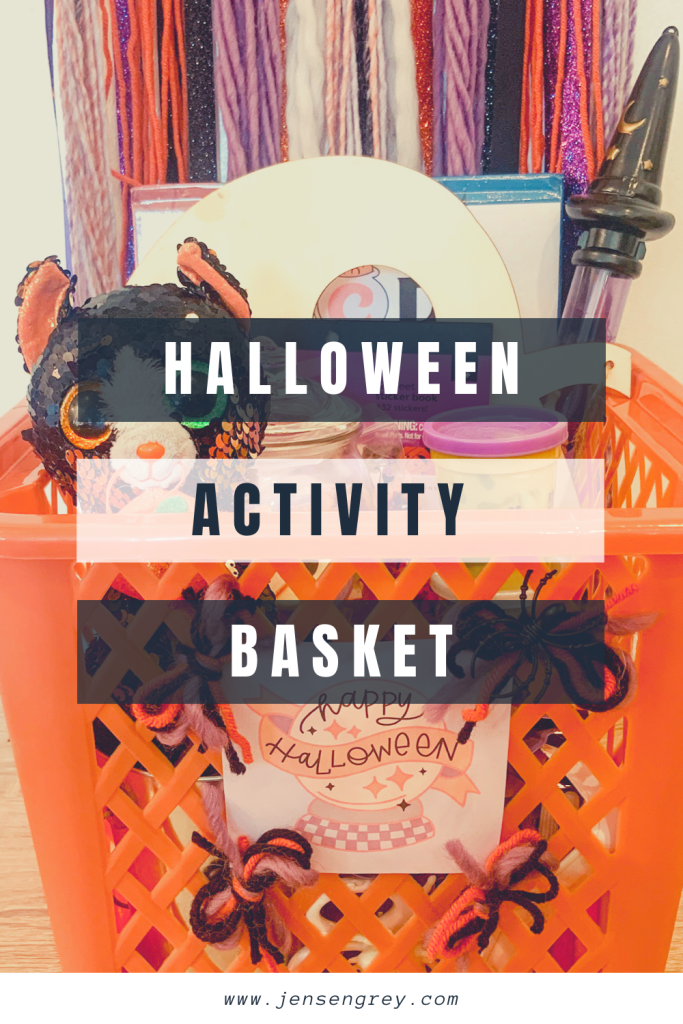
First, I got this orange basket at the Dollar General. Their baskets are always so good at an even better price. To make it festive, I used The Letter Vee‘s printable with some fun yarn.
I also have some other fun Halloween printables from The Letter Vee. She has a ton listed that are perfect for spooky season, but I put the spooky alphabet sheet for letter recognition and a coloring page. Both are great for a quiet activity. There’s also some blank papers in there for Mila to draw or trace.
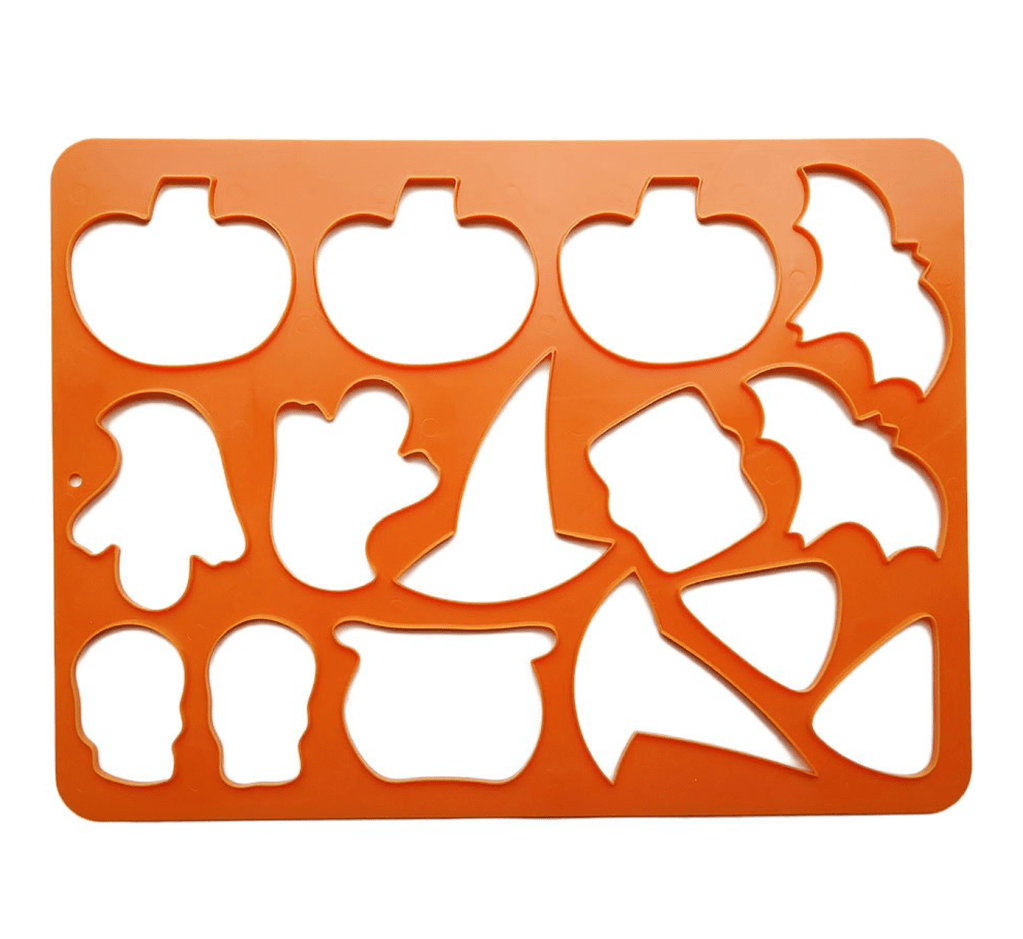
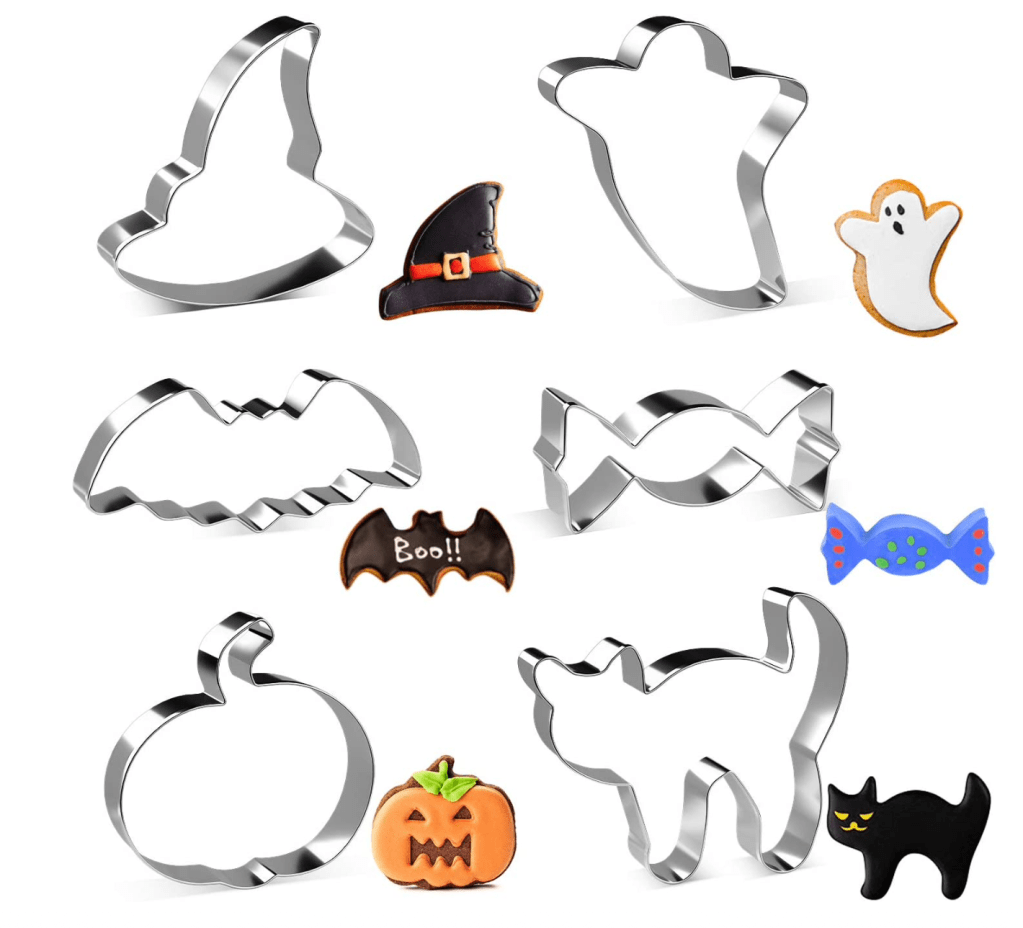
Speaking of tracing. I added in some Halloween cookie cutters. She can practice tracing these and cutting them out. I’m excited what she creates with these.
Here’s some fun cookie cutters I found online:
Another fun tracing element I added were Halloween resin letters from Beags and Bubs! We love their resin letters and sensory sets. These particular letters are Halloween themed and we’ll use them all season long. Mila can trace them and also use them with the letter sheet too. They’re a staple in our home to play with.
If you do want to get some resin letters OR sensory kits from Beags and Bubs, use MILA15 to save!
Since Mila absolutely loves to paint and color, I added some wooden crafts from different dollar stores. These are so great for kids to create with. They’re cheap and they always end up so cute. She has a wooden jack-o-lantern and pumpkins. We use these crafts all the time so she’s very familiar how to work with them.
One fun activity that I actually made using The Letter Vee printable was this Halloween matching/memory game. I linked the video of how to make it to the picture. This just sits in a bucket and has been a big hit!

We also added some Halloween books. Most of our Halloween books are on Mila’s reading shelf in our home. She always has access to books and I plan to change these ones out every few days so she can be surprised.
Here’s some Halloween books that we love. If there’s some of the ones that you love and we’re missing, comment the titles below!:
- How to Catch a Monster
- How to Catch a Witch
- Eek Halloween
- Ghost Afraid of the Dark
- Pumpkin Jack
- I Spy with My Little Eye Halloween
- Hocus Pocus (This is a new title for Hocus Pocus 2)
- Room on the Broom
- Gustav the Shy Ghost
- Gilbert the Ghost
Okay — that’s a TON of books, but they’re all so good. We have a lot more at home, but I had to limit myself to this amount for right here. Again, if you have a book we need to read for Halloween, please comment below.
On to the next item in the basket. STICKERS!
Mila is no different and loves stickers. I added a Halloween sticker book and some from the dollar store too. These will provide so much fun for her. She can use the wooden pumpkins or paper to stick them too.
I love this sticker book option from Amazon!
The rest of the items are ones you can find any where, and again, are staples in our home.
- Play doh
- Googly eyes (you NEED these for Halloween crafts)
- Halloween cat stuffed animal
- Markers
- Bubble wand
- Temporary Tattoos
Here’s a closer look at everything inside this Halloween basket. It’s linked to an Instagram post where you can hear the sound with it too.
We love how everything turned out and I can’t wait for Mila to enjoy this all October long. I’ll make sure to share all the fun Halloween Activities we do the next few weeks. You won’t want to miss it!
What was your favorite item in the Halloween Basket?