Toddler Activity and Snack: National Pizza Day

Today is National Pizza Day.

I love that it feels like everyday is a holiday. It makes not being able to do things like normal feel a little more special.

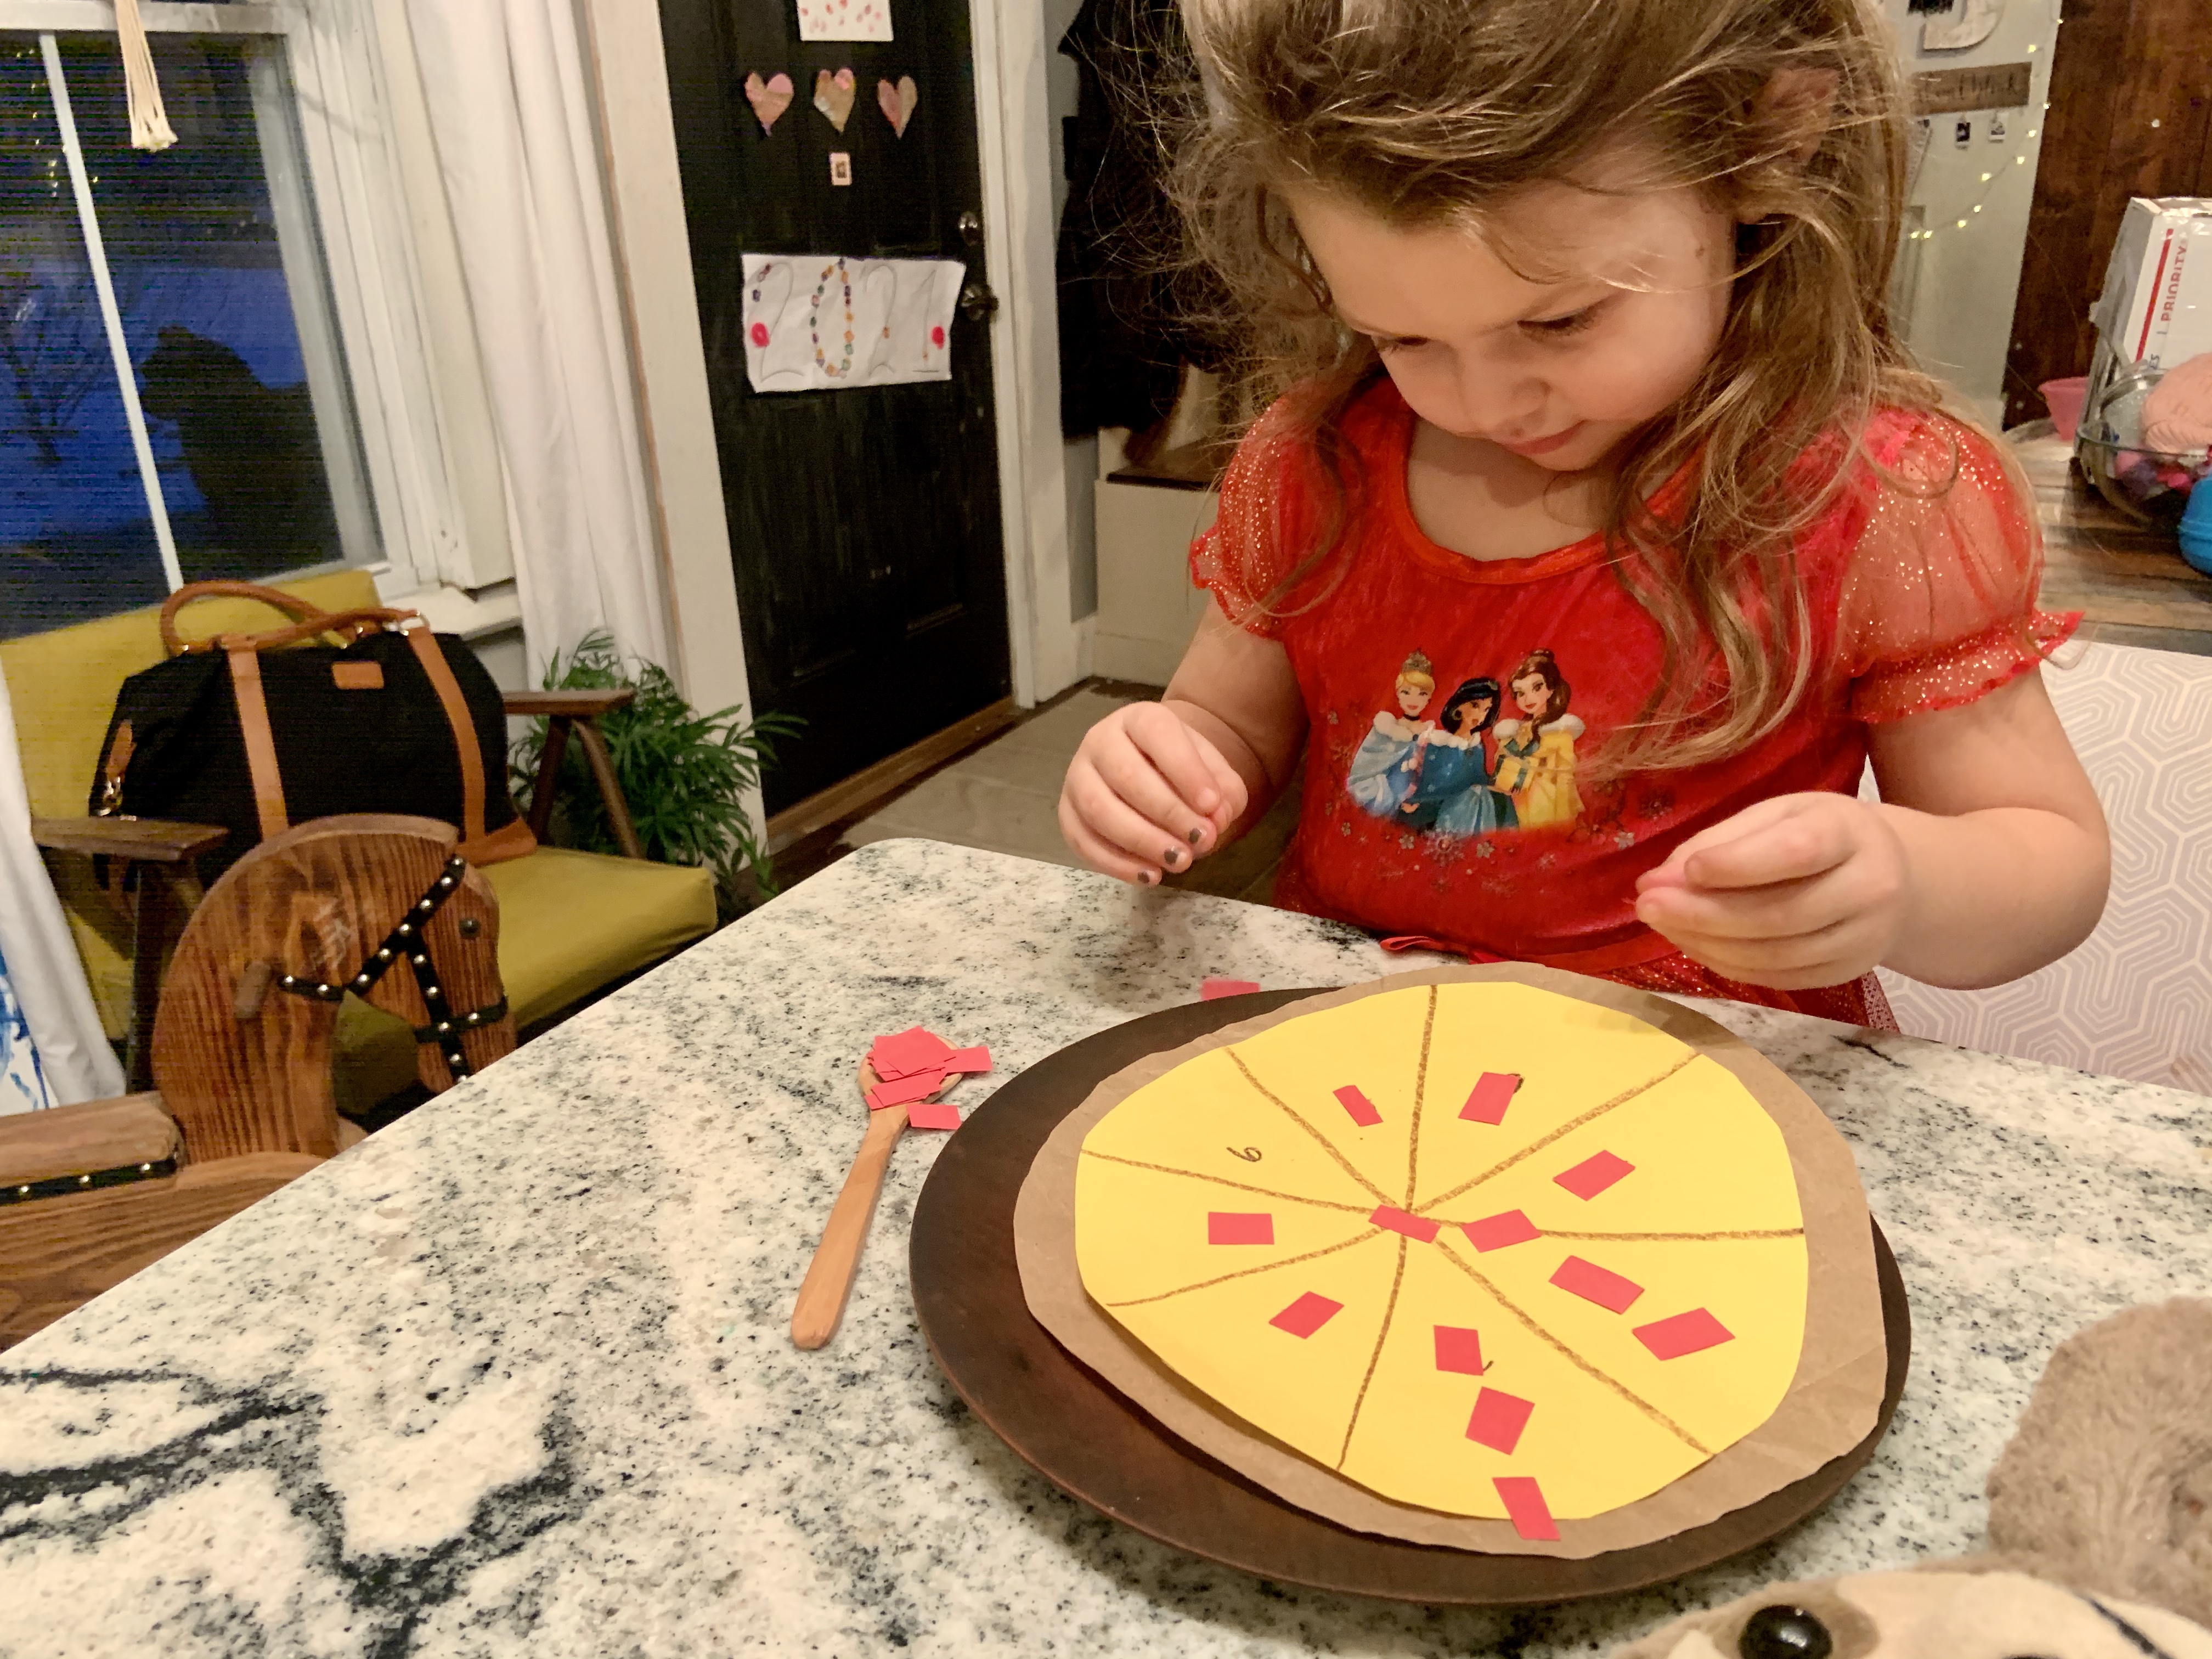
Anyways, since Mila is learning to count, I decided to make a fun counting activity and a pizza wrap for the occasion. Of course, her friend, Pizza, had to be involved too.

All I used for this little activity was construction paper, a crayon, scissors, and tape!

I divided the pizza up into eight slices. Then cut out enough square pepperonis for them all the have the correct number on them.

If your child is working on scissor skills, this would be great for them too.

This is a simple activity, but the repetitiveness helps solidify their counting skills. Mila has a hard time with four and five and likes to skip them. By doing this activity, it made her see four and five and do it eight times in a row.

I also love that she’s using her fine motor skills to pick up and place the small pieces on the pizza.

After she went through the activity once, she had time just playing with the little pieces. Pizza and her Barbie dog enjoyed it as well.

Even though this is a simple game to put together, it really does help with counting. It’s always such a good feeling to see them put their knowledge to use. Not just repeating numbers. Plus it gave me time to make food too.

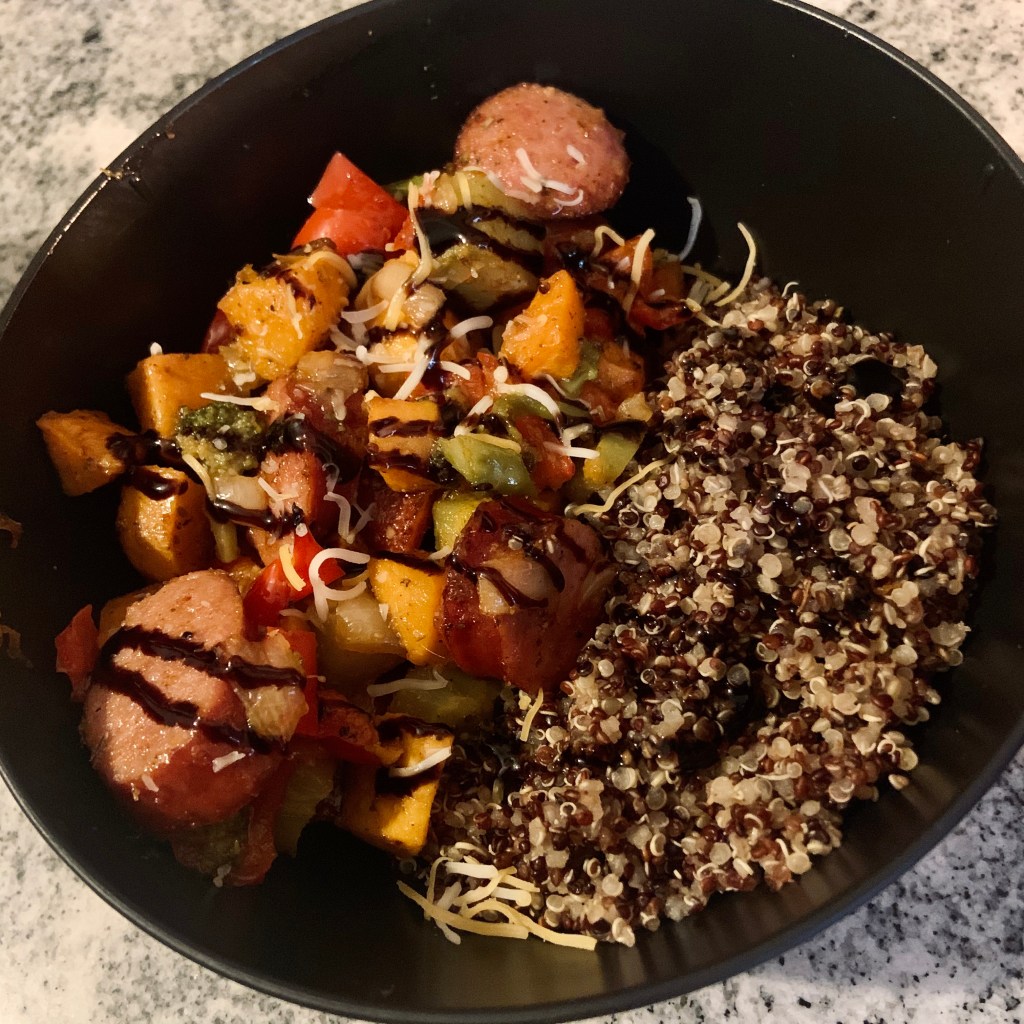
Of course, we had to make something pizza inspired for the day!

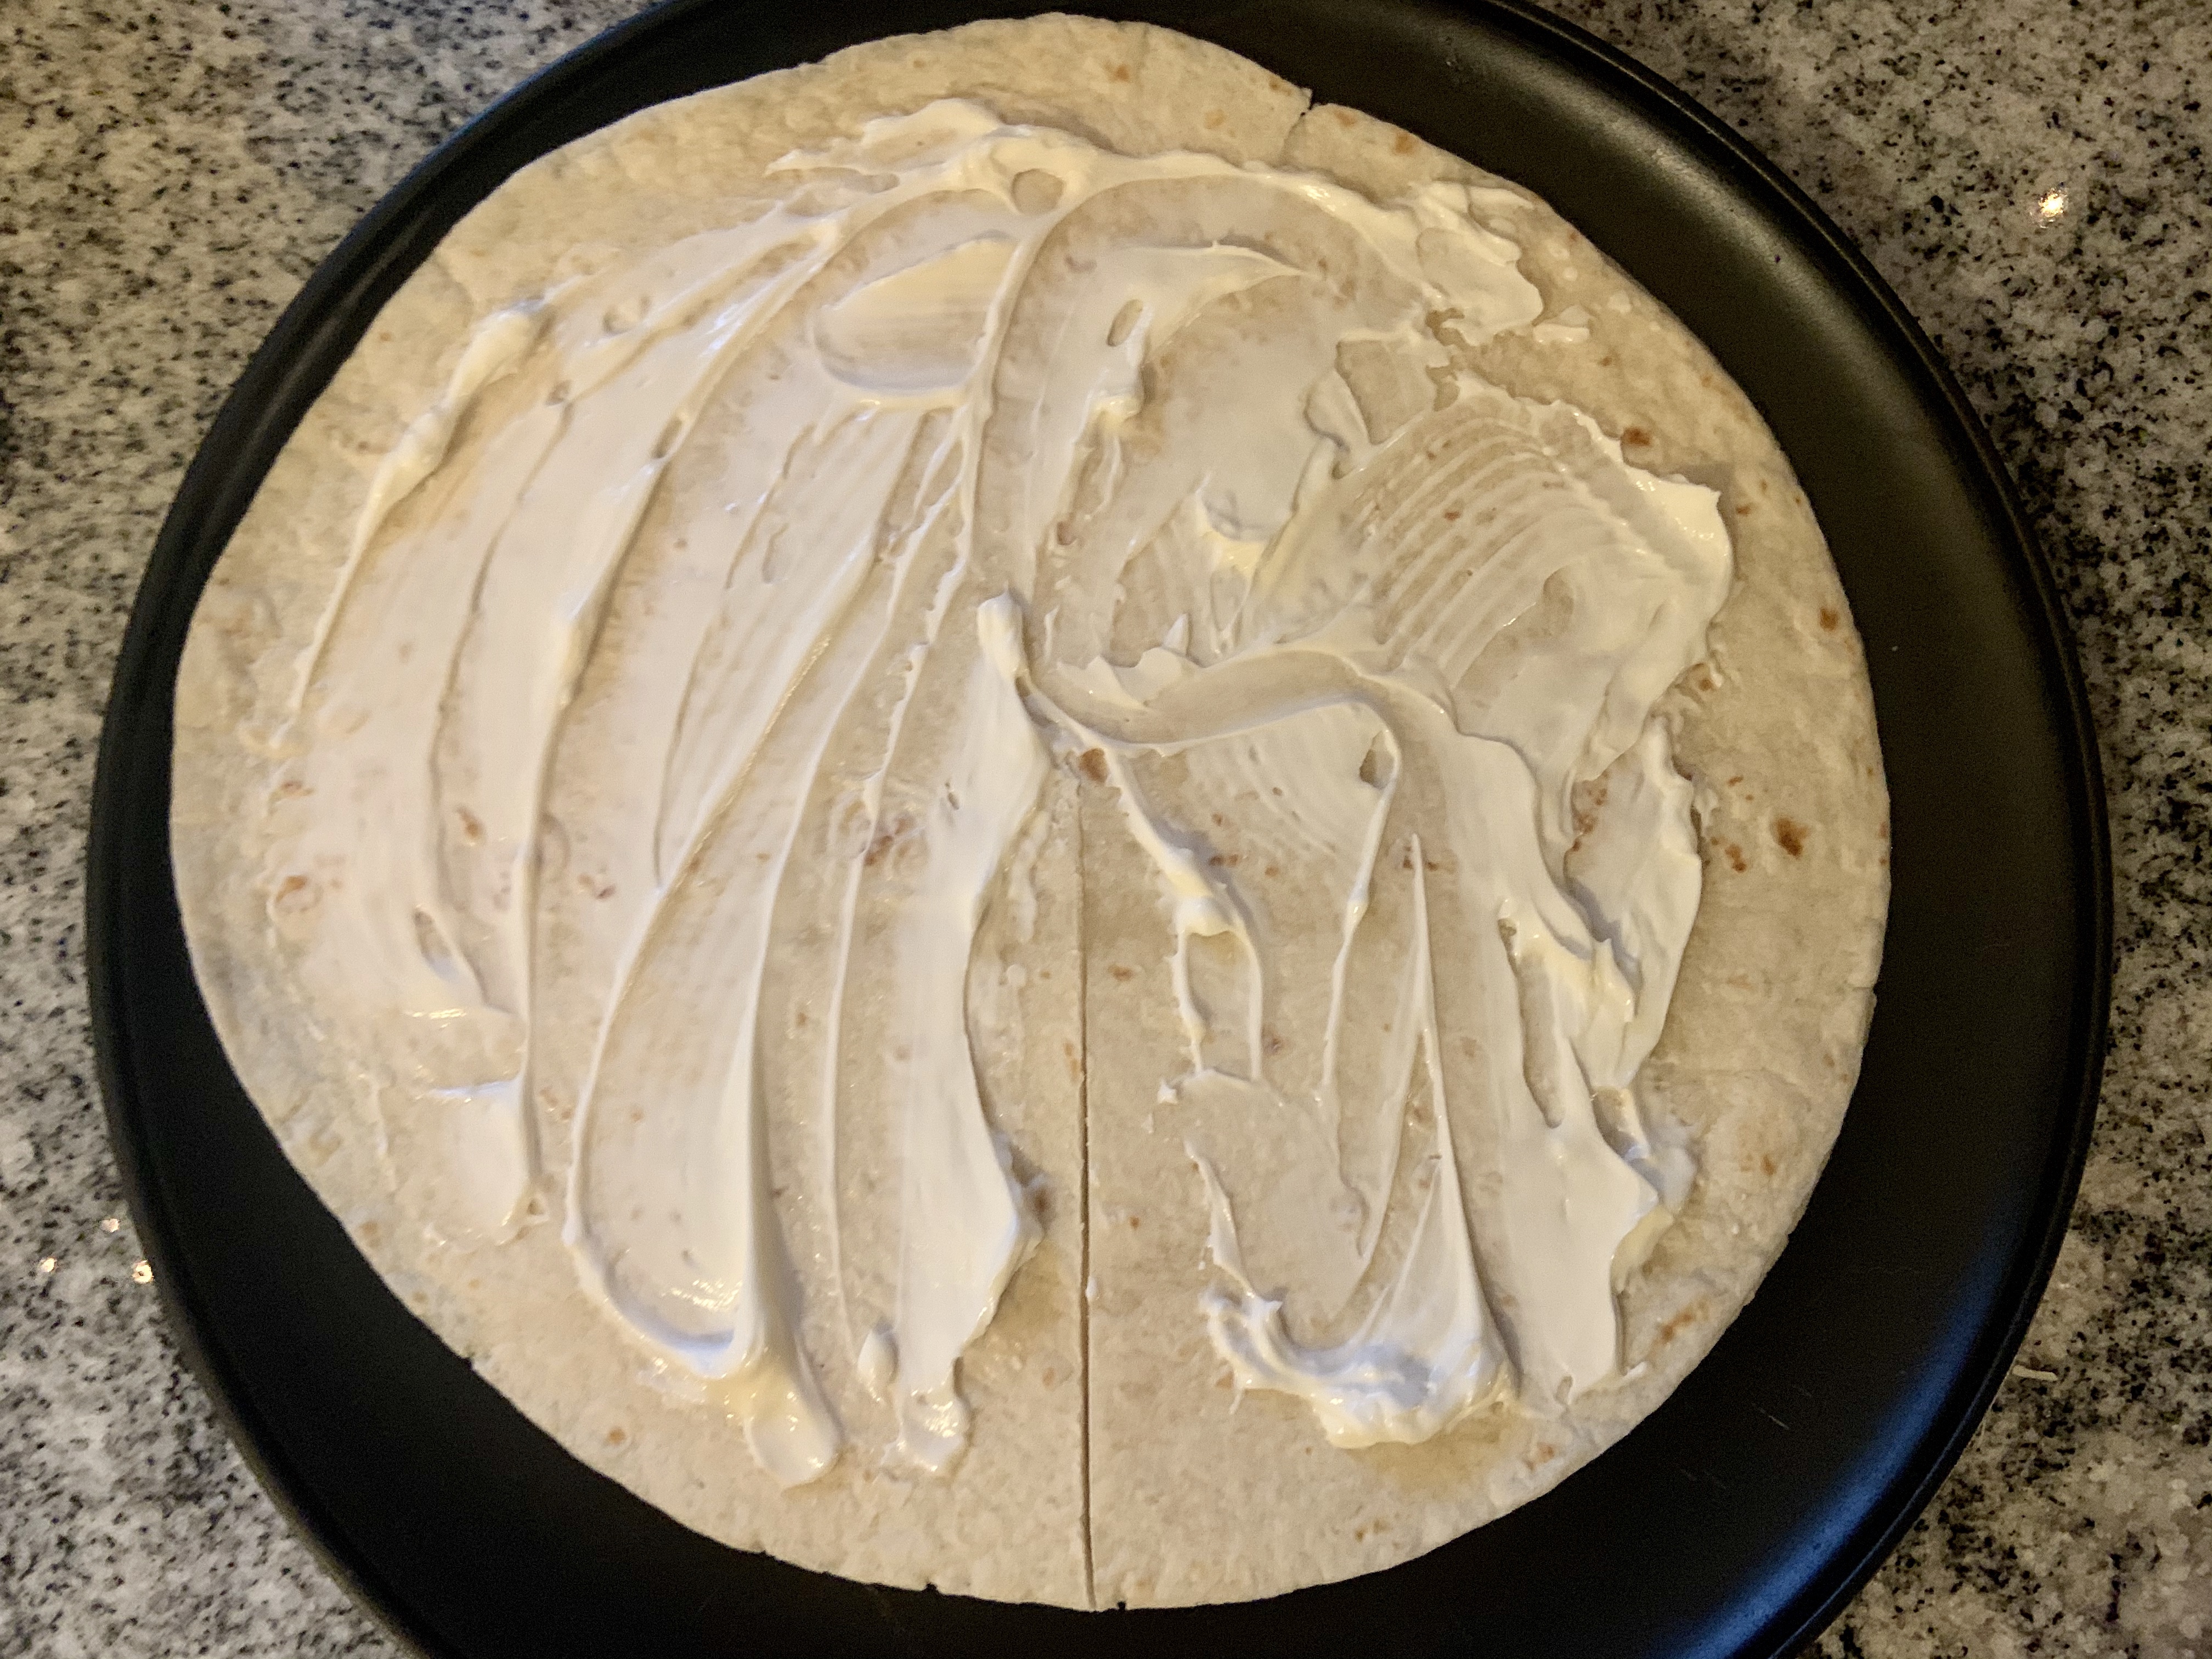
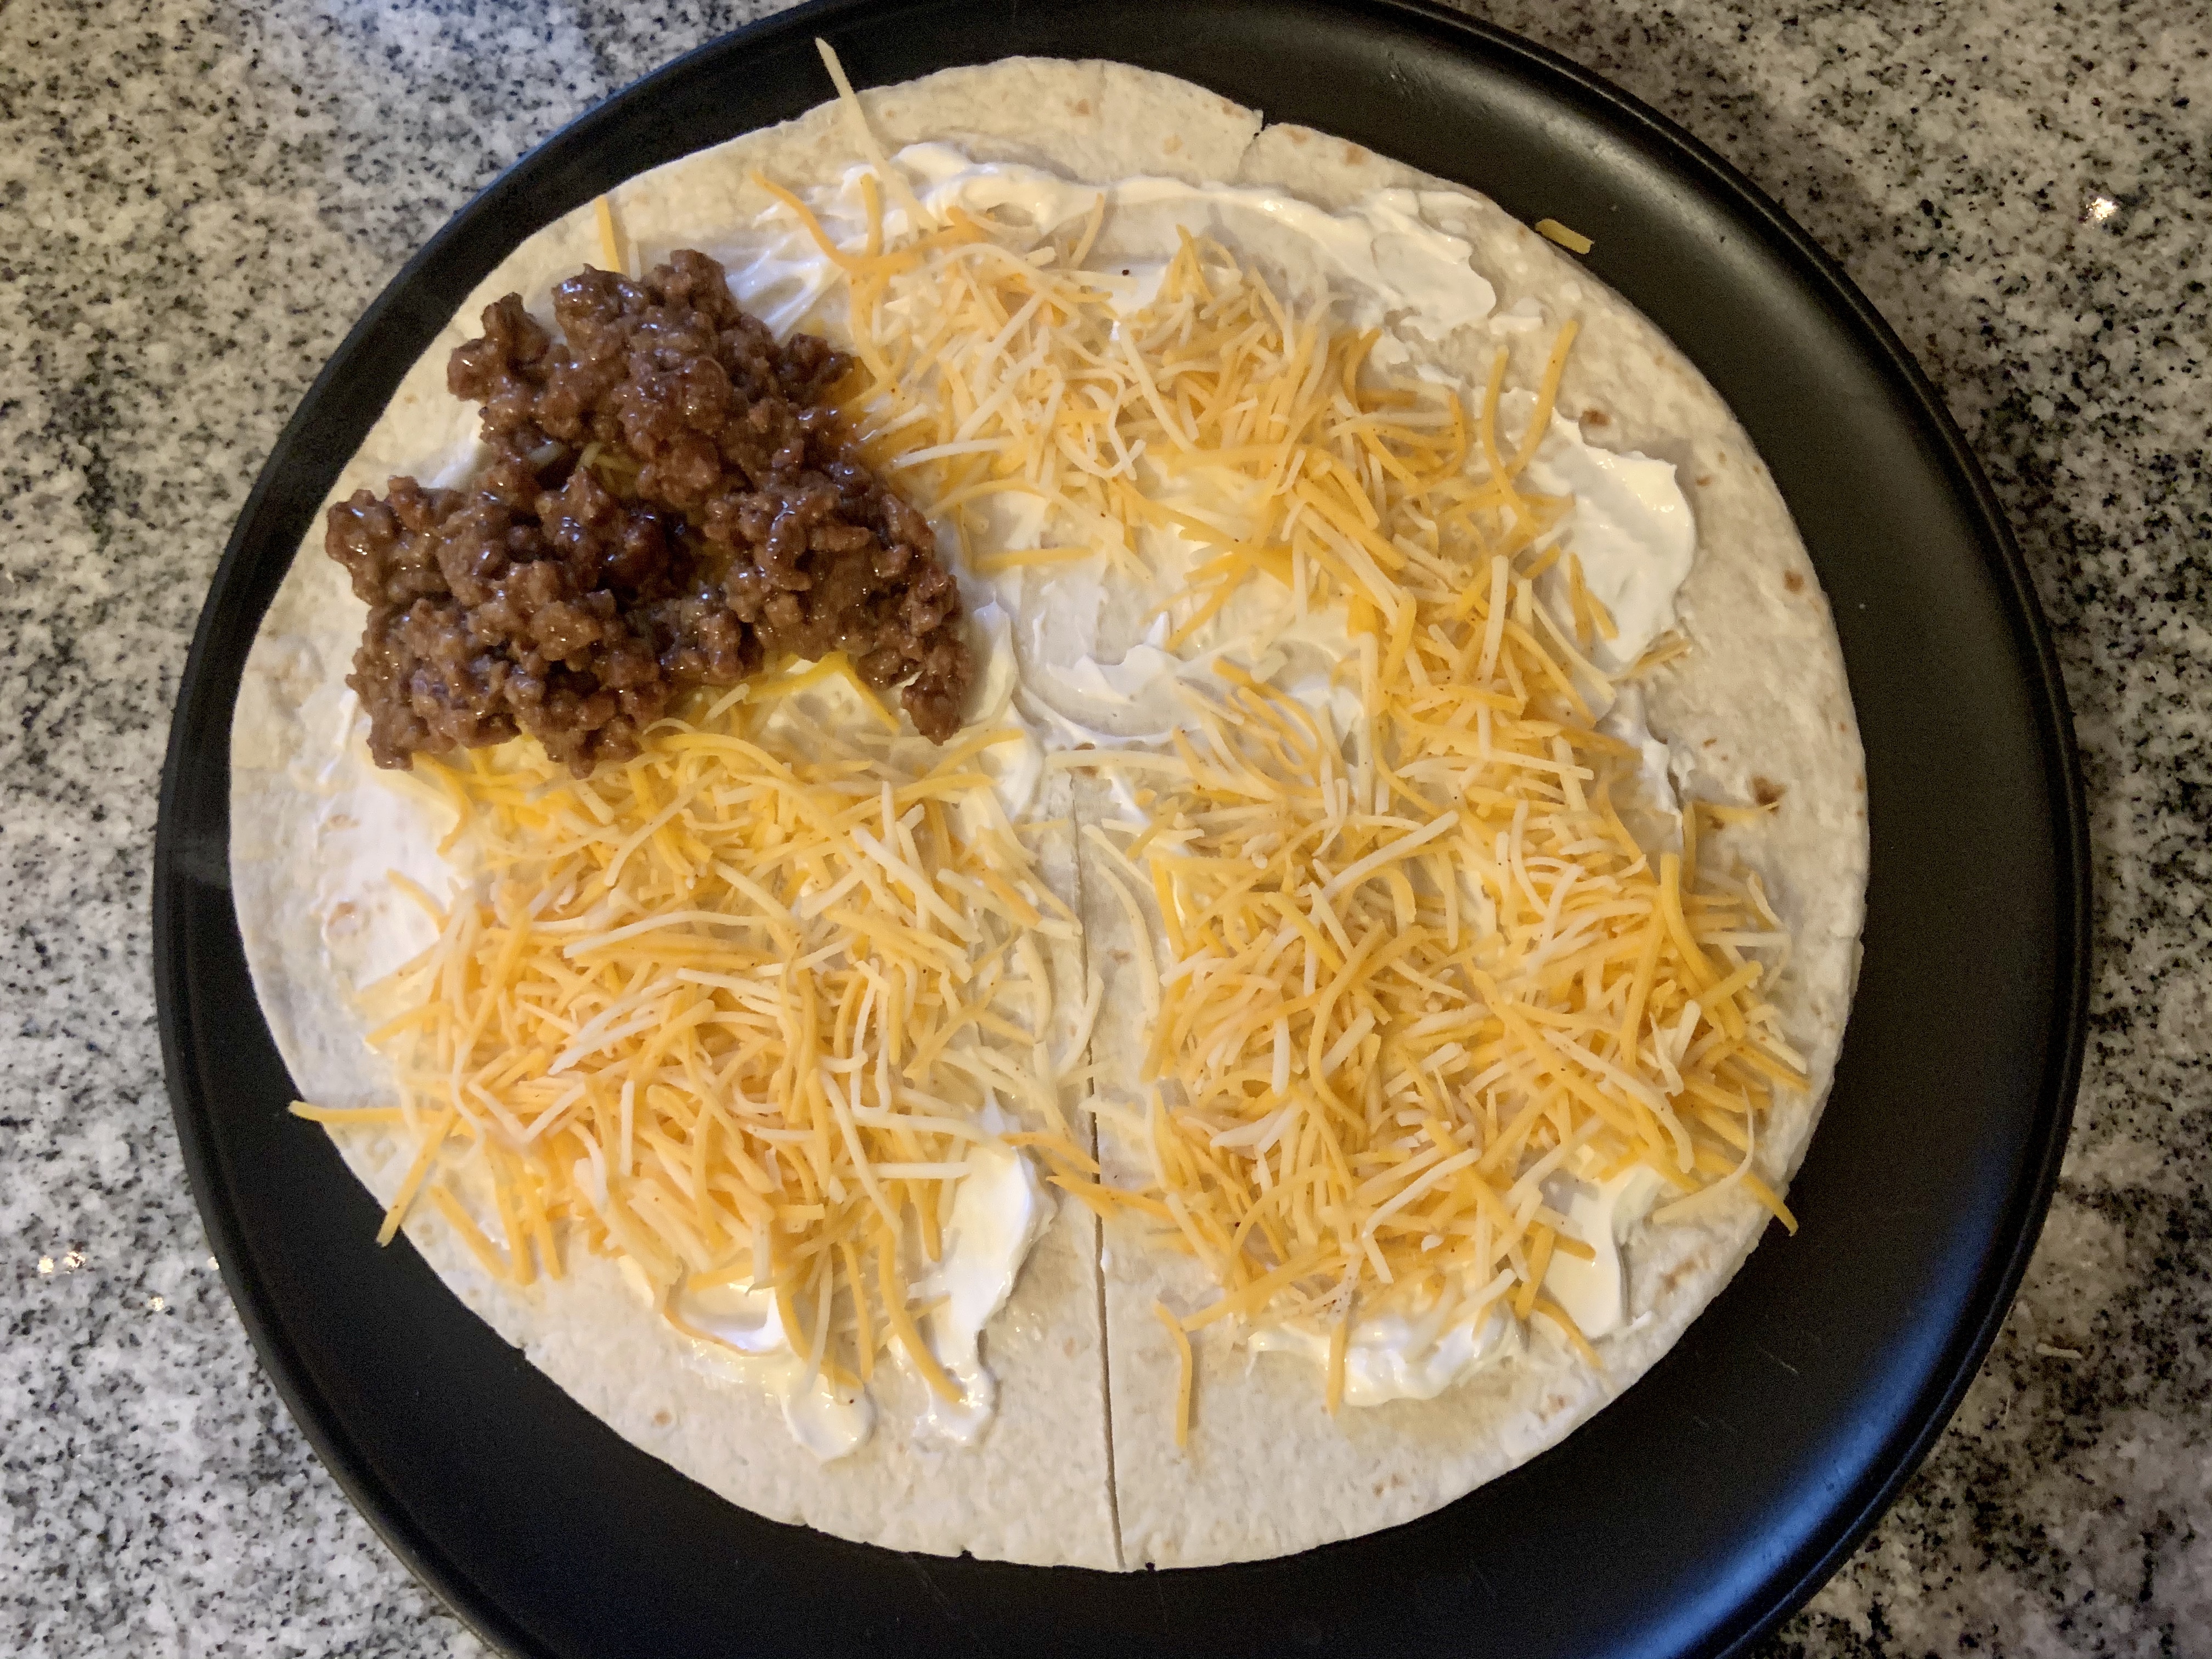
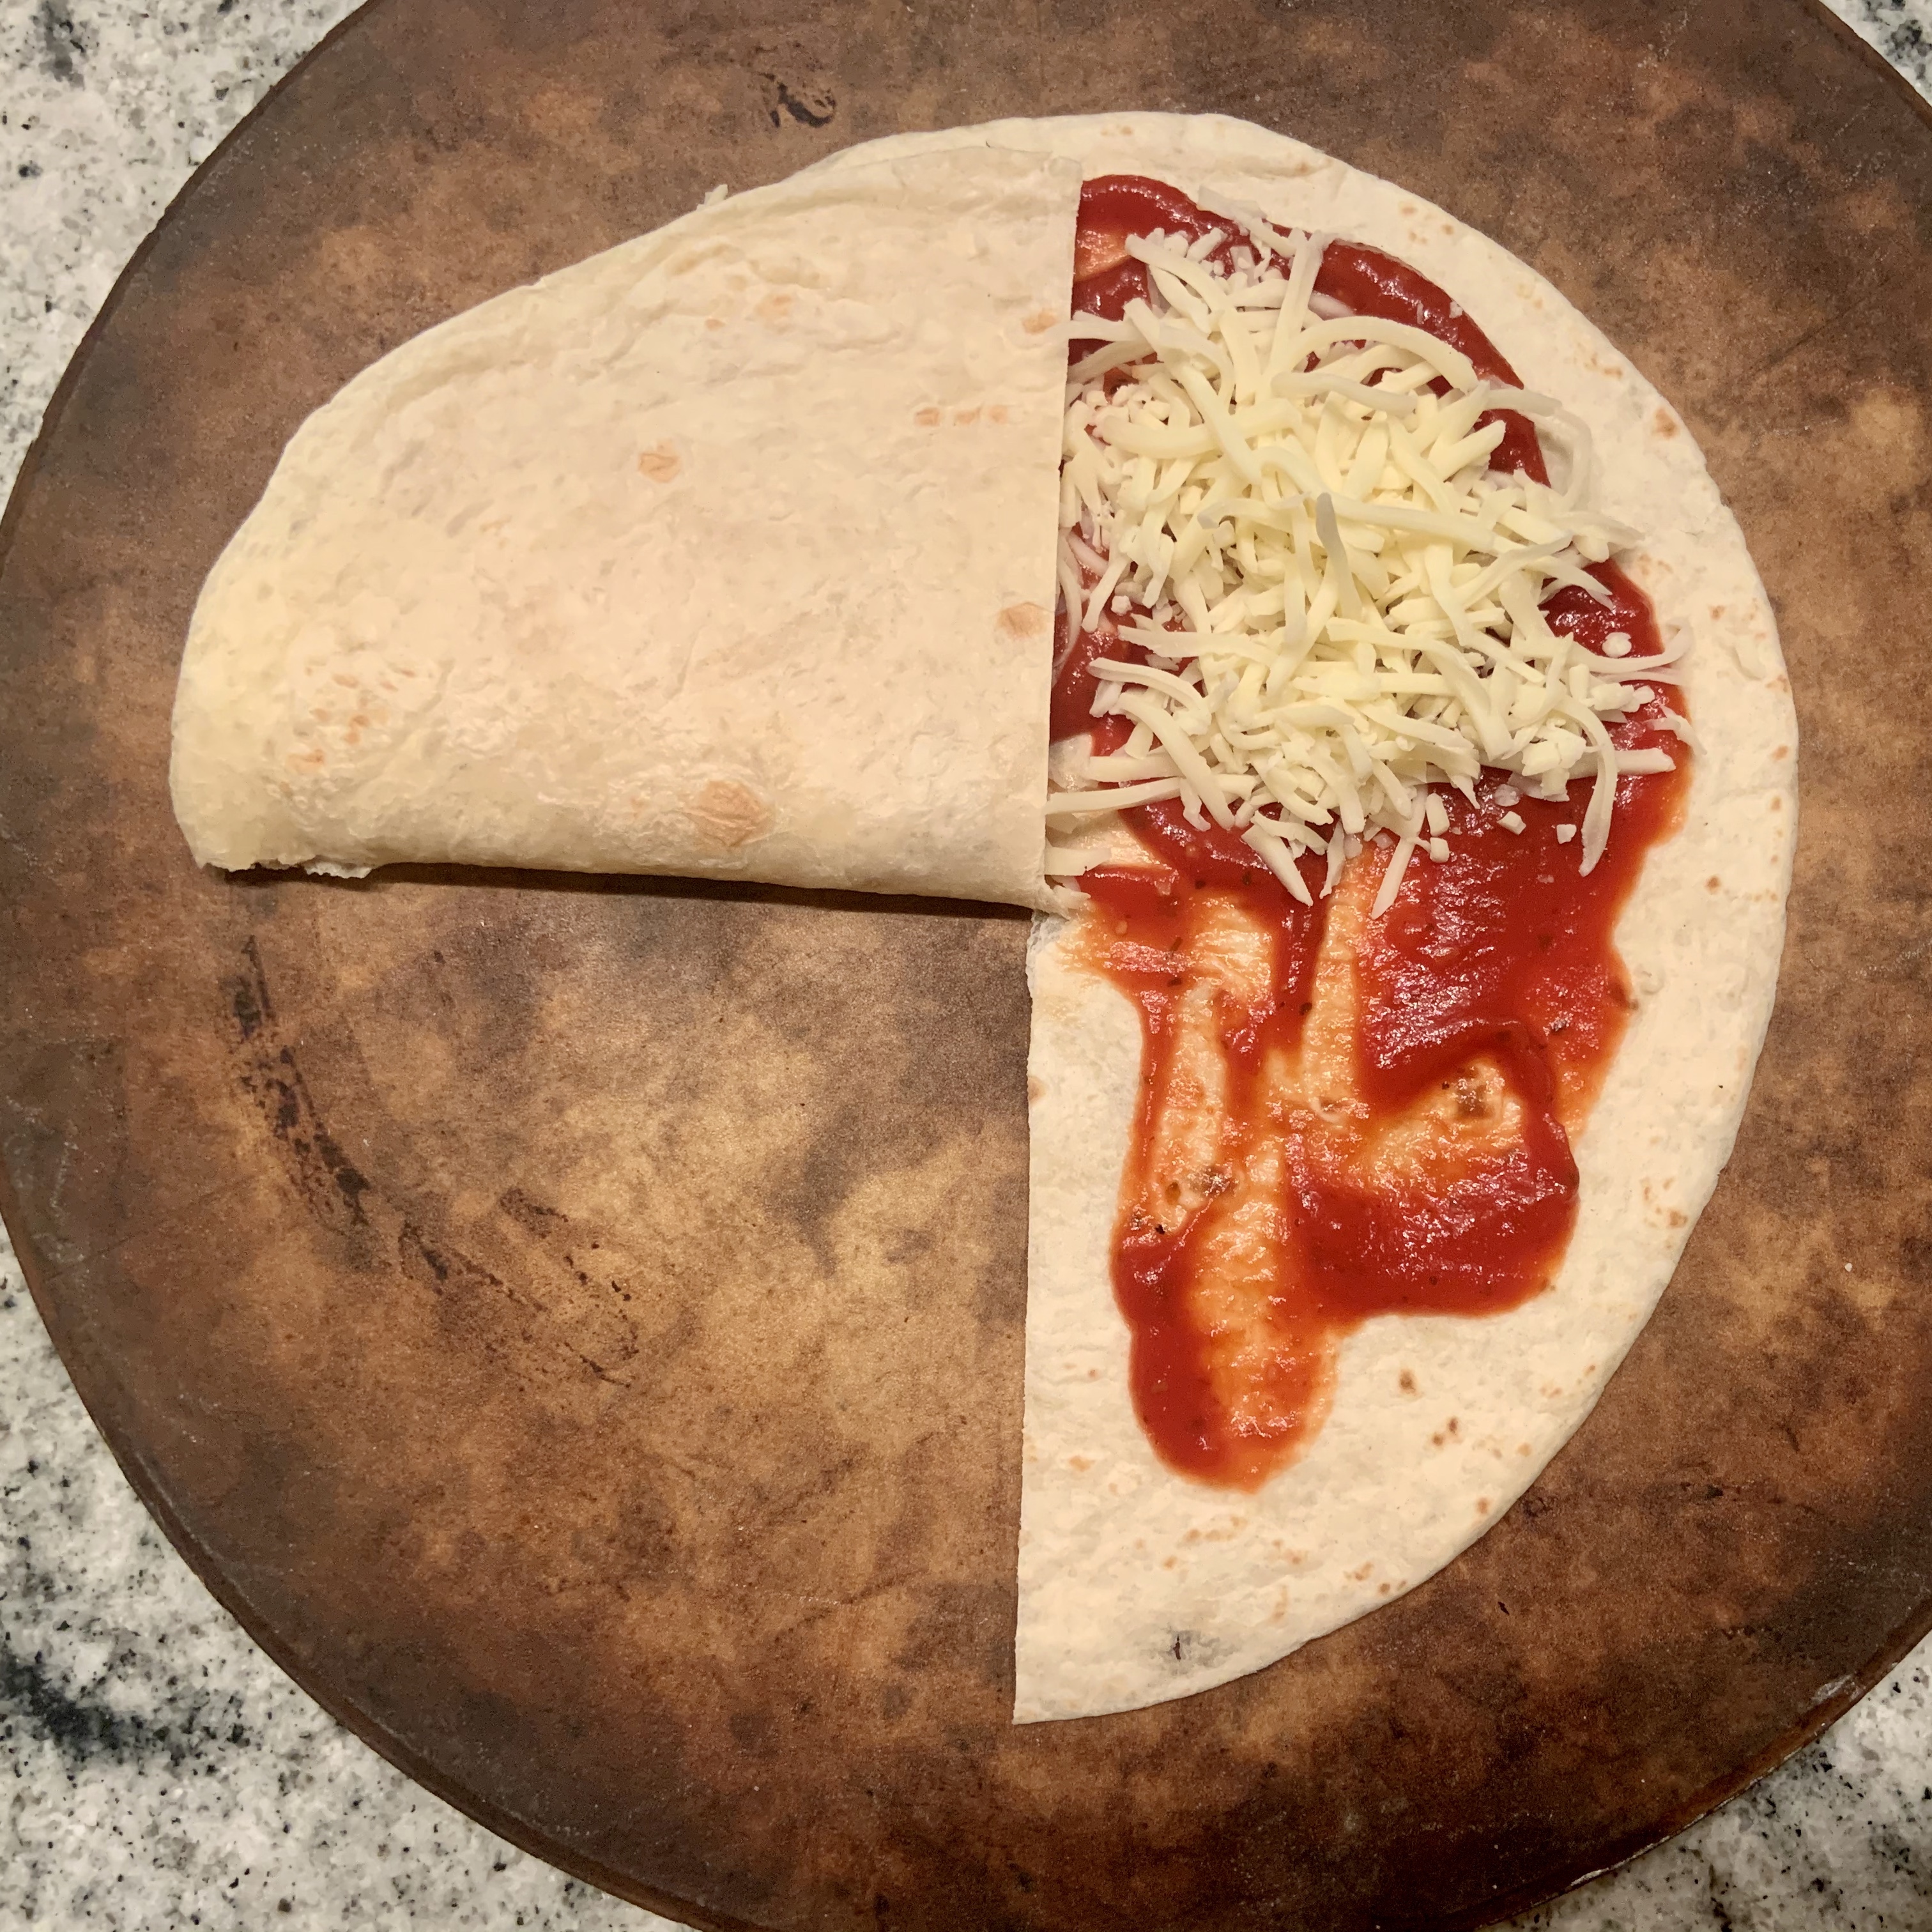
Using the same wrap style as I did for the Cheesy Beef Quesadilla, Mila and I had cheesy, pizza wraps.

All you need are these things:

  • Tortilla
  • Pizza Sauce
  • Cheese
  • Any toppings you’d like!

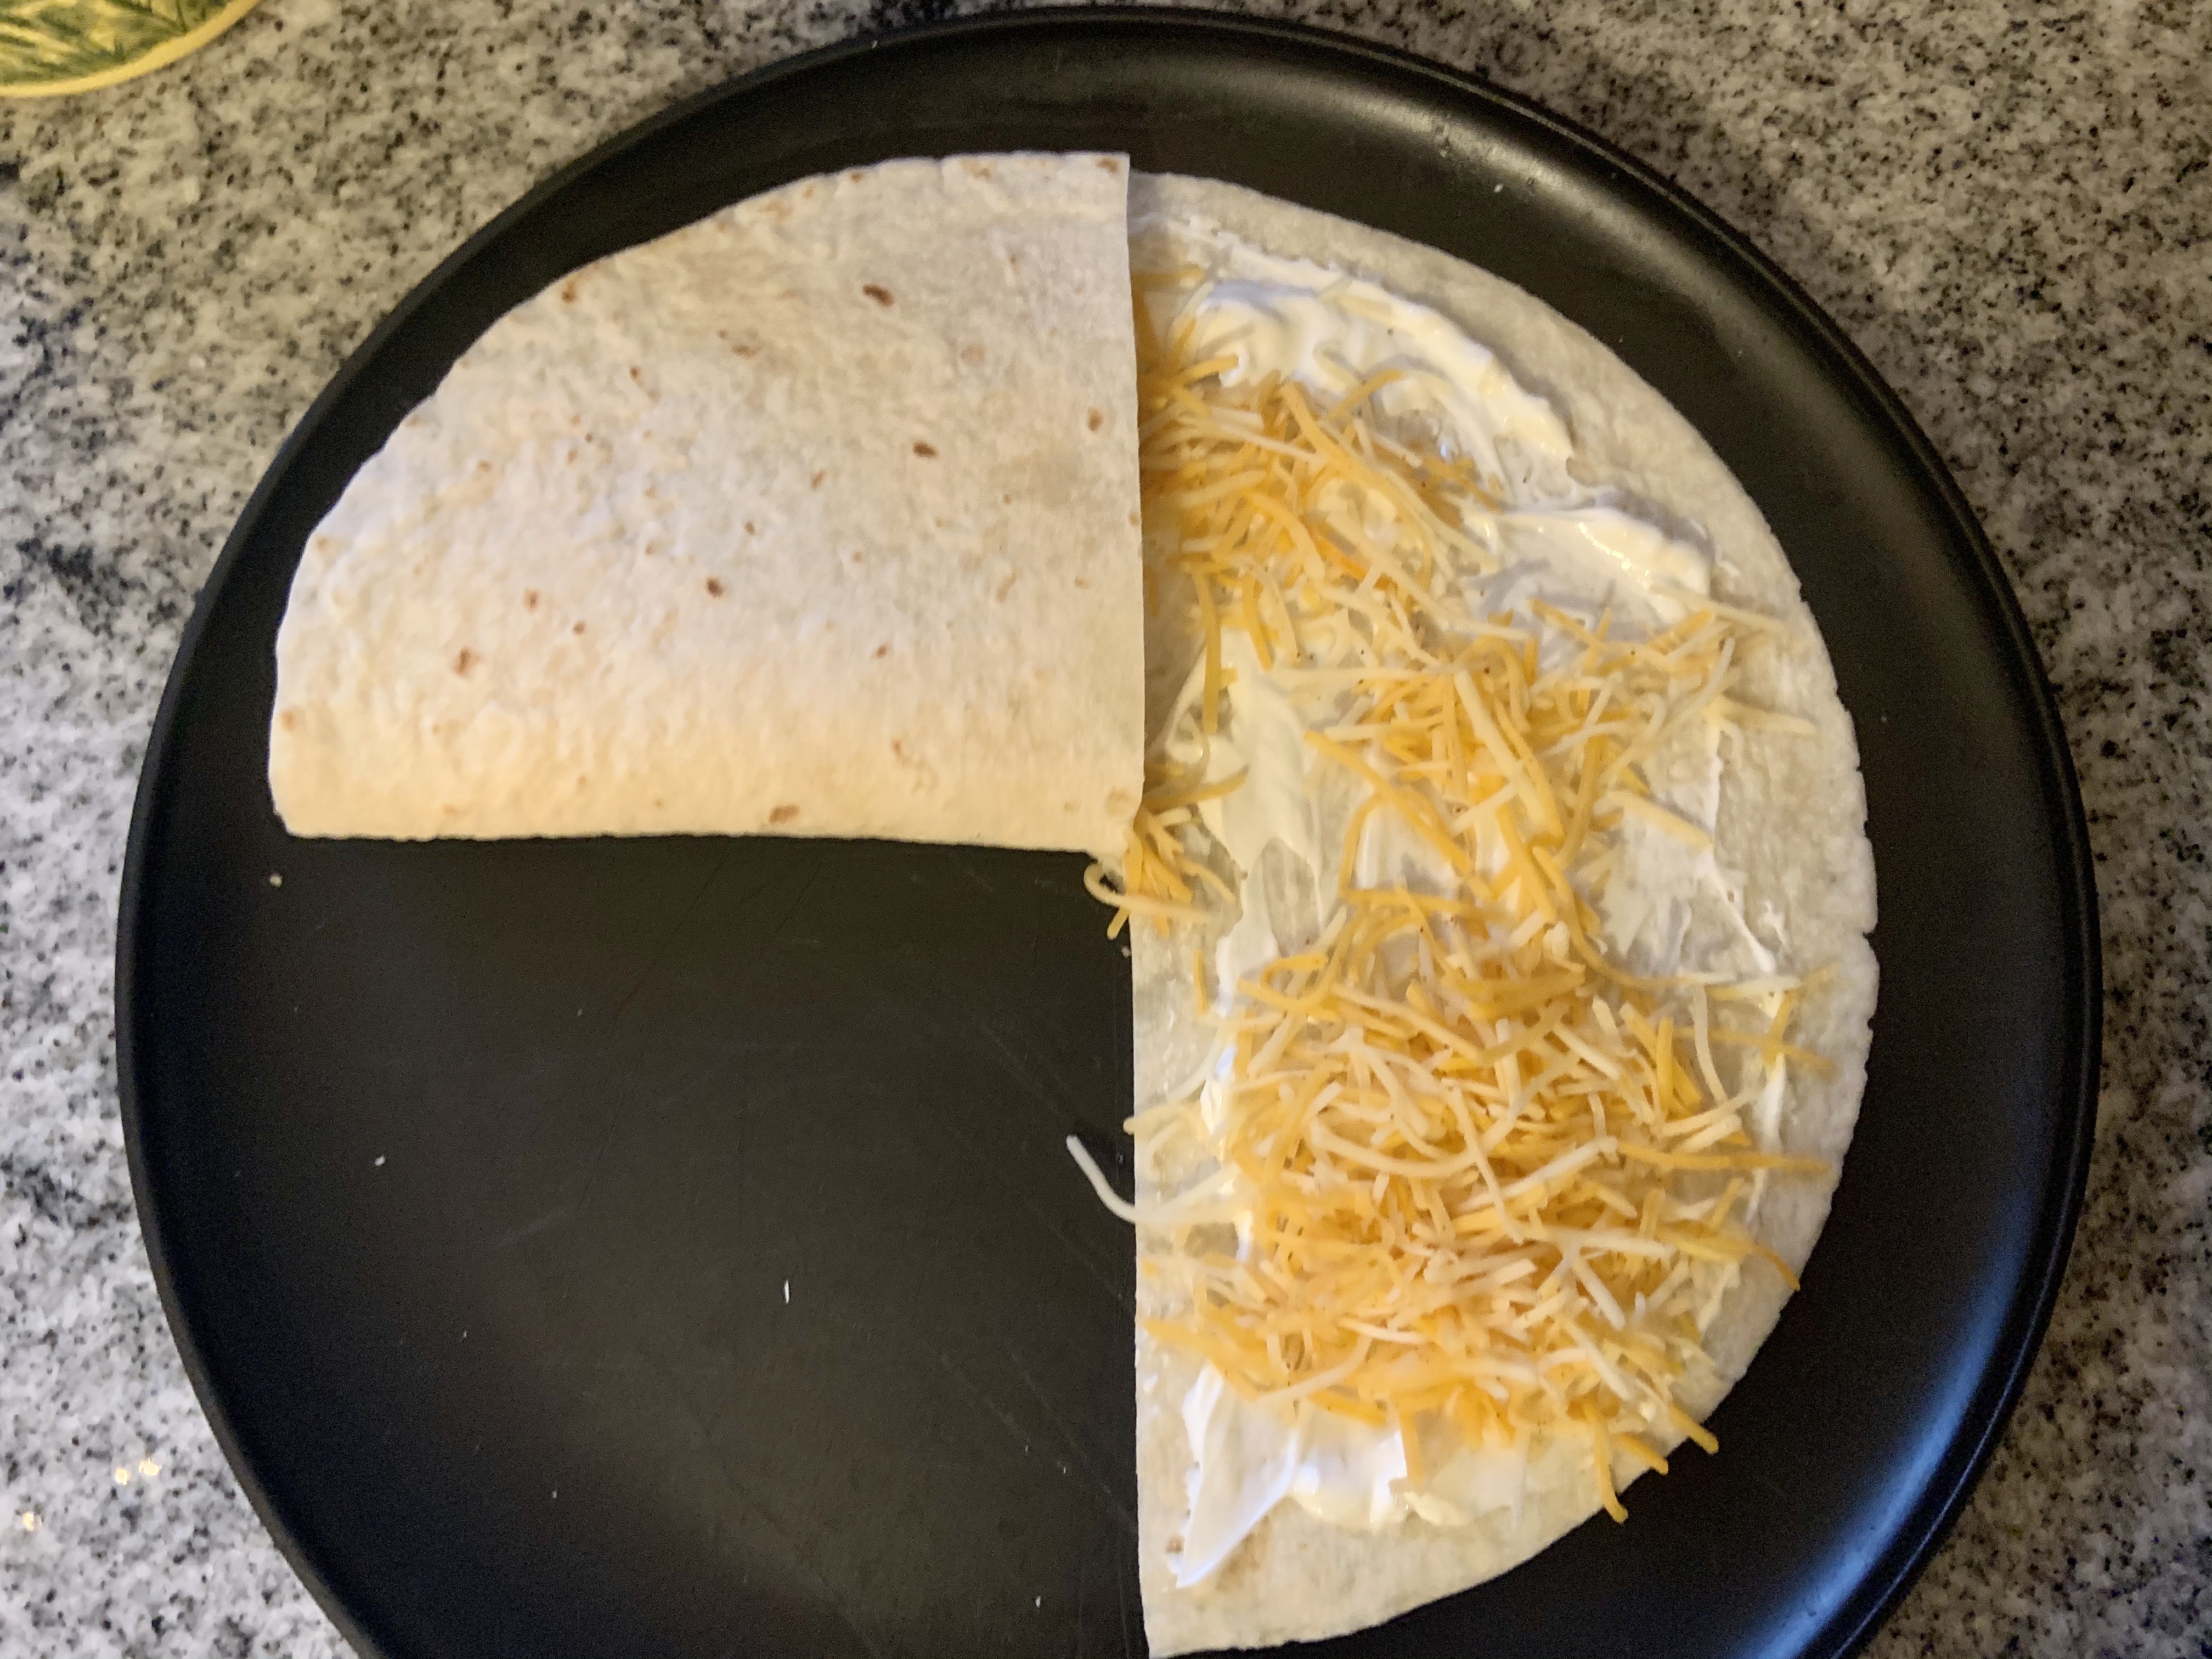
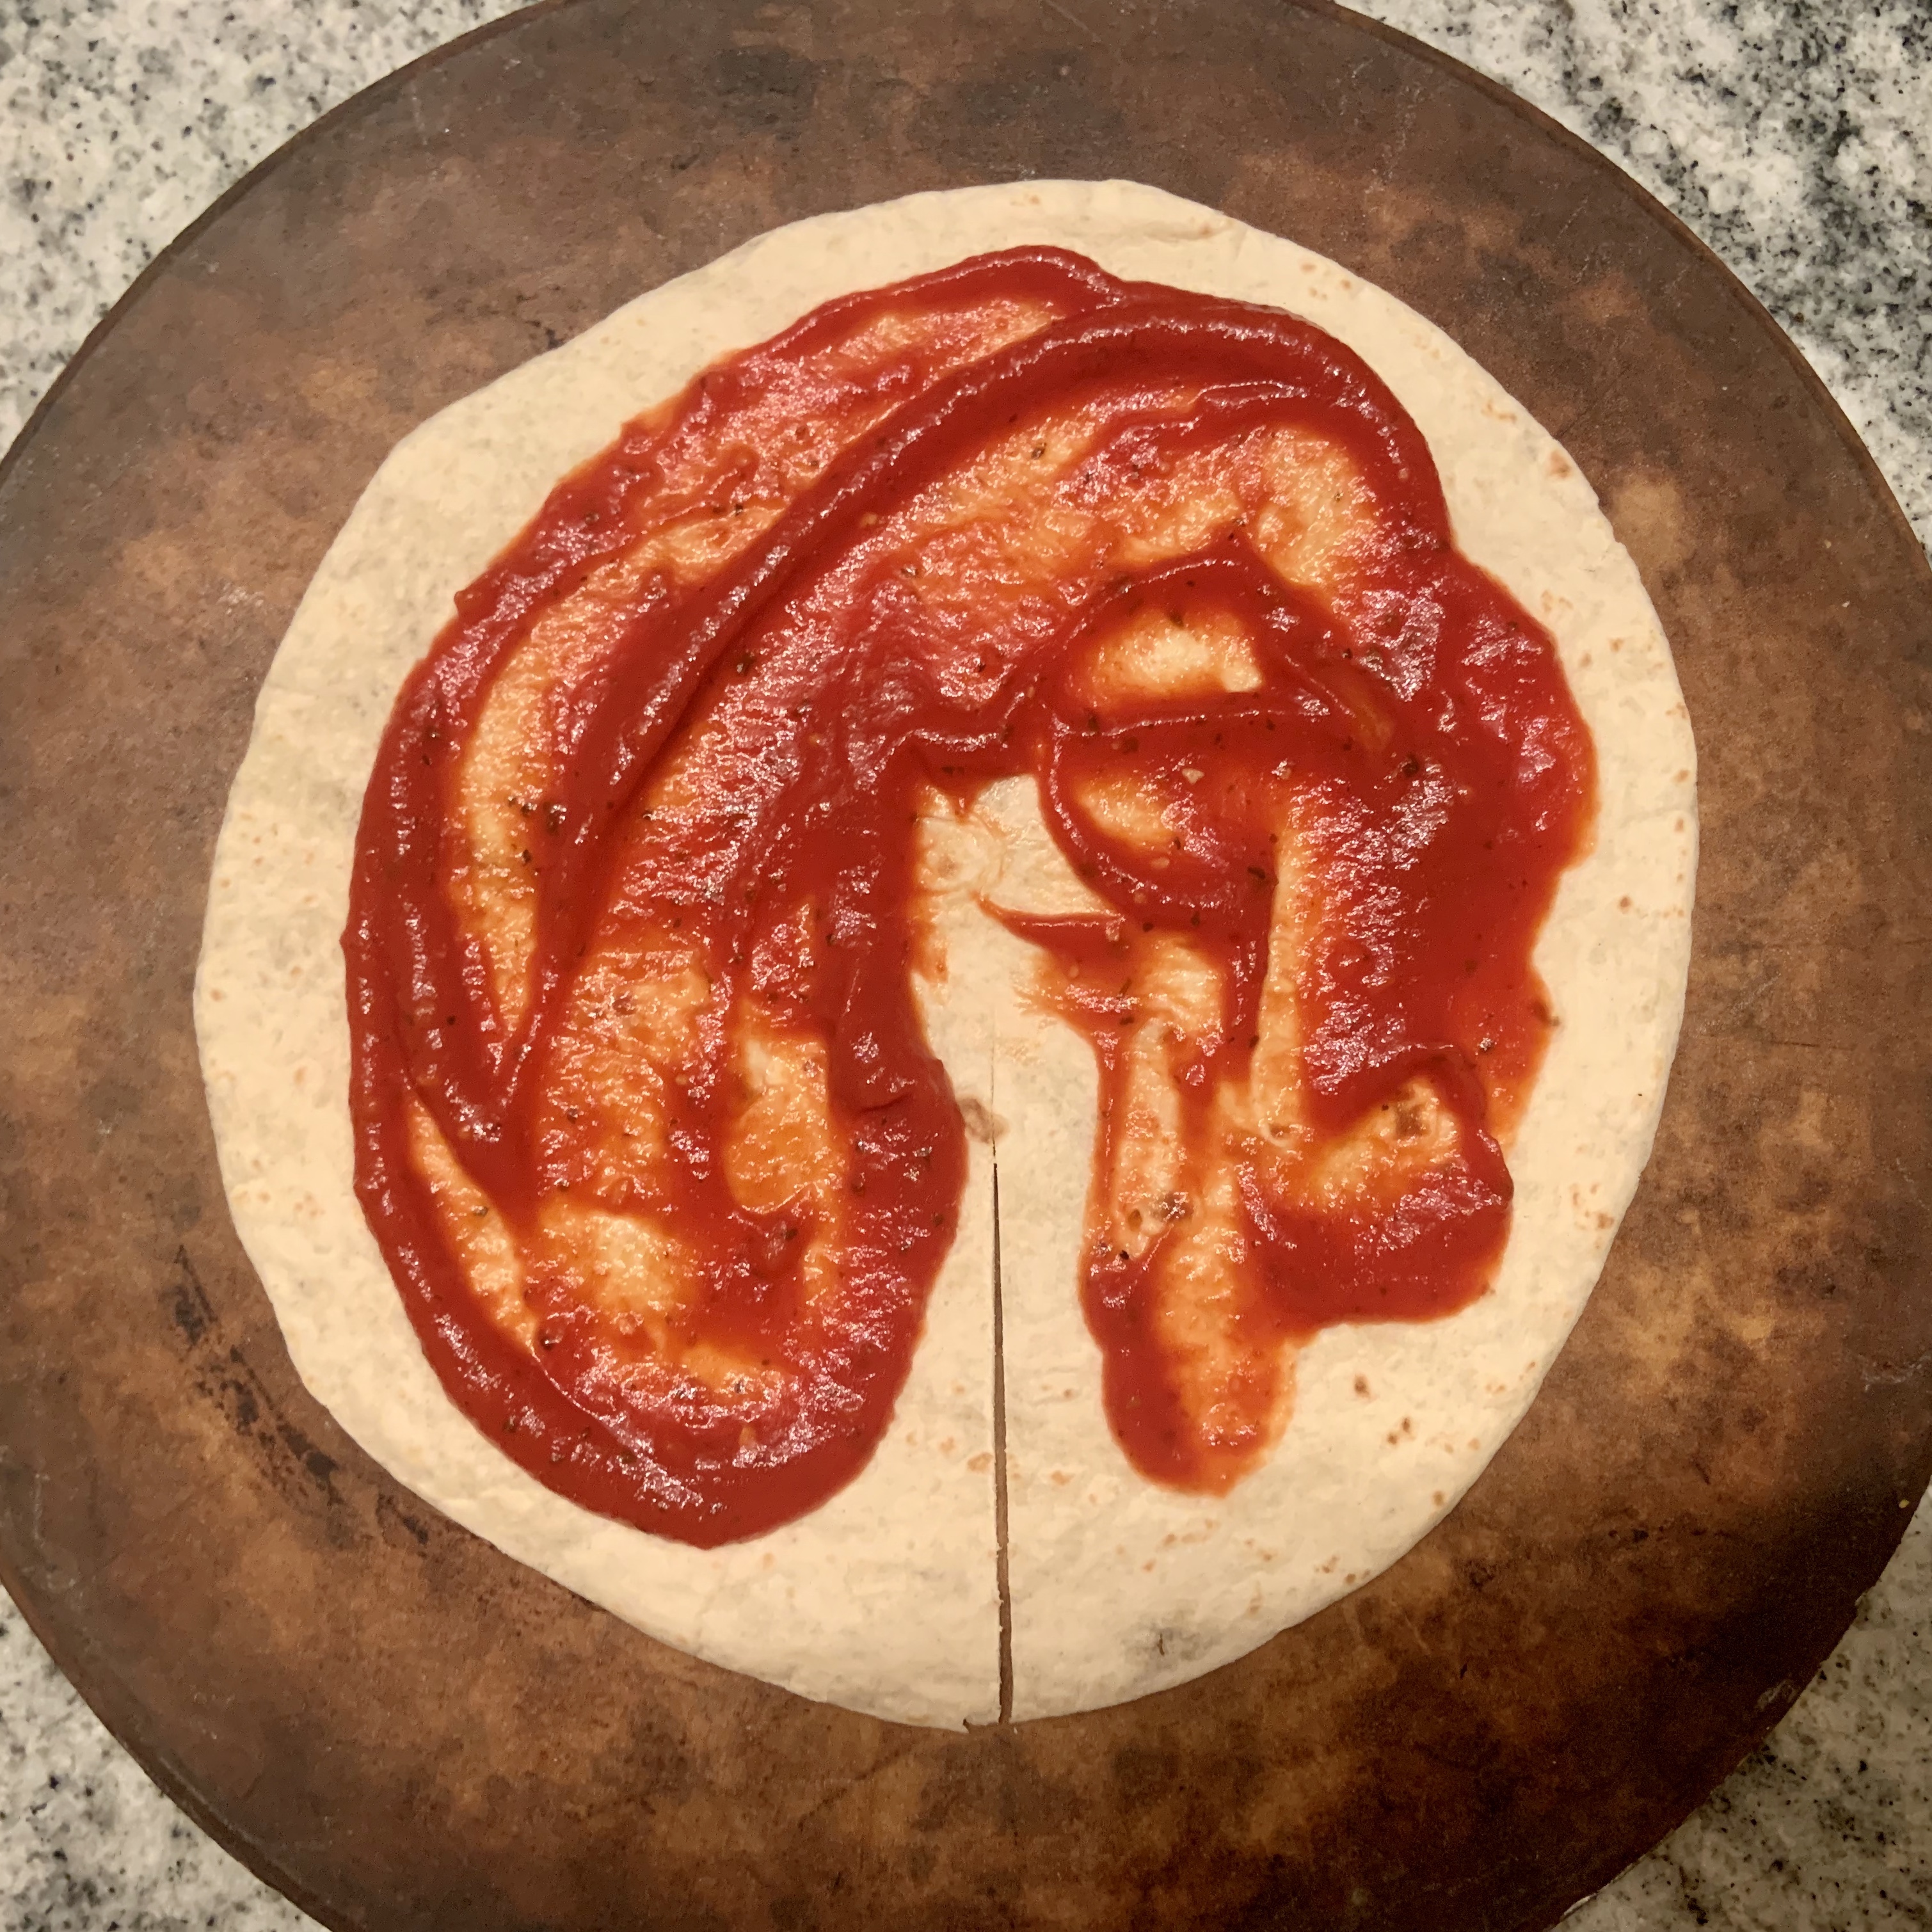
Make a cut halfway through and down the center. Then add pizza sauce and cheese all over it.

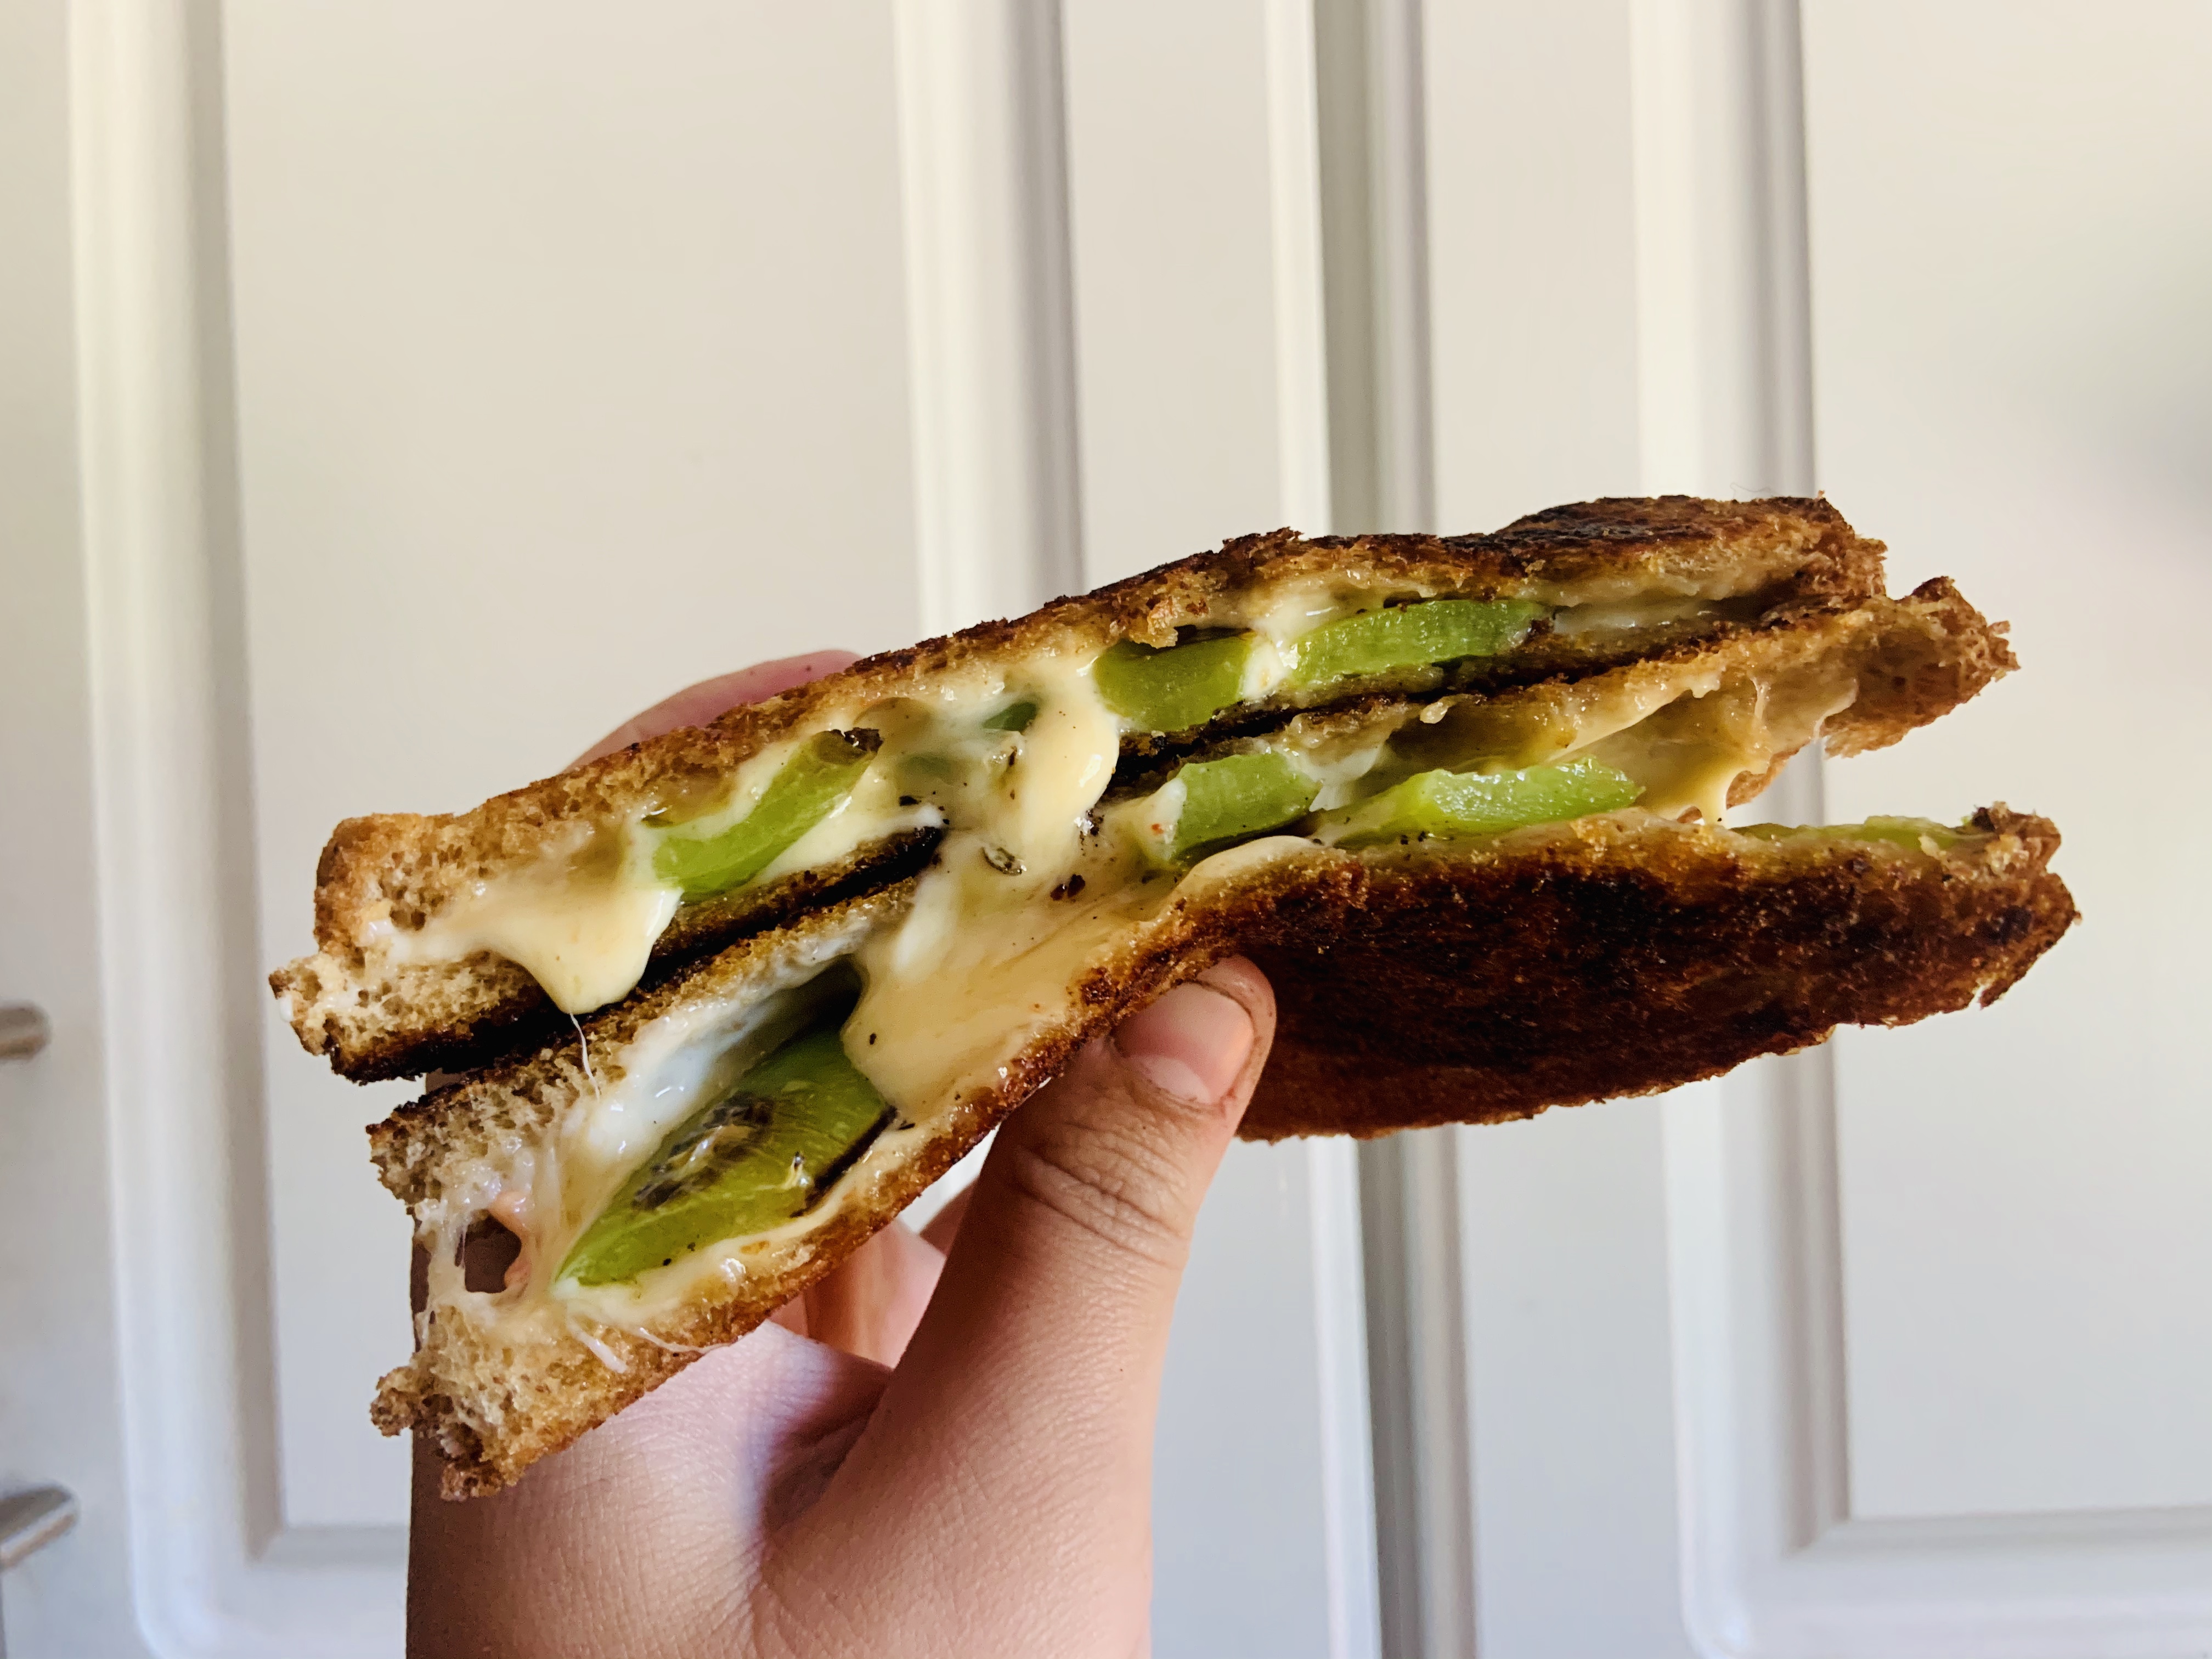
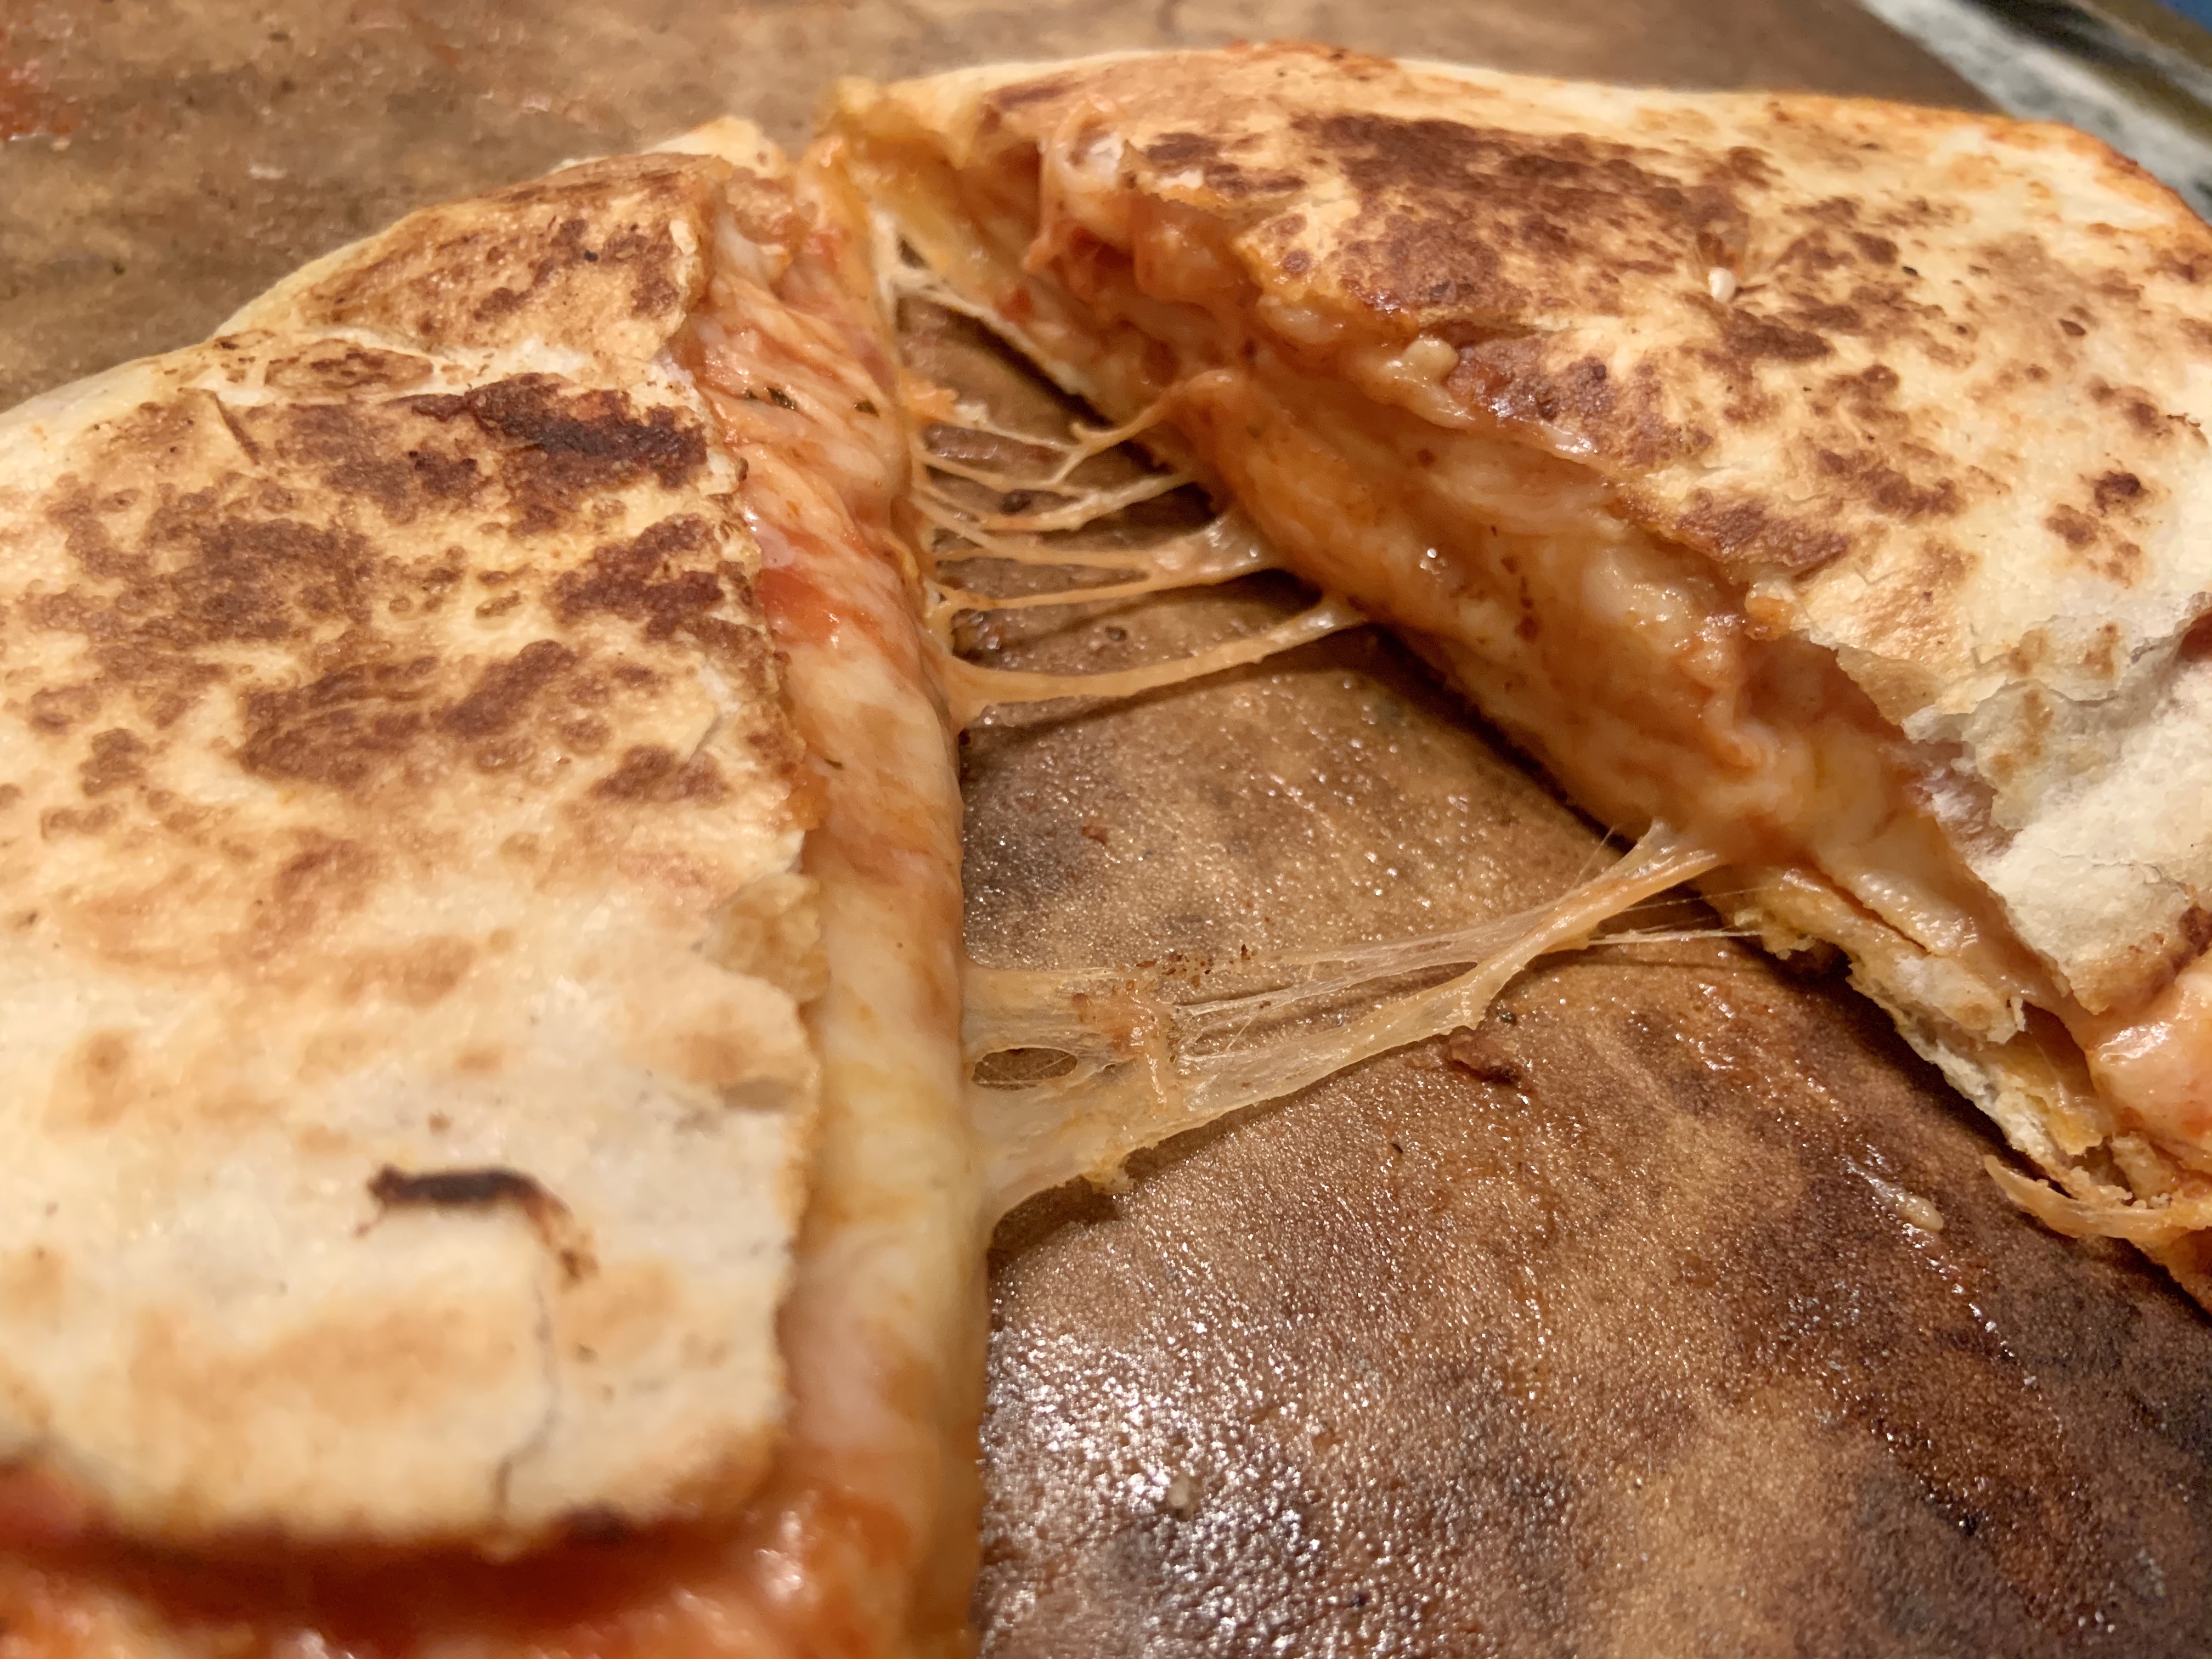
Next fold the tortilla and place it on a hot pan.

Once it’s brown on both sides, you can take it off and serve it. I turned the pan on a lower setting so the cheese could melt more.

We love having handheld food, especially when it tastes so yummy.

We had a blast celebrating National Pizza Day!

One funny thing that did happen was Mila thought it was Pizza the Sloths birthday. So, it was just a day of being happy for all types of pizzas.

I hope you can make or order some pizza in really soon!

If you do the counting activity, let me know how your child likes it.

Also, check out these two AMAZING pizza recipes from my friends Erica and Irma. Erica did an amazing Rainbow Veggie Pizza that I want to immediately make. Irma made a yummy bubble pizza too. Another recipe I’ll try soon too!

Italian Chicken Dinner Recipe

I know I say this with almost all my recipes, but this is truly an easy recipe. This Italian chicken dinner recipe comes with potatoes, green beans, and a lot of Italian seasoning.

It’s be perfect to make for a romantic dinner or putting it in your meal rotation.

Either way, you won’t be disappointed.

Here’s all you need:

  • Chicken breasts (I used four for lunch leftovers)
  • Green beans (I used frozen)
  • Russet potatoes (2)
  • Zesty Italian dressing mix
  • Salt and pepper
  • Butter

Preheat your oven to 350.

Then peel your potatoes and cut them and the chicken into bite sized pieces. You can leave the chicken as whole breasts, but it gets more seasoned when cut before.

If you have fresh green beans, you’ll also want to cut them into smaller pieces.

Place the chicken in the middle of a pan with the potatoes and green beans sandwiching it. This way the chicken gets the most flavor.

Next, evenly pour over a packed of zesty Italian seasoning, leave some behind to season the other side. Then top with salt and pepper.

Grab a stick of butter and evenly cut slices of it. Place over top the chicken, green beans, and potatoes.

Put the dish in the oven for forty-five minutes.

Then take out your dish to mix or flip (whatever’s easier for you) each section and add the rest of the seasoning too.

Pop your dish back in the oven for fifteen more minutes.

When it’s all done, it’s ready to serve.

I seriously was pleasantly surprised with how this turned out! If you’ve read my recipe posts before, I’m not super confident with chicken. Yet, this meal gave me the chicken confidence boost I needed.

Mila loved it and I loved being able to have amazing tasting leftovers for work.

As always, let me know if you try this recipe!

Philly Cheese Steak Cheesy Bread Recipe

Thinking about what to make for the big game this coming weekend? Or are you just a philly cheese steak fan? Either way, you’re going to want to make this.

This take on cheesy bread adds some meaty bites with some freshness with the bell peppers and onions.

It’s extra cheesy, which is my favorite part, and perfect to share.

Here’s all you’ll need:

  • French bread
  • Mayonnaise
  • Bell pepper (I used red and yellow because it’s what I had on hand)
  • Yellow onion
  • Mushrooms
  • Provolone cheese
  • Worcestershire sauce
  • Philly Gourmet Sliced Steaks (you can use whatever steak you want)
  • Salt and Pepper
  • Olive oil
  • Butter

Yes, to those who are wondering about my bread, those are Mila bite marks! She attacked it while I was getting everything ready. Life with a toddler is always fun. It’s also why I didn’t get a ton of preparation pictures.

This recipe is not hard. It took under thirty minutes to do in all… including wrestling the bread away from her.

First, cook your steaks and preheat your oven to 400 degrees.

I’ve used the Philly Gourmet brand a few times. It’s easy and gives me that classic vibe. I can imagine ribeye would work really well too!

For this, all I did was put the meat on the pan with some oil. I added salt and pepper and let it all cook through. If you’re using this brand, I used the entire box.

After that’s cooked, transfer is into a bowl. Then take your chopped peppers, onion, and mushroom to the pan. Add a little butter and cook.

While that’s on the pan, slice your bread. I lost the entire bottom half to Mila and and Max, but still had plenty.

Put mayonnaise on the bread, then a provolone layer. Next, add the cheesesteak on top and another layer of cheese.

After your veggies are done cooking, layer them on too.

Once everything is placed, stick it in the oven for 10-15 minutes, or until browned.

Take it out of the oven. When it cools off, cut it how you please and enjoy!

It’s seriously so tasty and cheesy! I can see it being a hit for a Super Bowl party or for a quick weekday dinner.

If you give it a try, let me know in the comments!

Grilled Caprese Chicken Recipe

This is going to sound silly, but I’m so intimidated by cooking chicken.

I have this fear it’s going to be REALLY raw and it gives me the creeps. So, when I do make it, I usually bake it for a few more minutes than what a recipe calls. Any recipe that says to put it on the grill or pan, I just skip it.

Until I came across this one.

This grilled caprese chicken made me feel like I was back in Italy.

Not only was I able to grill it on the stove top, it was so good and not raw. I think this is a culinary win on my part! You should try it too.

Here’s what you’ll need:

  • 4 chicken breasts
  • 2 teaspoons of Italian seasoning
  • 2 teaspoons of salt
  • 1 teaspoon of garlic powder
  • 1 teaspoon of onion powder
  • 1 teaspoon of black pepper
  • Olive oil
  • Fresh mozzarella
  • Tomatoes (I used roma, but you could use other kinds too)
  • Basil
  • Balsamic glaze
  • Parchment paper
  • Grill or griddle
  • Rolling pin

That list seems huge, but it all comes together and you probably already have a lot of the ingredients. This recipe is also a little more in depth than what I usually share, but it’s pretty easy to follow along.

First, turn on your grill or griddle to a medium heat. This way it’s warmed up after you’ve prepped.

The, beat your chicken. No really. Wrap your chicken in parchment paper and hit it with a rolling pin. You’re trying to make your chicken have an even thickness.

After it’s evened out, brush on olive oil.

Next, it’s time to season. You can either mix your seasonings together in a separate bowl (what I did) or put it on top of the chicken. I always add extra salt and pepper too. Place on the grill or griddle and let it cook for five minutes. Then flip it over for five more minutes.

Pro tip… I used a griddle. To get the grill effect, I placed a baking sheet over my chicken to keep the heat in.

While your chicken is cooking. Slice your tomatoes and mozzarella if it isn’t pre-sliced. This is also a great time to chop your basil too.

Once your chicken is finished cooking on the second side, flip it over again. Place two pieces of mozzarella on top of each chicken. Cover them back up and let the cheese melt for about two to three minutes.

After it’s melted, plate them and put the tomatoes, basil, and balsamic glaze over top.

Then enjoy!

For sides, I made broccoli and garlic-butter noodles. It tasted great and Mila even enjoyed a few bites of the chicken too. She was way more into the noodles though.

I hope you enjoy this recipe and if you give it a try, let me know in the comments!

Cheesy Beef Quesadilla Recipe

As you all know, Mila and I love Mexican food. It helps that it’s quick and easy to make too.

One of the things I have issues with in making Mexican is folding the tortillas. I either stuff it too much or mess it up in ways I don’t even know how.

Recently though, I found a new way to fold it!

All it took was one cut and three folds. It’s simple enough for everyone. I knew I had to try it out ASAP.

What you’ll need:

  • 1 pound ground beef
  • Taco seasoning
  • Beef broth – 2 tablespoons
  • Tomato paste – 1 tablespoon
  • Shredded cheese (I used taco)
  • Flour tortillas

First, add ground beef and spices into a hot pan. Cook through and then stir in tomato paste and beef broth. Then cook one or two minutes more.

After the ground beef is cooked, drained excess oil and put beef in a bowl.

Next, prep your tortillas. To do this, follow the steps in the pictures below.

Simply, make a cut, spread sour cream, add cheese and meat, then fold. It’s pretty simple. I added extra cheese to the non-meat portions.

After it’s folded, heat up on a pan until the outside is cooked.

This recipe is seriously tasty. I love all the cheese and Mila ate a full quesadilla.

You could add any toppings with this such as guacamole or salsa. Or feel free to add them on the inside too.

If you try this recipe or fold technique out, let me know in the comments.

Chicken Pot Pie Casserole Recipe

Okay everyone, I originally had another meal planned for today, but knew this one had to go out first. You’re going to want to make this as soon as possible.

This casserole is easy to throw together and tastes GREAT! Mila ate a whole bowl full.

Here’s all you need:

  • 4 cups of shredded chicken (any cooked chicken will do, I used rotisserie chicken)
  • 2 cans of Cream of Chicken soup
  • Salt and Pepper
  • Garlic and Onion Powder
  • Butter
  • 2 cups milk
  • 1 can Grand Biscuits
  • 4 cups of frozen veggies (I used carrots, green beans, corn, and peas)
  • Cheese (optional)

First, preheat your oven to 375 degrees.

While oven is preheating, take large skillet and put it on medium heat. Melt 2 tablespoons butter and add frozen veggies to cook for 10-15 minutes. Then, place biscuits on a baking sheet.

When oven is preheated, Place the biscuits pan in the oven to prebake them for 8 minutes. They’ll finish baking when you put the whole casserole in. When they’re done, take out of the oven, but don’t shut the oven off.

Add the chicken, milk, cream of chicken soup, and spices to the frozen veggies. Stir for 5 minutes, until it’s bubbly hot.

After it’s mixed and heated, pour into a 9×13 dish. Then take the prebaked biscuits and put them on top of the mixture, baked side down and raw side up.

Before placing into the oven, melt 2 tablespoons of butter, mix in garlic powder, and pour over the biscuits. This will make your biscuits tastes extra delicious. At this point, I also sprinkled cheese over top of them too.

Then, bake for 12 minutes or until the biscuits are golden brown.

This meal is mouthwatering.

It feels great to find some meals that aren’t Mexican that Mila loves. This tastes like home and makes me feel all warm inside. I’m glad it made her happy too!

I’ll make sure to share the other recipe next week. Spoiler alert, it’s Mexican inspired, but just as yummy.

If you make this recipe, let me know what you think!

Zucchini and Chicken Casserole Recipe

The first recipe of the new year was a crowd favorite for my family. Mila even stole bites from my plate!

It’s a tasty, low prep meal that will become one of your family’s favorites.

Here’s the ingredients:

  • Rotisserie chicken
  • 2 large zucchinis
  • 1 can of cream of chicken soup
  • 1 box of chicken stuffing mix
  • 1/2 cup of butter
  • 1/2 cup of sour cream
  • Cheese

First, preheat your oven to 350 degrees and grease a basking dish.

While it’s preheating, melt the butter and then, in a bowl, mix it with the chicken stuffing mix. I added a little more butter to this, but do what you think works best. Set aside half of this combination for the topping.

Then, pull and shred your rotisserie chicken. Make sure to get out all of the bones. You could also use chicken breast or thighs too.

Next, dice your zucchini in bite sized pieces.

After everything is cut, combine the chicken, zucchini, cream of chicken soup, and sour cream to one of the stuffing halves.

Mix it up and then spread this to your baking dish. Add the other half of the stuffing mixture and cheese on top.

Put it in the oven, uncovered, and bake for 40 minutes or until it’s warm through and the top is golden brown.

One of the best part of this recipe, besides it being easy and tasty, is Mila was able to easily help me make it! Cooking with her most nights creates memories I know I’ll never forget.

I love finding meals she enjoys making and eating to keep her interested in cooking.

If you try today’s recipe, let me know what you think in the comments!

Monday Recipe: Kielbasa Power Bowl

On Instagram, I noticed this hashtag: #quarantinerecipeswap. So many people are running out of ideas of what to cook next and want to revamp their meals for the month. Believe me, Mila and I are right there too!

Today, I figured I’d share one of the easiest and tastiest recipes I make frequently: a Kielbasa Power Bowl. It can be converted to what you have on hand AND made meatless. Honestly, it’s a pretty simple recipe and seems really basic. Sometimes, that’s all we need though!

Ingredients:

  • One Package of Kielbasa (or a can of chickpeas if you want it meatless)
  • Two Medium Sweet Potatoes
  • 1/2 Yellow Onion
  • Head of Broccoli
  • 2 Medium Peppers (whatever color you like best)
  • 1/4 cup Quinoa
  • Cheese – to sprinkle
  • Balsamic Glaze
  • Olive Oil
  • Spices: salt, pepper, onion powder, garlic powder, Italian seasoning

Feel free to use whatever veggies you have on hand. I typically have all of these at my house. Mila loves broccoli and peppers, so it works out for us. I’ve also made it with carrots, brussels sprouts, and zucchini!

First, preheat your over to 400. Then get to cutting. Everyone has their cutting preference, but this is how I do it. Everything is really ‘eatable’ and not too big. Then I take the veggies and put them in a bowl. I get a coating of olive oil and the mix of seasoning on there. Make sure everything’s covered and put it in a baking pan. After your oven is preheated, put the veggies in there for 10-15 minutes. Put the kielbasa in the same bowl with olive oil and seasoning and wait to add in later.

Then, start boiling water (or broth) for your quinoa. Rinse the quinoa off in a small strainer, or you can do what I do and rinse it off to the best of your abilities without one. It’s always a fun challenges You can follow the packaging directions, but I usually just double the amount of liquid to quinoa. Sometimes I add more, depending on how it cooks. When the water starts boiling, pour your rinsed quinoa in the pot, and turn down the heat some. Stir every so often. It doesn’t take too long to cook; maybe 15 minutes. While it’s cooking, I usually add some spices to taste! After that time, remove from heat, let it stand for about 5-10 minutes and fluff it with a fork.

In the middle of cooking quinoa, your timer will go off for the veggies. Take them out and add the kielbasa in. Give it all a good mix. Put it in for another ten minutes. I usually then take it out, mix everything up once more and stick it in the over another 5-10 minutes too.

Once everything’s cooked and cooled, assemble!

I usually start with the quinoa on the bottom, then lay the kielbasa and veggie mix on top. To add a little something with it, Mila asks for cheese on top (which makes it better, I’ll admit) and ill drizzle balsamic glaze on top. If I have avocados, I’ll slice some for on top as well.

It’s truly an easy meal that’s packed with veggies and taste so good! Mila, Miss Picky Eater lately, are her whole bowl.

I hope you enjoy this recipe and try it soon! This week I’ll make a new recipe and share how it goes with you guys. If you have any recipes to share for the swap, comment below and I’ll try them out!

Meatless Monday: Spicy Grilled Cheese

Another week brings you another recipe and yes, it’s Mexican inspired again. I can’t help it!

Lately, I’ve been wanting super spicy foods, but hold off with Mila. She tends to like what I’m eating more than what’s on her plate. I wish I could understand her toddler brain. Anyways, during her nap one day this week, I thought I’d experiment. I’ve had a spicy grilled cheese in mind, but haven’t had a chance to make one.

At first I was skeptical and didn’t know if I was going to share, but after tasting it and knowing how simple it was to make, I knew you guys needed it in your lives.

Spicy Grilled Cheese:

  • Pepper Jack Cheese
  • Green Peppers
  • Taco Seasoning
  • Bread
  • Butter

Yes! That’s all the ingredients I used. If I had red onion, I probably would have thrown some in too.

Directions:

First, cut and sauté your green peppers. I like mine to have a little crunch, so use your judgement here. While they’re cooking. Shred your cheese and butter your bread. I always use extra cheese, so again, do what you like best. After you’ve buttered your bread, sprinkle taco seasoning on the buttered sides. I’m probably the worst recipe maker, but I just eyed up how much I put on. Next, lay your bread butter/seasoning side down on the pan. Layer the cheese and peppers, then put the other slice on top. Cook like normal grilled cheese after!

I ended up putting sour cream on top of the sandwich and a little avocado ranch.

You guys, this was SO good. It would’ve been a little too spicy doe Mila at the moment, but maybe when she’s a little older. Normal grilled cheese is one of our go to’s though, so I could easily sneak making both and she’d never know!

I’m going to try really hard this week to make something more complicated or a dinner meatless. I usually just roast veggies, make rice, and add chickpeas for meatless dinners. We’ll see what I can come up with this week.

Meatless Monday: Fiesta Bowl

Let’s discuss my weird obsession with Mexican food. I feel like I’m always craving it and it’s easily adjustable for meatless Monday’s. Maybe it’s my love for rice and avocados, but any time I look for a new recipe, it’s usually what I find.

After a busy day yesterday and a swollen ankle (I hurt it a few weeks ago and it hasn’t gotten any better, actually it’s been worse this last week), I knew I wanted to try something quick and easy. Usually I go to recipes I’ve made before, but last night I was feeling inspired.

A quick look on Pinterest led me to a crunchwrap recipe. Mila and I both LOVE crunchwraps when we go to Taco Bell. I figured I’d give it a go… how hard could it be?

I got all my ingredients ready and even spiced up the rice. Everything was tasting and looking amazing. Let’s just say, I was feeling proud of myself. Until, I got to the wrap and folding part of the meal. Then it all went bad.

Okay. I’m just going to be very blunt, I failed miserable. For about ten minutes, I tried different ways to wrap it. Each time, everything in the middle would fall out making more and more disappointed. After twenty different tries to keep it all together, I gave up. I tasted everything and realized it was all good. Maybe I didn’t need a wrap… so I created what is now known in our family… The Fiesta Bowl.

Since COVID has been here, I’ve realized I’m just amazing at gathering ingredients, seasoning them, and throwing them in a bowl.

The Fiesta Bowl:

Ingredients:

  • One can of black beans
  • One tomato (I used Roma because it’s what I had in hand
  • 1 medium green peppee
  • 1 medium avocado
  • Mexican shredded cheese
  • Sour cream (optional)
  • Avocado ranch (optional)
  • Seasoned brown rice (spices used: salt, pepper, paprika, cayenne pepper, garlic powder, oregano)

It’s a pretty simple recipe and standard ingredients I use all the time. As you can tell if you’ve looked at some of the things I’ve posted. The spices in the rice were amazing. They completely changed the taste of the almost crunchwrap. Unfortunately I didn’t have cumin, but I’m actually glad I didn’t because it tasted so good. The fresh vegetables were refreshing and we have leftovers for lunch!

The longest part was cooking the rice (and figuring out I couldn’t fold tortillas), but it was easy for me with Mila and Max running around. After it was all thrown together in the bowl, I realized I needed to name it something fun after the craziness. Plus, it did really taste like a fiesta in my mouth too.

Another positive with this recipe and really these ingredients in general is Mila loves it and I know a lot of other toddlers who approve too.