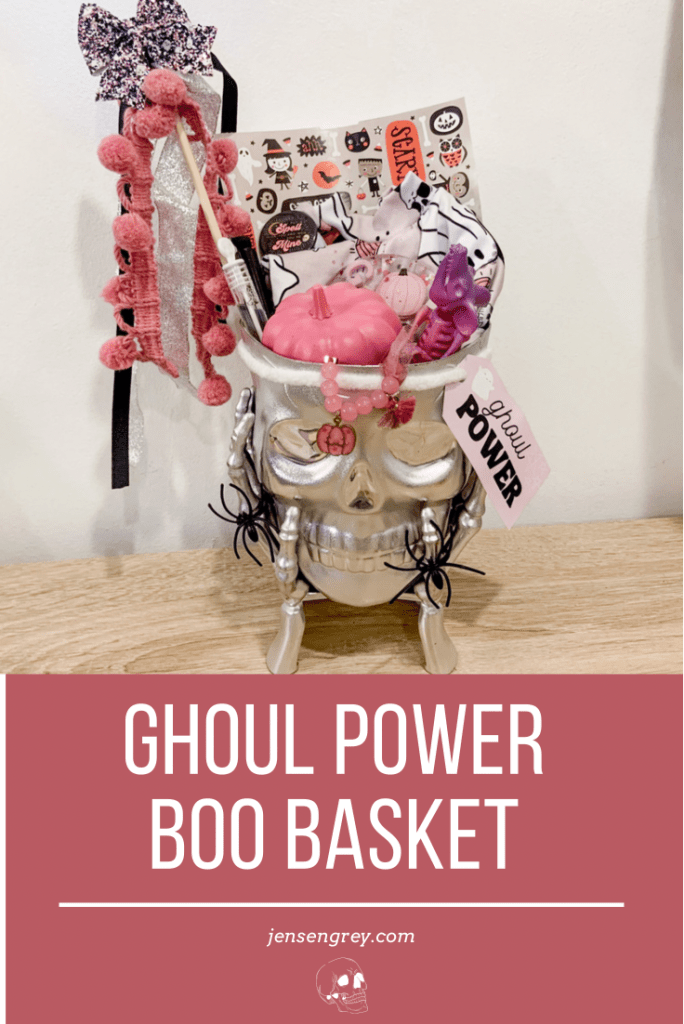
Halloween is almost here!
Mila and I have done a lot of fun activities to celebrate this month. I wanted to share Simple Halloween Activities you can easily put together before the big day.
All of these can have a version put together quickly at home, but they’re all fun for kids.
1. Potion Making
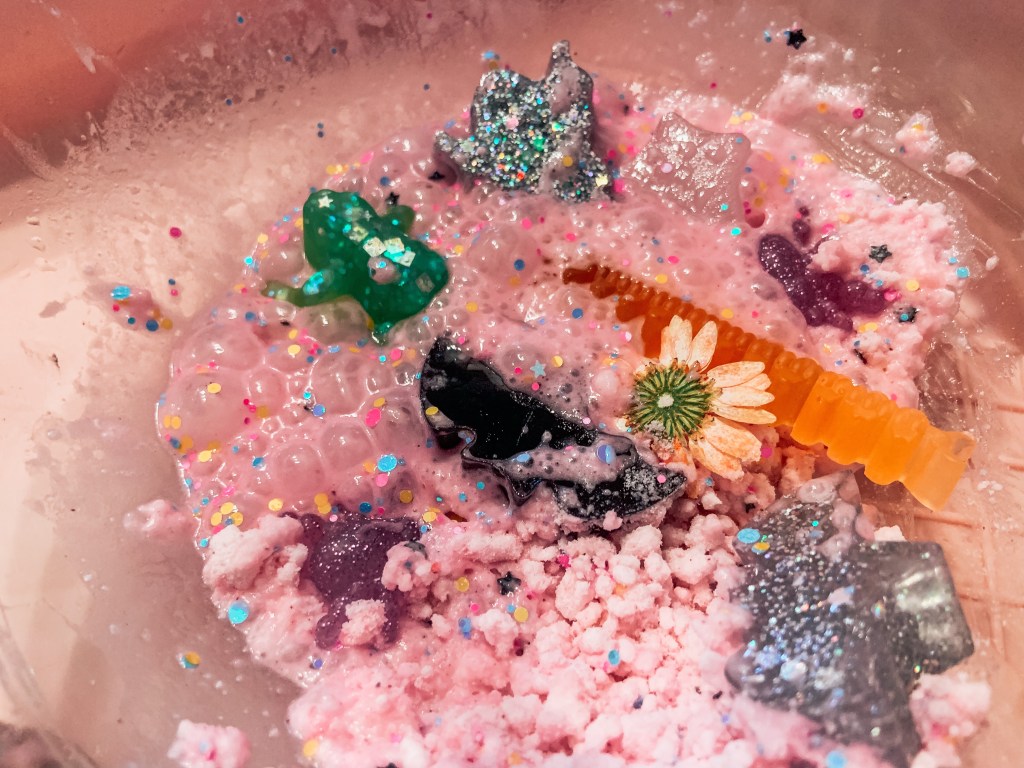
Mila has loved the idea of making potions this year. As always, water is a HUGE hit with kids.
Witch’s (or Warlock’s) potions help with gross motor skills and amps up pretend play. I always provide multiple bowls, jars, and spoons for her to use. Mila will sit at the island and play for a long time, especially if I keep filling up the water jar.

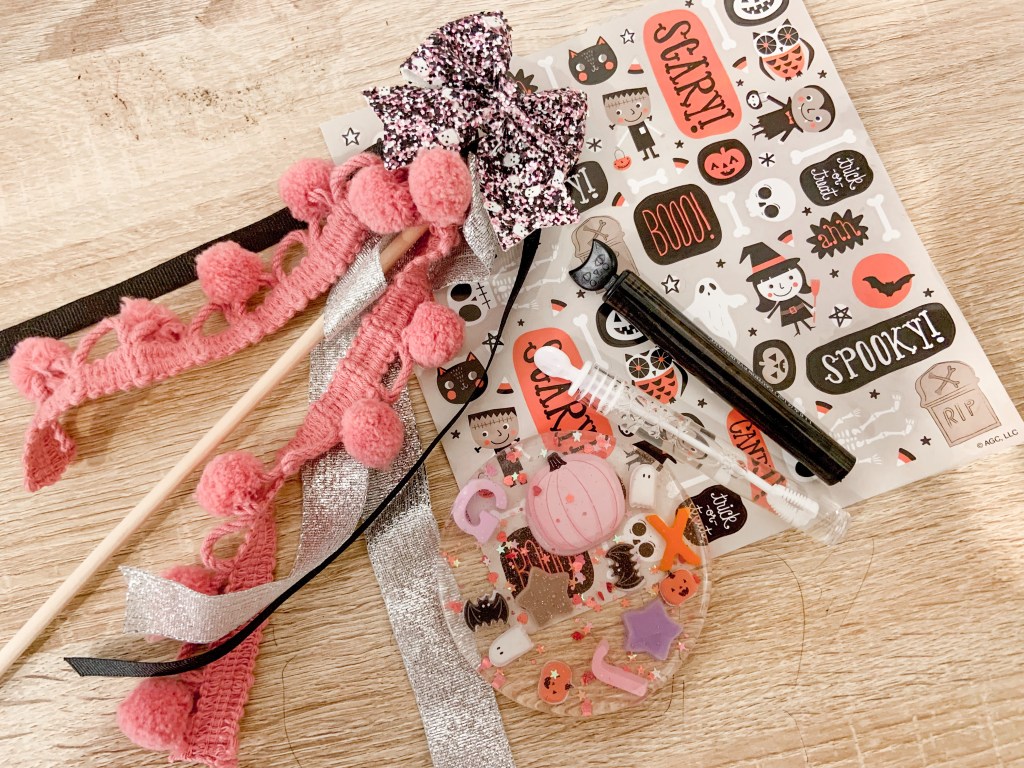
I won this particular potion making kit from an Instagram giveaway from Little October House.
Emily, the shop owner, is a fellow Ohioan and does an amazing job putting together seasonal sensory kits. I’ve been wanting to order and was so happy that I was able to win this kit.
It came with everything I needed, I just needed to set up the bowls and give Mila water!
Not only was it fun for Mila, it smelled so good.
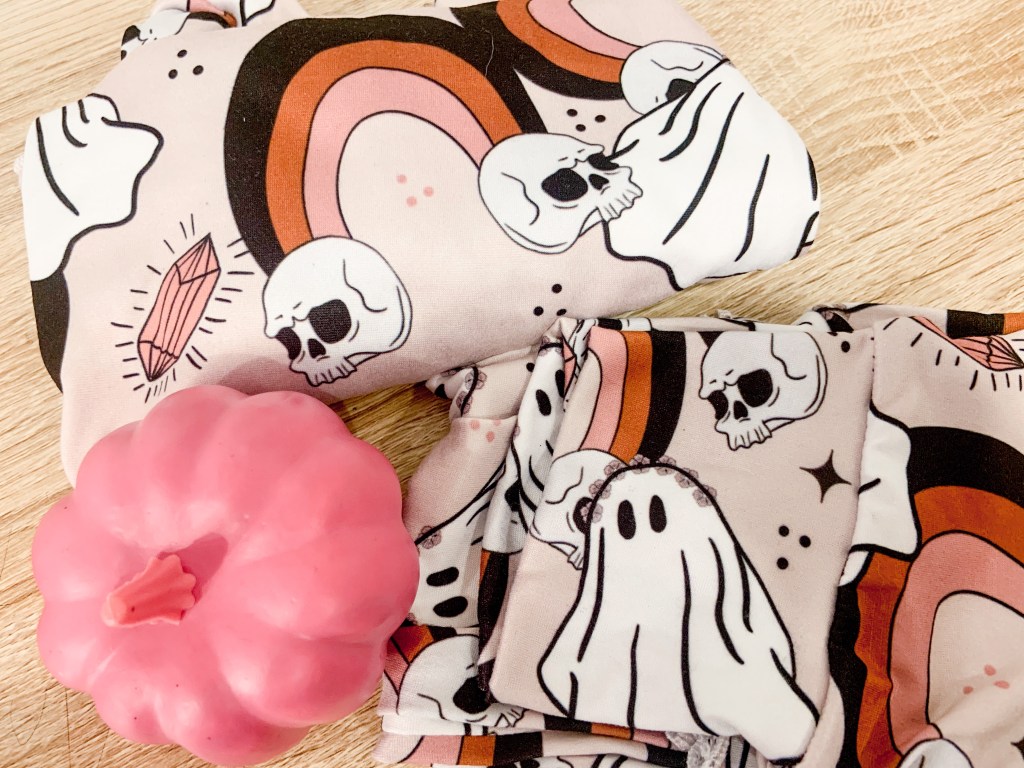
I’ve also set up DIY potion kits for Mila to play with too. All I used was jars, bowls, spoons, food coloring, and dish soap.
It definitely gives the potion making vibes and she had fun with that too!
One thing I want to try to make it a little more special is grinding up one of her bath bombs too. I think it would give off more bubbles.
The resin creatures, bubbles, and elixir in Little October House is just too cute to pass up! We’ll probably be doing more DIY potions the q few days since it’s been Mila’s favorite way to unwind after preschool.
2. Play Doh Monsters

If you’re looking for an easy activity to set up and only need two to Inca, look no further.
All you need for this simple Halloween activity is Play-Doh and googly eyes! If you’re really feeling fun, you could add pipe cleaners too.
To get Mila started on this one, I just told her to make monsters with a lot of eyes. That seemed to do the trick. She dove right in and made all different kids of monsters.
She even started singing her latest song she learned at preschool.
Watch out for my big scary eyes. Watch out for a big surprise… BOO!
One way to make it more educational is to have kids count the number of eyes or tell them how many eyes to put on each monster.
But, they’re learning SO many skills by just picking up the eyes and playing with the play-doh too.
3. Boolage (Halloween Collage)

As we all know, Mila LOVES stickers. To prevent her from covering any surfaces in our home, having her create a collage on a piece of scrapbook paper was a way better option.
She was so happy to see a little bowl full of Halloween stickers. I told her to create a picture with them on the page a she went to work.
This is a great simple activity that kids can really take charge! Plus, they get to be creative.
Hello more Halloween art!
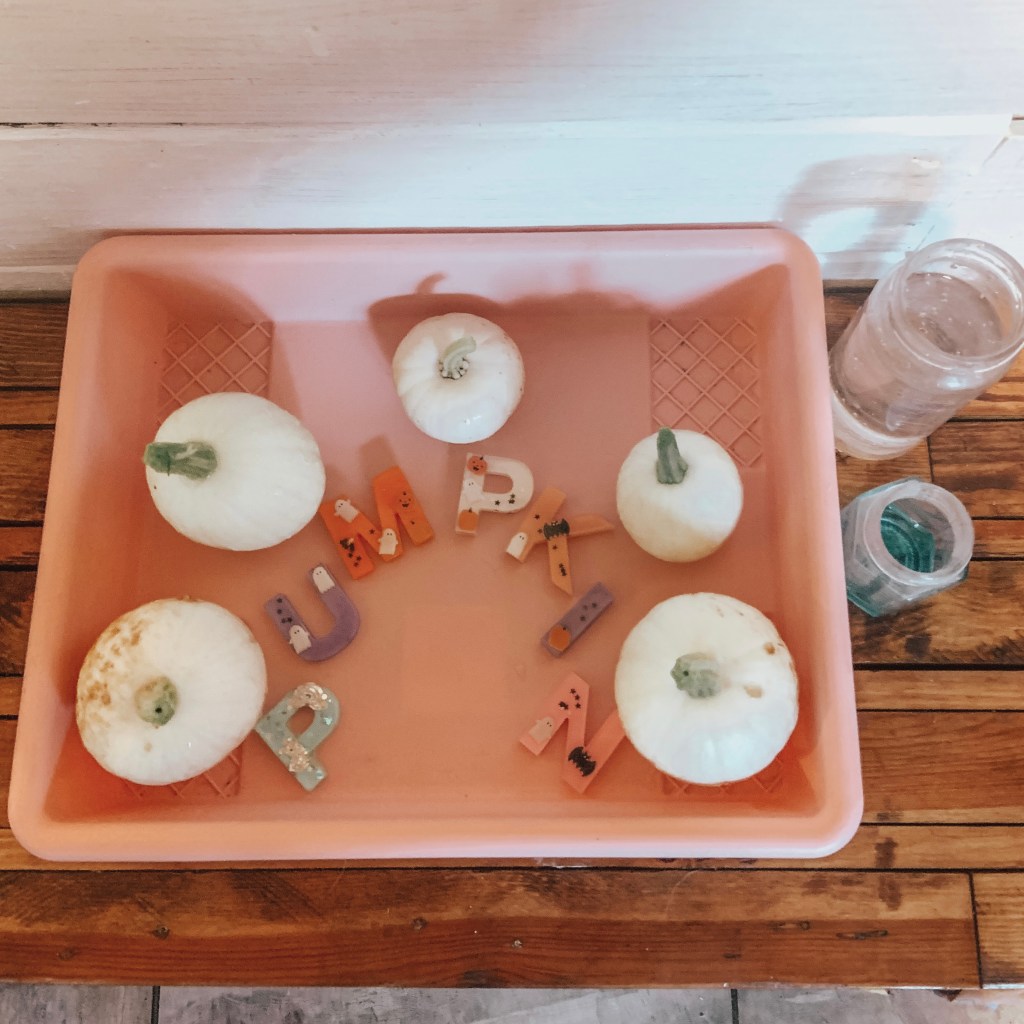
4. Halloween Letter Recognition

This activity is probably the most educational in this list. We love doing letter recognition in our house, especially with our Beags and Bubs resin letters.
But when I saw this printable coloring page from The Letter Vee, I knew I had a perfect match.
Not only can the duo be used to letter recognition, I’ve had Mila color the page with her matching the colors too.
I love all the possibilities you can use with these fun Halloween learning tools. Mila has used them both so much to talk about what she’s learned this month, spelling her name, and just having a little Halloween fun!
5. Threading a Witch’s Broom
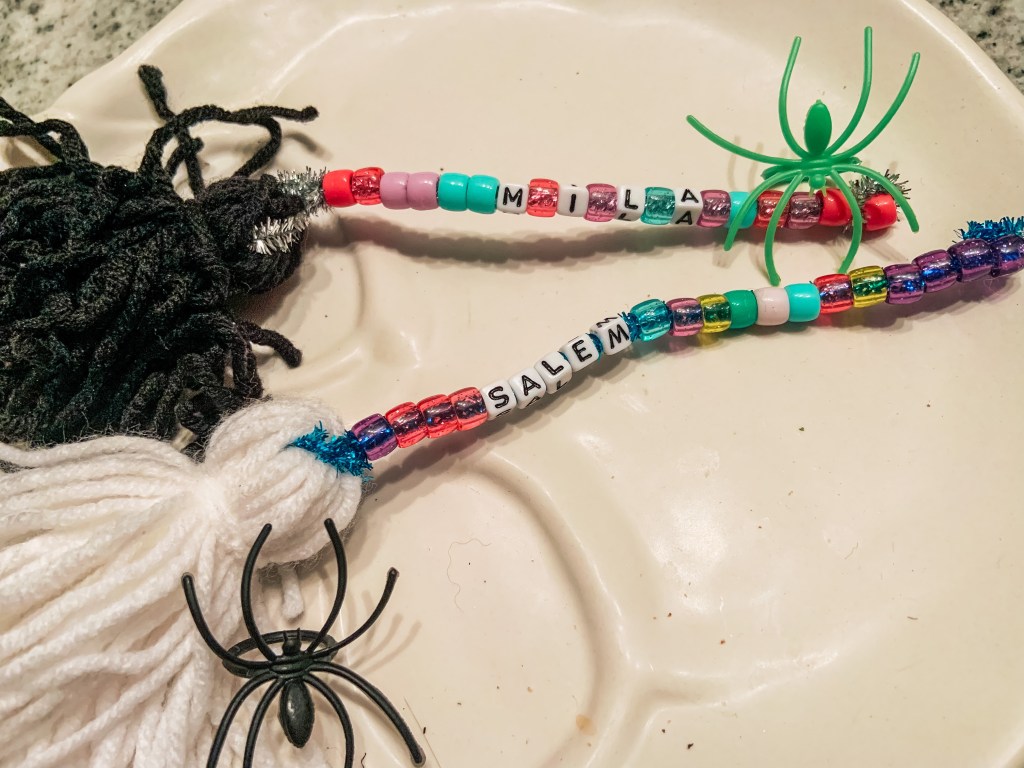
We technically did these for Mila’s Ghoul Gang Party, but I wanted to share them here.
Threading activities are so helpful for kids this age. It really can teach them patience, how to use their hands, and (again) show their creativity.
Out of all the easy activities, this was one with a little more prep. All I used was pipe cleaners and yarn to make the broom. If you only have a couple to make, it doesn’t take that long!
Then, I set out the color beads and lined up the letter beads for their names.
I had a lot of help at the Ghoul Gang Party, but Mila’s made multiple ones of these in the week since. It could be used to make a fun gift tag or just a kids present to their favorite adults around Halloween time.
All of these Simple Halloween Activities have been a hit in our house. I’m sure they would be in yours too.
I’ve also shared other activities we did this year too. Here’s the list to get some more inspiration.
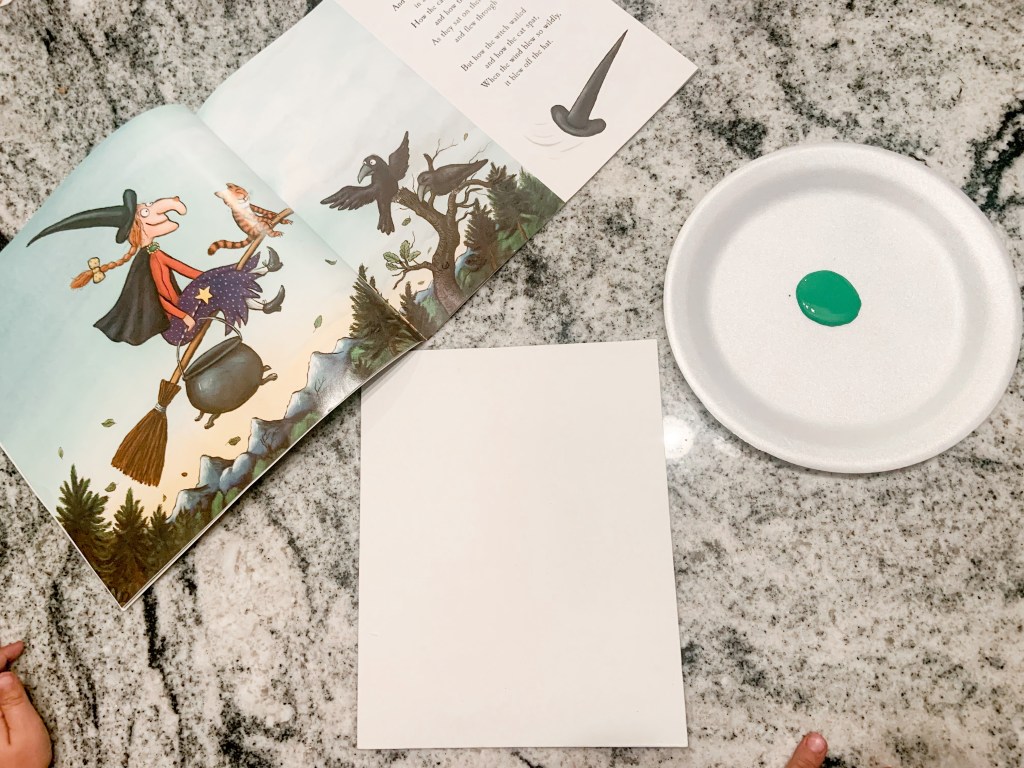
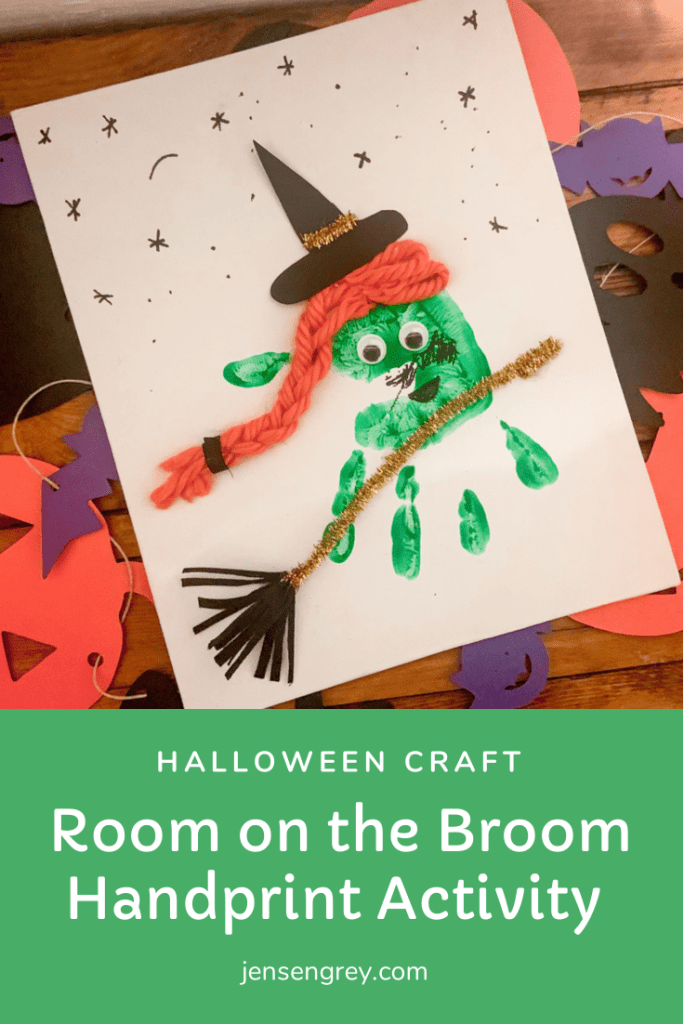
- Room on the Broom Handprint Art
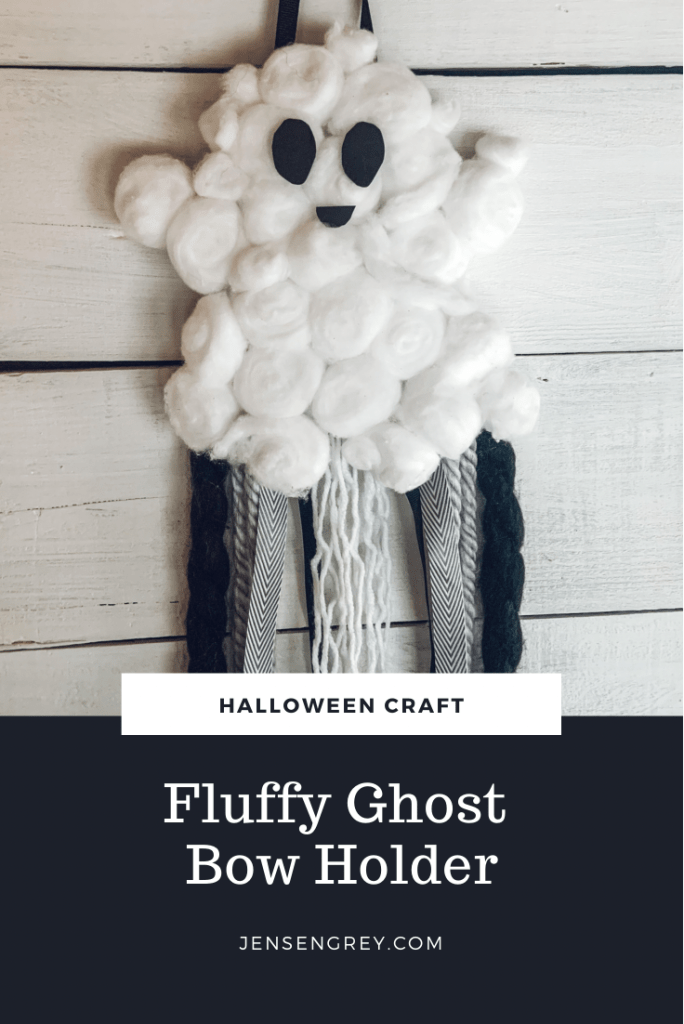
- Fluffy Ghost
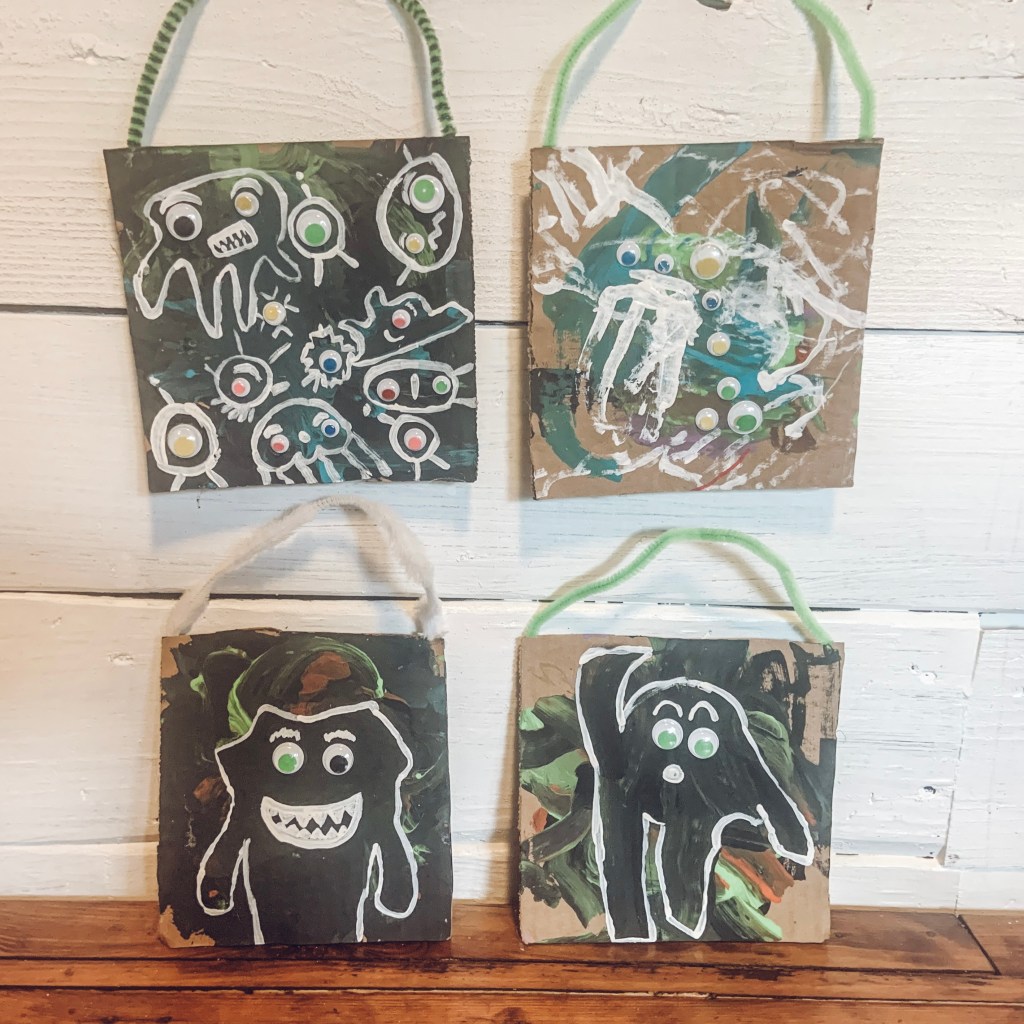
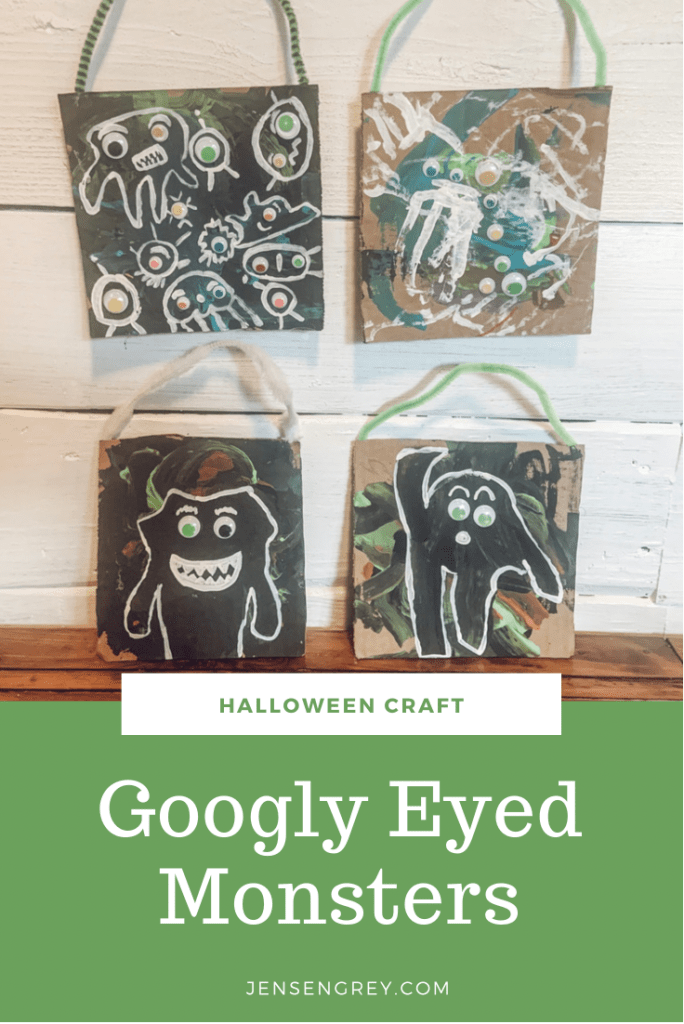
- Googly Eyed Monsters
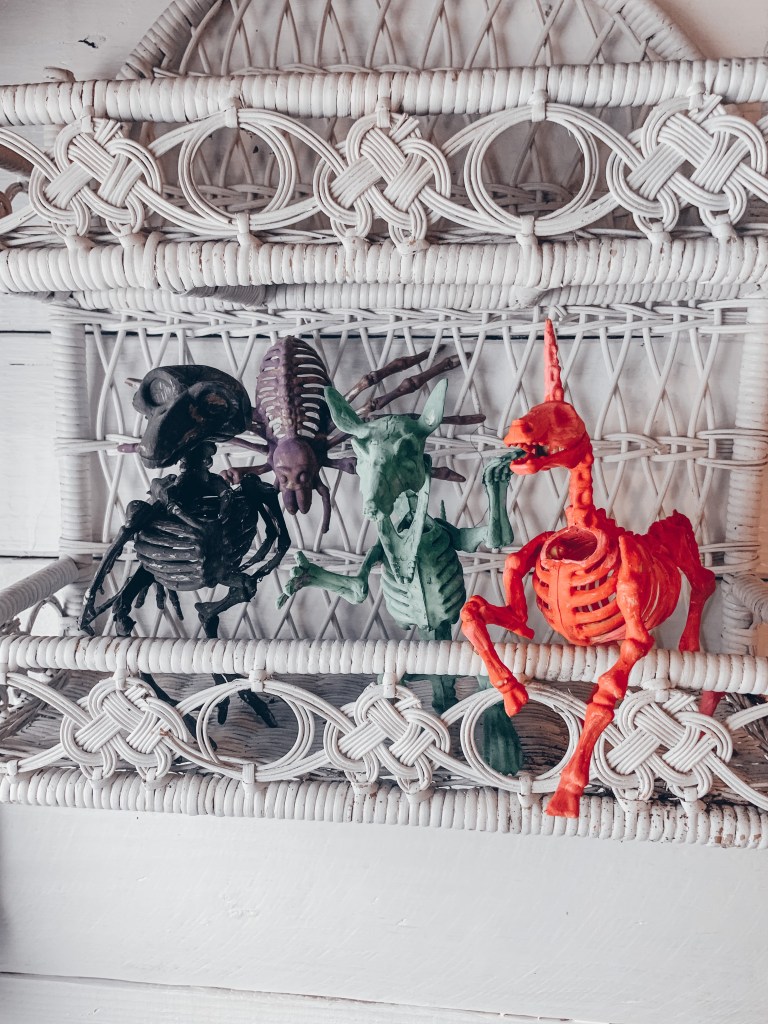
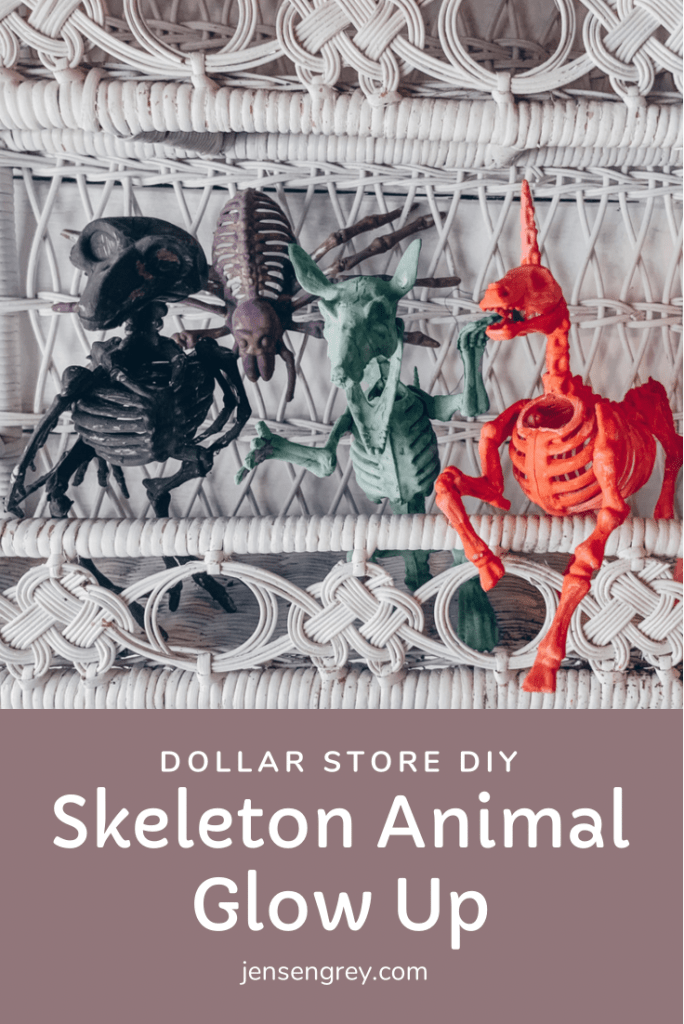
- Skeleton Glow Ups
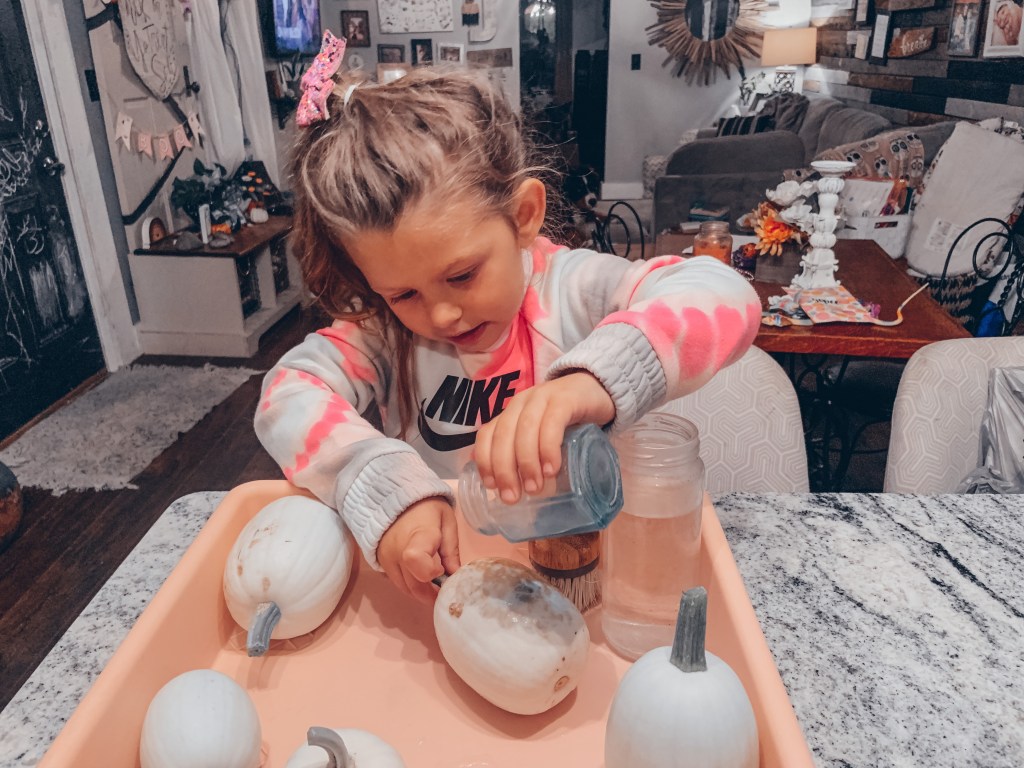
- Pumpkin Washing Sensory Bin
- Halloween Activity Box
If you try any of these activities out, let me know in the comments or tag me on Instagram (@greyskies.rainbowhighs). I can’t wait to see how much you and your kids love them!
What are some last minute Halloween activities you do with your kids?