DIY NYE Time Capsule

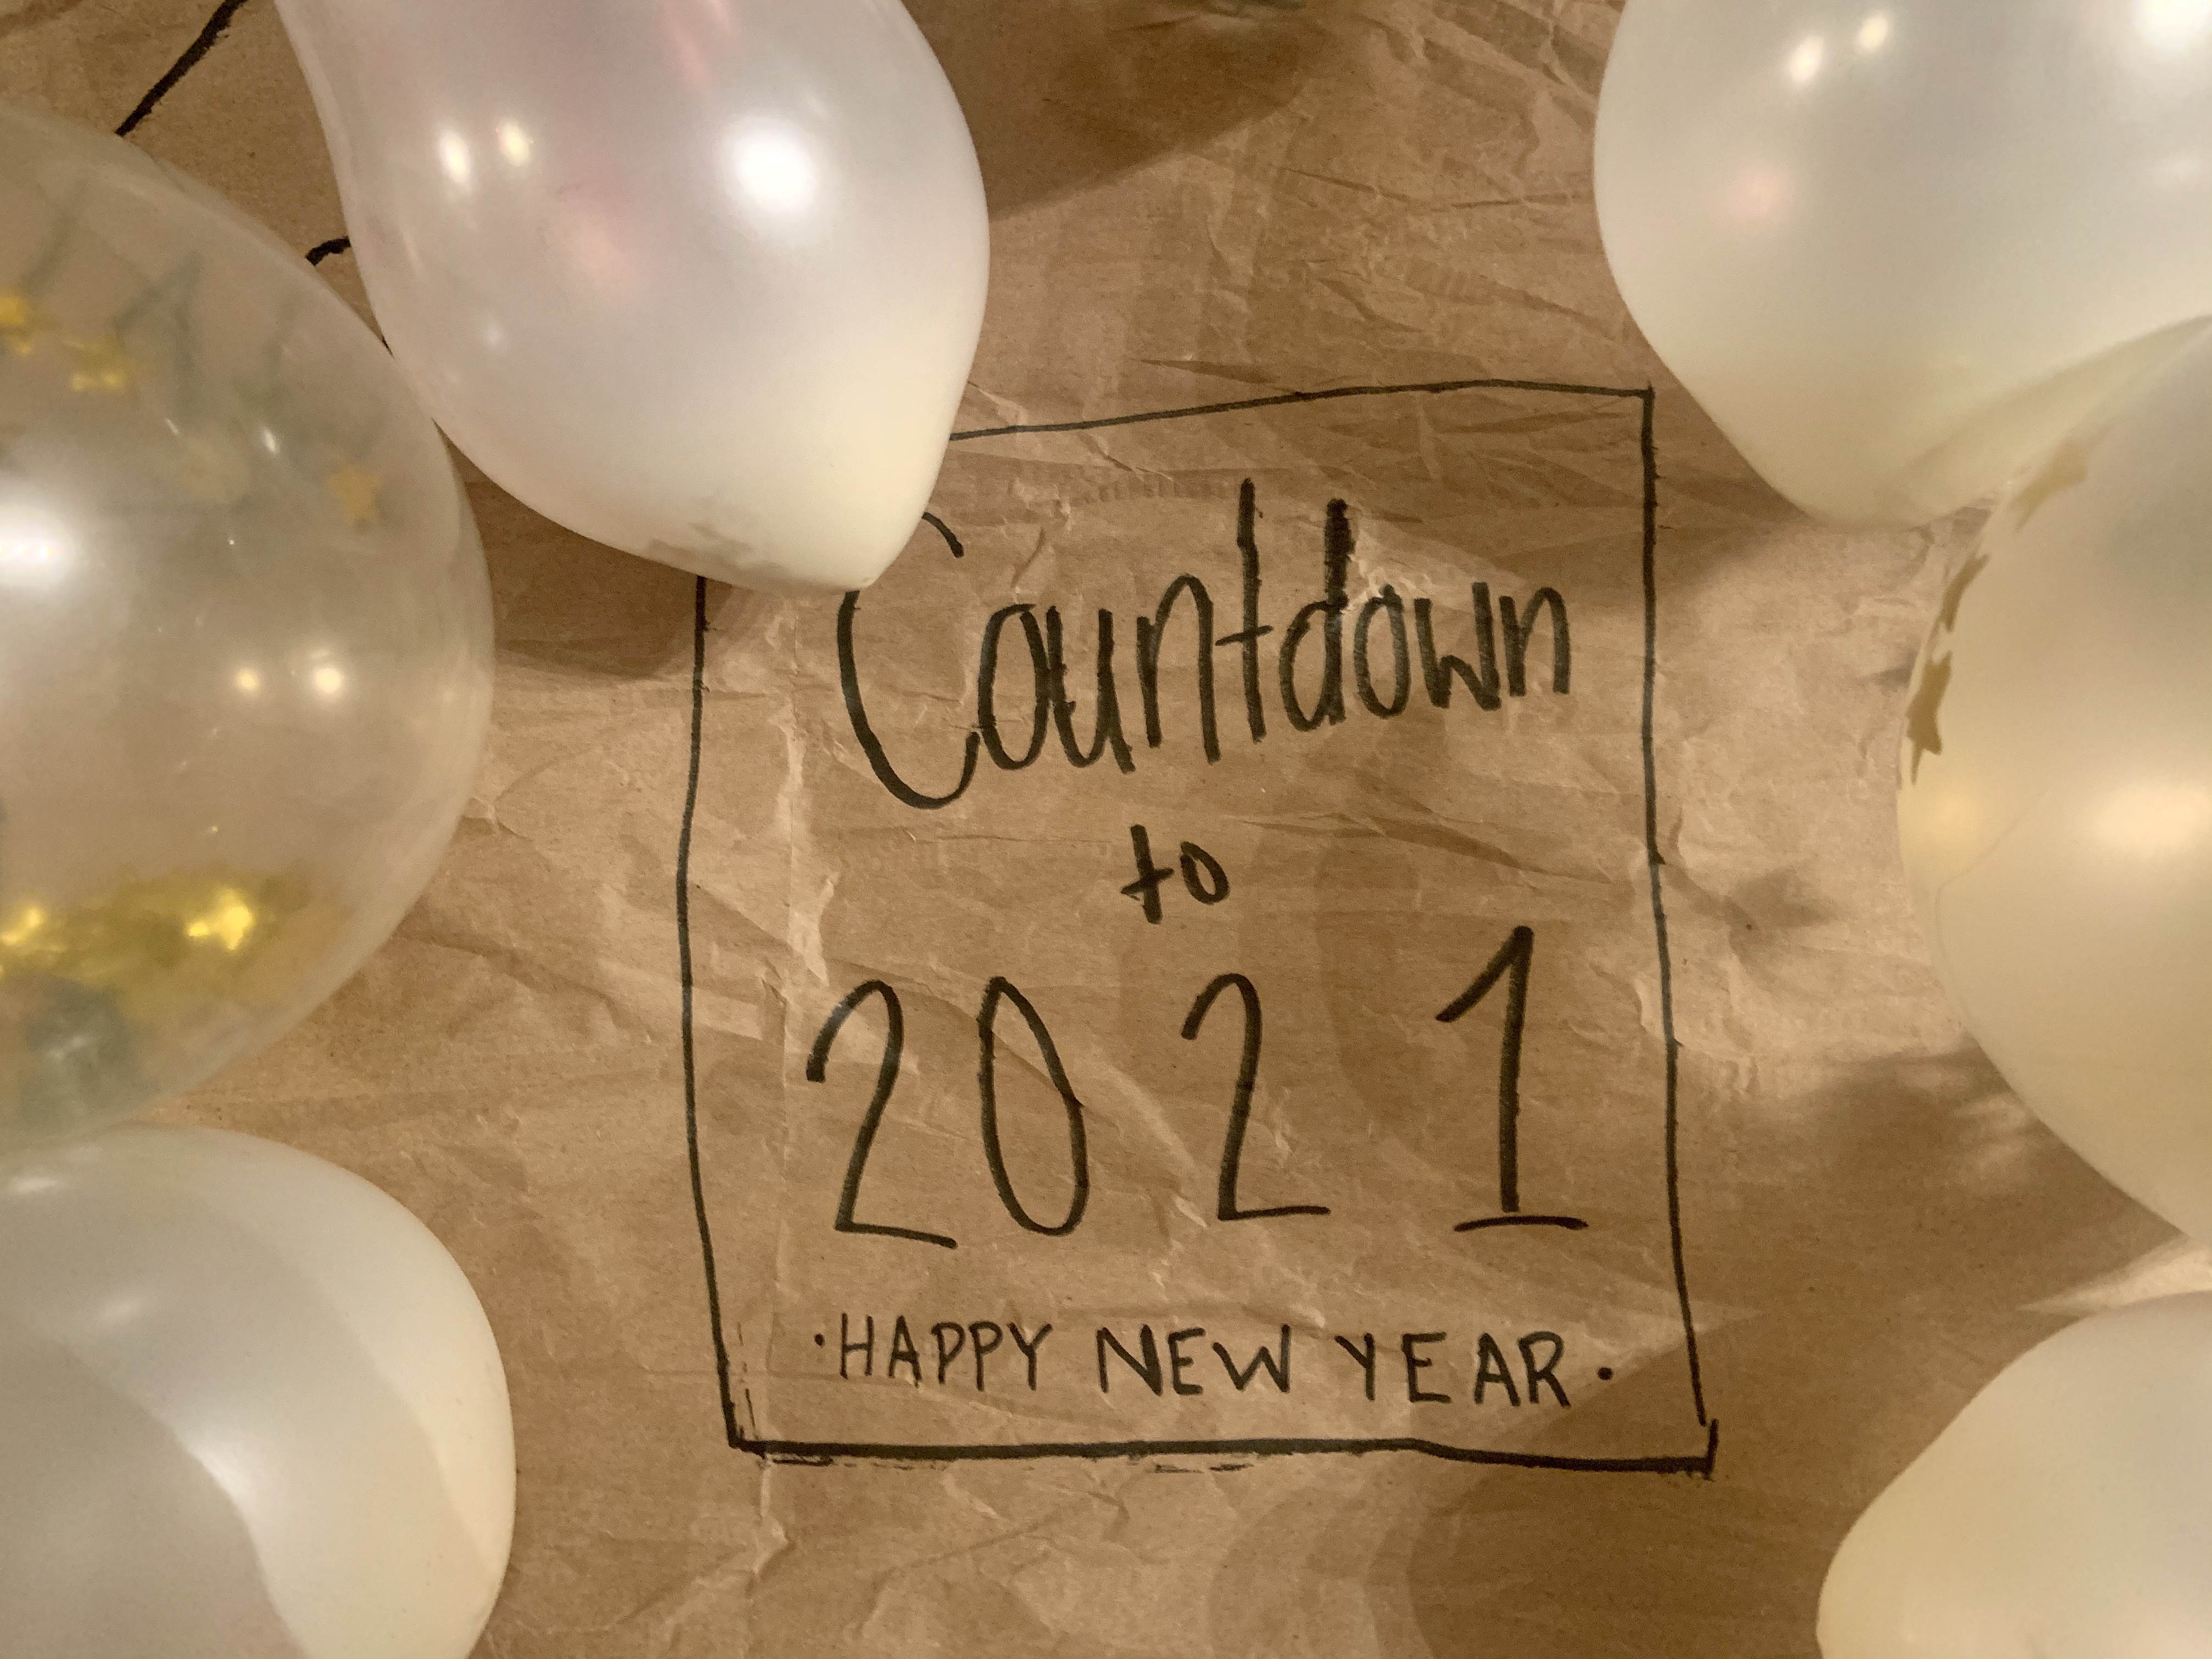
What’s more fun than reflecting on the last year? Going back to that year ten years down the road with a DIY NYE Time Capsule.

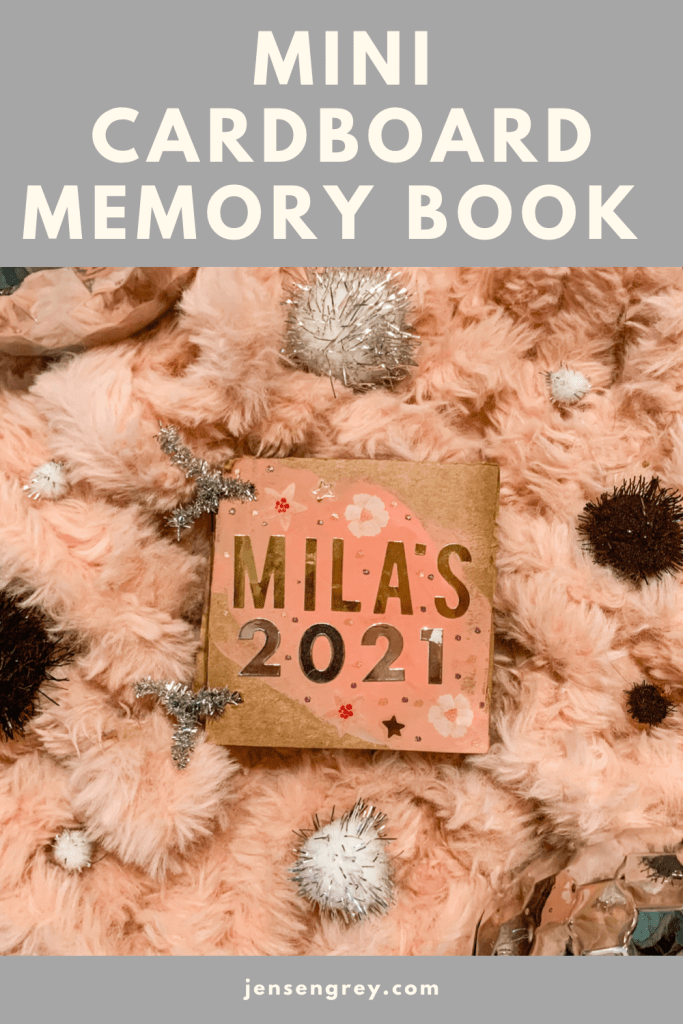
In my DIY Mini Cardboard Memory Book post, I shared that I was going to do something special with it. I’ve decided to make another new NYE tradition by doing a time capsule every year. We’re gong to fill it up with a lot of things that made the last year so special. Then, in ten years, we’ll open it up and walk down memory road.

Sometimes I can’t believe how fast time has went since Mila has been born. She is ALWAYS asking what she was like when she was a baby. I feel like she just was a baby and I blinked and there’s a little girl in front of me. Plus, this year has seemed like the fastest yet. She has grown so much and I want to treasure how little she is with what goes in our NYE time capsule. Hopefully she won’t be too embarrassed by her answers when she’s thirteen… let’s get real, she’ll be annoyed with everything then.

Almost everything was easy to put together and I found the worksheets online! Everything else is easy to make at home and it’ll bring up fun conversations amongst your family.

Here’s what we’ll be seeing on NYE 2031!

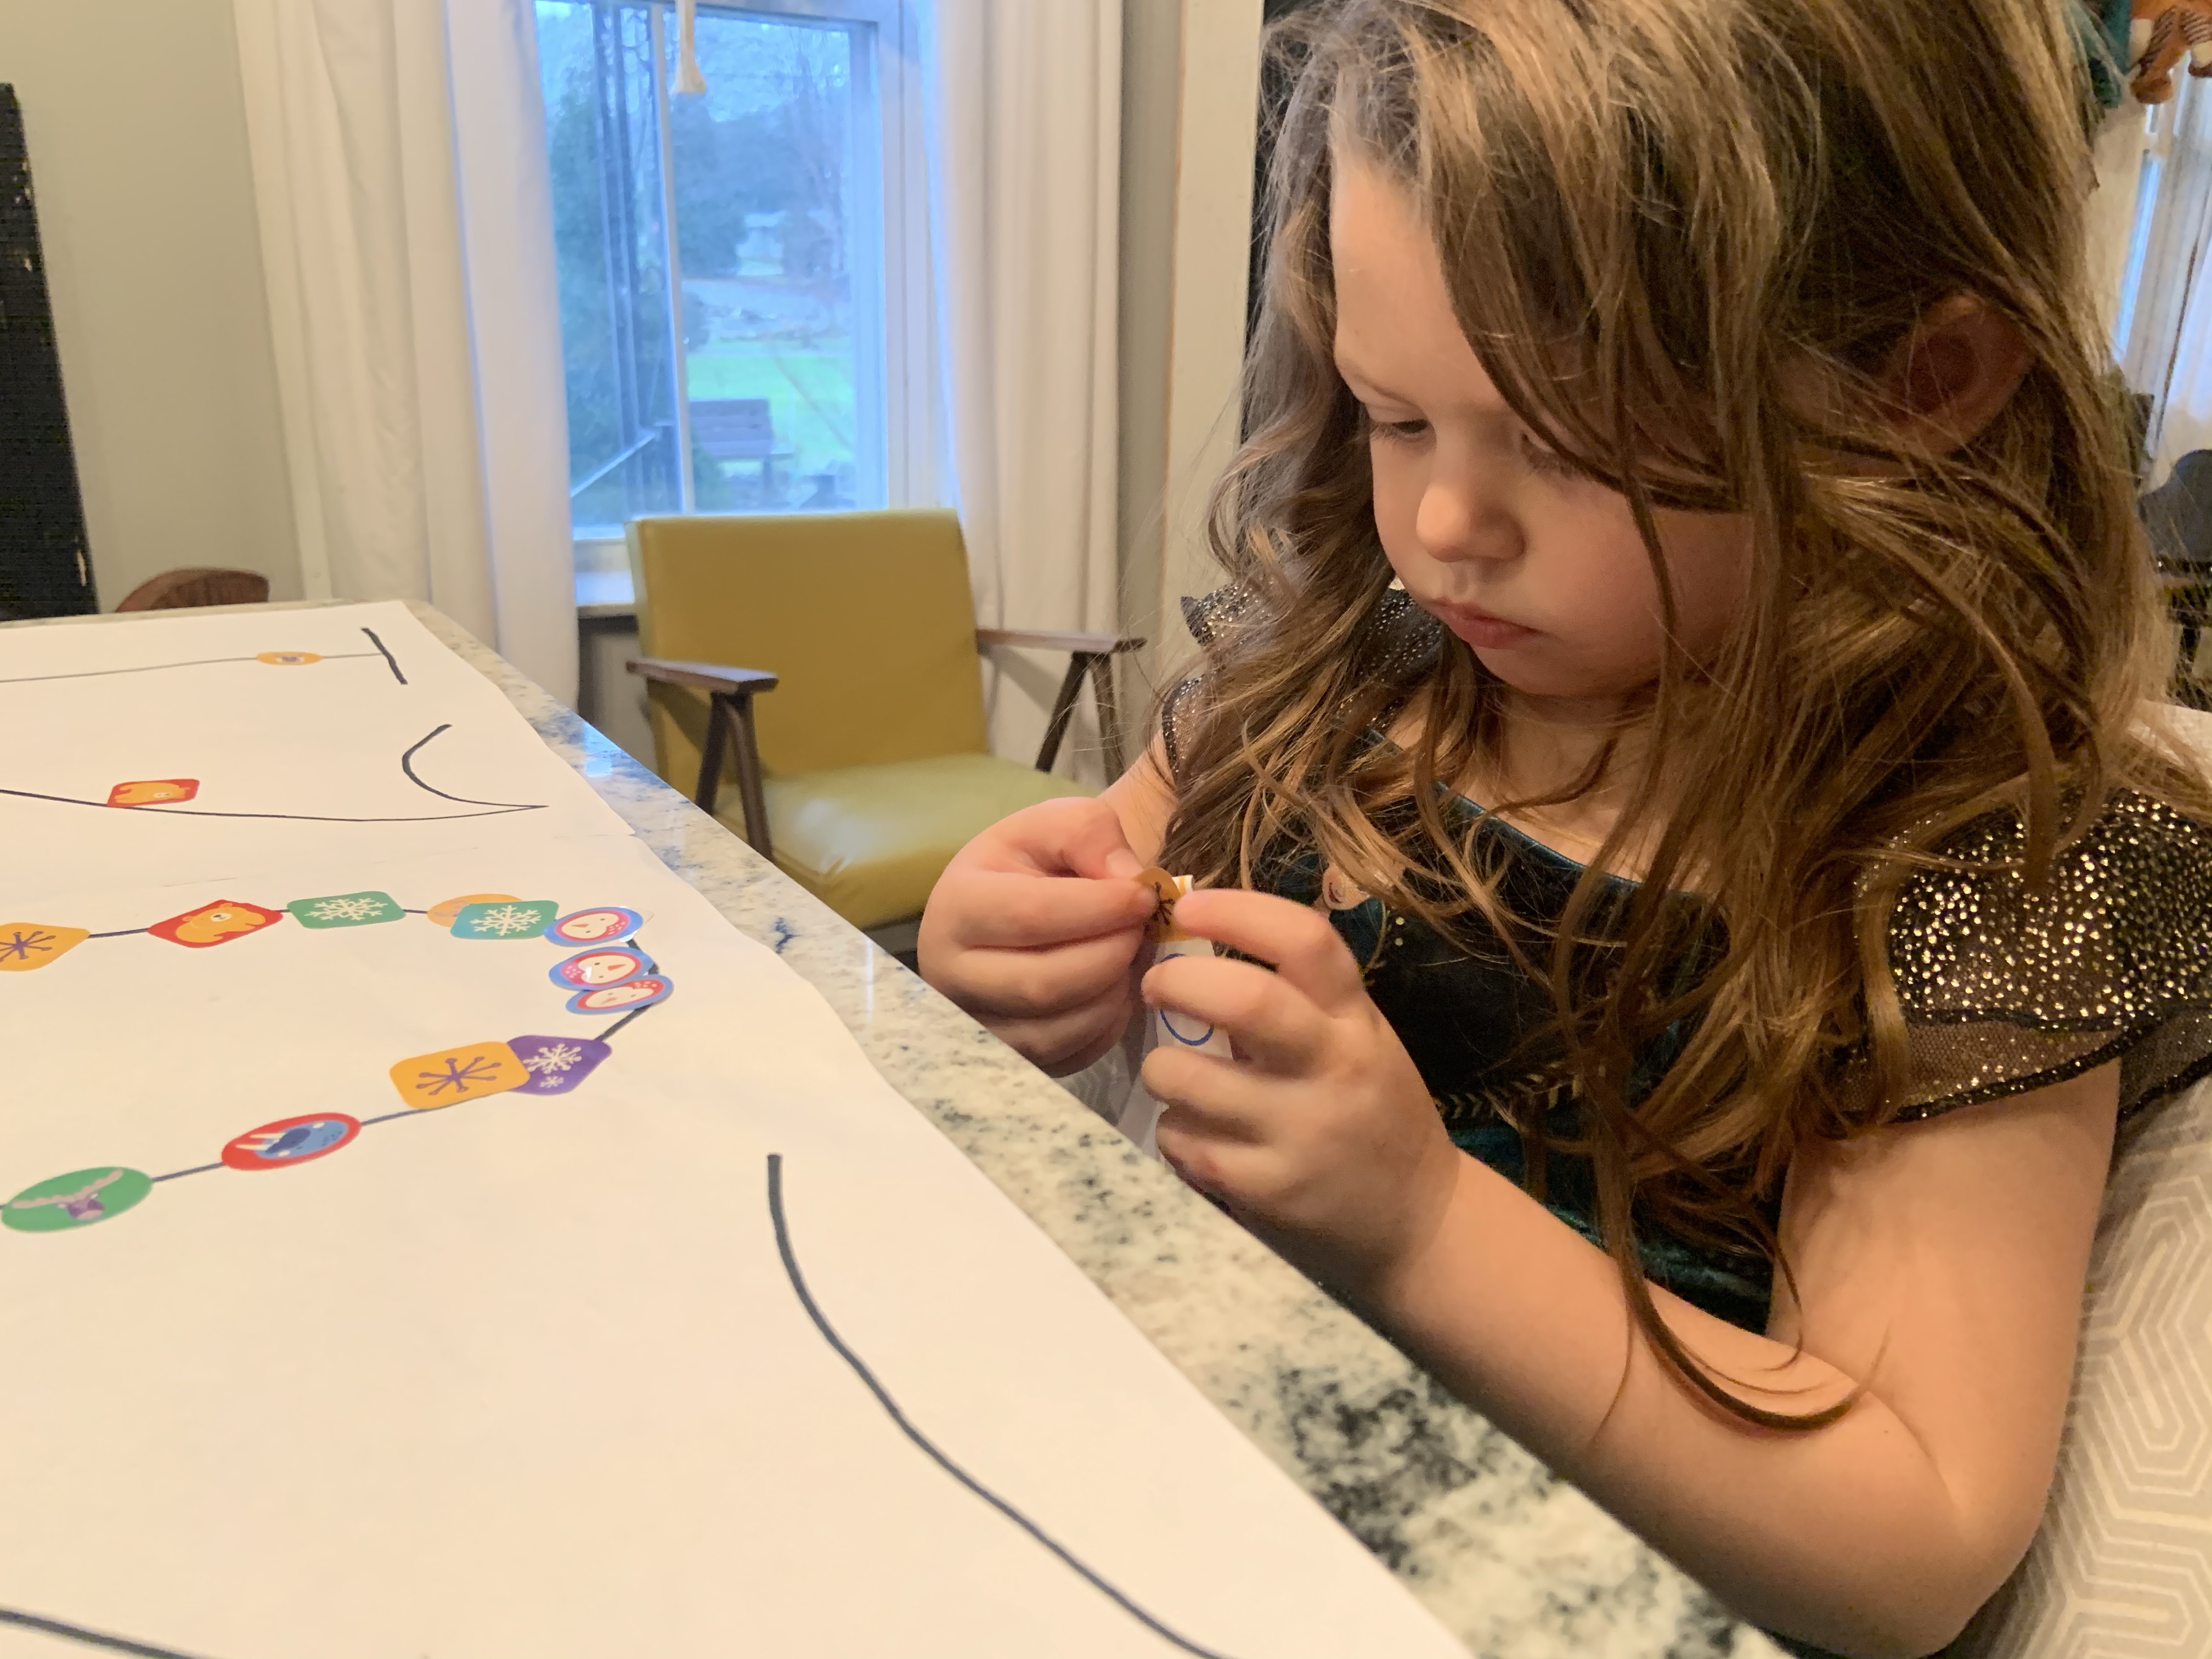
Year in Review Worksheets

I found the worksheets we used in our time capsule at @whimsicallywonderful on Instagram. Her printables are adorable (and free). I’m pretty sure I’ve shared them on the blog before. Anyways, I was planning on making our own sheets to write on, until I saw the ones I printed off.

Even though these sheets are girly, she also has ones with blues and greens in them. They’re so cute, just a different color scheme. You can find them at Whimsically Wonderful under the Whimsical Prints. It’s the last section on the page. Trust me, if you’re planning on doing a time capsule, these are such a great option!

I printed off:

  • My Magical Year
  • Top 5 Best Moments
  • My Feelings about 2021

There are more options on there too; like handprints and a letter to a future self.

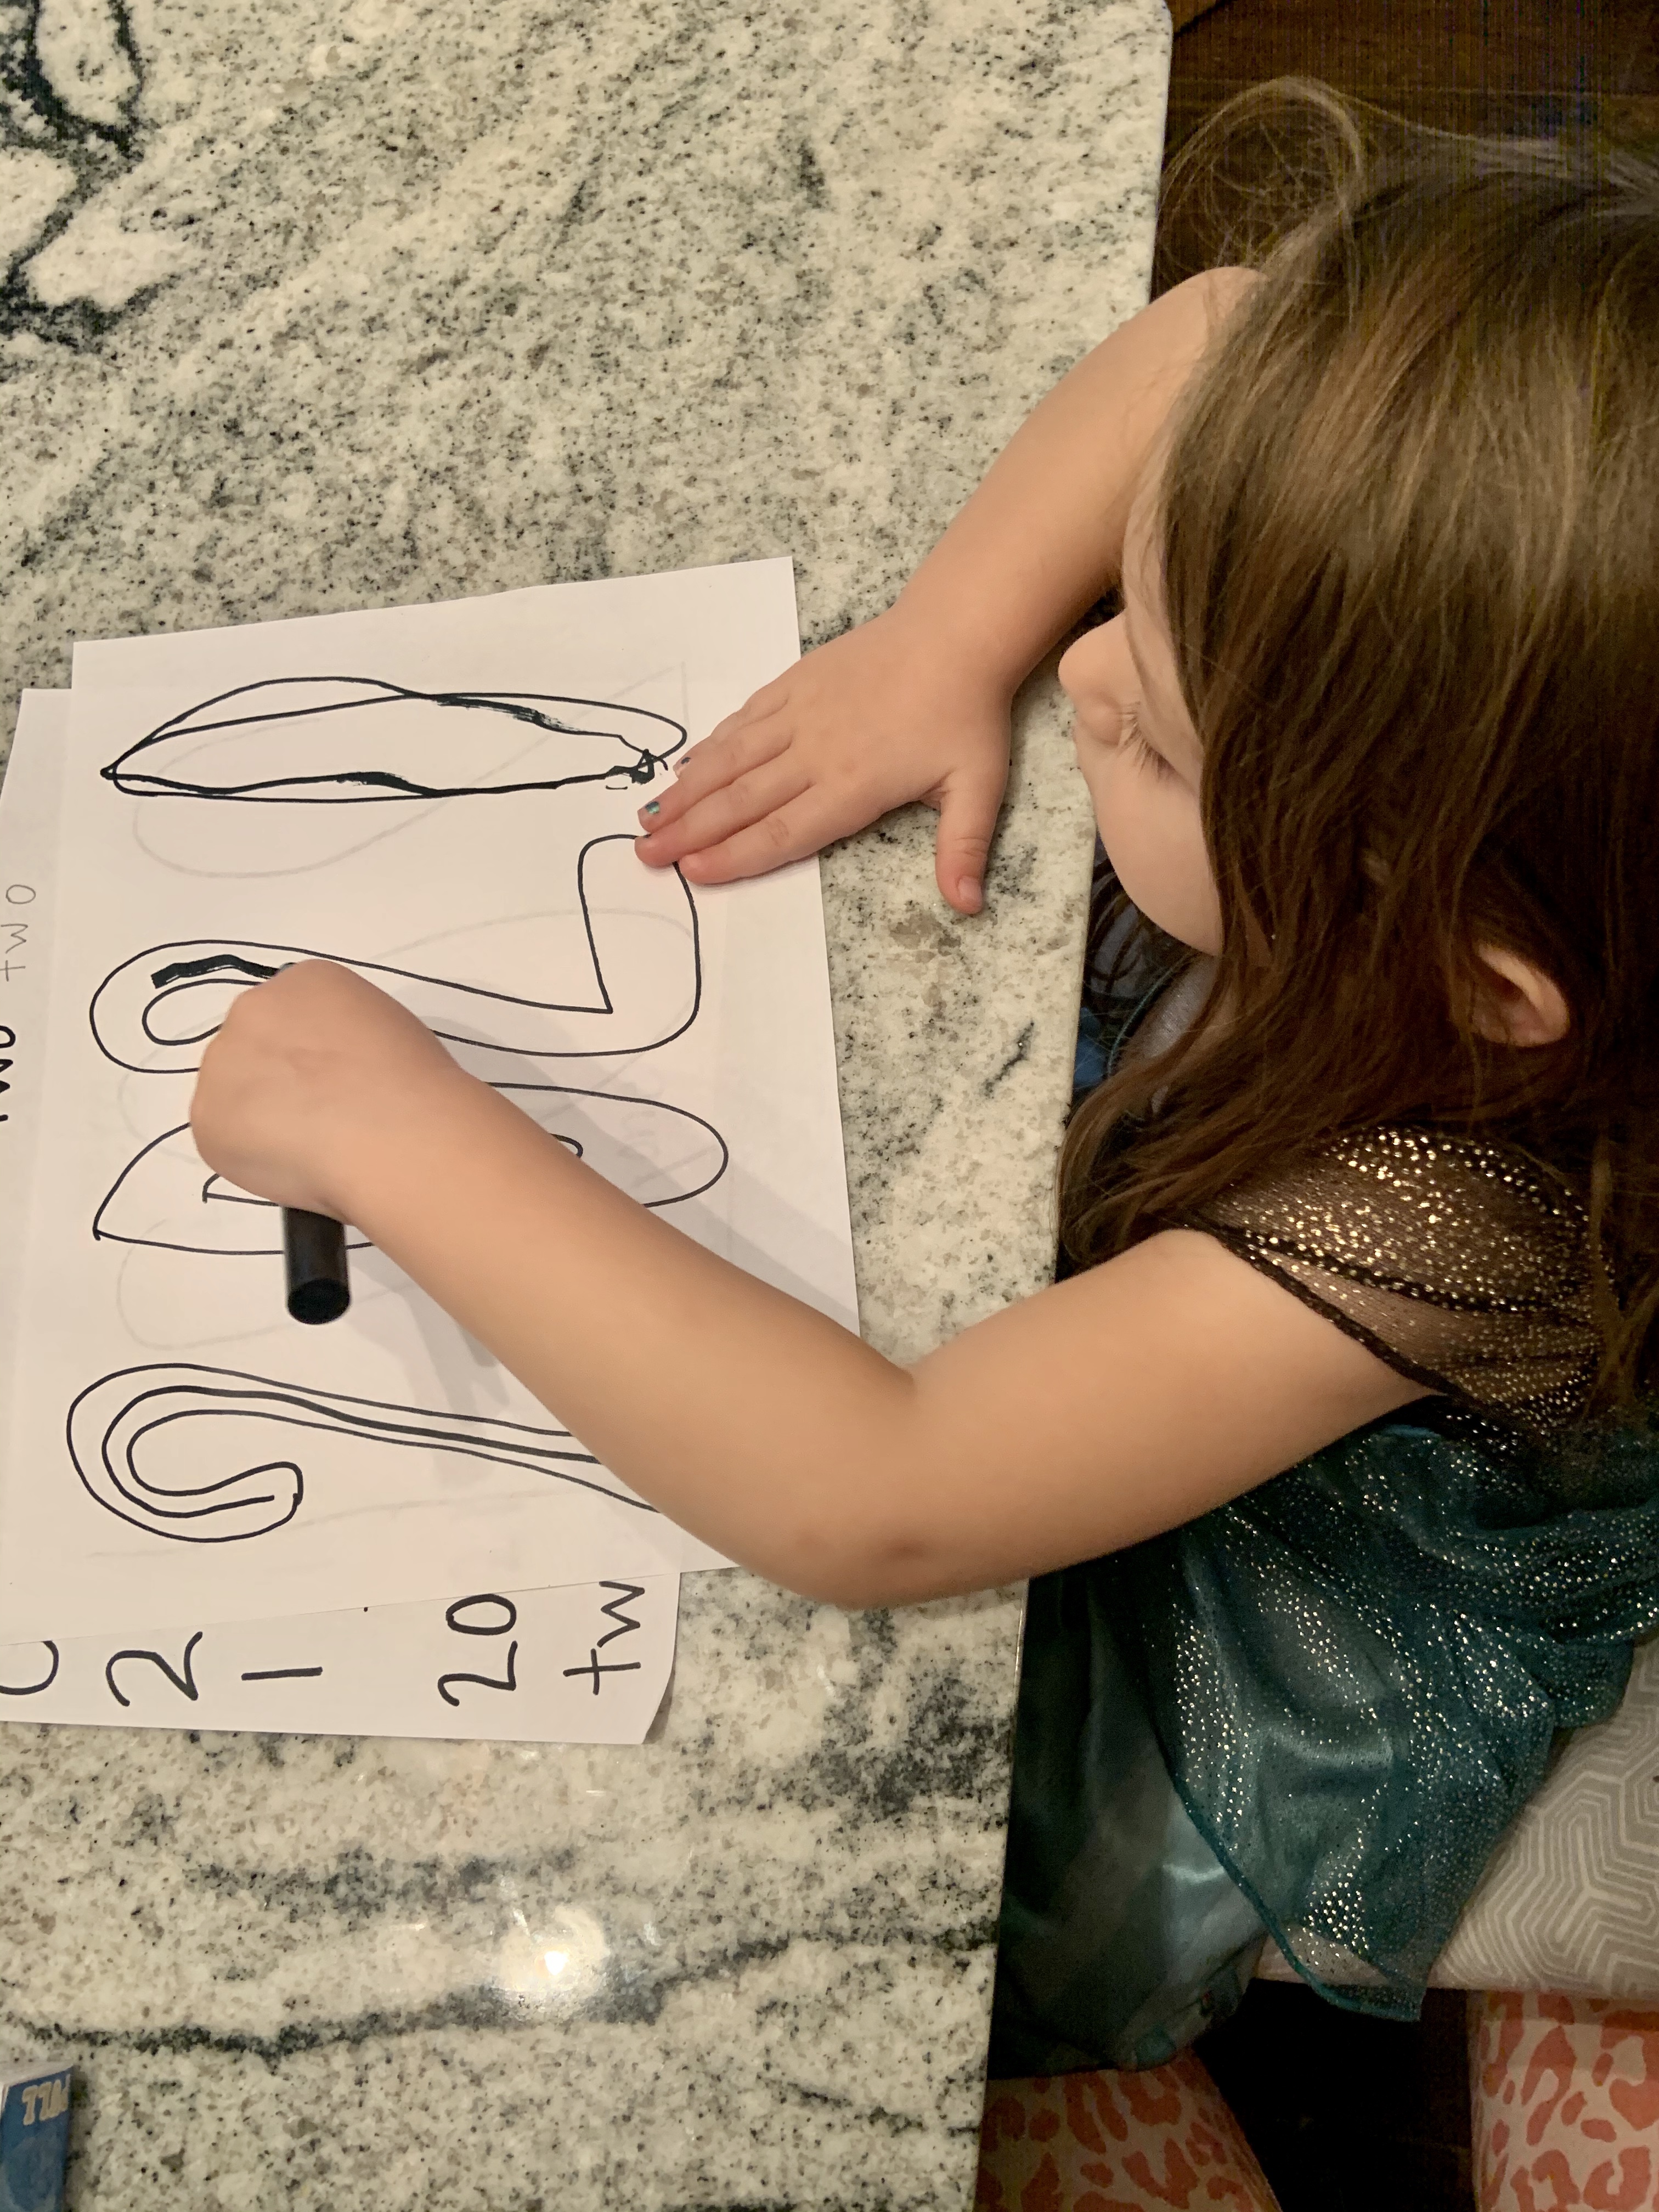
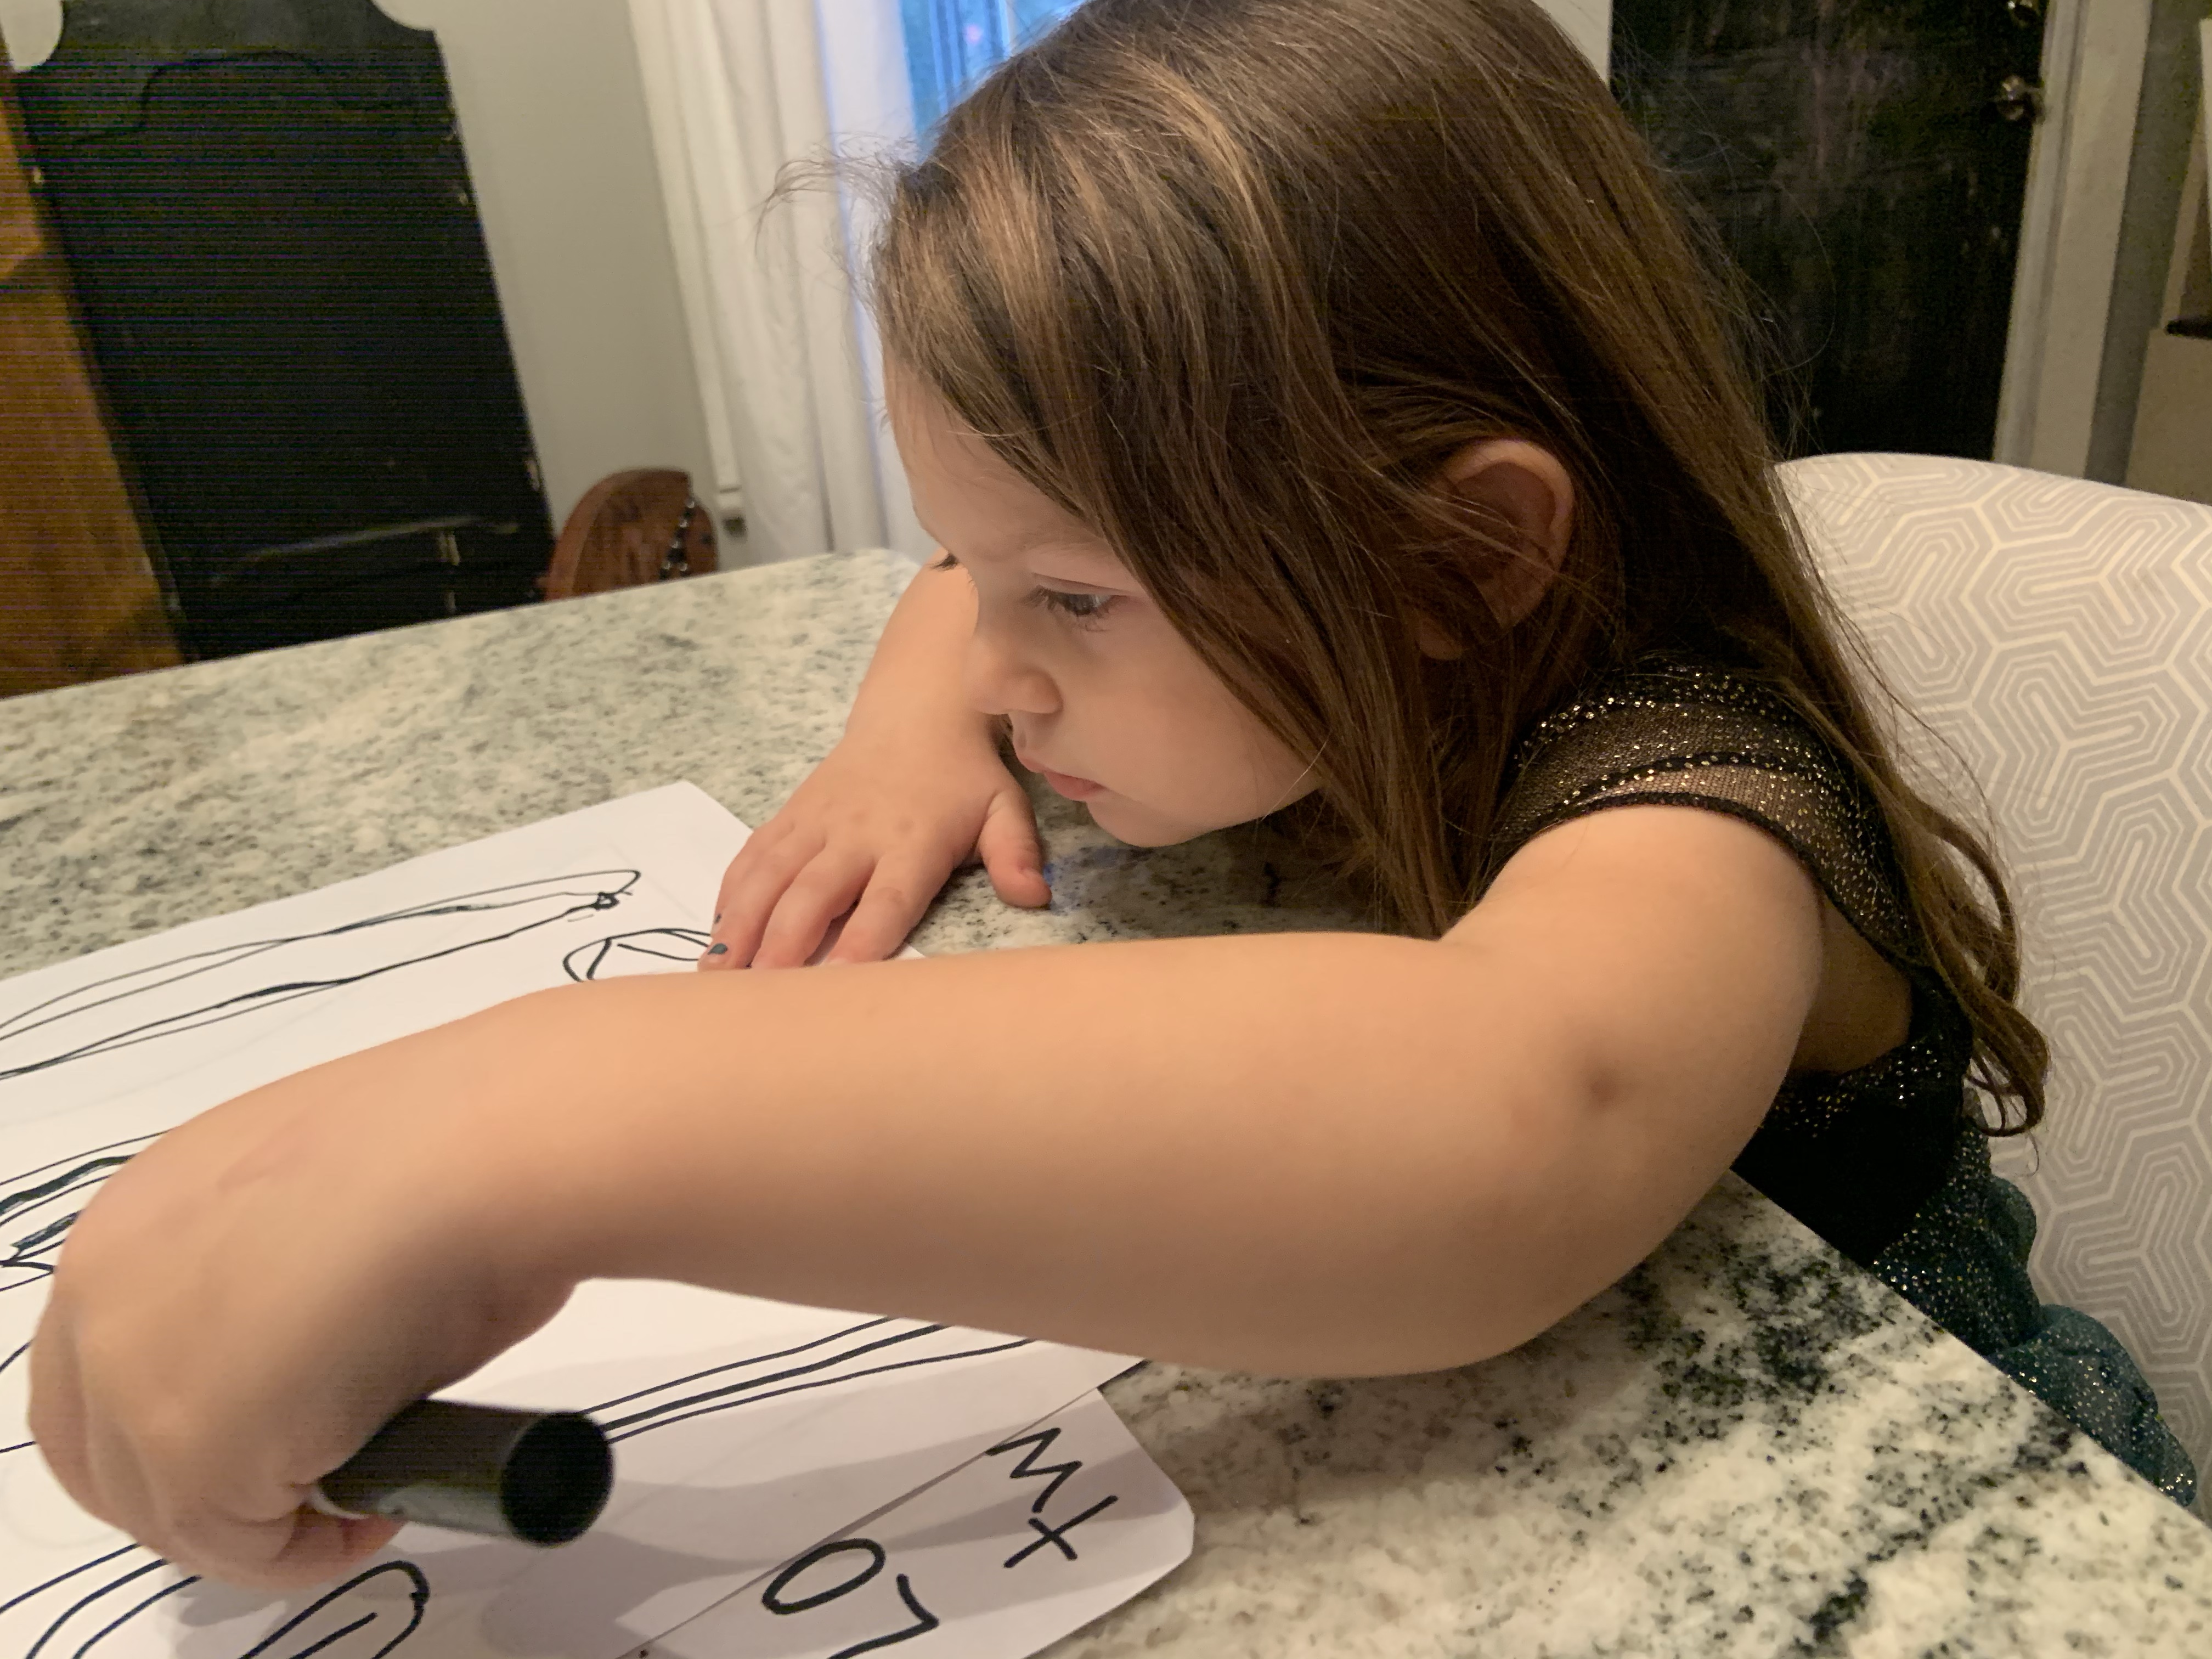
Mila Drawings and Glitter Handprint

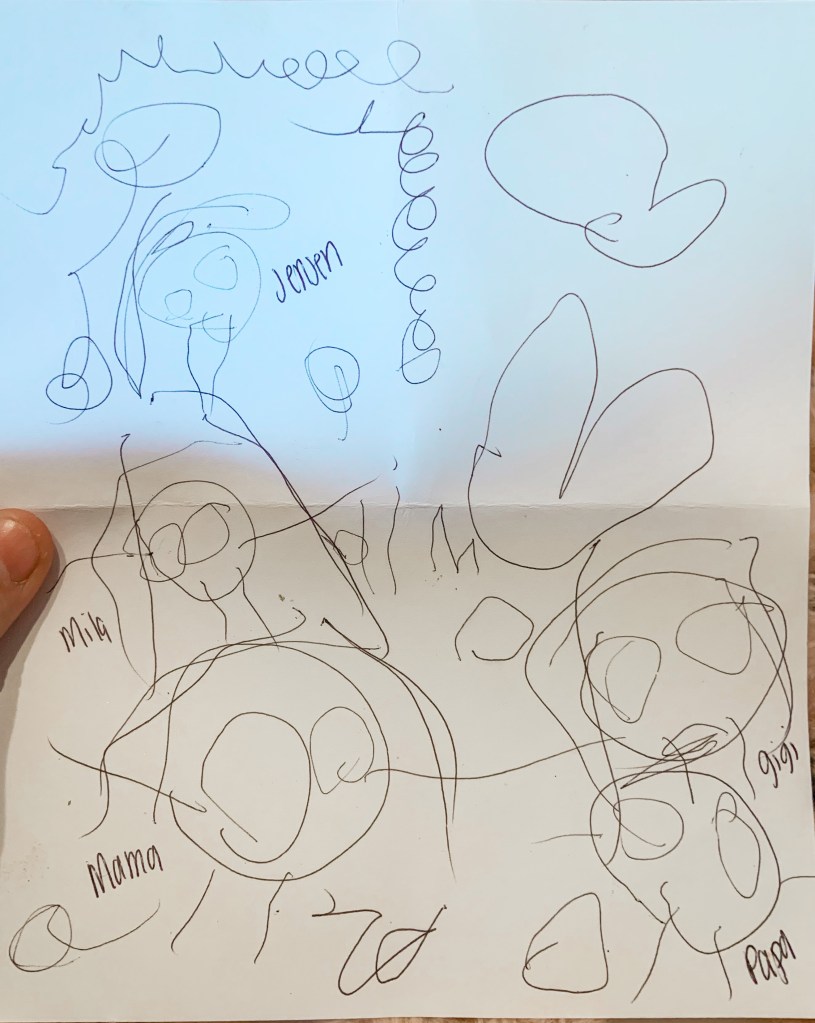
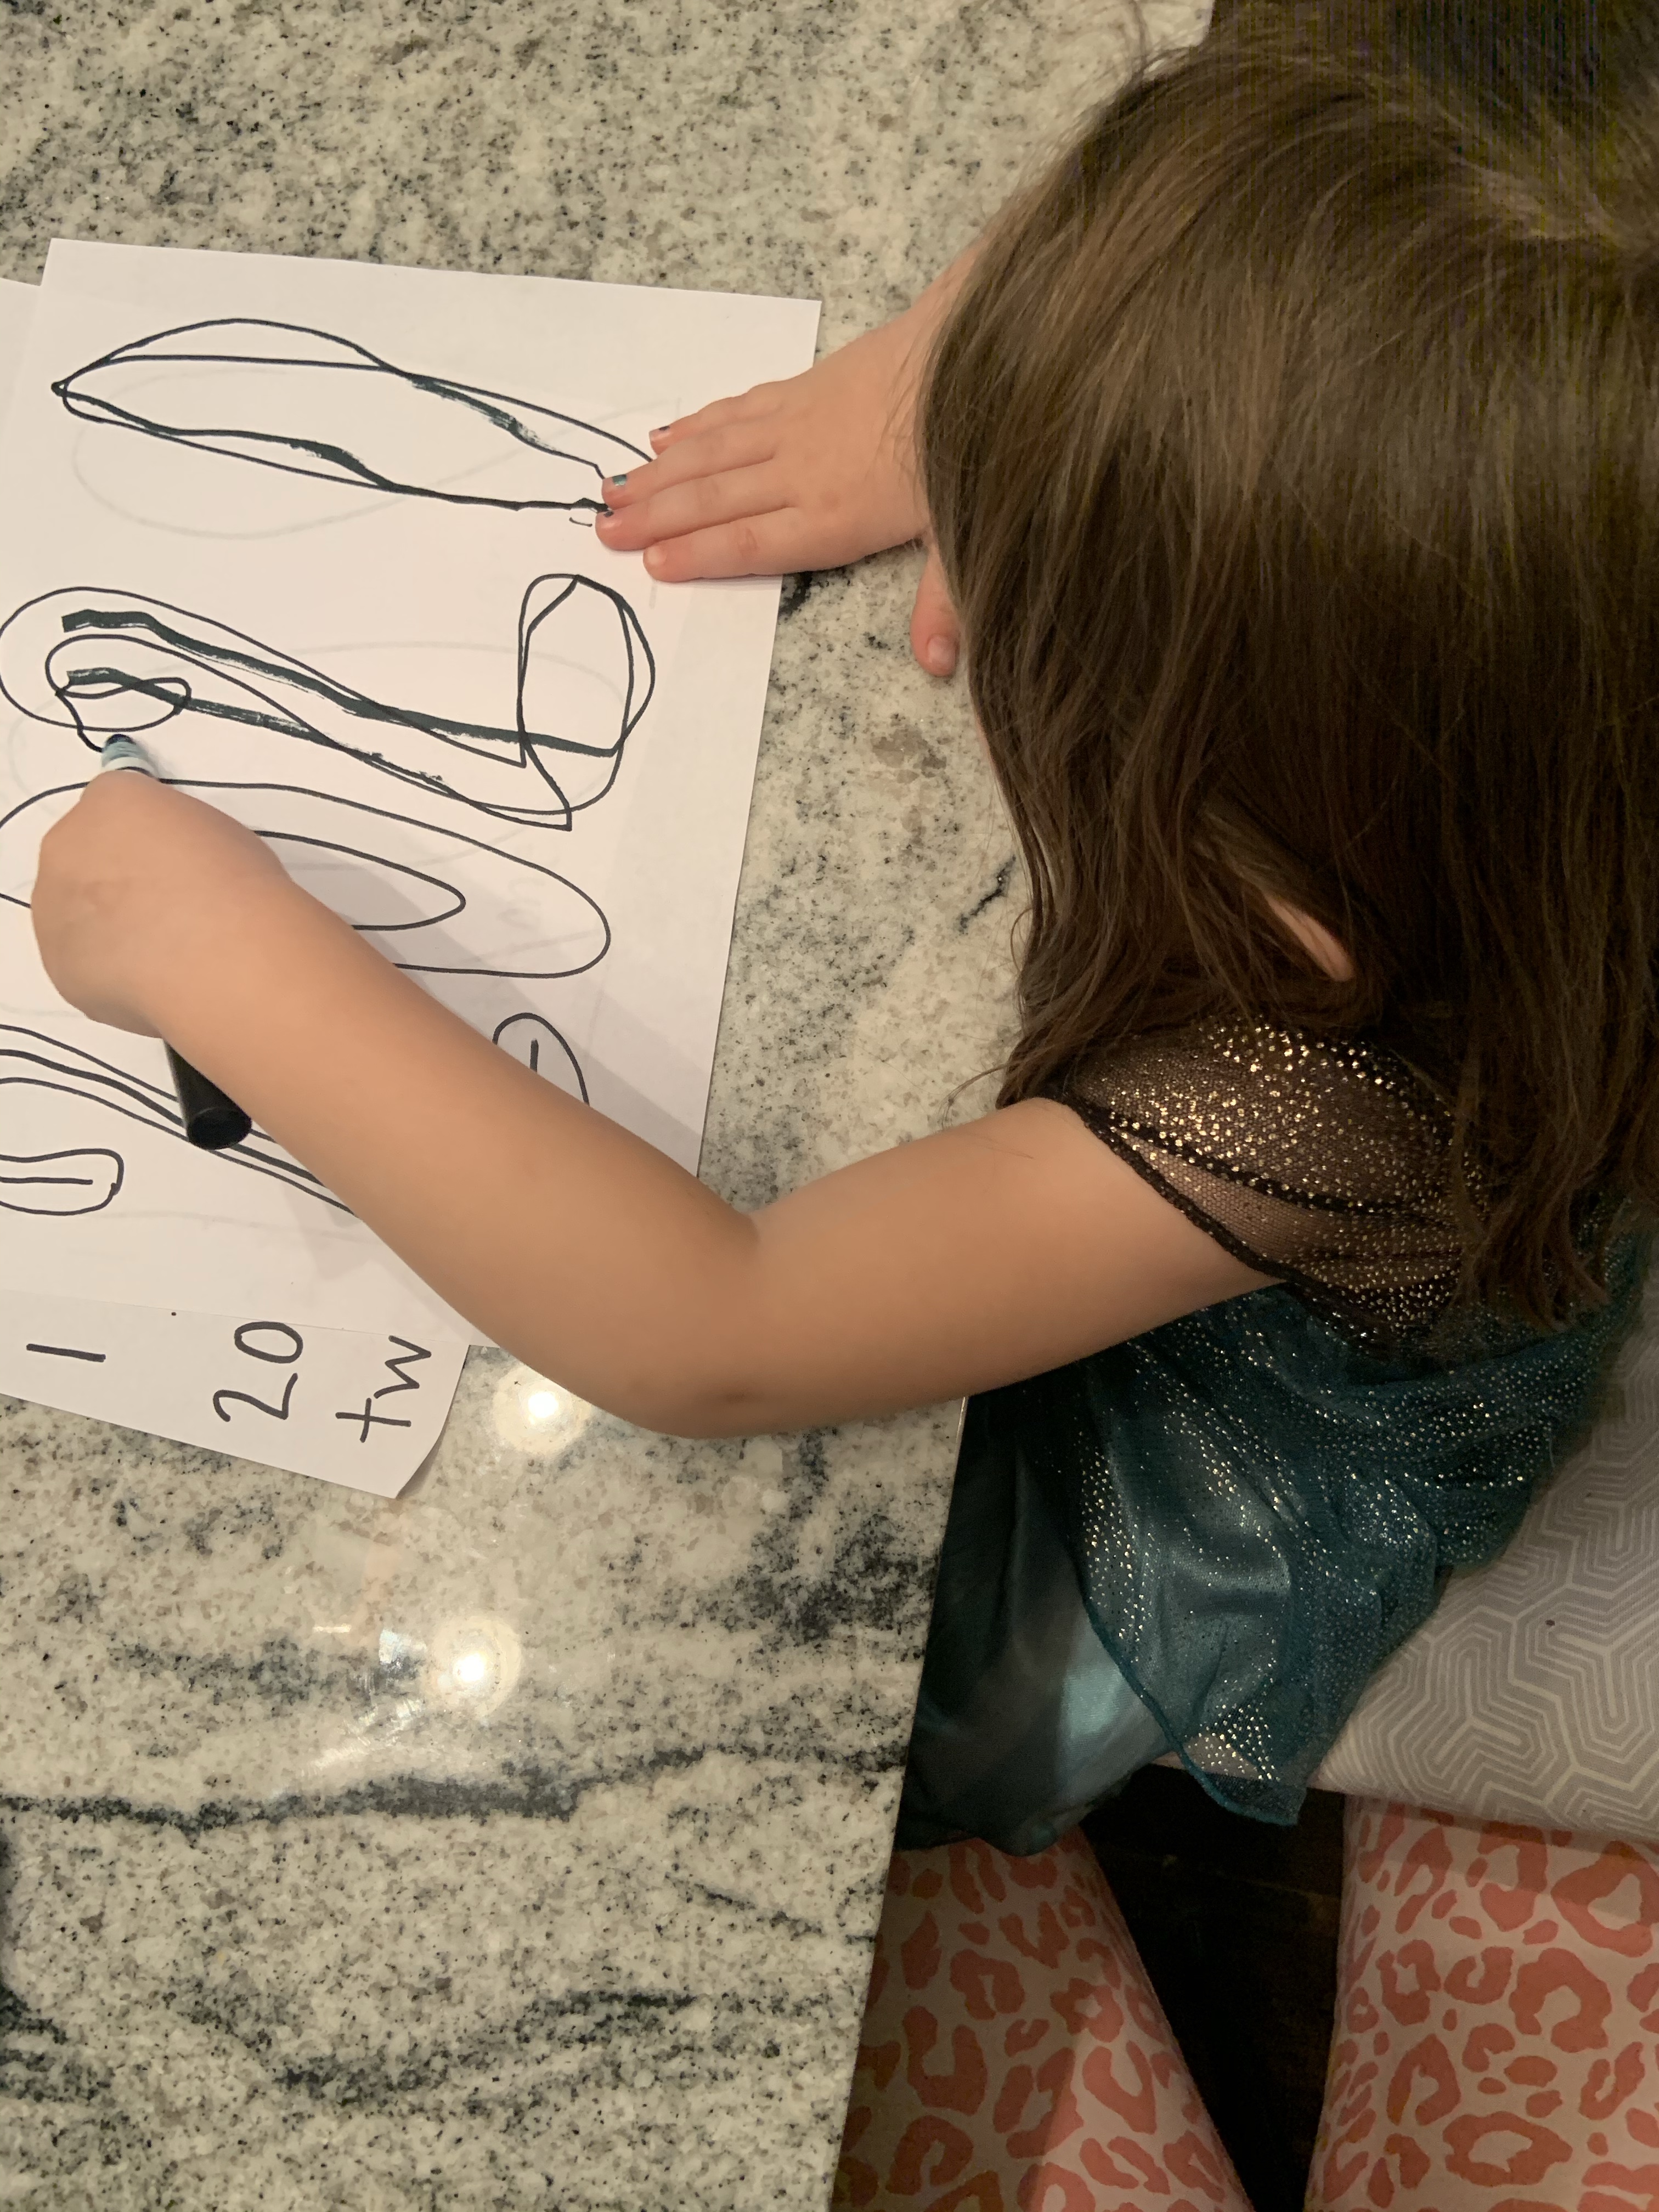
Mila loves to draw and always draws our family. Remember the person she drew and I got a tattoo of it earlier this year? So, I definitely asked her to do a drawing of all of us and labeled it too. I think this will be precious to see in ten years. Her drawing skills might be a little better then, but I think these will always be my favorite.

She also chose to do a glitter handprint. We made a little craft with her hand being the 0 in 2022. We traced it out, added glue, and then a bunch of glitter! It’s still drying after twelve hours, but I’ll make sure to update about it on one of my socials.

If it never dries, she also traced her hand on the back of the family drawing too!

A Letter from Mama to Mila

Letter writing is so therapeutic and if you’ve followed my story for a little while, you know I write a lot of them (you can search letters if you’re interested). I actually used to write letters to Jensen every day when I was pregnant with him up until Mila was born. So, it sort of makes sense that I would include a letter in here too.

Honestly, one of my biggest fears is something happening to me and her being without a mom. I want to make sure she knows how much she means to me and maybe I can throw some wisdom in there too. It sounds cheesy, but maybe it’s the last letter or words she would ever get to me. That thought alone makes it important to me to write about this year and how much her at three or in 2021 meant to me.

Again, we’re also going to be opening this up when she turns thirteen, I may need that extra support… I’m joking.

If you do do a time capsule, this would make a precious memory for your child.

Ribbon Height

On Mila’s papers, it asks to write her weight and height. Even though I can easily write that down, I want to be able to visually see it.

Although I’m not going to add bags of rice in her memory box, we collected her height in a ribbon. I just placed one end of the ribbon on her head and then cut it at her feet. Then, I made a little tag saying what the ribbon was for and connected it with a clip.

I love this idea because I can unravel it and actually see how tall she was.

Again, this is a super simple and easy idea you could do too! It wouldn’t even have to be a ribbon, yard or string work well too!

Pictures and Miscellaneous

Since we take thousands of pictures each year, we had to add a few in the time capsule.

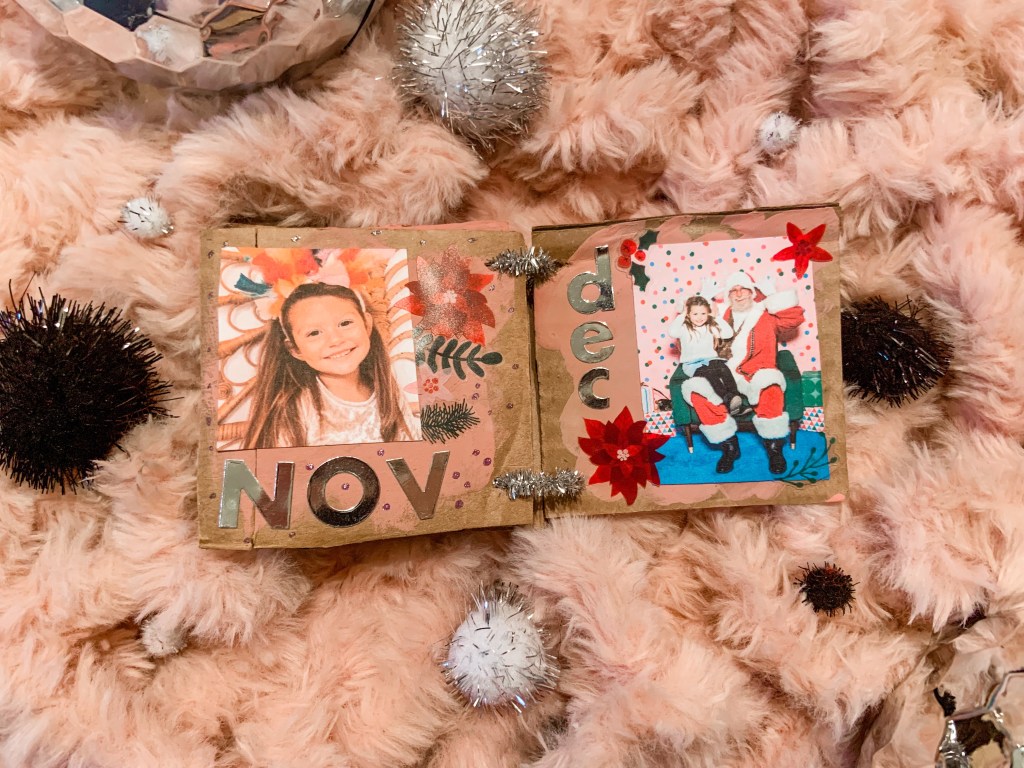
The DIY Mini Cardboard Memory Book is snuggled tightly in there. I’m still obsessed with how it turned out. We’ll also be taking Instax pictures on NYE to add to the capsule as well. Maybe I’ll even let her take whatever pictures she wants. This way we can check out how her photography skills have changed too.

Some other items we’re adding are a New Years necklace, a craft, and maybe a toy or trinket. I haven’t totally nailed that last part down.

When we open it, I just want to be blasted back to 2021 and have this magical feeling.

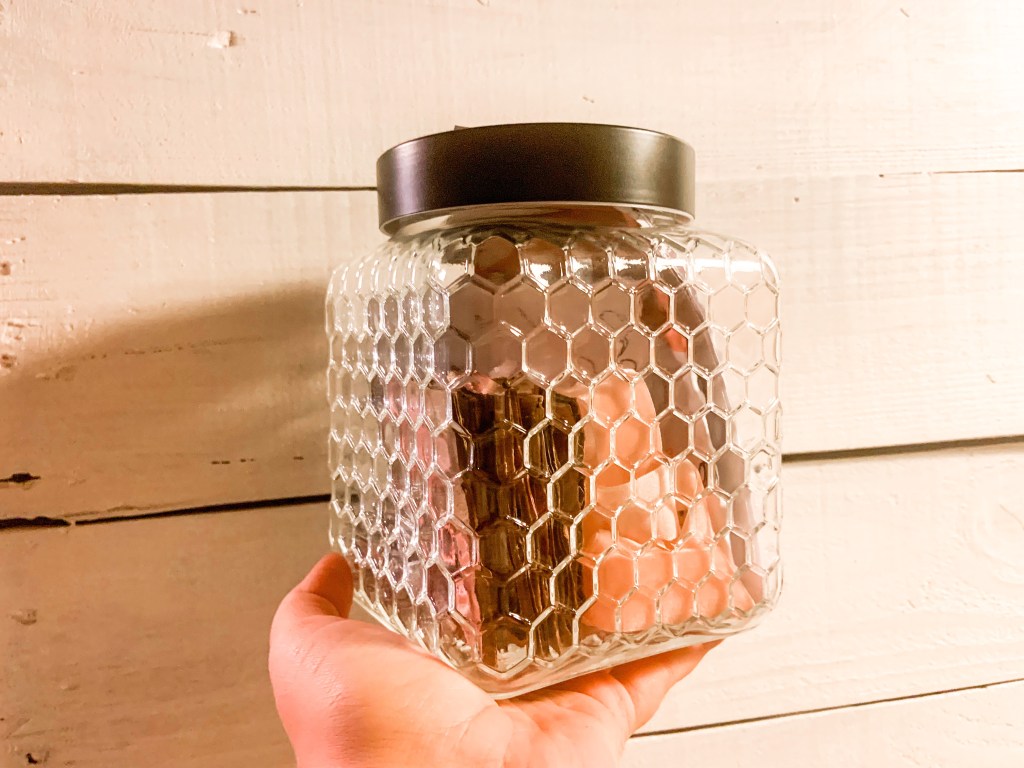
As pretty as everything is out of the time capsule, it’s perfect inside too. We added a ‘Do NOT Open Until NYE 2031’ on the lid too. Just in case I need some motivation to wait!

Even though I bought a pretty jar for this time capsule, you can easily upcycle items you have around the house. I’m thinking mason jars, pringle cans, or even old tupperware containers you don’t know what to do with anymore. You could be as creative as you want to be and even make this a fun part of you time capsule too. For some reason, I’m thinking of a VHS or DVD case. It would have been so clever 30 and 20 years ago.

Anyways, I’m really happy to be starting this tradition with Mila and see how it evolve over the next few years. I hope you enjoyed it too and maybe want to start this with your family.

If you do this tradition or plan to, let me know what other things Mila and I should add.

Advertisement

DIY Mini Cardboard Memory Book

With the year coming to an end, it’s a fun time to look back on our favorite memories. To keep and showcase them, we made a DIY Mini Cardboard Memory Book. Ours is perfectly pink and full of all the pictures we loved from the last twelve months.

The plus side, this easy craft is fun to make and you can personalize it however you’d like.

Here’s what you’ll need to capture your memories of the year:

  • Scrap Cardboard Pieces
  • Glue
  • Tape
  • Stickers
  • Pipe cleaners
  • Paint
  • Pictures
  • Scissors

Honestly, this took me a little while to make, but I’m glad I did it. A little hard work goes a long way!

First, I cut out seven, small cardboard squares to make the pages. You could easily make these bigger, I just want to use this book for another project I’m sharing this week. Then I made little holes on one side of them. I couldn’t find my hole puncher, but I made them with scissors.

After, I painted a little area on the squares pink and let them dry.

While it was drying, Mila and I picked out one picture from each month, besides two months… you’ll see why. Then, I just printed them on stock paper I had at my house. When they were all printed, I just cut the pictures out.

Once that was done, I pulled out MIla and I’s favorite stickers, some glitter markers, and got to work!

Like any type of scrapbooking or picture books, it just takes time. I had a lot of fun looking back at all our favorite memories from the year. With every page, I made sure to write the month out and add relevant stickers. I think they all captured the feeling and emotions of every month. Mila had fun helping me with the stickers as well.

On the back cover page, I had her write down her name with little hearts. Just so I always have her writing. She draws hearts on everything to show love. Just something I always want to remember.

Just to share our pages incase you need some inspo, here’s ours and why we chose them for the month.

January and February

In January, MIla did a fun glitter shoot and they’re one of my favorite pictures of her! She seriously looks magical. Then in February, we made one of my favorite DIYs: I love you frame. It’s one of the pictures from that day and always makes me smile.

March and April

Last March held Easter. I laughed so hard when Mila took off after getting one ‘good’ picture with the Easter Bunny. The running shot is hilarious and I had to add it. April is our big birthday month. Jensen’s is on the fifth and Mila’s the fourteenth. We picked a picture from the day she turned three.

May and June

One month that we look forward to every year is May. We get to go on vacation AND school is usually out too. That means summer! This picture is of her in Myrtle Beach in her yellow polka dot bikini. In June, we went to our local waterpark so many times. I had to capture one of those moments.

July and August

In July, Mila and her friends won the Fourth of July talent show in our town. It was a big moment for them (and us moms). I’ll never forget that day and will always tell Mila the story of what she did after… I’ll make sure to share one day on here. At the end of August, we got Toby! Mila chose this picture since she loves her puppies so much!

September and October

September was a huge change for the both of us. Mila started preschool and has been learning so many new things. Believe me, she tells me all about it. It was also the start of me posting a picture every day of Mila’s outfits. Since we’re obsessed with Halloween for all of October, Mila requested that I added all of this year’s costumes.

November and December

Of course we had to celebrate the holiday season with these last two pages. We still love her turkey headband from Thanksgiving and that Santa picture showcased how December felt all month long.

Back Cover Page

Like I said above, I had Mila add this page. I think it’s a sweet touch to wrap the entire year and how she’s growing up. Makes my heart smile.


I really feel like this will be a yearly tradition from now on. It’s such a cute and quick way to reflect on all the years. Plus, when you see my next NYE activity, you’ll think it’s even more perfect for the mini version. Stay tuned to see.


What are some ways you like to reflect on the year during New Years? Or do you have any NYE traditions you’d like to share? Let me know in the comments.

Toddler Activity: 2021 Sticker and Writing Activity

Two posts in one day, oh my!

Anyways, Mila is getting more and more into drawing and tracing letters and shapes. I haven’t really sat down and did a full activity with her yet, so I wasn’t too optimistic about how this would go.

I made three different pages for Mila to do.

The first is a sticker activity.

Is anyone else’s toddler obsessed with stickers or is it just mine?

I knew if the other two activities didn’t work out, she’d love putting stickers on this big piece of paper.

All I did for this was tape two pieces together and write ‘2021’ in marker.

The goal of this activity is for your toddler to put stickers along the numbers. It helps them get the hang of the shape of the letter without writing it. Plus, they’ll be using motor skills by taking the stickers off and putting them along the lines.

She might not have put all of the stickers on the letters, but stickers are always a hit with Mila!

The next activity is writing. There’s a bubble number one. For this one, they just practice their numbers inside the letter. It’s just to get them familiar with it.

Honestly, this is more Mila’s speed. She did her best with trying to draw it and I think she did well.

The final page was way too challenging for Mila, but a good way to keep numbers familiar for her. I ended up asking which numbers were where and told her the letters too.

Overall, the sticker activity was a hit and I’ll continue doing similar ones for this stage. The other two I’ll keep doing similar things to see how she progresses with them. One day she’ll be a pro at them.

These can all be made with computer paper at home. The sticker activity gave me enough time to make food and wash dishes!

Hopefully, this can help give you some time to get last minute things done for NYE at home.

If you try this out, let me know in the comments. I’d love to know how it went!

Toddler Activity: DIY Countdown to Midnight Clock

To make the New Year’s Eve day a little more special, I made a countdown clock for Mila. It took a little bit of time, which is why I’m posting today.

You can definitely get help from your kids with this activity, but it’s mostly for adults or older kids to make. Kids of all ages can enjoy when it’s done.

Like most of our activities, I had everything at home. If you don’t, all of these items can be easily bought at a variety of stores.

The supplies:

  • Poster board or craft paper
  • Marker
  • Balloons
  • Confetti (I used scrap paper)
  • Tape
  • Candy or other fillings

The idea of this activity is to celebrate NYE all throughout the day. As each hour passes, kids can pop the balloon and have confetti and whatever else you stuff it with.

If they don’t stay up until midnight, then at least they get some excitement throughout the day!

This project was a little more longer and in depth than our usual ones, but I think she’ll love it when the day comes.

First, draw a big circle on your poster board or craft paper. Then, add the numbers around the circle like a clock. I wrote in the middle of it, but you can personalize it however.

Once that’s done, it’s time to stuff and blow up balloons.

You’ll only need twelve balloons and some come with confetti already in them. That would have been way easier, but I just made confetti by cutting up scrap pieces of paper. This takes a little time, but it looks cute all mixed.

If you are making your own confetti, have your child practice their cutting skills and help you out!

Next, stuff the balloons!

This can be a tricky task. I used a funnel, but there are others ways to do it too.

In addition to the confetti, I added chocolate hearts to the balloons. Mila loves them and she’ll be shocked by the surprise.

After this is done, blow your balloons up and tape them to your clock.

Hang your clock to a wall and enjoy popping them on New Years Eve! Kids who love messes will be excited to make one every hour.

I hope you enjoy this way to celebrate bringing the new year in! If you decide to do this activity, comment your experience. I’d love to hear from you and see pictures.